


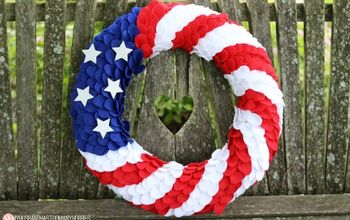
Felt Wreath
Easy
This simple DIY felt wreath added some texture to our all neutral hallway.
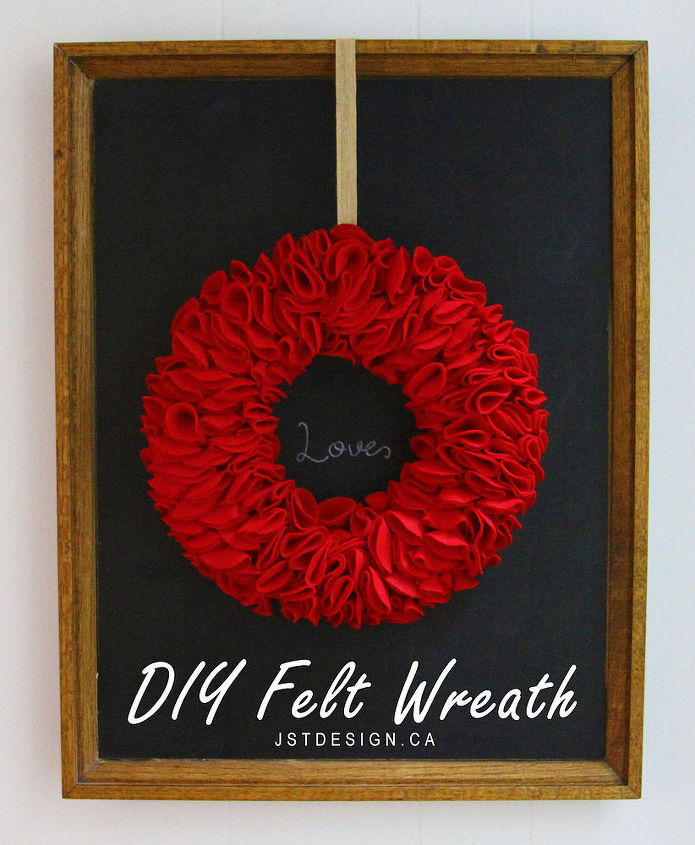
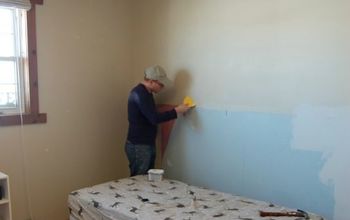
In addition to paint in our hallway, some interest was needed on the walls this lead to adding a chalk board that I already had and this DIY felt wreath that I created. It was super easy, the toughest part is cutting out the circles, so i recommend having the television on or having some background music playing to make that part a bit more enjoyable! ;)
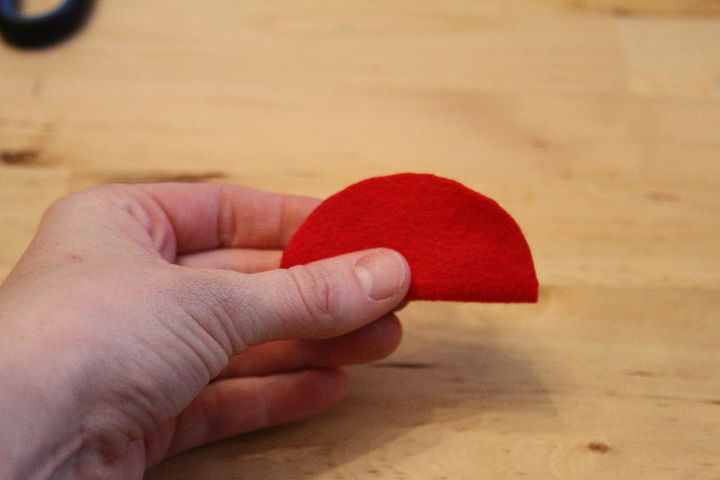
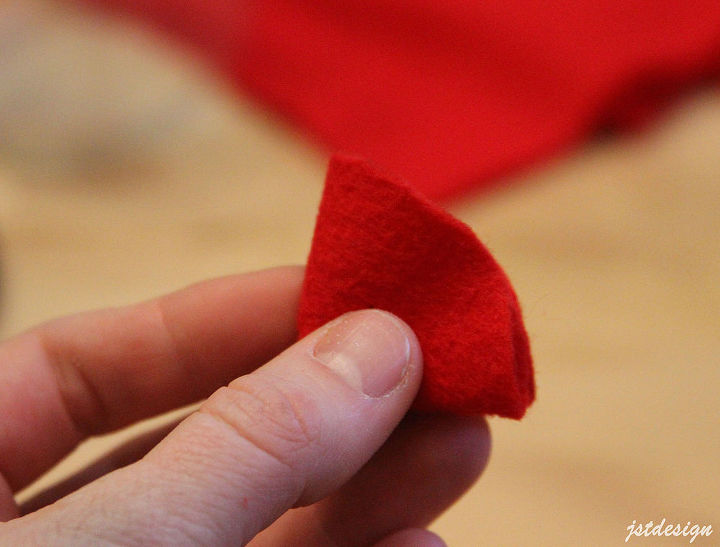
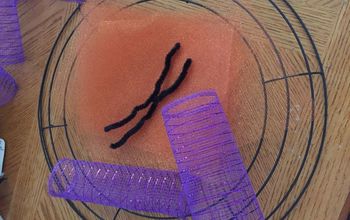
Next I folded each felt circle in half and then in half again, pushing through a pin at the folded edge of the felt.
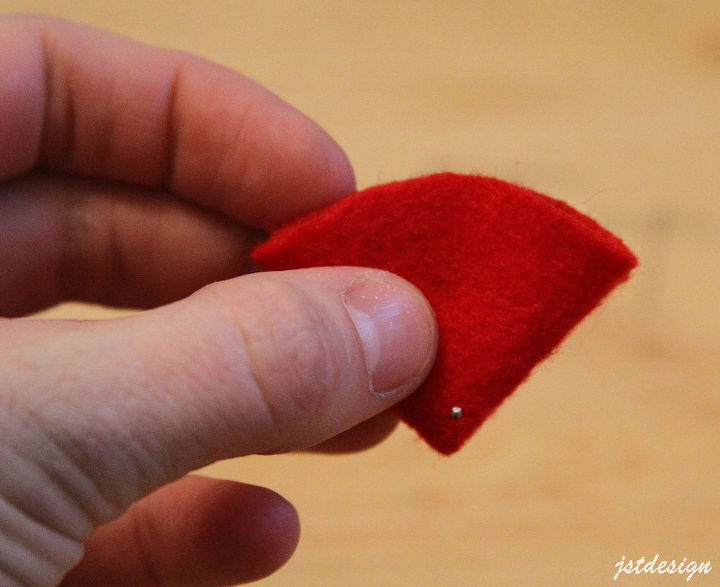
Then I pushed the felt with the pin into my foam wreath. I continued doing this for each circle. It doesn’t matter where you place the felt circles, simply push them in at random, filling in the entire wreath. At first I was placing the felt circles really close together, then quickly realized it would take me a lot more felt circles and a lot more time to finish the wreath so I spaced them out a bit to allow the felt to spread out and fill in the wreath.

Want more details about this and other DIY projects? Check out my blog post!


Frequently asked questions
Have a question about this project?