


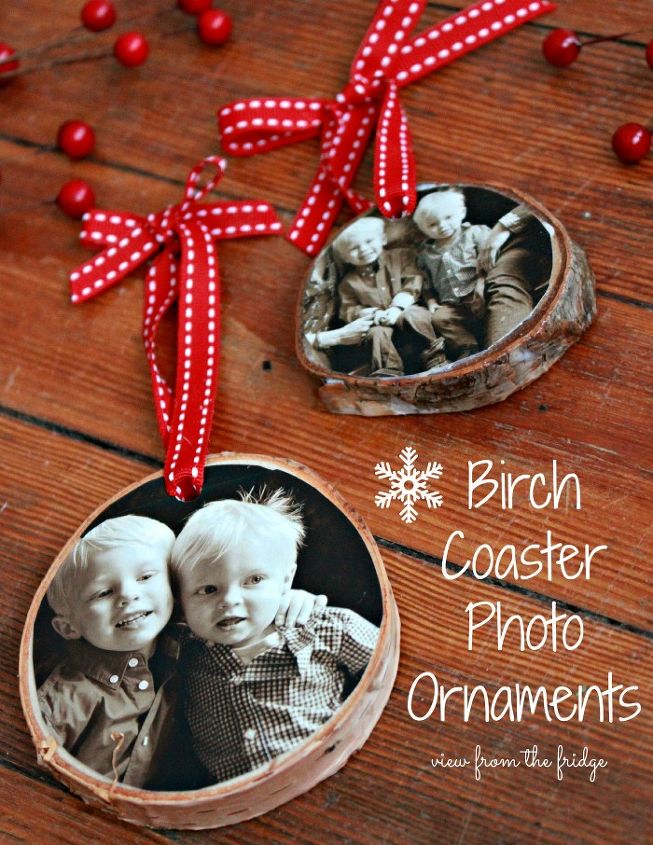
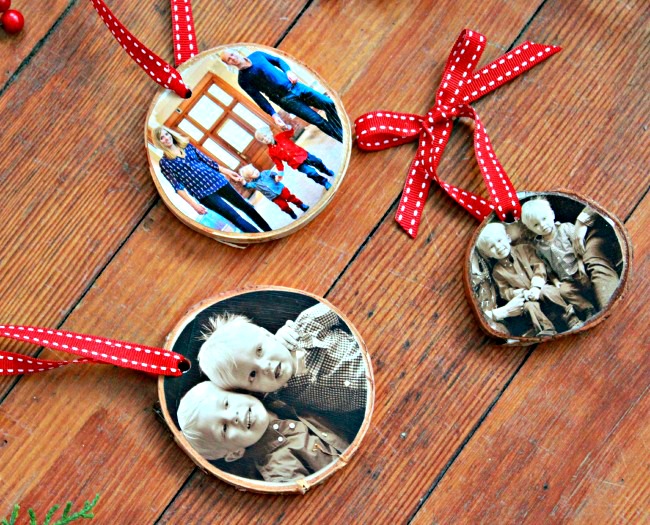
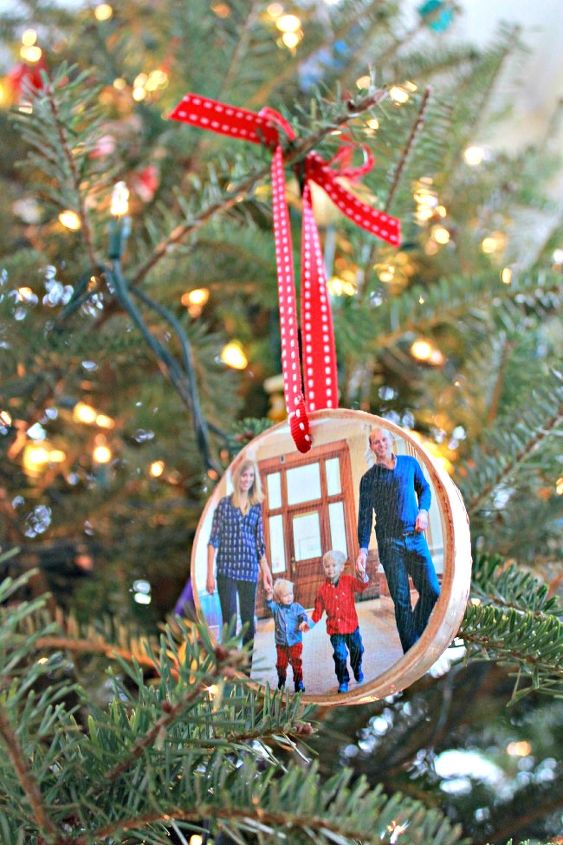
DIY Birch Coaster Photo Ornaments

by
Katie Stahl
$5
20 Minutes
Easy
We made these easy PERSONALIZED Birch Coaster Ornaments for gifts and for ourselves! We tried both the store-bought coasters and the real deal (took a saw to an old birch branch)!
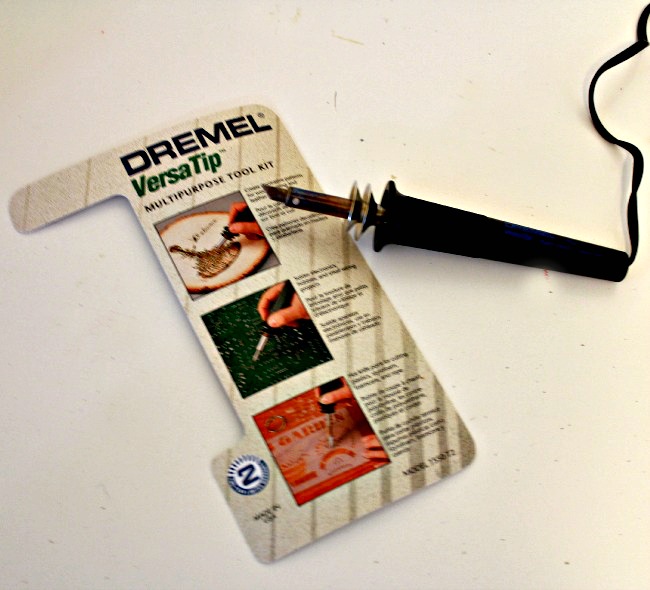
Here's what you'll need:
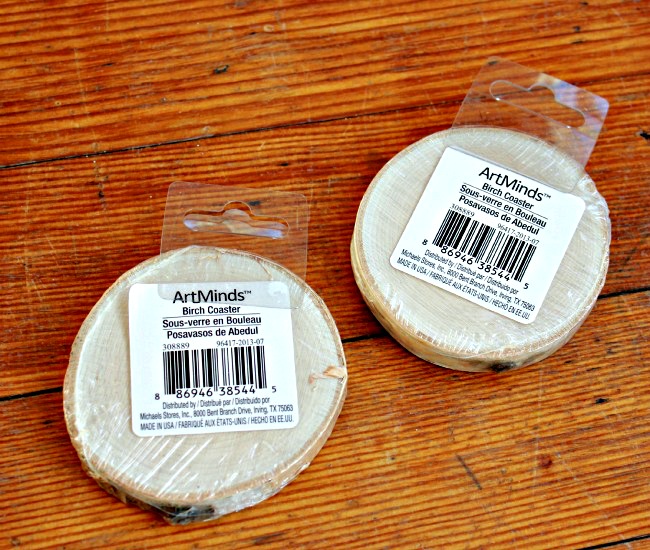
STORE BOUGH BIRCH COASTERS
SUPPLIES:
STEP ONE: DRILL HOLE IN THE COASTER, THEN TRACE LOCATION ONTO PICTURE AND PUNCH A CORRESPONDING HOLE IN THE PICTURE
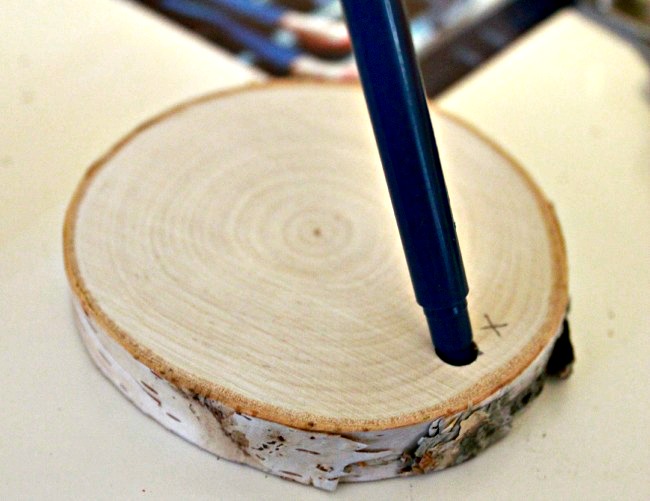
DRILL HOLE IN COASTER, then mark on picture
Next, apply a generous layer of Mod Podge to the coaster:
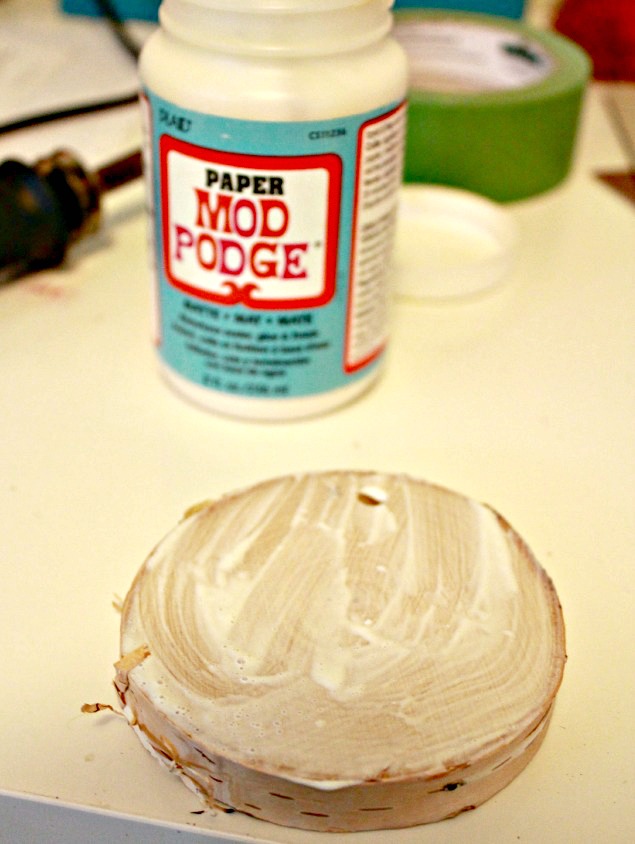
Place picture in place over Mod Podge (align holes), and apply another generous layer over the top of the picture. Make sure to completely seal all around the edges. And ... don't panic ... the Mod Podge will dry clear (I promise).
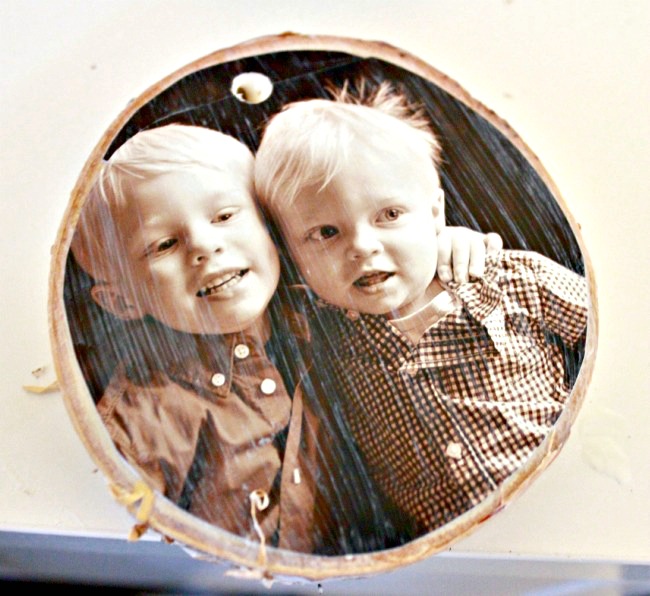
Apply 1-2 more coats of Mod Podge over the top, allowing each coat to dry approximately 30 minutes in between.
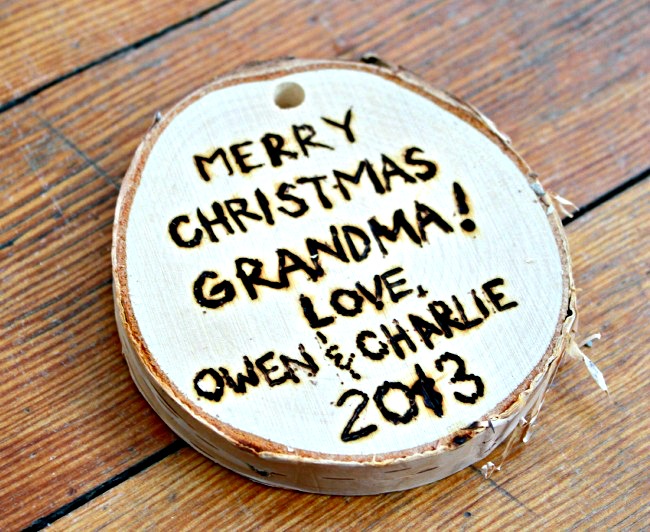
Tie a ribbon on your ornament, hang, and enjoy!! Or give to Grandma as an adorable, personalized, gift!
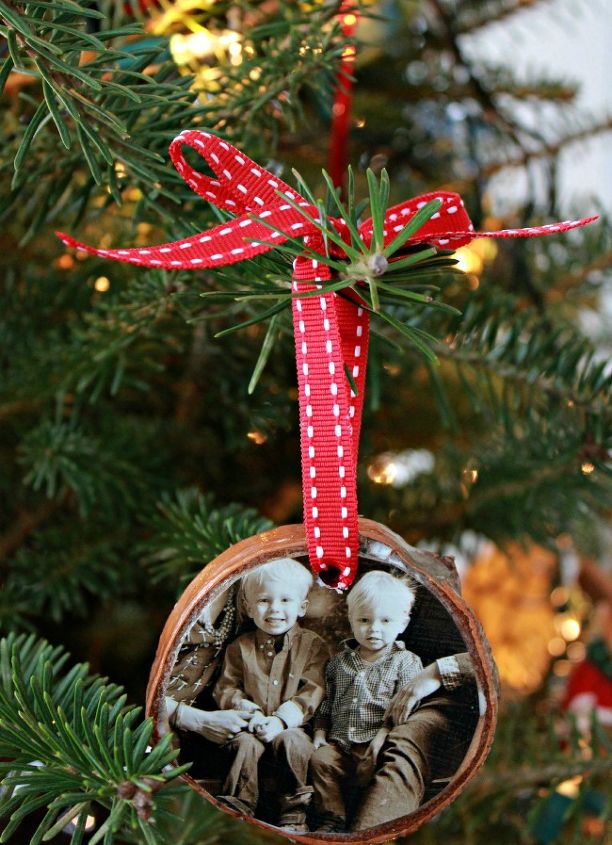
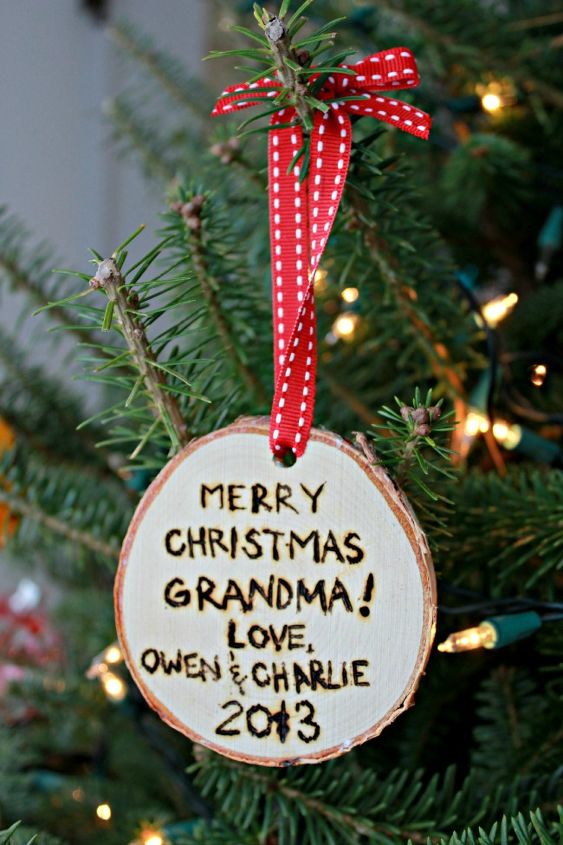
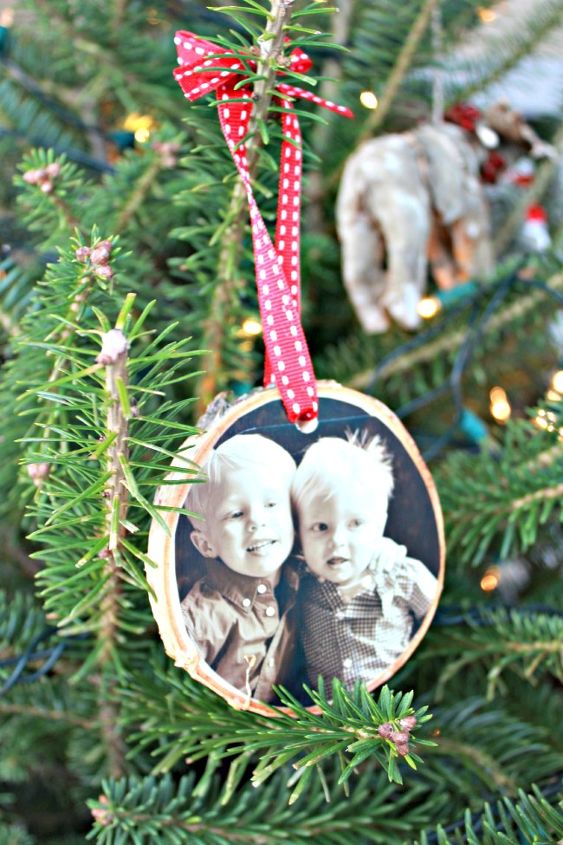
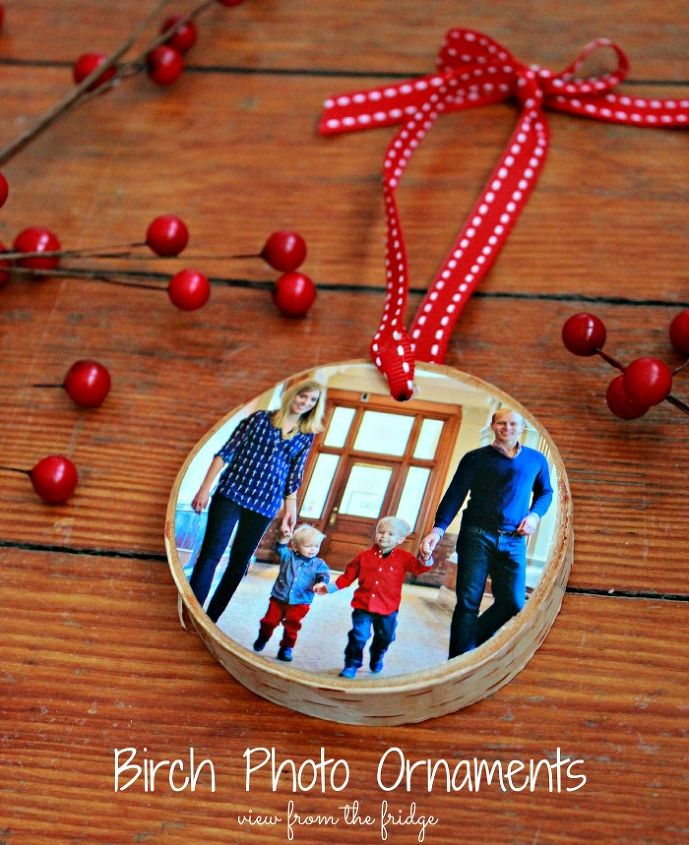
That's it! Simple, unique, and PERSONALIZED! A great gift or a great memento for years to come!
Want more details about this and other DIY projects? Check out my blog post!
Comments
Join the conversation
2 comments
-
Such a great idea! Perfect way to personalize your tree, plus you'll have them forever. My parents still have ornaments of me from preschool on the tree! Haha


Frequently asked questions
Have a question about this project?
What a great project! I'd love to try it but as described, birch coaster ornament, can I actually use them as coasters and not the ornaments?