


How to Make the Perfect Bow

by
Maggie Lois
Hey y'all! I'm here to finally show you how I make my bows! I originally was not going to ever do a tutorial because it's a very weird process. Luckily I have a friend who talked some sense into me and explained even though it's a weird process, it would still be good to share so others can see how I do it.
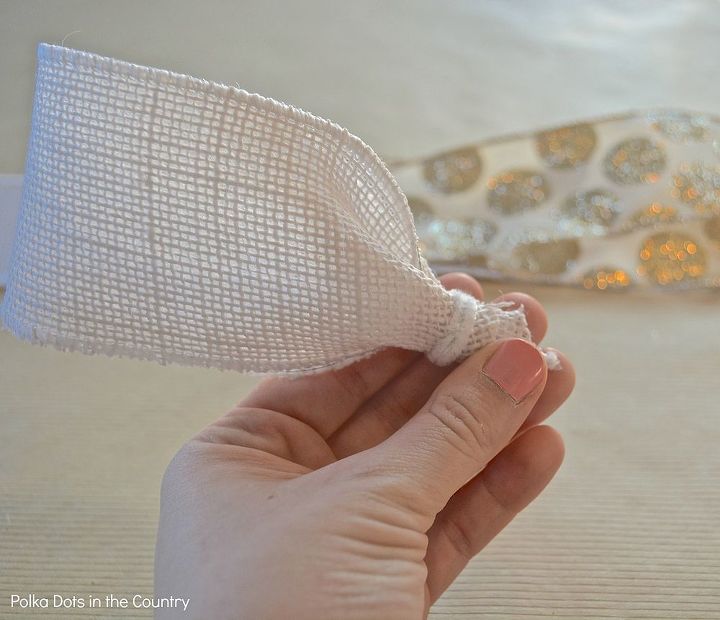
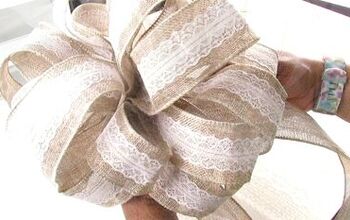
It doesn't involve tying anything, just some pipe cleaners, a crap ton of hot glue and wired burlap ribbon.
Why wired burlap ribbon? Because the wire enables you to mold the bow how you want and the burlap is sturdy so the bow isn't flopping around all over the place while you're
trying to put it together. If you've tried to make a bow with regular ribbon, you know what I'm talking about. It's a very frustrating process. If you can make a nice looking bow with regular ribbon, you've got skill my friend.

Now let's get started!

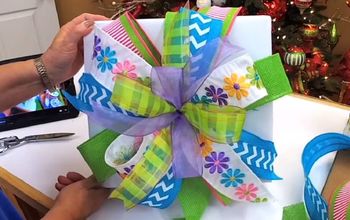
Step 1:
Step 3:
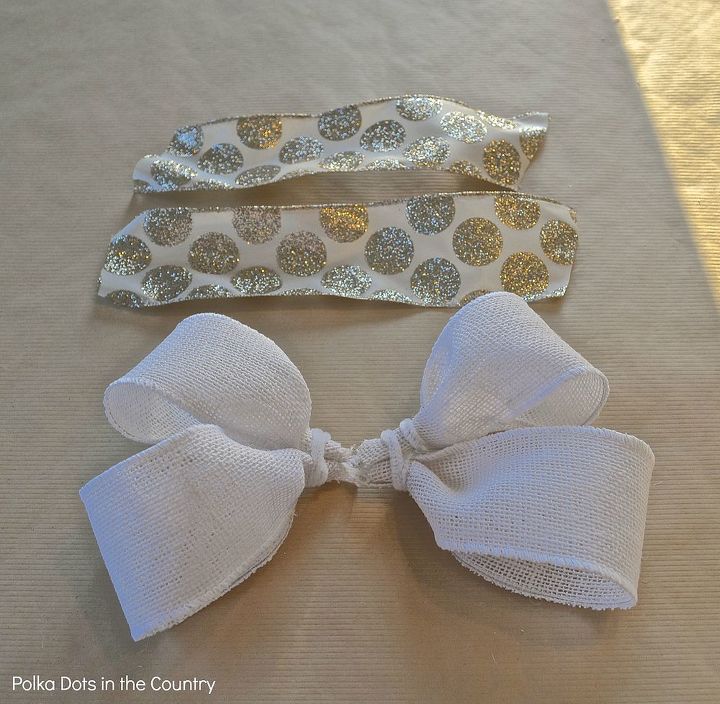
Do the same thing with the other three pieces of burlap ribbon.

Step 4:
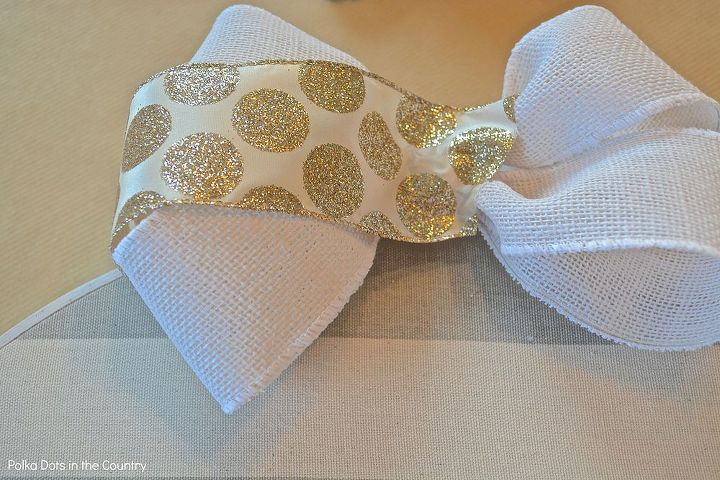
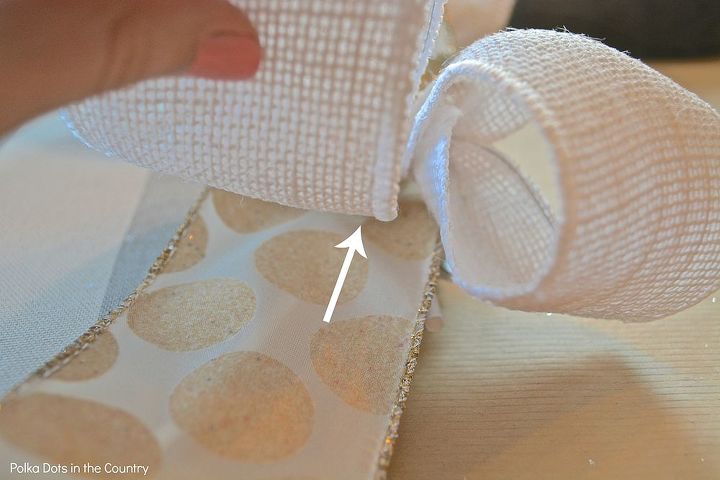
Step 6:
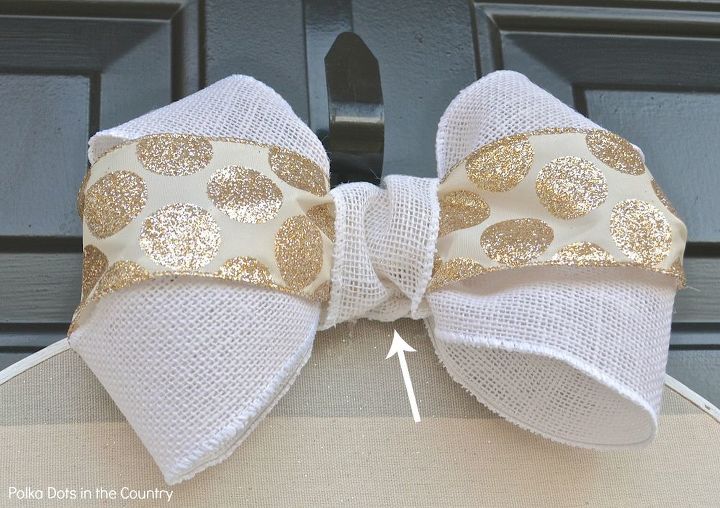
Step 7:
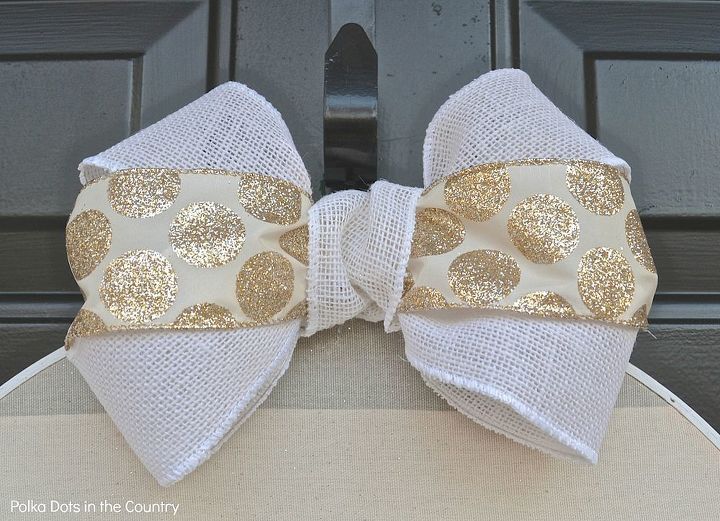
And that’s it!
Want more details about this and other DIY projects? Check out my blog post!
Comments
Join the conversation
4 of 6 comments
-
This is great, glad you posted. Never be shy, you can always help someone. Like me. :)
-
Great tip! Thanks so much for sharing, I always struggling with bows! haha


Frequently asked questions
Have a question about this project?