


DIY Winter Wall Art
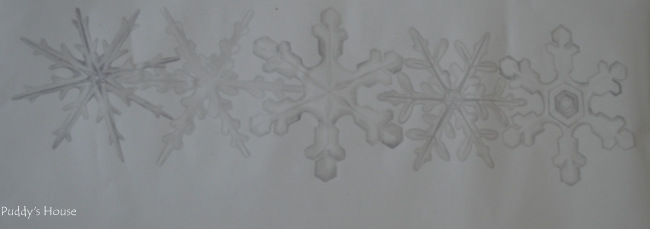
I’m still working on decorating my house for Christmas, and I’m always looking to change up the décor slightly each year. So, this year I’m adding some new wall art using Wallternatives. I've used Wallternatives before and this time, I didn’t just stop with one new piece of art, I made 3! Plus, it is so easy, I couldn’t help myself. I used the Removable Snowflake – Christmas Decal Set is small grey. It arrived in a tube with the set of 5 snowflakes.
I knew right away that I wanted to do a framed snowflake. I had a plain frame that I painted with a silvery grey – I used a little sample pot of paint that I got at a yard sale.
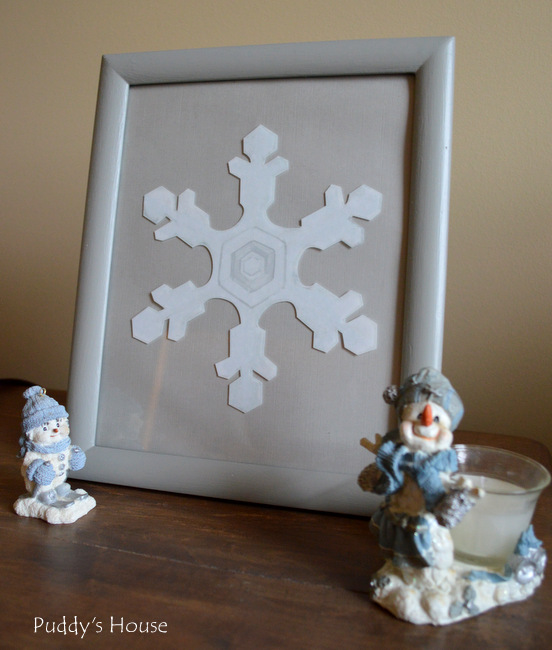
I originally had white as the background, but it didn’t highlight the snowflake enough, so I slipped in a piece of grey scrapbook paper cut to 8×10 size and then it was perfect. I put the snowflake right on the front of the glass. Then, I just propped it on a side table with my two cute little snowmen and I had a wintery scene to greet my guests during the Christmas season.
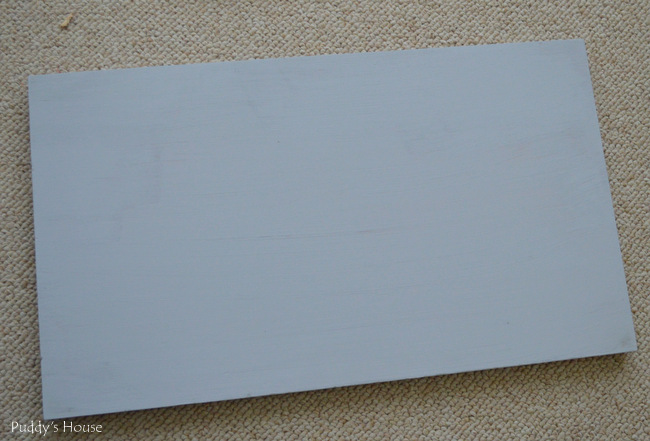
Since I still had 4 more snowflakes, I got busy with a few other ideas. I had one plain board that I had gotten for free at a yard sale this summer. Then, yesterday I picked up some more boards at Habitat Re-Store, and decided to use one for this project. I think they are actually plain flat panel cabinet doors.I gave each board a coat of Annie Sloan Chalk Paint in Paris Grey. You can see some brush strokes, but I liked it that way.
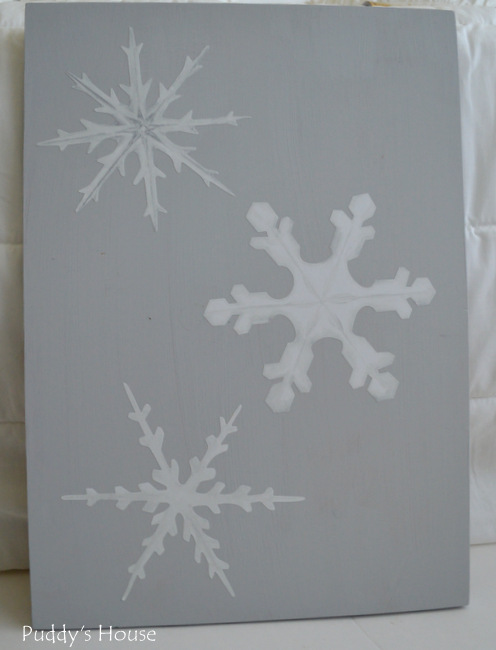
For the one board, I just attached 3 snowflakes and called it done. I’m not quite sure where this one is going to hang, but I like that I can use it all winter long and not just for Christmas decorating.
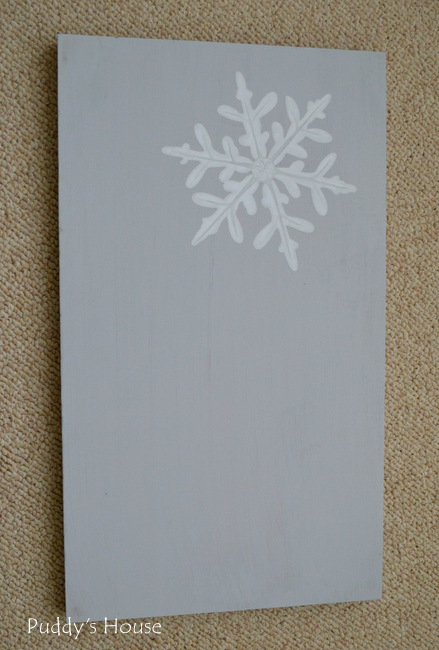
For the other board, I placed one snowflake on it as my first step.
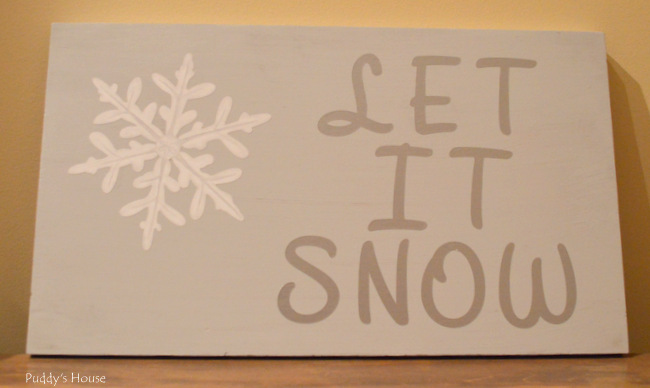
I kept it to the side, because my plan was to add words to the sign. I debated stenciling them on, but in the end I ended up using vinyl that I had in my supplies. I cut out the phrase, Let it Snow, on my Cricut and then attached the letters to the board. The vinyl is a metallic silver so it is a muted look, but I think it looks nice. Sorry for the nighttime picture….I literally just finished it up. This is definitely decorating in real time!

Want more details about this and other DIY projects? Check out my blog post!


Frequently asked questions
Have a question about this project?