


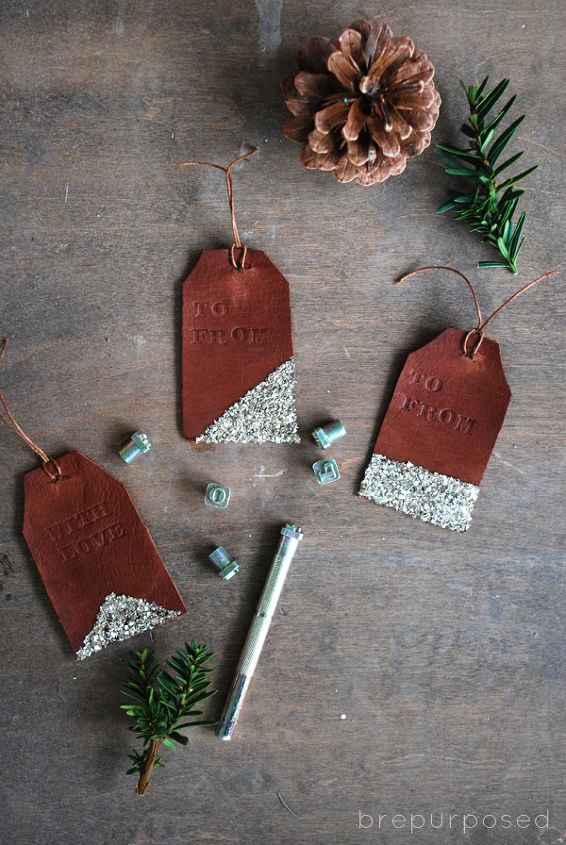
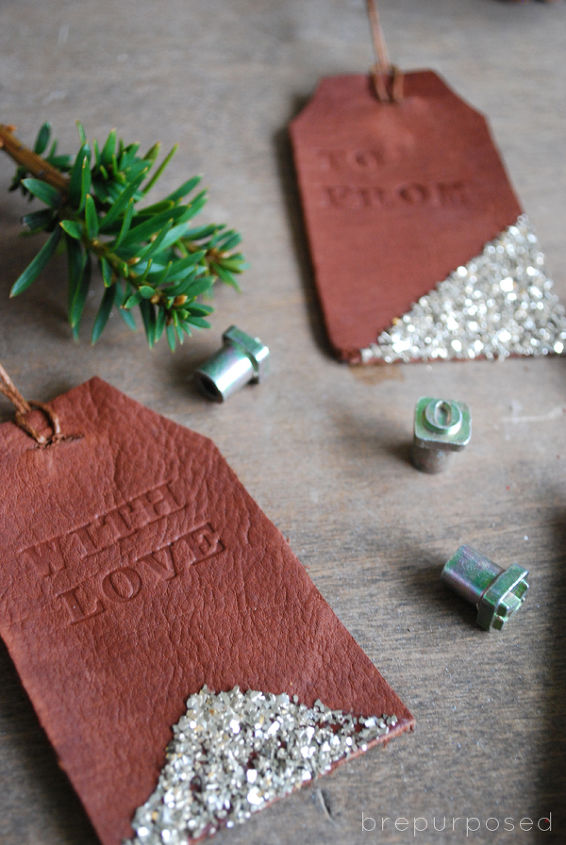
DIY Leather Stamped Gift Tags

by
Brepurposed
Sometimes the best ideas come when you don't plan for them. I had no intention of creating these gift tags and adding another craft to my plate amongst all the chaos of Christmas. I was avoiding all the other things I SHOULD have been doing. I already had all the materials and was inspired by some ID Tags I made for my succulents earlier this year.
My procrastination actually led to something productive! How often does that happen?
My procrastination actually led to something productive! How often does that happen?
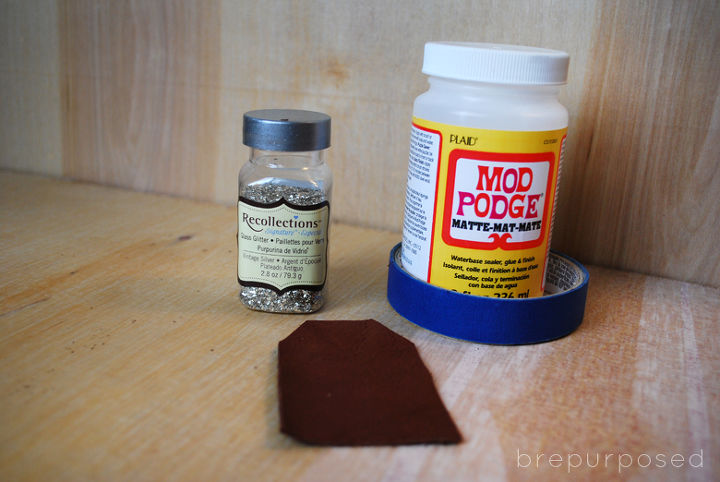
They're so simple to make and you can use them for any occasion! Here's what you need:
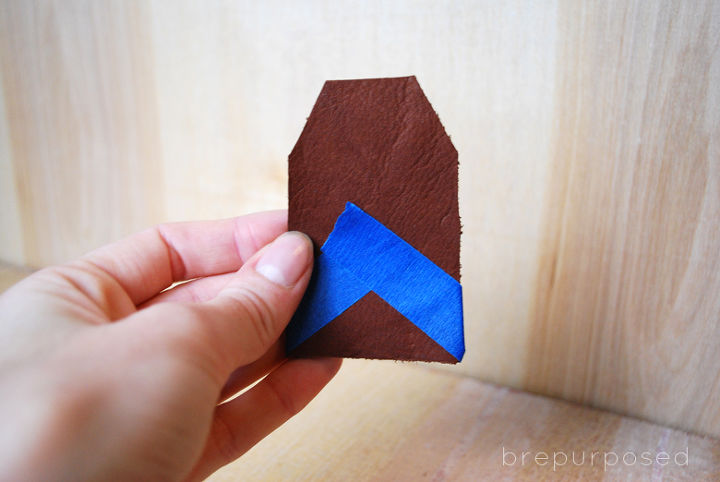
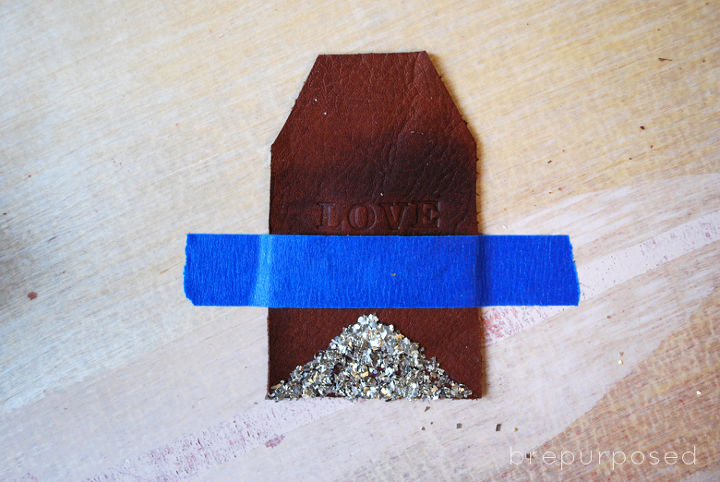
First up you’ll want to cut your leather strip into the shape that you want your tags to be. Then glue off the area you want to add your glitter to.
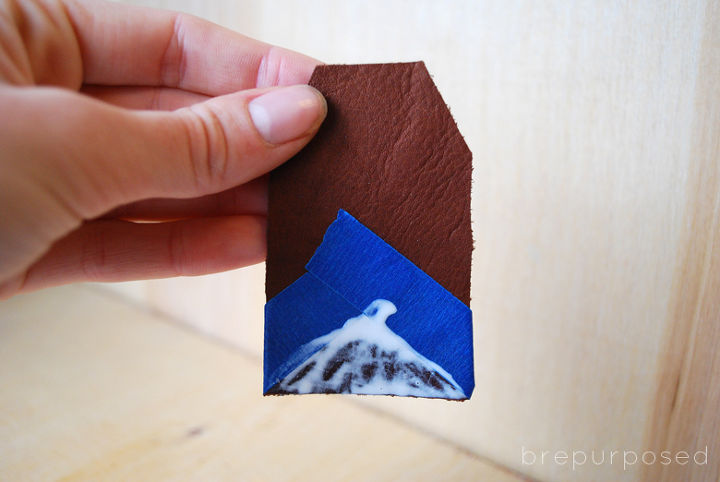
Apply your Mod Podge to the taped off area.
Now the best part. ADD GLITTER!
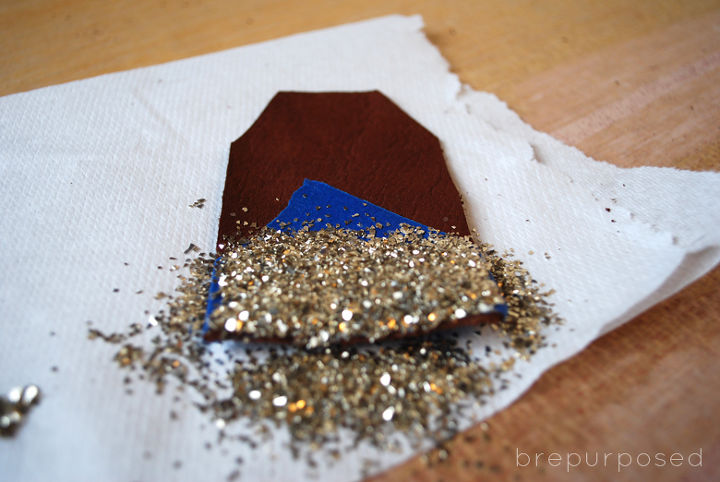
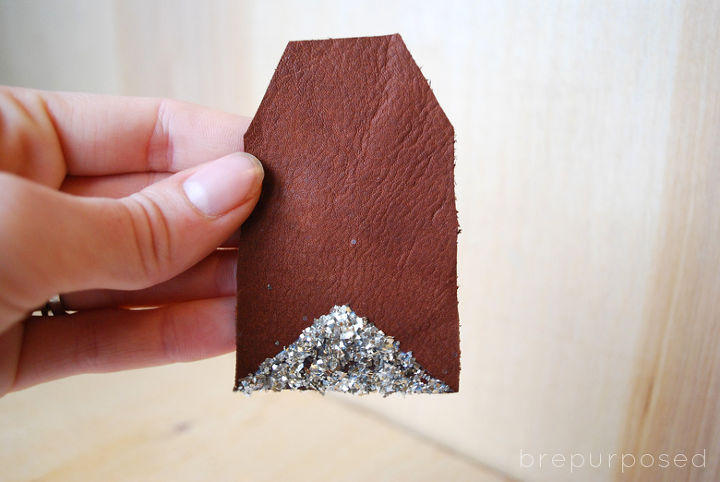
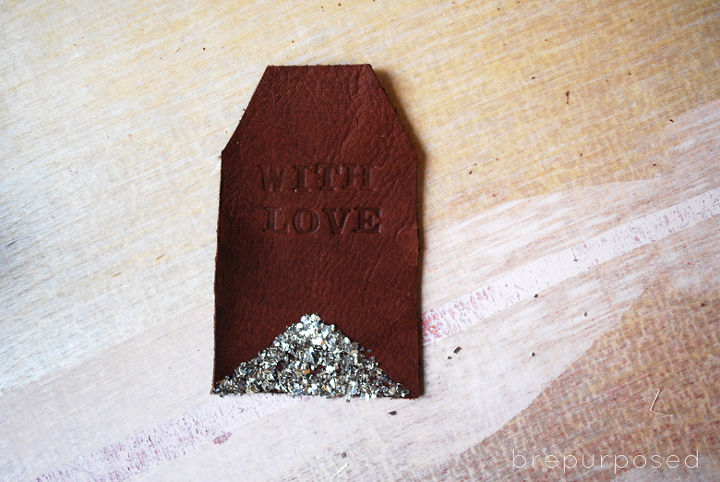
Peel off your tape and smile ’cause it’s so pretty :)
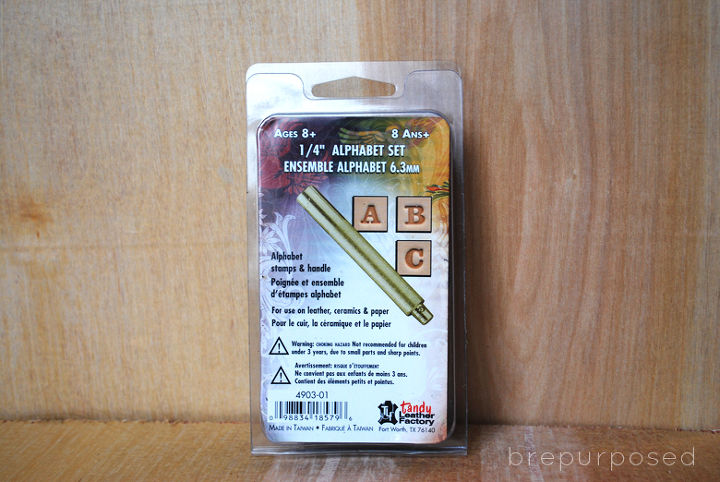
Now let’s get stampin’! This is the kit I have that I got off Amazon.
It’s super easy to use. First you want to get your leather wet. I just grab a wet paper towel and then dab it until it’s good and soaked in. You don’t want your leather to be dripping wet, just enough so that the letters will make a solid impression.
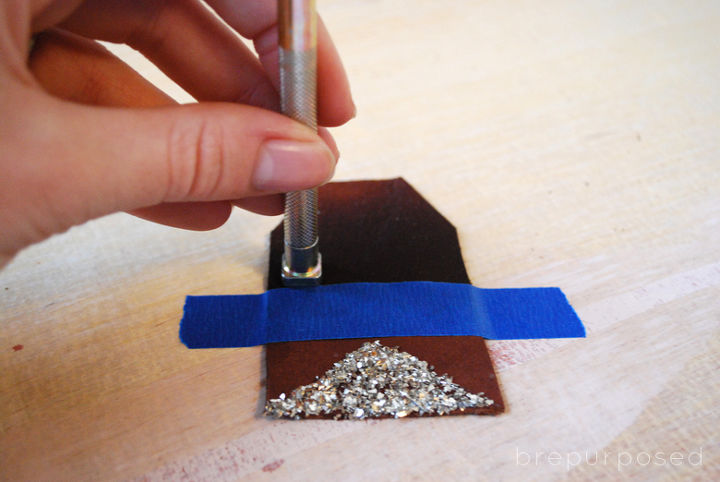
I find it’s easier to use some tape as a guide so my words are straight.
Repeat with each letter and voila!
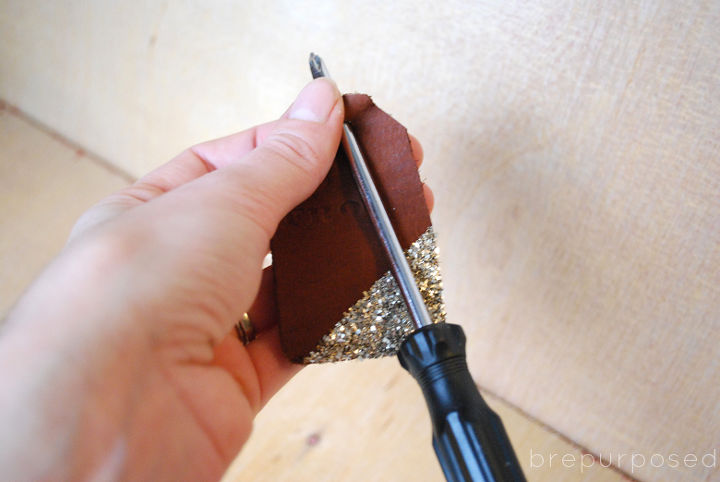
Now to make the holes, I first poked a small hole through the leather with a nail and then drove a screwdriver through the hole to make it bigger and smooth out the edges.
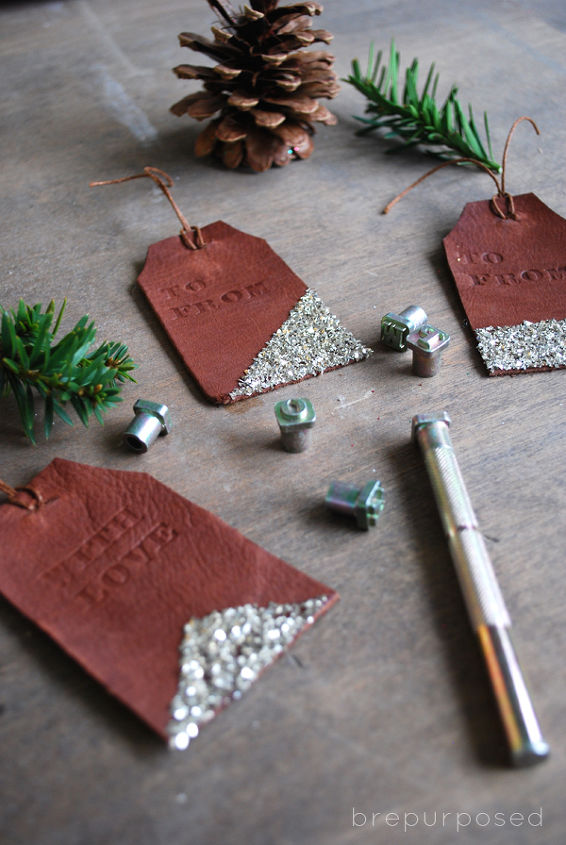
Then all you need to do is attach your string and you’re ready to use them on your gifts! I’ll probably use a silver or gold sharpie to address mine. I might leave the “with love” one blank though :)
Want more details about this and other DIY projects? Check out my blog post!
Comments
Join the conversation
4 of 6 comments
-
Very creative!
-
This is such a clever idea! Love the rustic, glam look.


Frequently asked questions
Have a question about this project?