


Beautiful Bold Red

Do you ever just want to throw caution to the wind and just do the unconventional. I had this oak press back dinette set for some time and originally thought I would just play it safe and use a neutral colour. I was asked on more than one occasion what I was going to do and when I would mention neutral the response would be oh you have to go colourful that is what people buy from you for, or something along that line. I of course would be using my favourite paint FAT Paint and bounced between Wasabi and Red Barchetta. Guess which won out? Time will tell, ok well maybe the title gave it away.
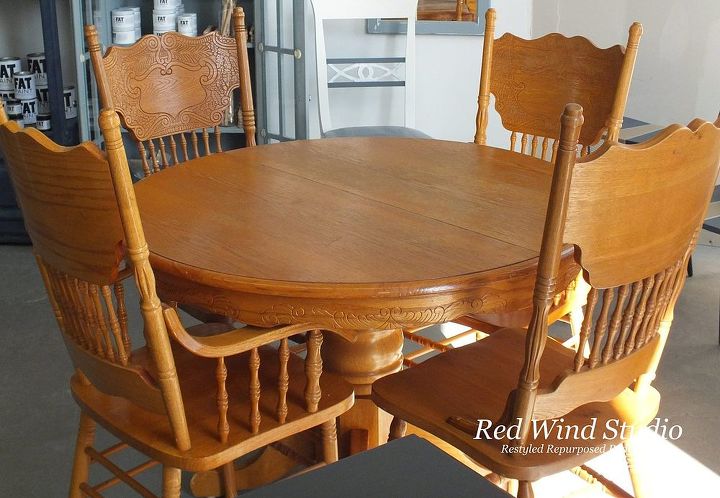
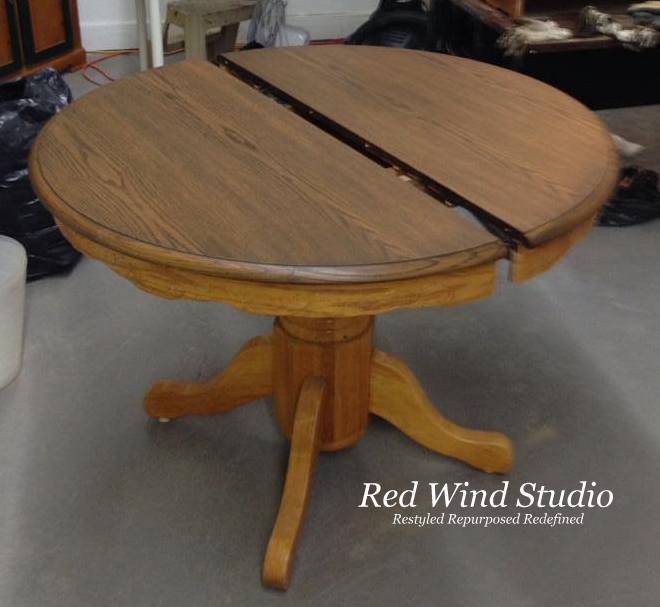
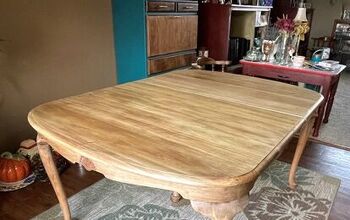
The set was in very good condition other than the table top. The polyurethane or varnish had worn almost completely off in areas. I definitely knew I wanted to stain the table top a darker colour so out came the can of stripper. I like how quickly and efficiently Super Remover works. Once all the varnish was gone I started sanding with 80 grit paper and worked up to 220 grit until I had a smooth and even coloured top and leaf.
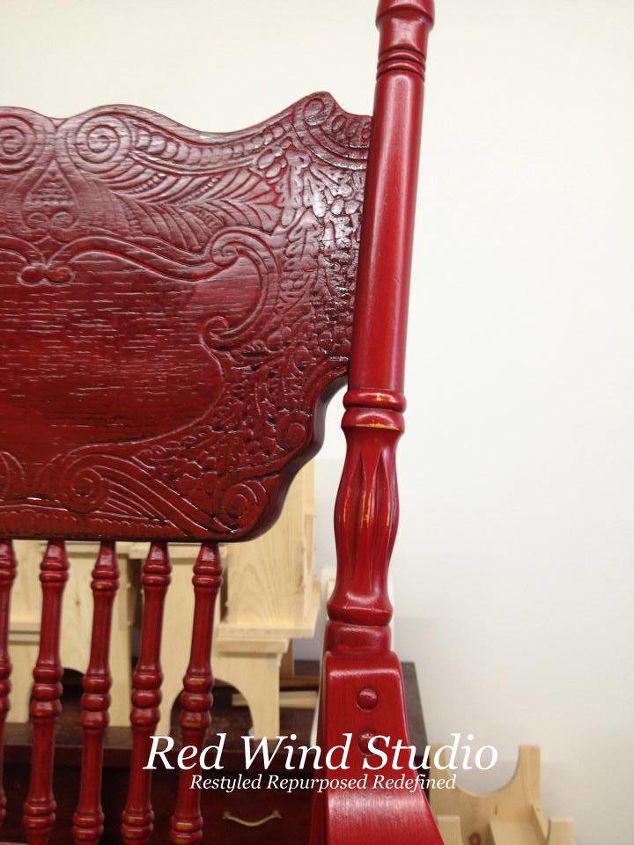
When painting chairs or anything with spindle type pieces I like to use a small brush so I opt for a one inch natural bristle brush. I applied two coats of FAT Paint Red Barchetta to the four chairs along with the skirt and pedestal of the table. Once the paint was thoroughly dry I applied two coats of Satin Varathane with the same size and type of brush. The next day I did a very light wet sanding with 600 grit wet/dry sand paper. This step (two coats of varathane) is very important for the technique I used to antique the set.
Now that the table top and leaf are stained time to get to antiquing the red. As I said earlier it is important to have two coats of varathane over the red. This step is to avoid the stain from staining the paint and allows the stain to move. I use well fitted rubber gloves and several soft rags. I start by dipping a rag into the stain and letting some drip back into the can. Now I rubbed the stain over the entire chair ensuring I got the stain into all the little crevices. Once I made sure I didn’t miss anywhere I used a clean soft cloth and wiped the stain off leaving some in the crevices. Due to the wet sanding the stain will slightly adhere to the varathane allowing it to darkening the look of the paint colour slightly.
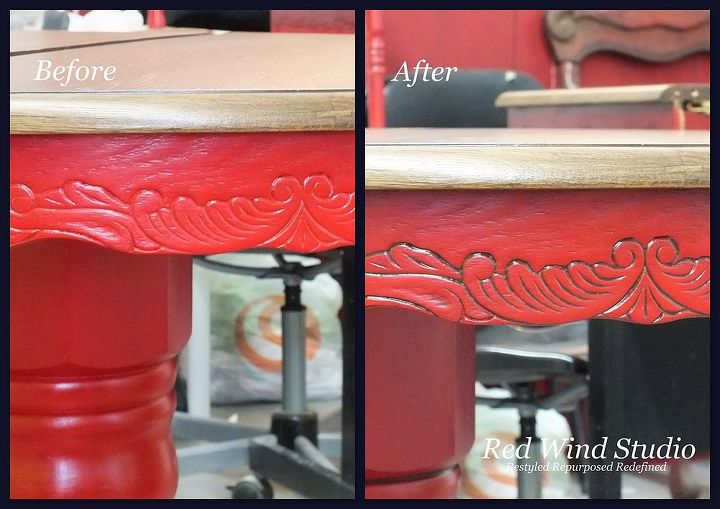
Once I had done this procedure to all the red surfaces I applied two more coats of varathane, The table and leaf top I applied four coats of varathne using a large foam brush. I also wet sanded with 600 grit sand paper after the second coat to remove any burrs and give a super smooth finish.
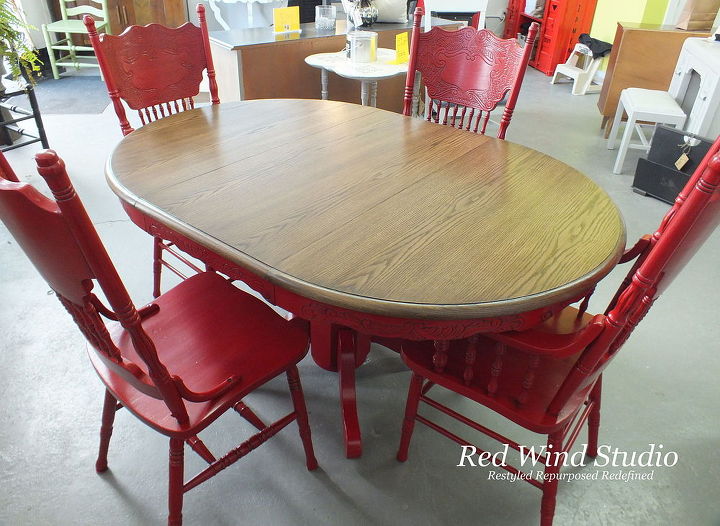
The table top is darker in person and no matter how many pictures I take or the lighting in the studio it keeps coming out lighter in the photograph so i guess you will just need to come in and see it for yourself.
Comments
Join the conversation
2 of 176 comments
-
Love that red! The stain really brought out the great details.
-
I love the chairs. I just don't like the oak top on the table. I would have made it almost black.


Frequently asked questions
Have a question about this project?
How old are those chairs and where they were made?