


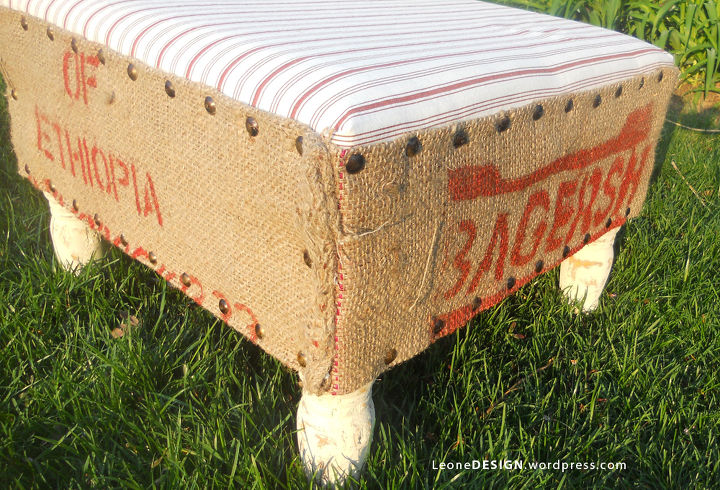
Coffee Sack Ottoman
A tired dirty ottoman was transformed into this fun piece for under $7 by reusing the upholstery tacks from the original piece and wrapping it in fabric that was sitting in my fabric stash.
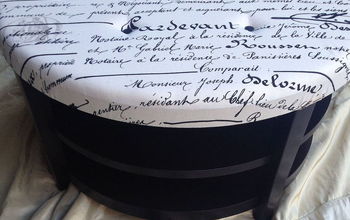
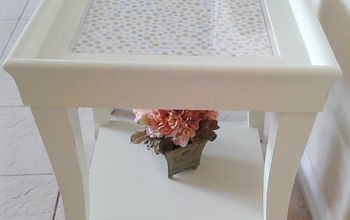
The finished piece
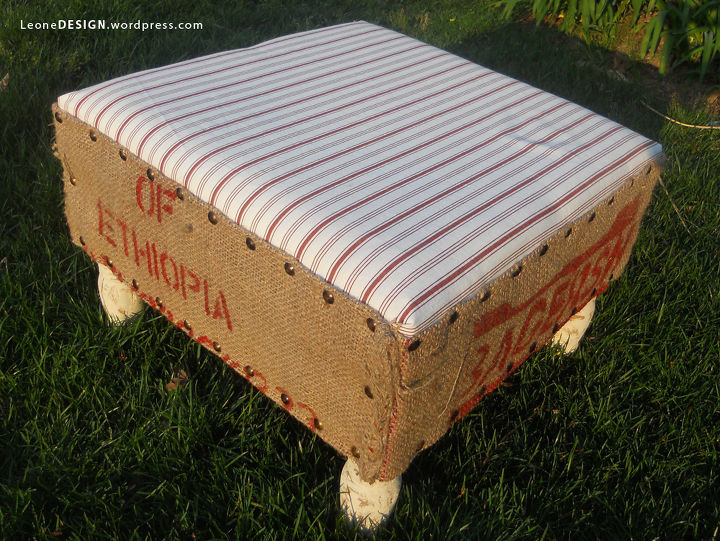
Used old coffee sacks for the sides and IKEA curtain fabric for the top.
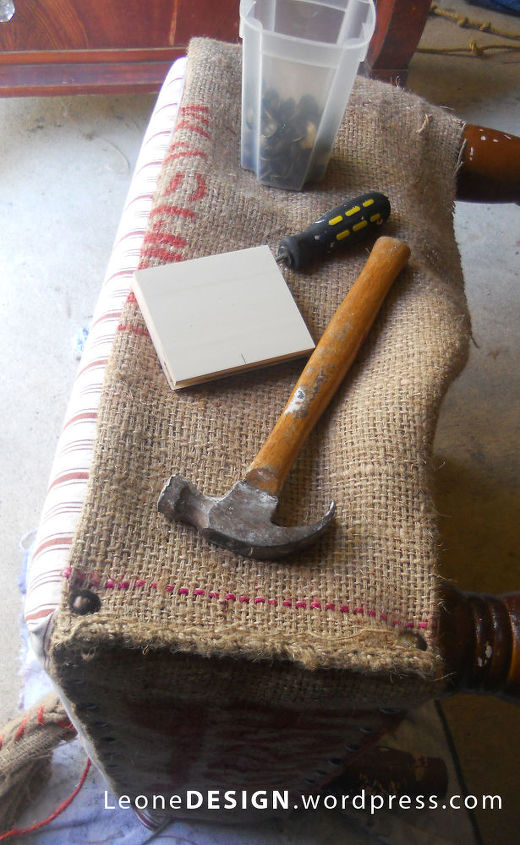
Supplies used:
two coordinating fabrics - one for the top and one for the sides
-large upholstery tacks
-tacky glue (or fabric glue)
-hammer
-screw driver
-pliers
-duct tape
-paint for the legs
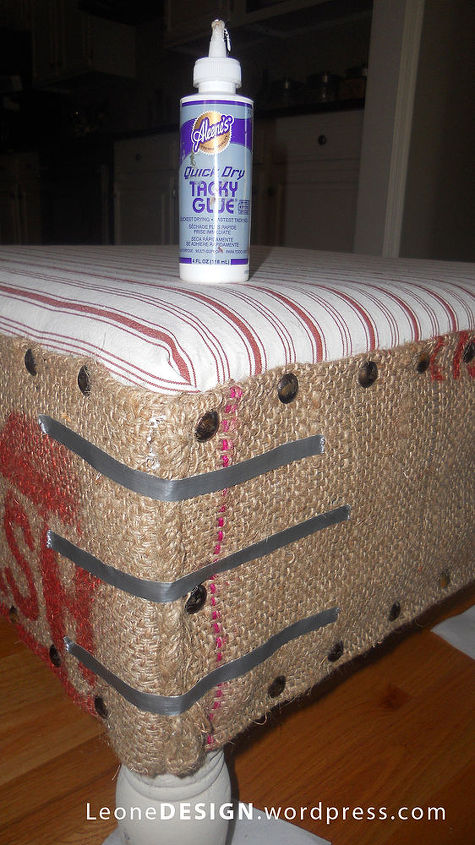
I wanted to use the actual stitched sides of the coffee sacks for the ottoman's corners but in doing so, the corners seemed to poke out... they were a bit bulky. To solve that problem, I used tacky glue and duct tape to calm them down.
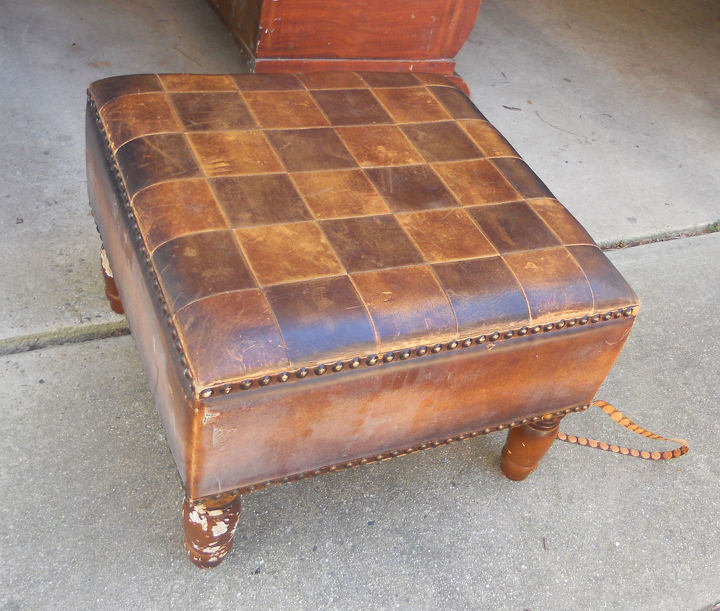
A before shot. For a detailed tutorial, click on the link to my post on my blog.

Want more details about this and other DIY projects? Check out my blog post!
Comments
Join the conversation
1 comment
-
Love this little ottoman makeover!! (when I first saw it posted and again on Hometalk!) Great job!


Frequently asked questions
Have a question about this project?