


No Sew Wingback Chair Re-upholster
This old wingback chair was in need of an update. With no experience in upholstery, I dove right in and am thrilled with the result.

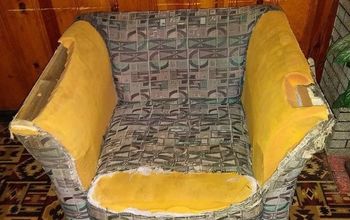
Assess the quality of the chair. This one had good bones, but the fabric and frame were worn. Disassembling the chair is by far the most time consuming and taxing part of the entire project.
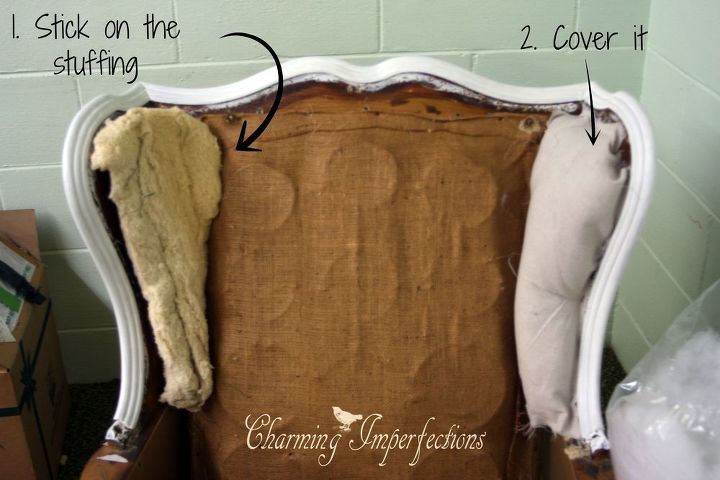
Use the old stuffing if it's in decent shape. Then cover with your new fabric.
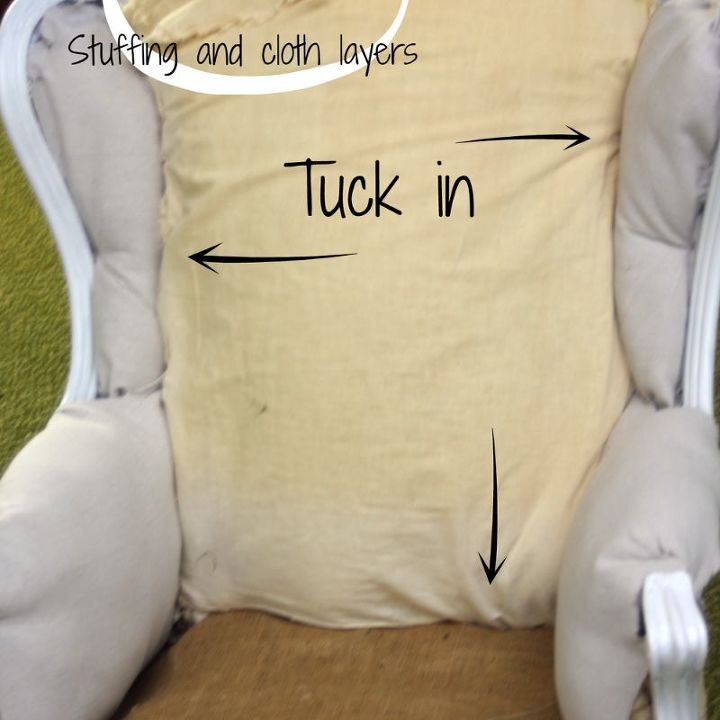
Push the fabric through the slots on the sides and bottom.
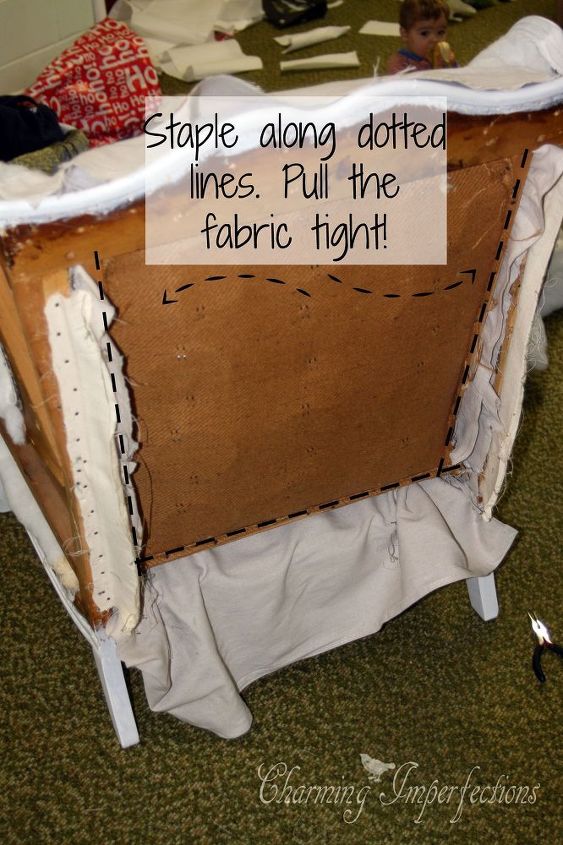
Then, pull it tight from the back. This is where you begin stapling and pulling. It takes a lot of playing around with it to get the fabric to lay just right.
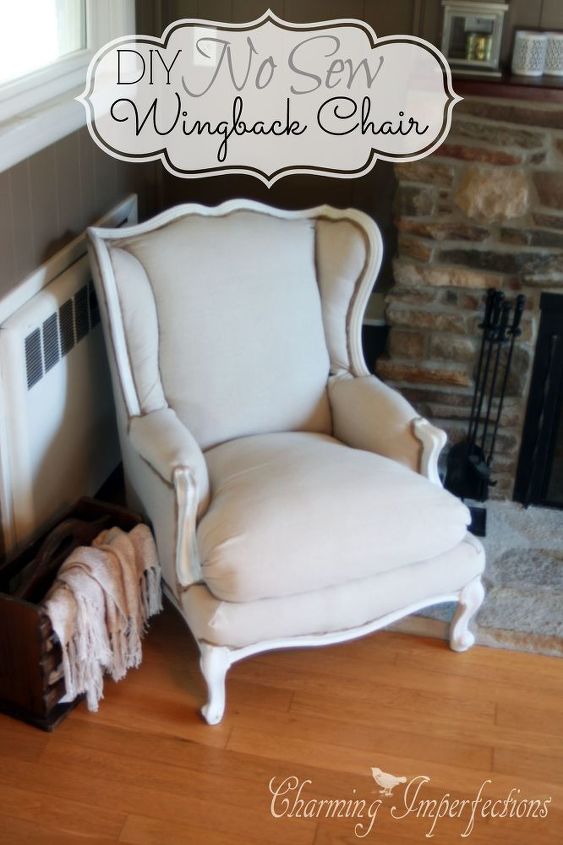
It's so worth it when you are left with a beautiful, luxurious chair. Be sure to read the full tutorial on the blog: Charming Imperfections

Want more details about this and other DIY projects? Check out my blog post!
Comments
Join the conversation
3 of 11 comments
-
Rebekah, how did you get my chair out of my bedroom without me knowing? LOL oh, wait, mine is still here....lol..but guess what, I have the ottoman to match. The back of mine is tuffed and I'm not sure I want to tackle the rehab on that..but you got brave and it came out great!
-
I have 2 wingback chairs that are screaming for me to change the color and material. After seeing how you tackled the task of reupholstering the chair, gives me confidence. I am going to change these chairs soon. Thanks for the tips.


Frequently asked questions
Have a question about this project?
Hi,
I am wondering if the slits that you pulled the fabric through - were they there on the chair already or you slit it yourself? Do all wingback chairs have those slits?