


DIY Large Shelving Unit

by
Michelle
6 Materials
$80
5 Hours
Easy
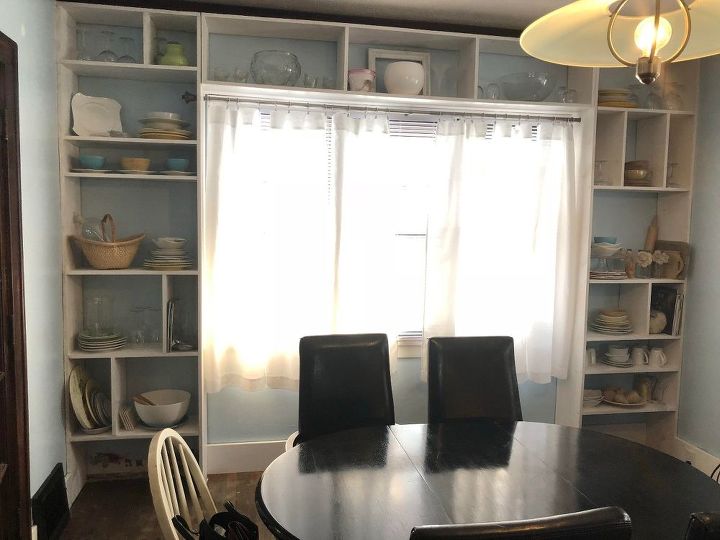
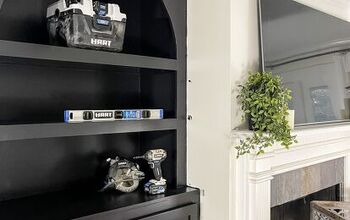
We transformed a blank wall and a kitchen with little storage to this. The entire project cost $80.00. We bought 1x12 pine boards from Menards and went to work.
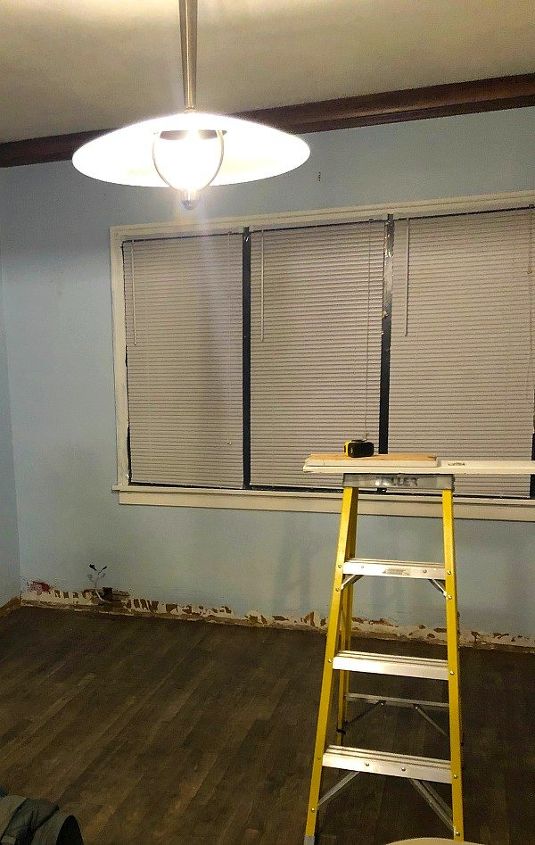
Before
This was what it look liked before. Just a blank wall. We decided to build the shelving unit around the window. We pulled off the baseboards, scrubbed the walls, and removed the plates from the electrical outlets.
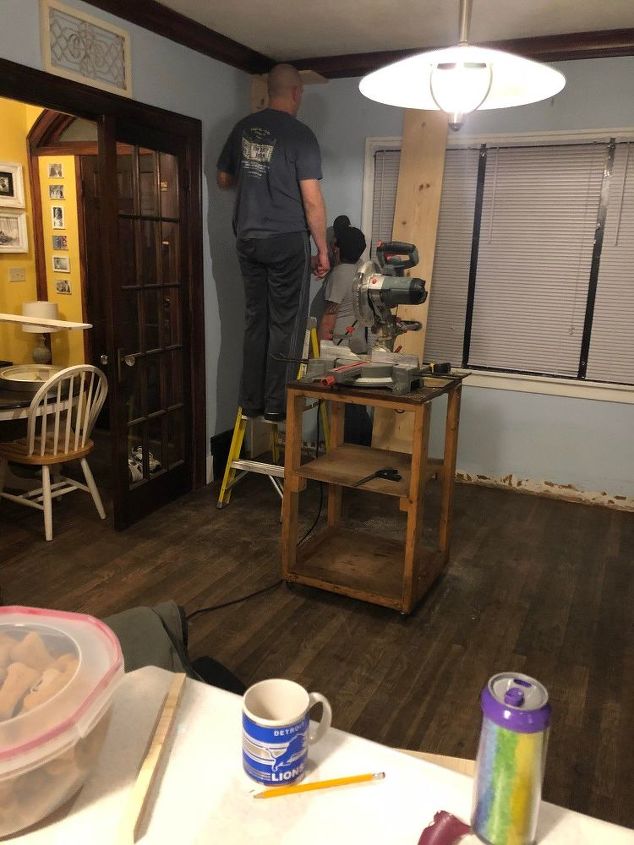
My hubby and his friend went to work measuring the wall. We wanted it to meet up against the trim and fit snug against the window frame. It was 8 feet to meet up against the trim and measured 27 inches across.
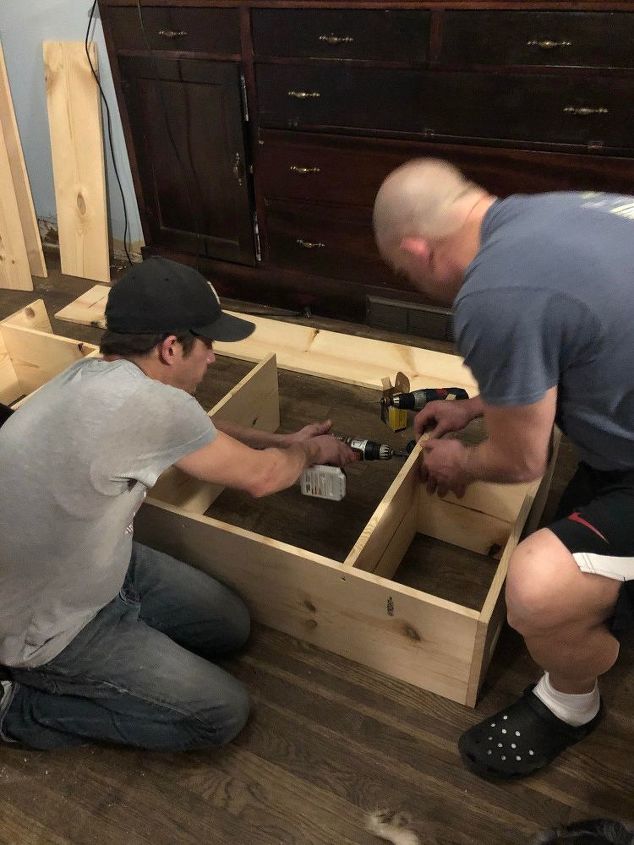
We started putting the shelves together. Long boards for each side of the shelf. The cuts were simple to do. The pine boards were cut down to 8 feet for each side. Than we cut a board for the top part of the shelf. My husband cut a bunch of boards for the inside shelves. They were all 25 inches across. It was fun because you can create the shelves to look anyway you want. I did all 3 different to add character.
Almost done!
Getting close to being finished! My husband is working on putting the baseboards back.
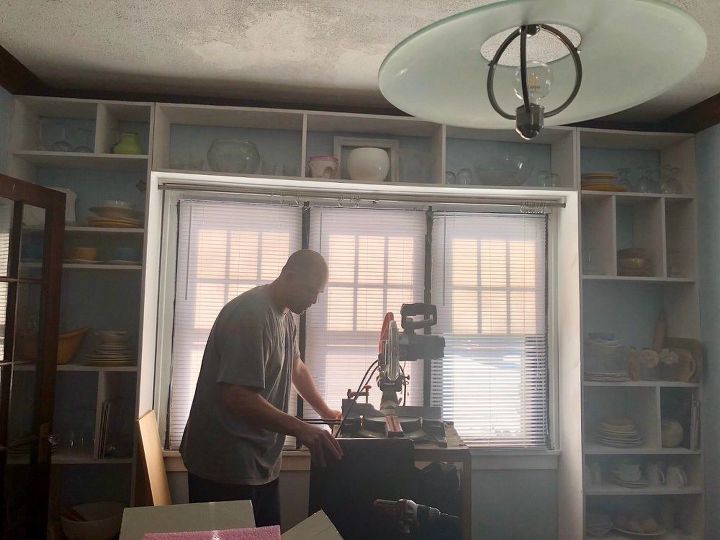
After
This was the end result. I white washed it after we had put it together. If we ever do it again I would recommend painting the shelving units after they are put together, but before they are anchored to the wall. We have a lot more storage space now. My husband used 3'' screws to anchor the shelves to the wall. 4 on each side. This shelves are solid and strong! The middle one above the window was screwed into the the sides of both shelves. We did have to make a hole in each shelf so I could hang the curtain back up. And our baseboard split for the left side. So don't look  we still need to fix that piece! Eventually, we want to build a bench for the bottom that goes across the window.
we still need to fix that piece! Eventually, we want to build a bench for the bottom that goes across the window.Resources for this project:
See all materials


Any price and availability information displayed on [relevant Amazon Site(s), as applicable] at the time of purchase will apply to the purchase of this product.
Hometalk may collect a small share of sales from the links on this page.More info
Comments
Join the conversation
2 of 56 comments
-
Beautiful job! I have wanted wanted a built in bookshelf. Too bad you had to cut a hole in the shelf for curtain rods, tension rods could work on curtains.☺
-
Did this years ago to my daughter and future son-in-laws 2 bedroom condo. Purchased 2 file cabinets at salvation army for 5 dollar each and an old 20" door and made a desk for under the window. They loved it and the extra storage.


Frequently asked questions
Have a question about this project?
Why not top off with some crown molding to hide the gap at top?
Could the lovely old crown molding have been removed and used on the front of the shelves? A moot point now but I would also not want to hide the crown molding. Good job!