


DIY Magnetic Board
$20.00
Easy
After painting over my kitchen I was left with a blank wall next to the back door. My kids love to draw and are always hanging things up on the side of the fridge. We have a stainless steel fridge that is not magnetic which is fine with me. The only problem is you can’t see their work on the side of the fridge and it always falls off as someone brushes by it. I wanted to create a magnetic board so they could show off their latest accomplishments from artwork, to good grades to swimming awards. I contemplated using magnetic paint but read too many reviews where it just didn’t seem to work.

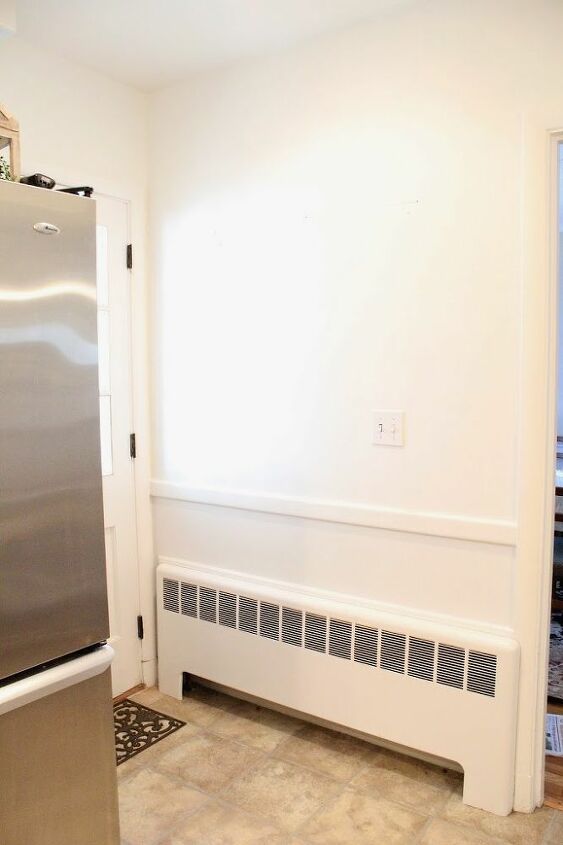
The blank wall in my kitchen where my new magneric board would go.
I settled on galvanized steel but wasn’t too thrilled with the look of it. I didn’t want the new magnetic board to scream cold hard metal. First I thought I’d cover the steel in fabric but nixed that idea since it would busy up my new rustic industrial kitchen look. On the off chance that my busy creators got a little less busy I didn’t want an empty board sitting there. I decided to blend it in with my wall. I’d be spray painting it white so the magnetic board would not be too visible.
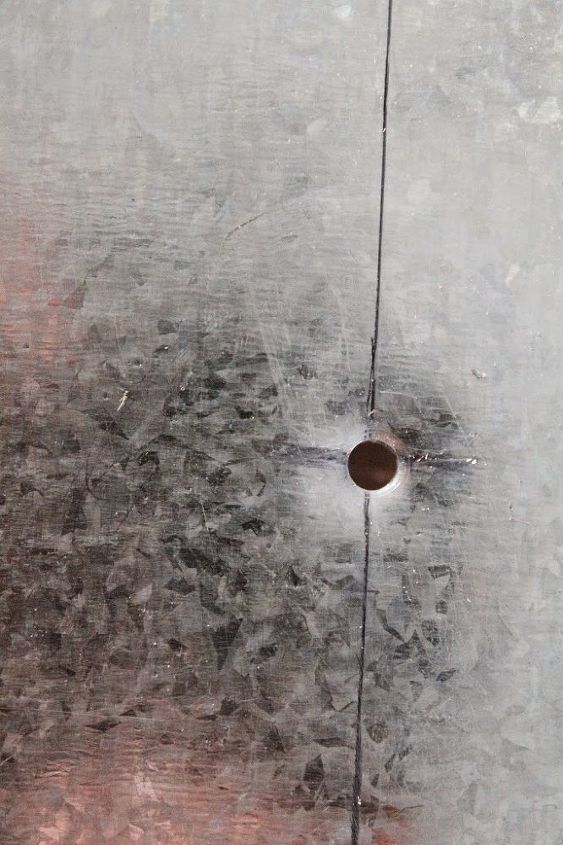
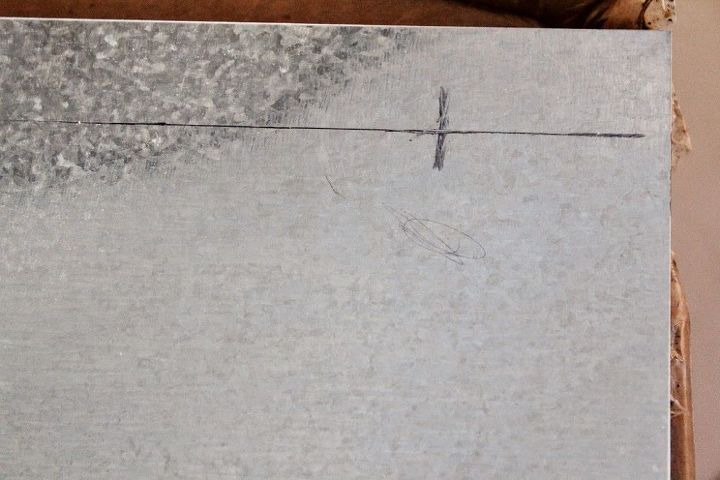
I picked up a 24 inch by 36 inch sheet of galvanized steel at the hardware store for about $17. This would be screwed directly into the studs in my wall. I located the studs and marked them with pencil. I then pre-drilled into the studs in three places across the wall, making sure it fit the galvanized steel first. I also made sure the holes were straight and level. Once I had the three holes marked I used my drill bit to drill through. I choose to do the top row first. Since it was so easy to drill through, I would add whatever other holes I needed once the board was up.
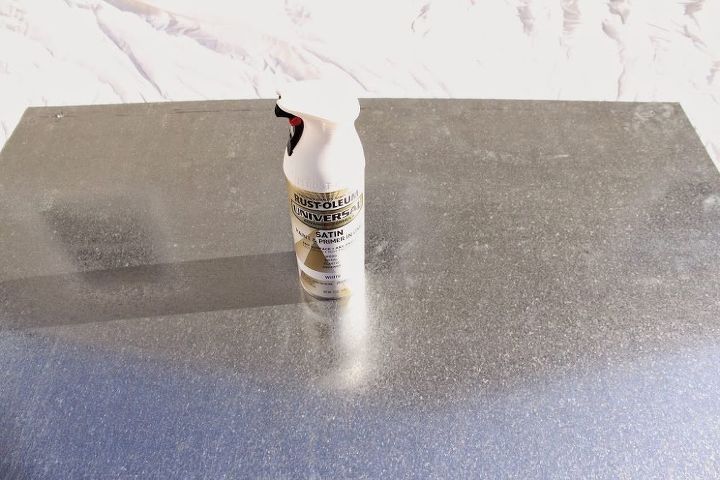
I then took my galvanized steel outside and started multiple light layers of white spray paint (meant for metal surfaces). I must have done about 4 coats total.
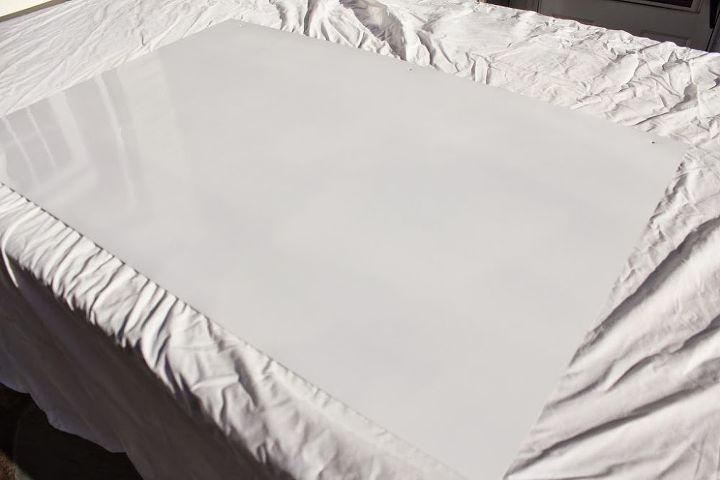
Four coats of spray paint later and I had a clean white magnetic board!
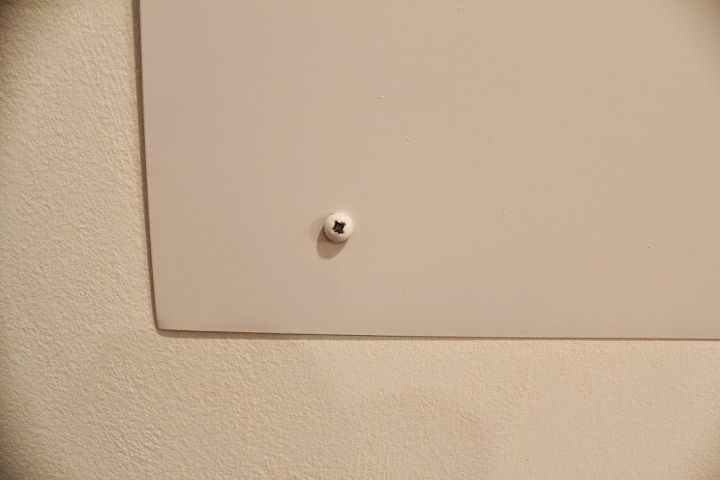
Once it was dry I attached the magnetic board to the wall using stud screws with white tips. After the top three predrilled holes were secured I added some more. It was very easy to use the drill bit and drill through the galvanized steel and the wall stud all at once. Within 10 minutes I had my magnetic board up and secured.
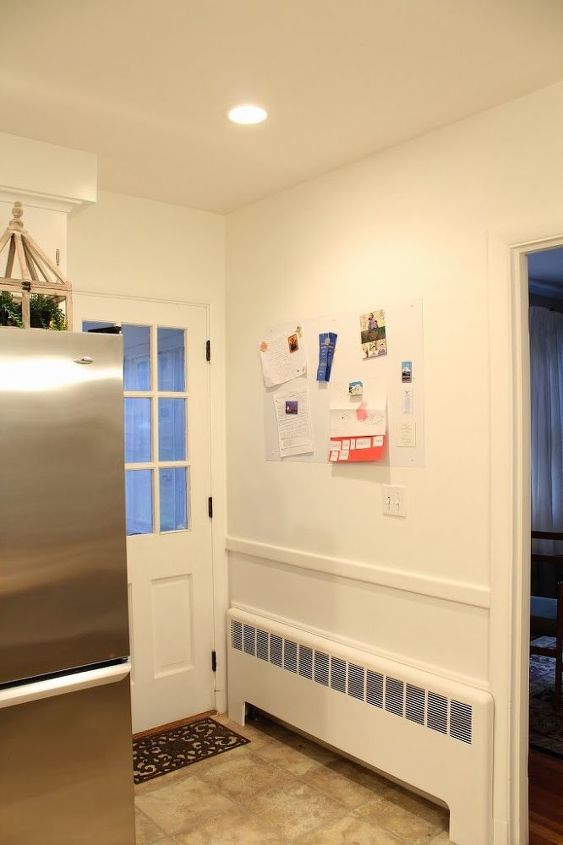
It blends in well with the wall and keeps with the look of the rest of the kitchen. I can have just one item up there and it doesn’t like like a big old empty board. My kids then went to town adding their latest and greatest.
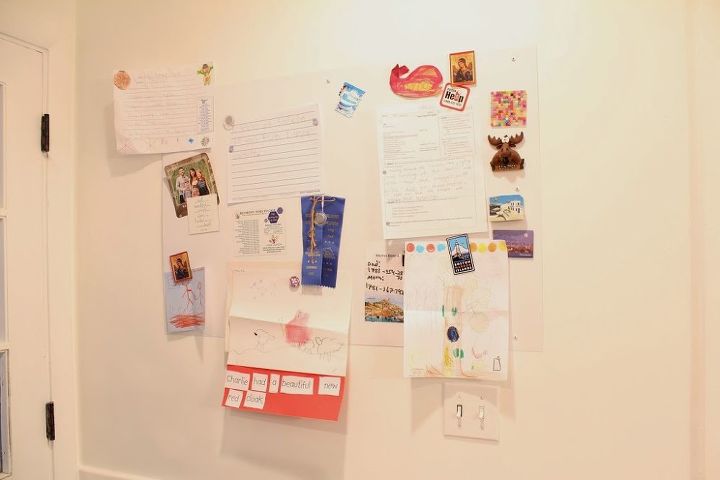
In my mind it was supposed to be a colorful but not too cluttered magnetic board. On most days it looks like this! Busier, colorful and constantly being added onto! My kids love that there is plenty of room to add whatever they are proud of at the moment.

Want more details about this and other DIY projects? Check out my blog post!


Frequently asked questions
Have a question about this project?