324 Views
Copper and Sisal Ikea Lamp Hack

by
Julia Fabens
(IC: blogger)
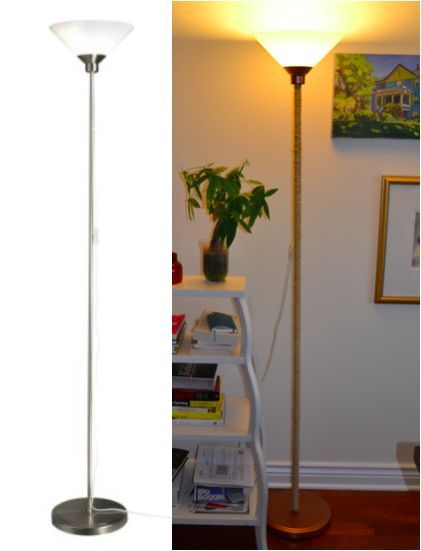
Hi! How many of you have a boring but fine floor lamp in your life? You know the one – a few sections twist together, shines up at the ceiling, you paid about $20 for it for a dorm room or your first apartment? I am pretty sure we all do. I have a way to really pump up the jam on it and make it something you actually WANT to keep in your life, as opposed to a useful barnacle, clinging to your living room like a passenger from your early 20s.
I made over this IKEA Kroby lamp for my friend Joanna’s yoga room/office with just a few supplies and only one episode of Downton (including drying time). This is another project from before I started the blog, but I SWEAR things are cooking along here, just nothing finished.
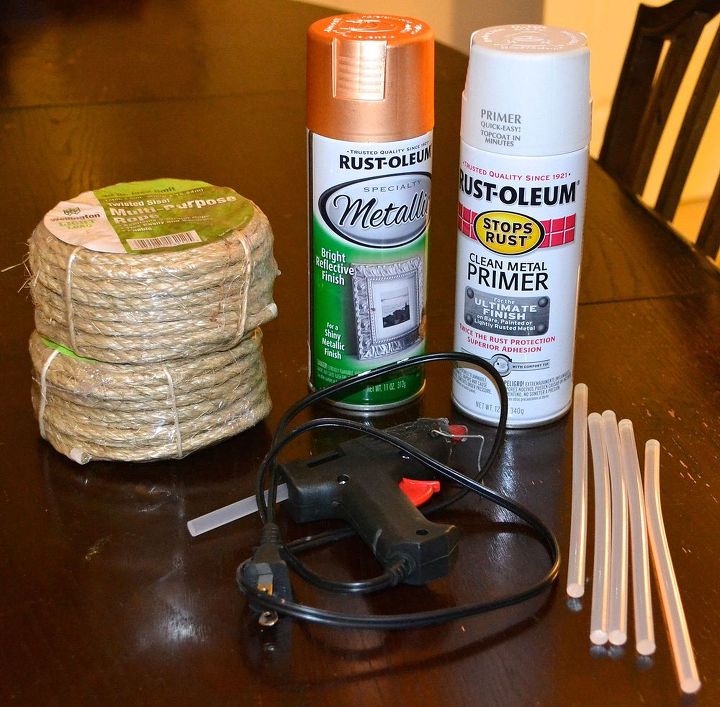
I had everything but the sisal rope on hand, and Joanna supplied the lamp, so it was a pretty quick and cheap project!
I primed the cone that the lamp sits in and the base with two light coats of primer, letting dry between coats. I followed up with two lights coats of copper spray paint. The light coats prevent it from getting drippy. The cord made it really easy to hang the socket/cone part over the shower curtain rod to dry.
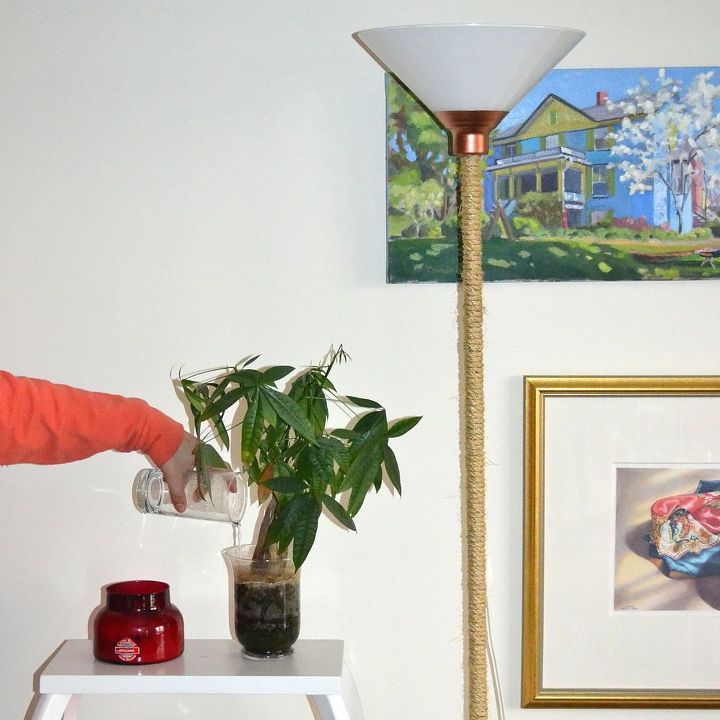
The most important step here is to start by finding something interesting on tv. Wrapping the lamp post is easy and doesn’t take tooooo long, but it is boring. Once I landed on a Downton rerun, the steps were as follows – glue, wrap, twist; glue, wrap, twist; continue ad infinitum. Jk just feels that way. I tried to keep a little bit of tension on the sisal and made sure each wrap was right up against the last. Once I was almost at the end of the second section, I screwed on the top third and wrapped that as well, leaving room for the cord to come out. I wrapped it all the way to the top and cut of the rest. (I used it for my sisal wrapped mirror – $7.50 really well spent.)
Once everything was dry, I screwed the whole thing back together and we were off!
I hope this inspires you to up your floor lamp game!
Enjoyed the project?

Want more details about this and other DIY projects? Check out my blog post!
Published February 6th, 2015 10:12 PM
Comments
Join the conversation
1 comment








Frequently asked questions
Have a question about this project?