


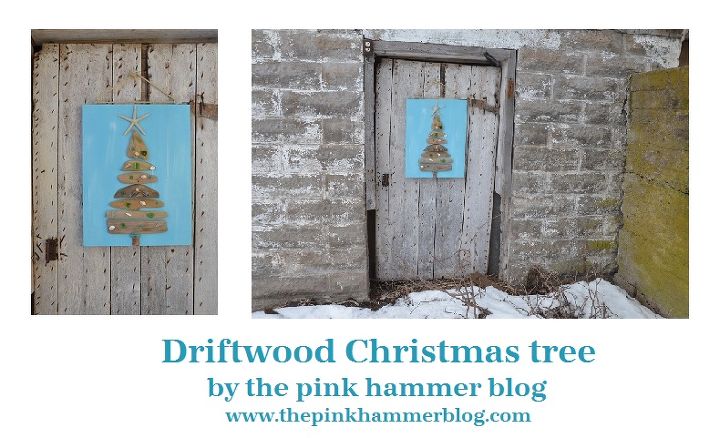
Driftwood Christmas Tree | Beach themed Christmas DIY tutorial
I love the beach, the sound of the waves, the wind in my hair, the sand in between my toes. A place I can have endless thoughts and be free from any worries. I have always said the mountains own a piece of my heart, but the beach and anywhere near the waters edge owns another piece as well.
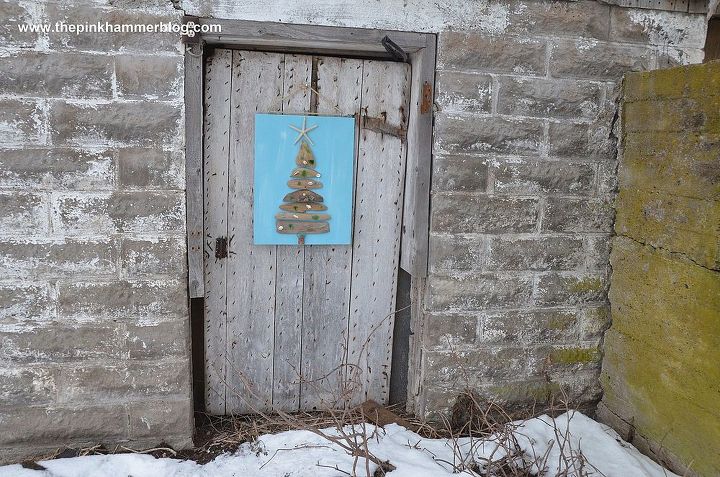
I have always loved finding ways to bring nature indoors, including driftwood paintings, rock paintings, sticks tied with ribbon behind the couch, the list goes on. Over the past week I have been working on this Driftwood Christmas Tree and love the simplicity of it. Go ahead, scroll down , take a look and read how you too can create your very own!
Driftwood Christmas Tree Tutorial
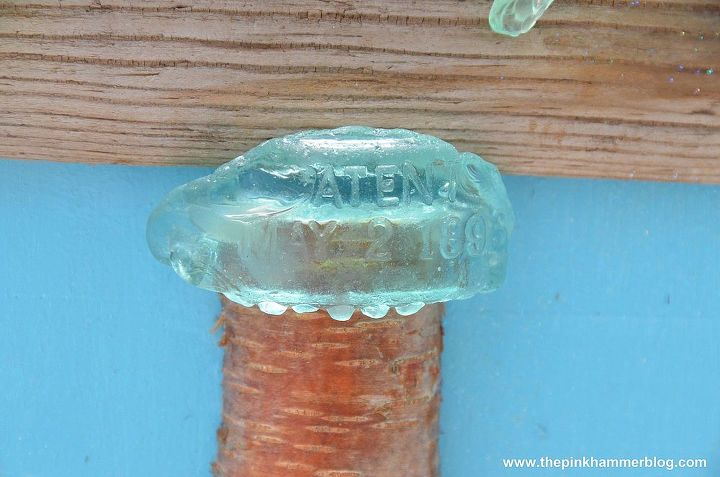
Project Supplies: Wood for backing , driftwood, beach glass, shells, 1/2 stick (if desired for tree trunk),2 screw eye hooks, heavy duty rope.
Project Tools: Glue gun, glue, paint, paint brush, (small hand saw for tree trunk)
Project Instructions:
1.) Once you have gathered all of your supplies and found a piece of wood for your backing, simply scuff the wood slightly (if needed) prior to painting.
2.) Paint wood the color of your choice.
First I primed it with white paint...
Once the white paint was completely dry, I mixed turquoise with white to try and create the same color as a blue piece of beach glass.
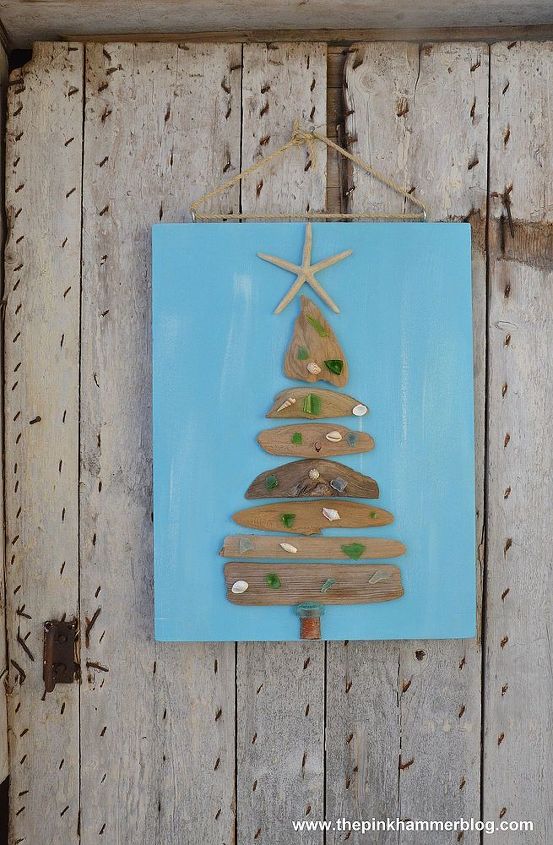
3.) While you're waiting for the paint to dry. Lay out all of your driftwood, beach glass, and sea star pieces to make sure you like the way it looks laid out all together.
4.) Glue your wood pieces & sea star onto the dried board. Starting at the bottom and working your way up. Next glue on your beach glass and sea shells.
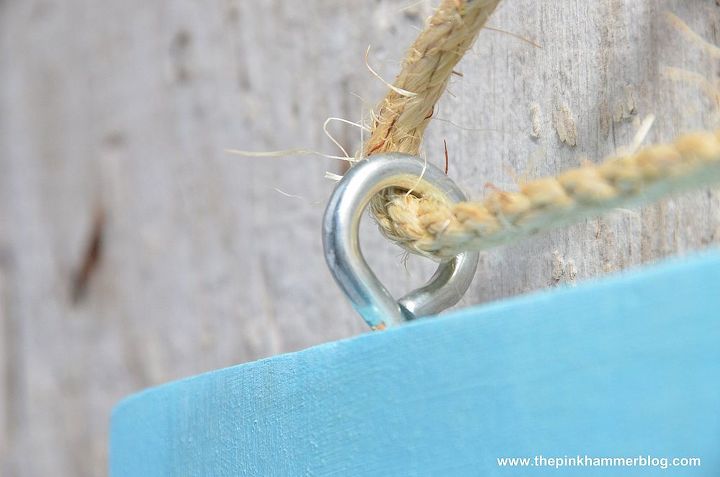
5.) Insert eye hooks into the top of your board (you may need to pre-drill the holes) and securely tie a rope from one eye hook to the other to use as a hanger for your new Driftwood Christmas Tree wall art!
Gift your driftwood tree to a friend or loved one, or hang it up and keep it for yourself to enjoy!
I hope you enjoyed this festive & beach themed DIY tutorial!
Have a blessed day & thanks for reading,
~Kelly
{ Inspiration for this project from beachcomber blog. }
I have always loved finding ways to bring nature indoors, including driftwood paintings, rock paintings, sticks tied with ribbon behind the couch, the list goes on. Over the past week I have been working on this Driftwood Christmas Tree and love the simplicity of it. Go ahead, scroll down , take a look and read how you too can create your very own!
Driftwood Christmas Tree Tutorial
Project Supplies: Wood for backing , driftwood, beach glass, shells, 1/2 stick (if desired for tree trunk),2 screw eye hooks, heavy duty rope.
Project Tools: Glue gun, glue, paint, paint brush, (small hand saw for tree trunk)
Project Instructions:
1.) Once you have gathered all of your supplies and found a piece of wood for your backing, simply scuff the wood slightly (if needed) prior to painting.
2.) Paint wood the color of your choice.
First I primed it with white paint...
Once the white paint was completely dry, I mixed turquoise with white to try and create the same color as a blue piece of beach glass.
3.) While you're waiting for the paint to dry. Lay out all of your driftwood, beach glass, and sea star pieces to make sure you like the way it looks laid out all together.
4.) Glue your wood pieces & sea star onto the dried board. Starting at the bottom and working your way up. Next glue on your beach glass and sea shells.
5.) Insert eye hooks into the top of your board (you may need to pre-drill the holes) and securely tie a rope from one eye hook to the other to use as a hanger for your new Driftwood Christmas Tree wall art!
Gift your driftwood tree to a friend or loved one, or hang it up and keep it for yourself to enjoy!
I hope you enjoyed this festive & beach themed DIY tutorial!
Have a blessed day & thanks for reading,
~Kelly
{ Inspiration for this project from beachcomber blog. }

Want more details about this and other DIY projects? Check out my blog post!
Comments
Join the conversation
2 of 8 comments
-
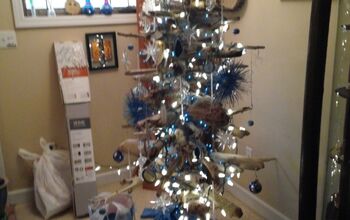
Full Size Driftwood Christmas Trees
-
I like how you fit the cut glass pieces so perfectly together to look AMAZING!


Frequently asked questions
Have a question about this project?