


Updating A Valet Chair
Easy
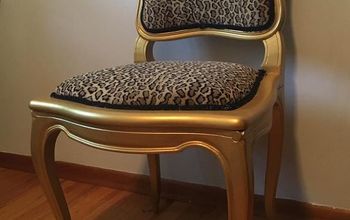
This was a simple project at best. I gave my hubby this valet chair over forty years ago. It originally had a faux leather seat which I switched out after a few years to this striped fabric to match the dark green (yucky) carpet in our bedroom. Green is his favorite color, and back then, I would change things to please him. Today, not so much.
I now "consult" with the hubby to see if he can live with what I like, and, he is always in agreement. You know the old saying, "happy wife, happy life!"
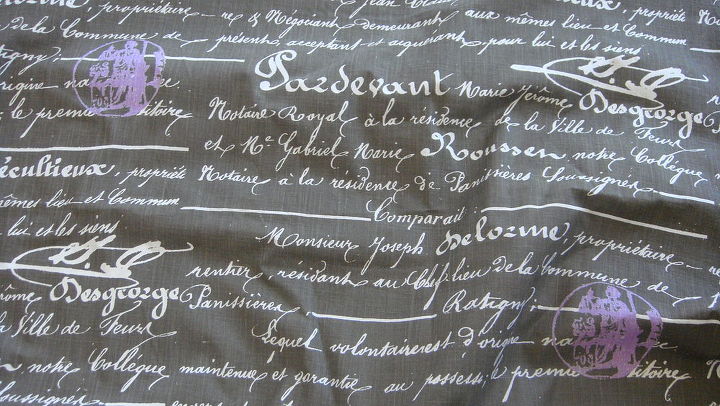
Since purple is my favorite color, I'm always on the lookout for purple printed home décor fabric. I fell in love with a piece at Hancock Fabrics that had purple in it with what I thought was a gray background. But when I got it home the fabric seemed green and not gray as I had thought.
It was time to switch out the seat on the valet chair. I had lived with that green striped pattern long enough. And the new found fabric would be perfect for the chair . . . in a masculine sort of way.
I now "consult" with the hubby to see if he can live with what I like, and, he is always in agreement. You know the old saying, "happy wife, happy life!"
Since purple is my favorite color, I'm always on the lookout for purple printed home décor fabric. I fell in love with a piece at Hancock Fabrics that had purple in it with what I thought was a gray background. But when I got it home the fabric seemed green and not gray as I had thought.
It was time to switch out the seat on the valet chair. I had lived with that green striped pattern long enough. And the new found fabric would be perfect for the chair . . . in a masculine sort of way.

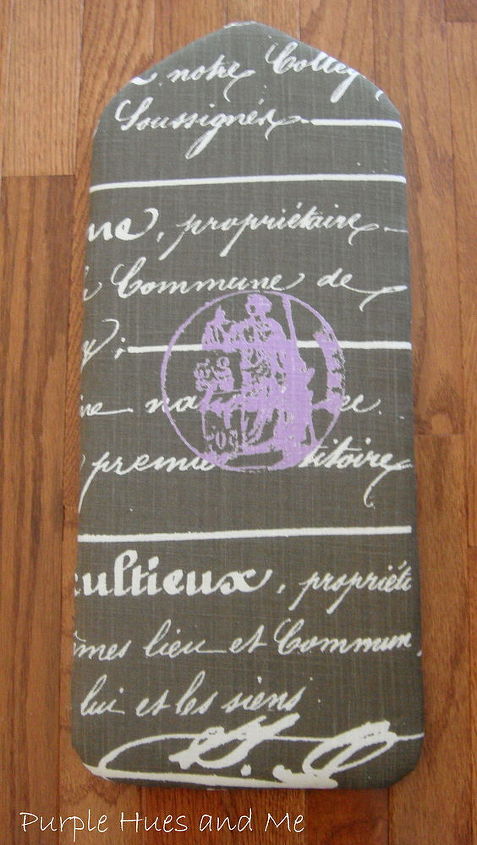
Lovely fabric, isn't it! And it looks gray in the picture, too!
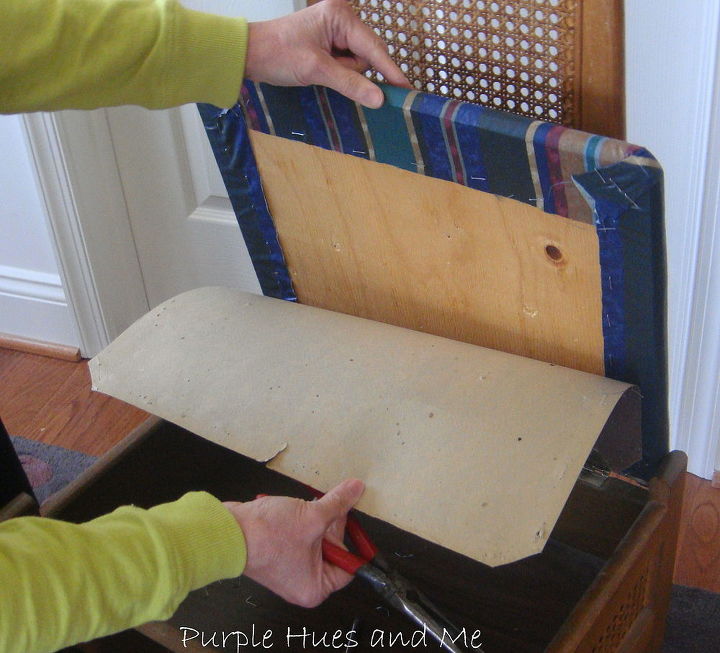
It was easy to disassemble the chair seat. I removed the backing and seat from the storage base. Next, I removed the staples and used the old fabric pattern to cut out the new piece. The foam on the seat was still intact and didn't need to be changed.
I painted the old cardboard cover that was hiding the staples and put it back on in the same spot as before. The newly covered seat was screwed back on with everything lining up the same as before.
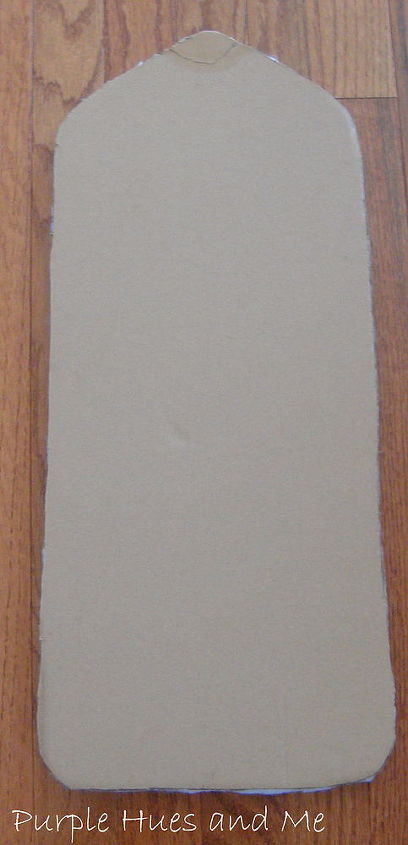
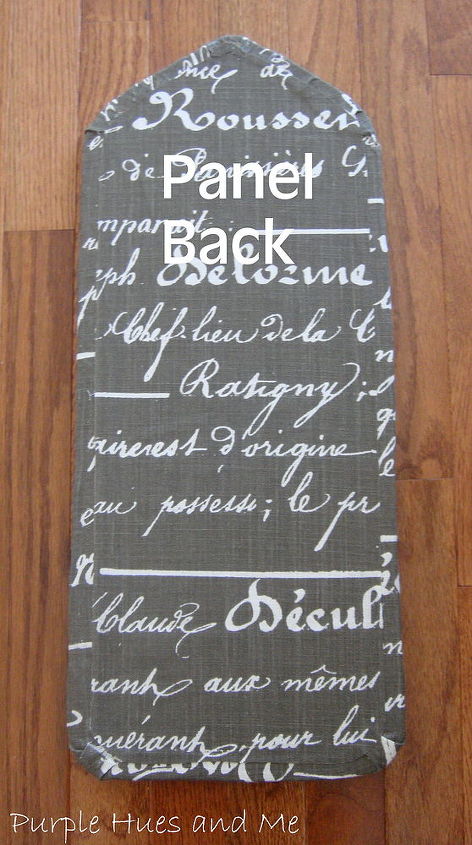
Next, I glued cut polyfil batting in the shape of the form to the cardboard.
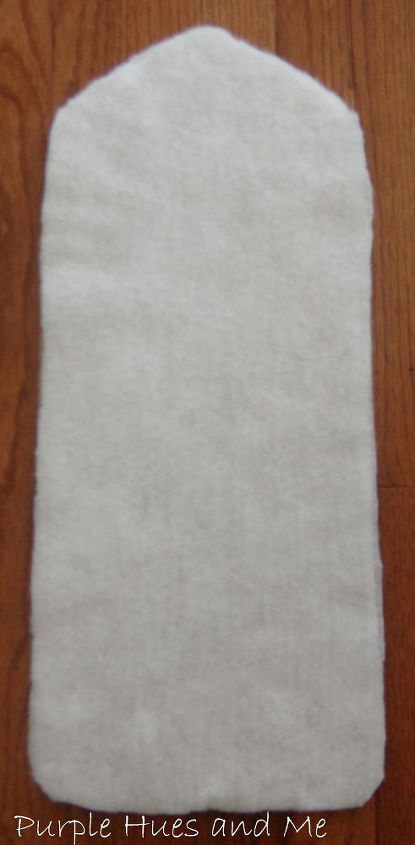
Then placed a piece of fabric over the entire form and cut the fabric, following the shape, leaving an inch to fold under and glued down with Fabri-Tac adhesive. I cut another fabric piece in the shape of the form, slightly smaller, to glue on top to cover the ragged edges and give the panel a clean look on the back.
I added Velcro hanging tape to the back of the panel and placed the panel over the wicker area.
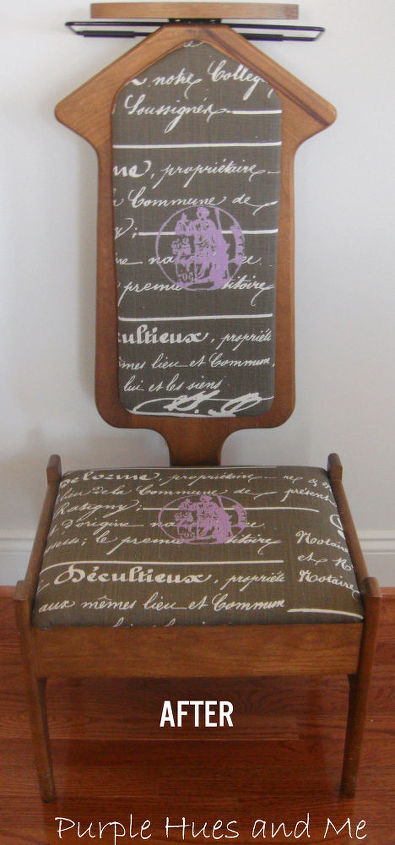
What a difference adding the back panel over the wicker! Now, it looks like an upholstered valet chair!

Want more details about this and other DIY projects? Check out my blog post!
Comments
Join the conversation
3 of 5 comments
-
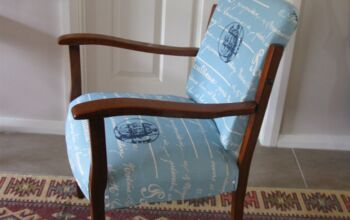
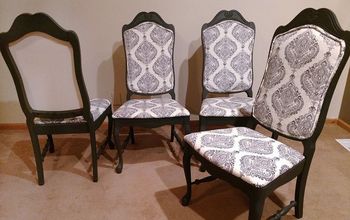
I like your choice of fabric and have used the same in blue to re-upholster a bridge chair. See photo. Good new look on your valet chair!

-
Holy moly! That is about 4 million times more chic. Love!


Frequently asked questions
Have a question about this project?