


Vintage Car Inspired Night Stand

by
Beth M
Medium
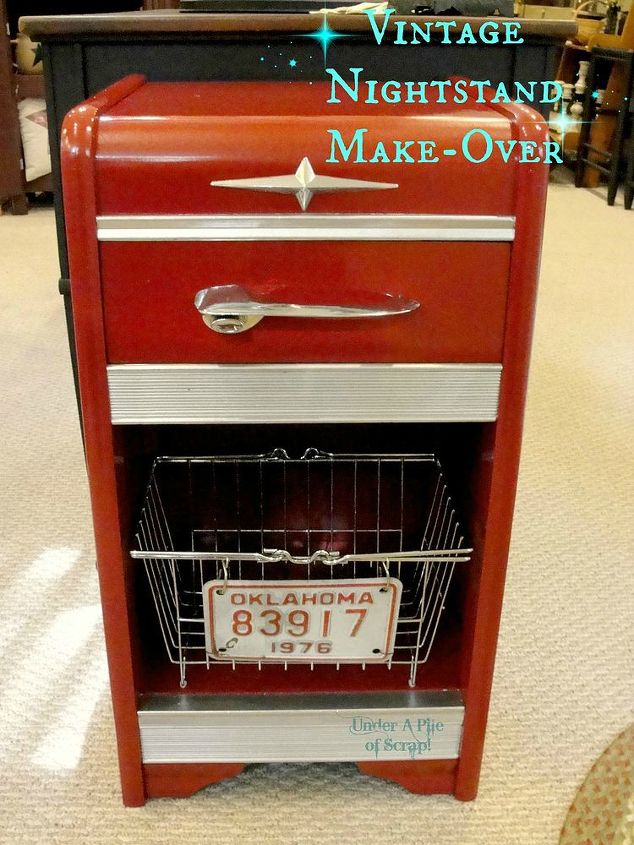
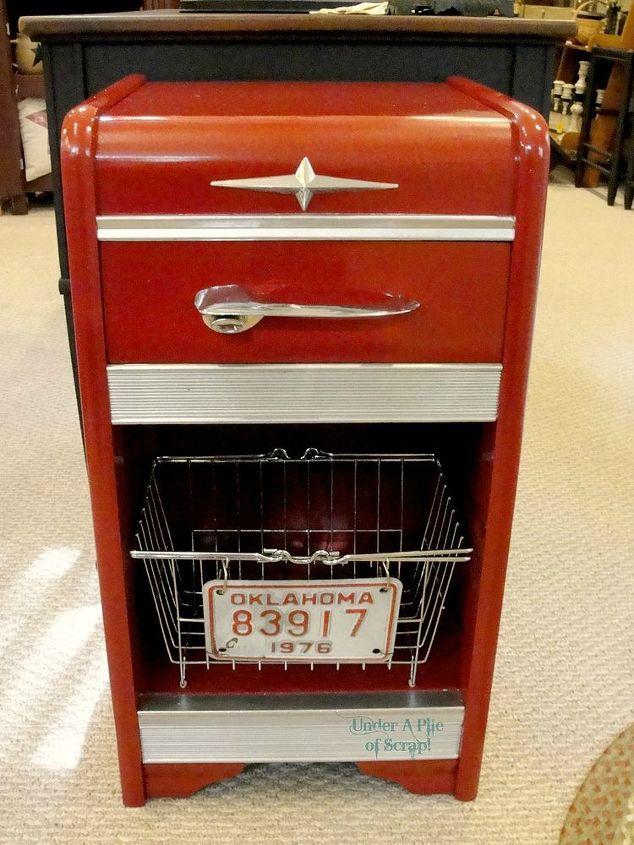
I took a basic, vintage Waterfall style nightstand and recreated it to give the impression of a vintage automobile. I was inspired by a really neat looking one I had found through Pinterest by Gadget Sponge (http://www.gadgetsponge.com/posts/2012/10/11/retromoto-vanity-lit-custom-red-nightstandside-table.html) but mine took on a much simpler design once I got into redoing it.
I don't have any "before" pictures of it, but it was just the standard stained wood in great shape & no peeling veneer.
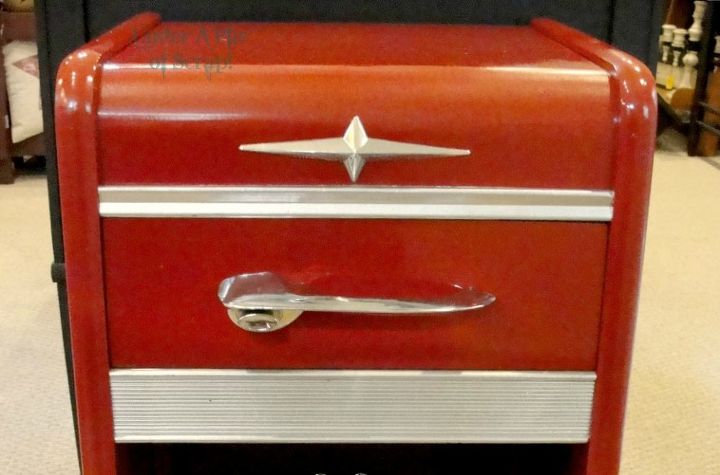
First, I painted the whole cabinet with a white primer spray paint, then I used a gloss red spray paint. That was probably the easiest part of the whole project. I chose a WHITE primer paint so that I could get the brightest red. In my own personal experience, the darker the primer paint is, the deeper the tone of red you get. This is MY OWN experience, others may disagree with me on that and that's fine.
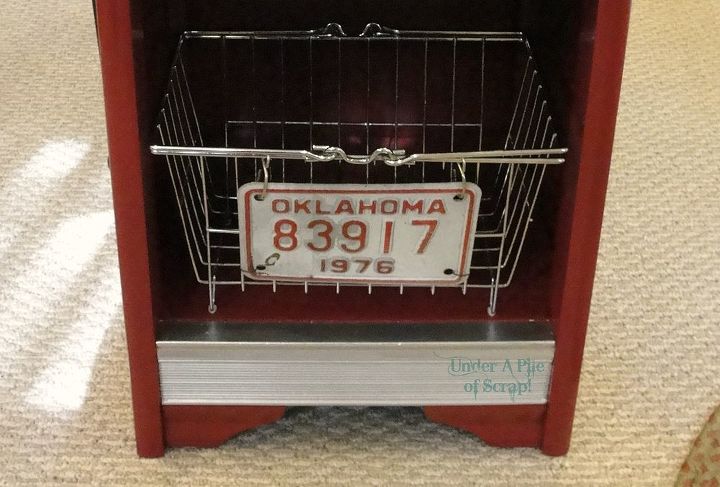
A tisket, a tasket, my kingdom for a basket. I never thought trying to find the right sized basket at a decent (cheap) price was going to be as challenging as it was, but after buying a couple different ones, that didn't quite fit the bill once I got them home, I finally found this one. It was perfect.
I didn't really keep track of how long this project took me to do, because of trying to locate all the necessary bits & pieces. I just know I started on it in the summer doing all the painting. I didn't finish it until late October or early November, after going to all the different flea markets finding the rest of the stuff for it, & then getting everything attached.
Want more details about this and other DIY projects? Check out my blog post!
Comments
Join the conversation
4 of 17 comments
-
That's looks like an exceptional job. It really has the look of an old automobile so that's kudos to your good eye! You'll probably save quite a lot of your finances with one of these in your garage too! Haha!
-
Oh my gosh how cute.


Frequently asked questions
Have a question about this project?