


DIY Wood Valance
30 Minutes
Easy
While redoing our bathroom, we wanted to add something a little different to our window than the standard fabric shade, so we put together a very simple more rustic version instead!
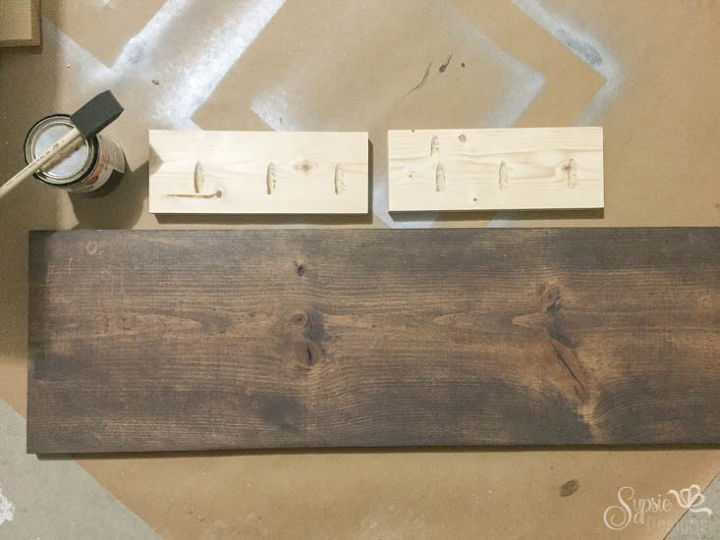
I was able to use materials I already had in my garage, with the exception of the brackets which cost around $2:
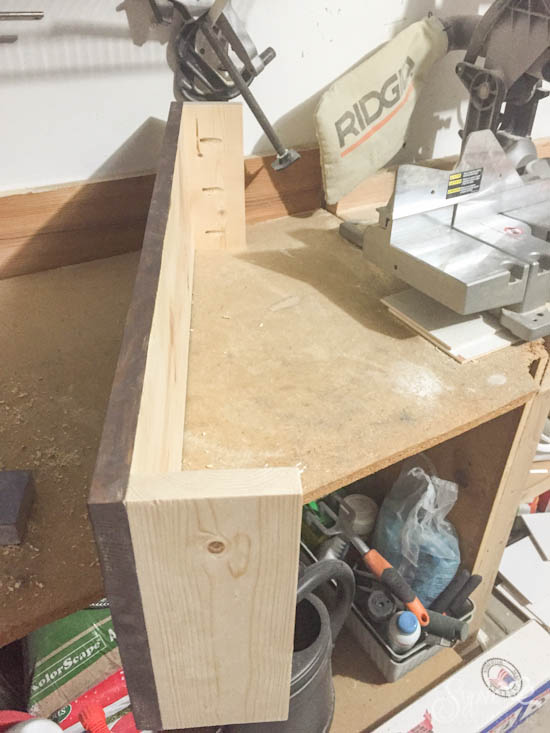
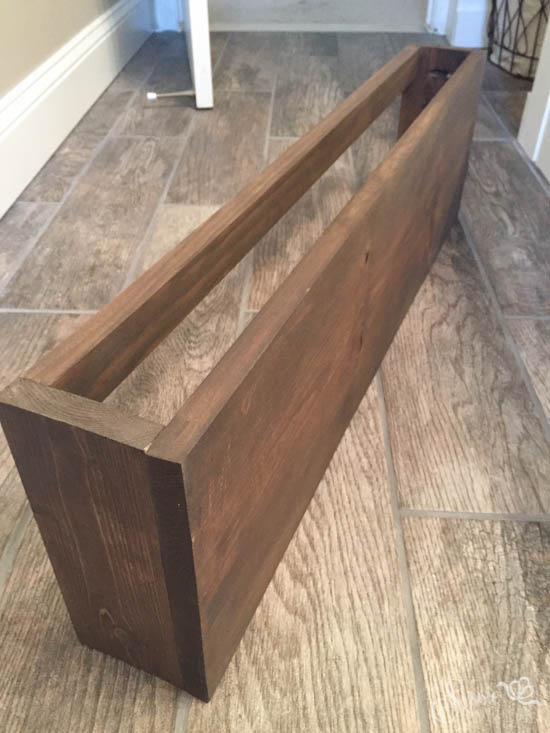
The 1x4s and one of the 1x2s were assembled onto the 1x12 using pocket holes, and stained Dark Walnut.
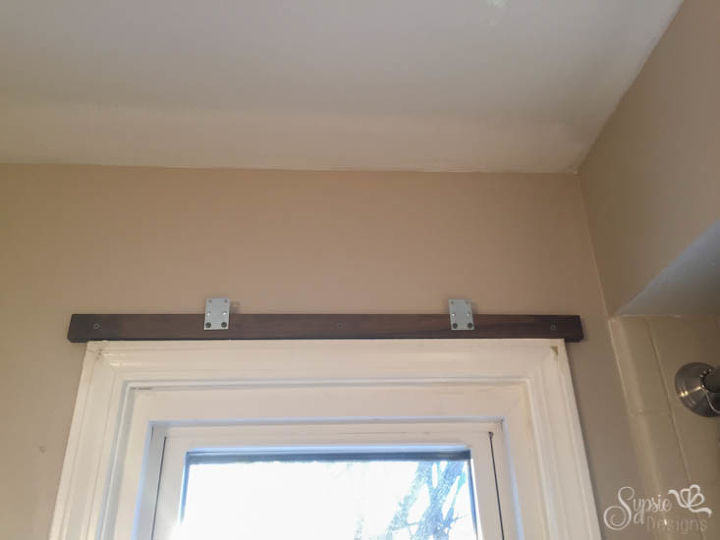
I added the second 1x2 right above the window (after it was stained as well!), and screwed in the two flat brackets like so. Once everything was dry, I simply lifted the valance onto the brace, and called it done!
I love the rustic touch it adds, and how it ties all of the other wood elements of the room together! We live up on a hill surrounded by large trees, so privacy is not an issue, but blinds could easily be tucked underneath if it was ever a concern.
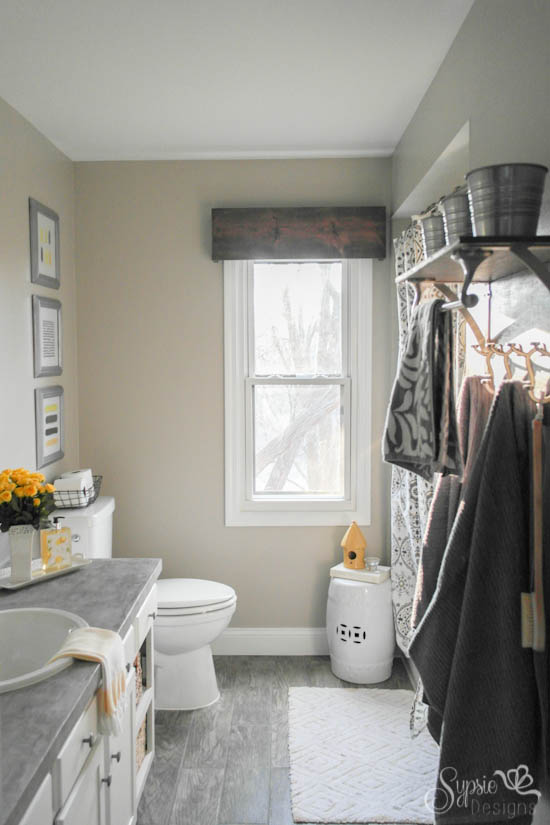
I also love that it's removable for easy cleaning or if we ever decide to change up the look. For more details or more info make sure to check this project out on our blog!

Want more details about this and other DIY projects? Check out my blog post!
Comments
Join the conversation
2 of 10 comments
-
Wow, I am loving this!!!
-
How can i do a valance with out sweing fabric


Frequently asked questions
Have a question about this project?