


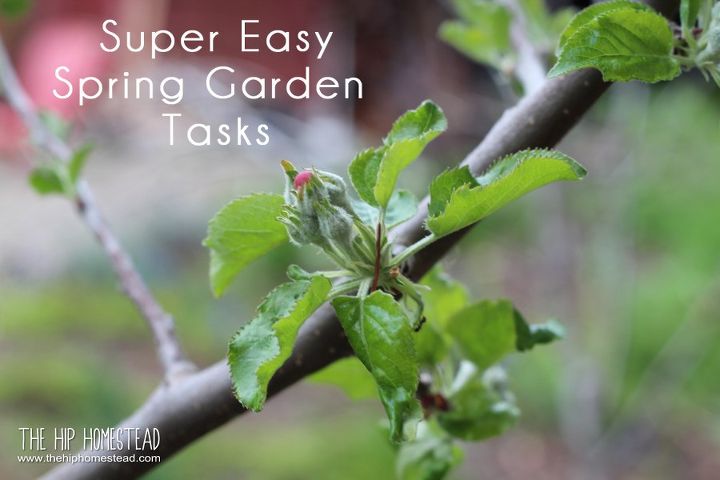
Super Easy Spring Garden Tasks
2 Materials
$40
1 Day
Easy
Is spring finally here? It feels like it’s been a long winter, but it is pouring rain outside today and I finally feel like there is an end in sight. With the turn of the seasons comes a host of spring garden tasks. Including mulching spring plants, starting spring vegetables, pruning spring fruits and picking spring flowers.
See my full list of Spring Garden Tasks:
Here in Canada, we face long winters and even though keeping large gardens can be a ton of effort, after a long winter I am so excited to get outside and get to work. Some of our usual Spring garden tasks include:
- Dividing fall-blooming perennials
- Sowing spring vegetables indoors or under cover outside
- Pruning fruit trees and berry bushes
- Munching spring-blooming plants with organic compost
I will go into further detail on all of these tasks below and provide some links to further reading for you.

Tend to Perennials and Spring Plants
Uncover Early Spring Plants
Once the risk of a hard frost has passed uncover early spring plants such as columbine, French sorrel, tulips and hardy herbs to allow the sun to warm them.
Tidy up Garden Beds
Cut back any dead plant stocks and carefully rake away fallen leaves to allow the sun to warm the garden. Be careful not to rake away your mulch, it will help hold the spring moisture in and keep the soil moist during hotter weather.
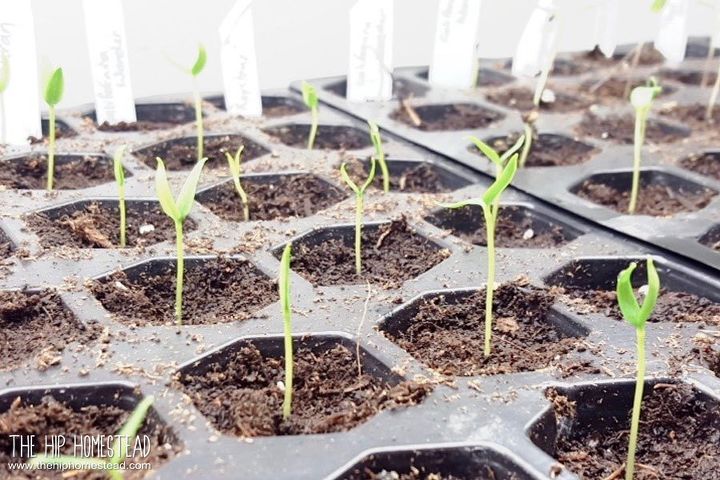
Get a jump on the Season by Starting Spring Vegetables
Buy Seeds Online or at Your Local Nursery
If you are as lucky as I am to live in an agricultural centered community, then hit up your local seed swap to get locally adapted seed and plants. Gasp, maybe seed swaps aren’t a thing in your area, head to your local nursery for organic seeds or order online from your favorite seed companies.
Sow Hardy Spring Vegetables Outside Under Cover
If your days are warm enough, sow cool weather crops outdoors. I suggest doing so under the cover of low-tunnel or in a cold-frame just in case a late frost is in the forecast. Some of my favorite spring vegetables include peas, spinach, kale and Asian greens.
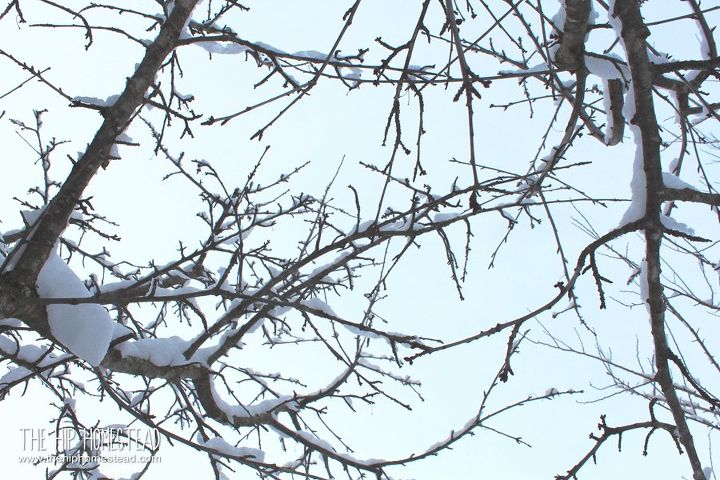
Tend to Spring Fruits and Flowering Trees
Prune Fruit Trees and Spring Fruits
I think the first garden task we do every year is spring pruning, it’s the first indicator that spring is around the corner and the end of winter is in sight. Prune fruiting trees or shrubs to remove dead wood and overgrown or unhealthy branches. Work from the top down, and be sure to step back and evaluate your work as you go. Never remove more than 1/3 of the overall tree size in the same year, doing so may cause the tree stress leaving it susceptible to insects and disease.
Clean Your Pruning Gear
Always use clean, sterilized tools when pruning trees and shrubs, and be sure to sterilize them when moving from one tree to another. I like to carry a small tub or jar of warm water with a tbsp of bleach in it, I dip my pruners in the solution and wipe them dry before I move onto my next tree. I don’t tend to use bleach often but it just gives me the security to know that I am not potentially spreading disease from tree to tree.
Don’t forget to enjoy the Spring Flowers
Force Flowering Branches to Bloom Indoors
Force fruit blossoms and flowering shrubs like forsythia to bloom indoors by taking cuttings just as the buds are beginning to form. Bring the cuttings inside and arrange in a vase of cold water. Display in a sunny place and add fresh water every 3-4 days.
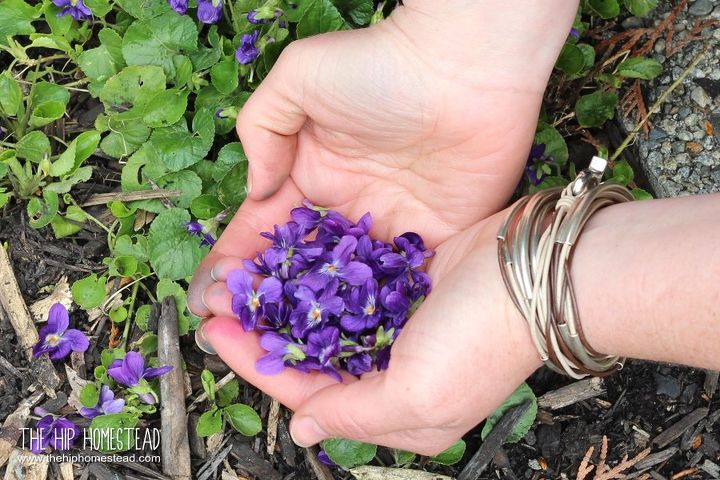
Pick Spring Flowers to Enjoy Indoors
Pick spring flowers such as tulips and daffodils to display inside. Cut your spring flowers just before they open and keep them in a vase of fresh cool water. Why not combine spring flowers with flowering shrubs for a striking arrangement?
Save some Spring Flowers for the Bees
But before we bring all these lovely spring flowers indoors, be sure to leave some for the bees. Bees are becoming seriously threatened by the use of pesticides on big-ag farms, city properties and in backyard gardens. So, keep your garden organic and be sure to leave some spring flowers for the bees to enjoy too. 

That’s it for now, be sure to check out my other gardening articles for more info on these and other organic gardening topics.
Thanks for hanging out,
Jana

Want more details about this and other DIY projects? Check out my blog post!


Frequently asked questions
Have a question about this project?