


3-in-1 Table That's a Laptop Table, Tv Tray or Coffee Table
This 3-in-1 table is a TV tray, a laptop stand, or a coffee table
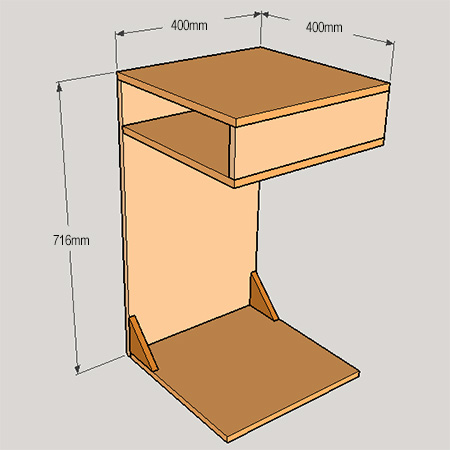
Made from 16mm marine plywood this 3-in-1 table is quick and easy to make if you have all your boards cut to size and assemble using a biscuit joiner.
Made from 16mm marine plywood this 3-in-1 table is quick and easy to make if you have all your boards cut to size and assemble using a biscuit joiner.
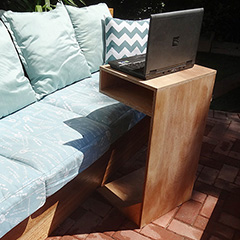
Use it as a laptop stand or desk that allows you to work comfortably indoors or out. Get comfy in front of the TV and use as a TV tray. The shelf can be used to store condiments, cutlery, papers or media accessories.
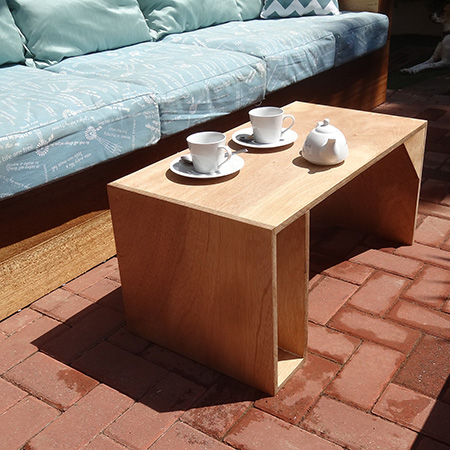
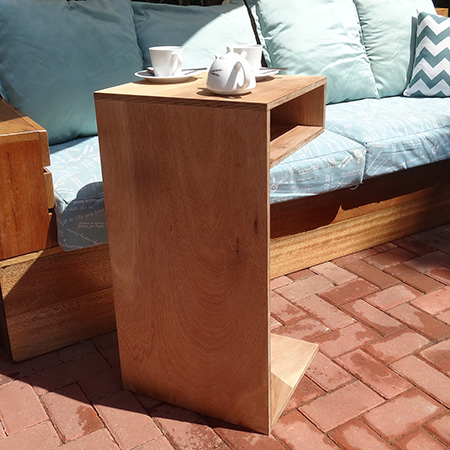
You have the option to set the stand upright for tea indoors or outdoors, or on it’s side to serve as a coffee table.
YOU WILL NEED:
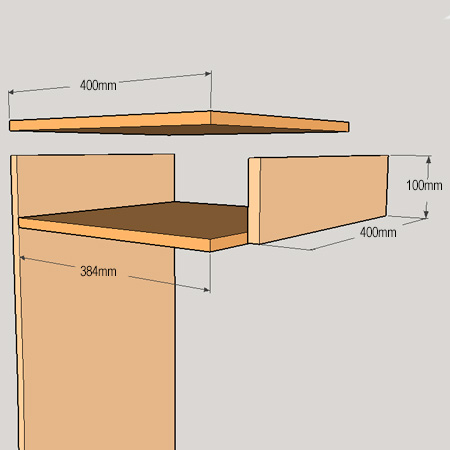
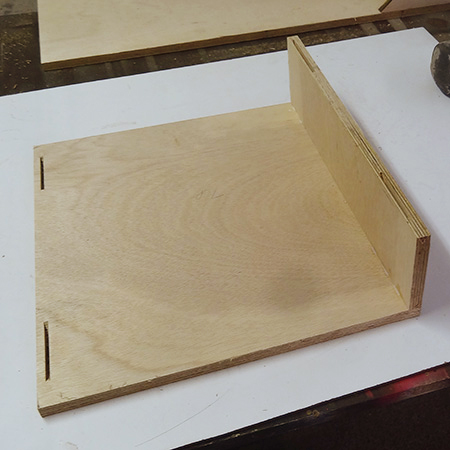
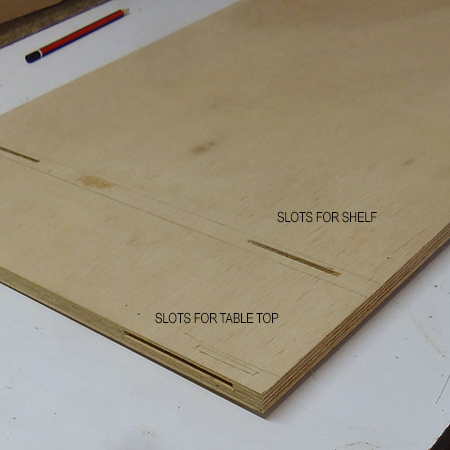
1. Use a biscuit joiner to cut out the slots in the top and shelf, as well as the top support. The top section slots onto the upright stand at one end and also onto the front support at the other end.
2. Also cut slots in the end of the shelf to allow for mounting onto the upright stand, as well as on the top of the other end for mounting onto the front support to create the shelf assembly.

3. Leave the glue to dry for a couple of hours and then use the completed shelf assembly to mark on the upright stand where to cut slots for mounting the shelf onto the stand.
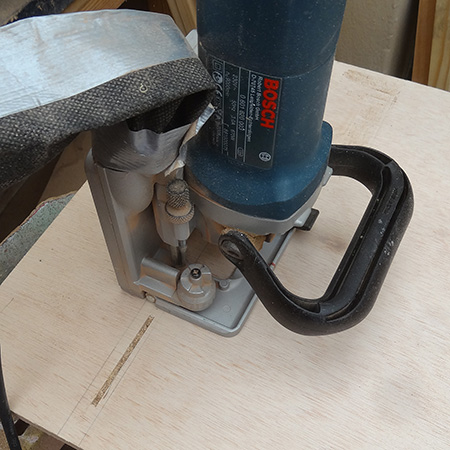
4. Place the biscuit joiner vertically to cut the slots in the upright stand.
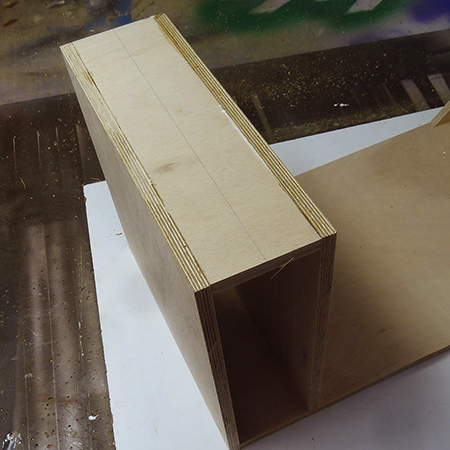
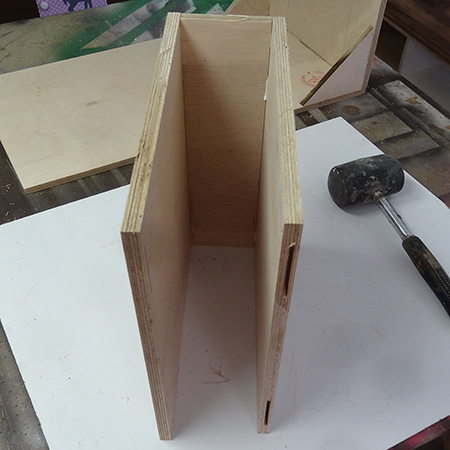
5. Squeeze plenty of glue into the slots and insert biscuits in one side. Position the shelf assembly over the upright stand and slide in place. Tap with a rubber mallet if necessary to ensure the pieces fit tightly together.
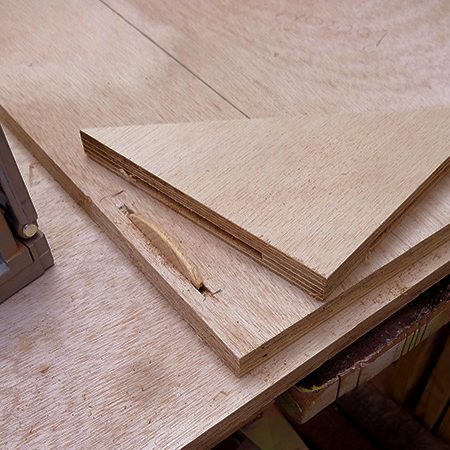
6. Use the biscuit joiner to cut slots in the base and bottom of the upright stand, as well as in the corner supports. When cutting slots in 16mm you will see that the slots are not in the middle of the board, since biscuit joiners are also used on wood that is 20mm thick. Make sure that you hold at the right position for the cut slots to line up.
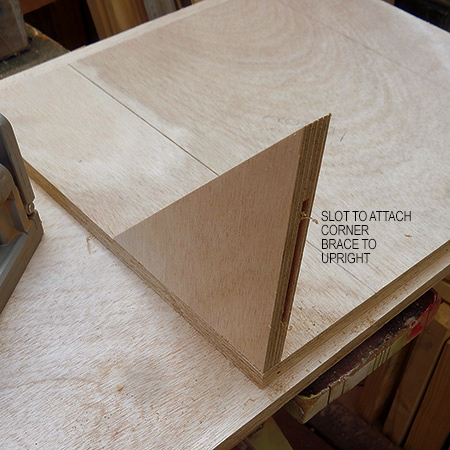
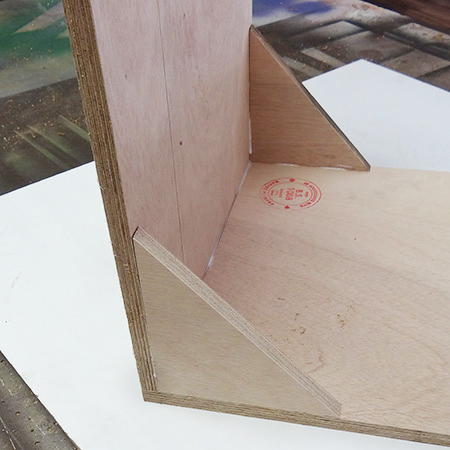
7. Use glue in the slots, insert the biscuits and position the corner supports on the upright stand and then join the base onto this. Let the glue dry overnight.
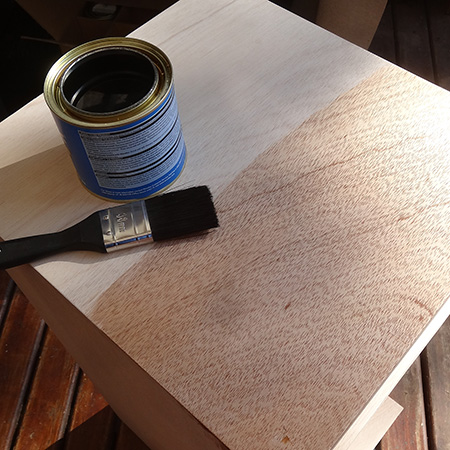
8. Sand the entire project before finishing. You have the option to use interior or exterior sealer or varnish. The marine plywood used for this project has a meranti veneer, which goes more of a pink tint rather than yellow once the sealer is applied.

Want more details about this and other DIY projects? Check out my blog post!
Comments
Join the conversation
1 comment
-
What a great versatile little table!


Frequently asked questions
Have a question about this project?