


DIY Flower Pots
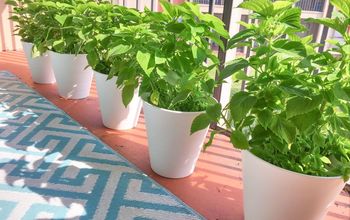
Hi there! Do you have any old, ugly flower pots that could really use an update, lying around your house? I have a simple DIY solution just for you!

I know what you're thinking... These are pretty stinking' ugly, and I couldn't agree more! I got a few good years out of them, growing beautiful blooms and rightfully doing their flower pot job! But, it was seriously time for an update! One of my favorite ways to update things is with paint, spray paint!
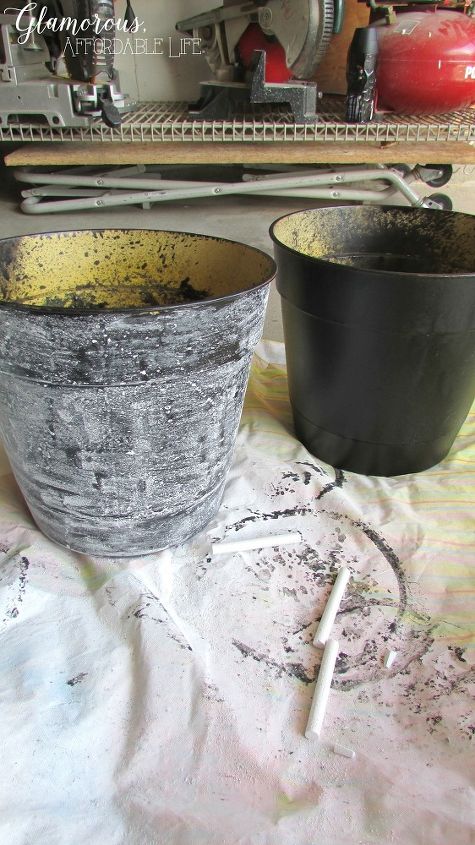
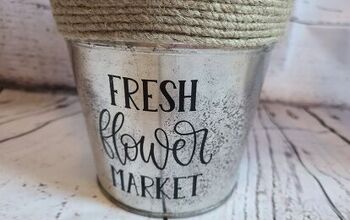
Not just any spray paint either, chalkboard spray paint! And yes, I'm still heavily on the chalkboard craze! I love being able to keep it plain, be super creative or even subtle. I prepped the pots by drying them completely and giving them a good, even first coat. Let that dry completely. Next, I did a heavy second coat over each pot. It's really important to let this coat dry all the way. Once it's dry, grab a piece of chalk and begin rubbing it over the entire piece. This activates the chalkboard effect! It's important, so don't skip this step!
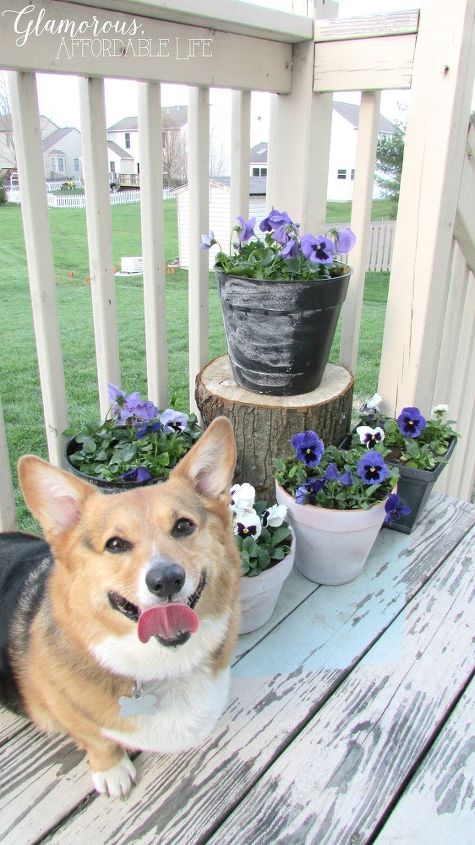
And just like that, I have updated flower pots with endless possibilities! I wrote "watch me grow" on one, which is perfect for the purpose, don't you think? Oh, and say HI to my little Corgi, Lola! She loves the new flower pots and so do I!

Want more details about this and other DIY projects? Check out my blog post!
Comments
Join the conversation
4 of 6 comments
-
Great idea!
-
Cute! I love your pots! (And your puppy!)


Frequently asked questions
Have a question about this project?