


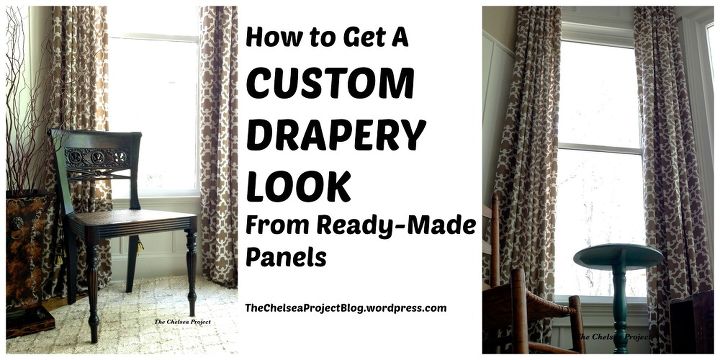
DIY Custom Drapery Look From Ready-Made Panels #windowtreatments
$50
1 Hour
Easy
If you think there's a dramatic difference in the before and after with refinished furniture or room reveals, WAIT until you see this. If I hadn't seen it with my own two eyes, I might not have believed it. After this post, you'll never look at ready-made drapery panels the same way again.
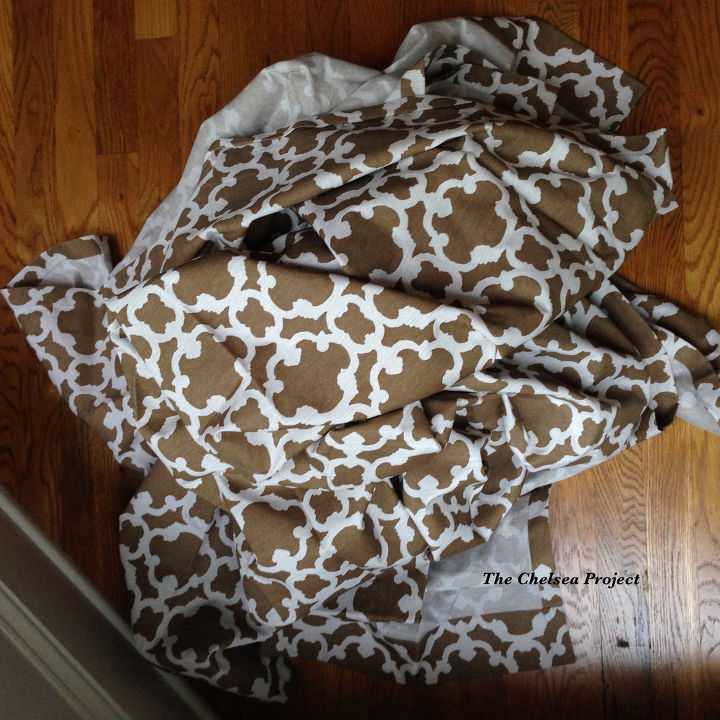
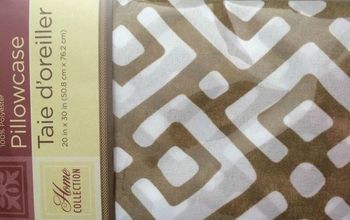
This...my friends...is the humble beginnings. A pile of fabric that can come from anywhere, but for this project, it came from a local retailer. These are $20 ready-made window panels that are about to get the updo of a lifetime.
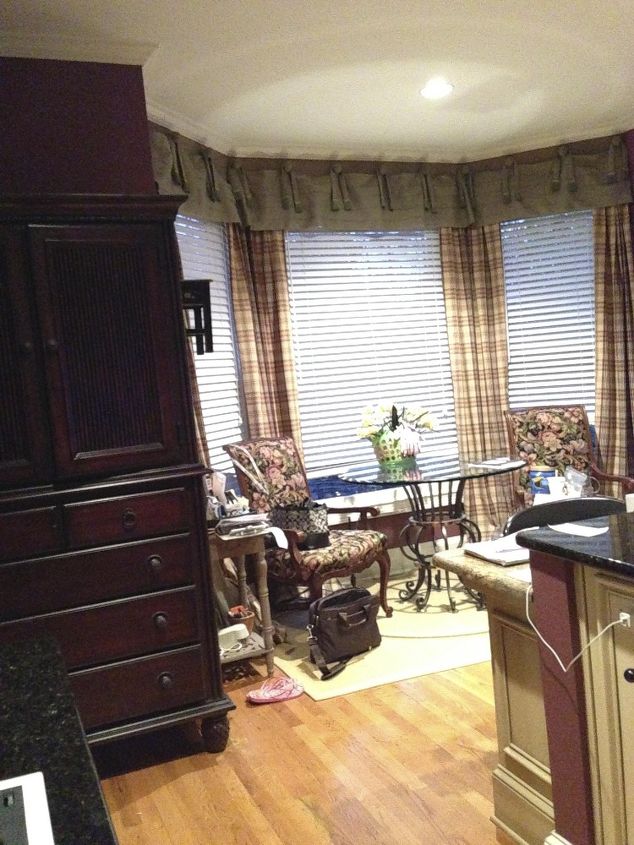
Backing up one step, the story actually began with a challenge to redo a room in 30 days called . For me and my budget, it was a whole lot to take on, but daredevil that I am...well...you know I jumped right in! Here's a gander at the before. Brace yourselves...it's horrifying.
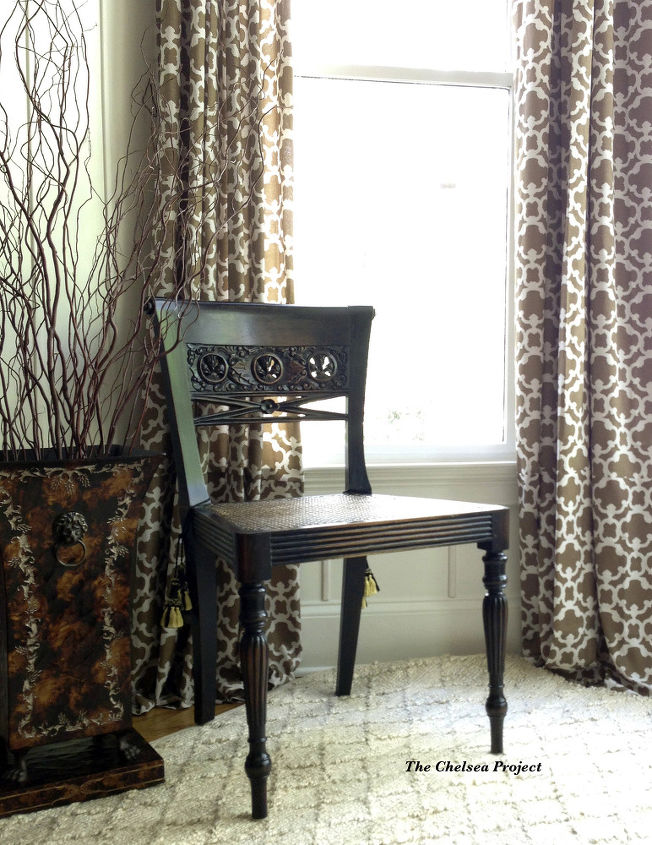
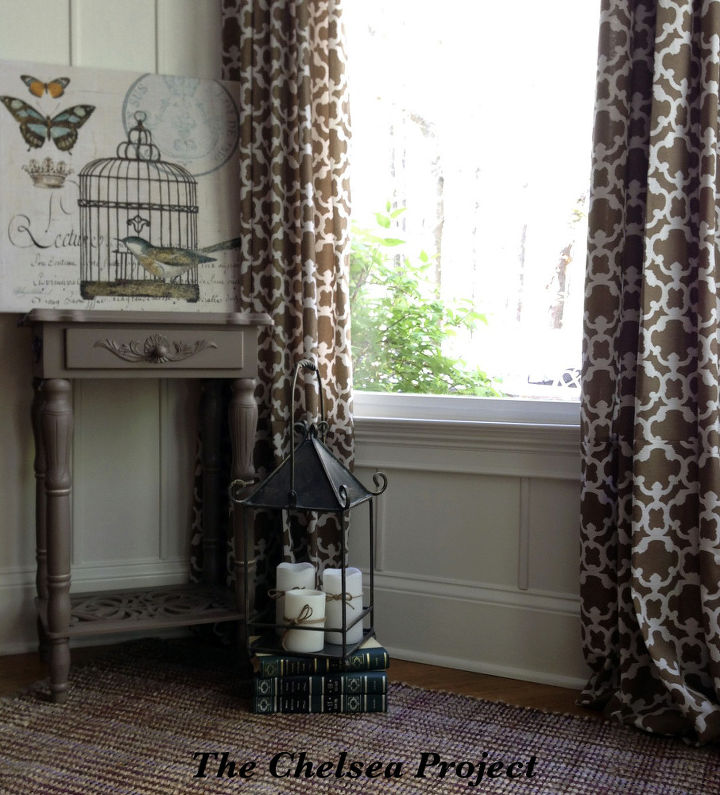
Everything you see here has been ripped out, repaired, and/or replaced. And, this bay window is now singing a beautful swan song. Can you hear it?
PANEL BUYING

Hint Number Two: Read the label.

Hint Number Three: You gonna line that thang?
Hint Number Four: Buy enough panels. Better to return extra than to not buy enough.
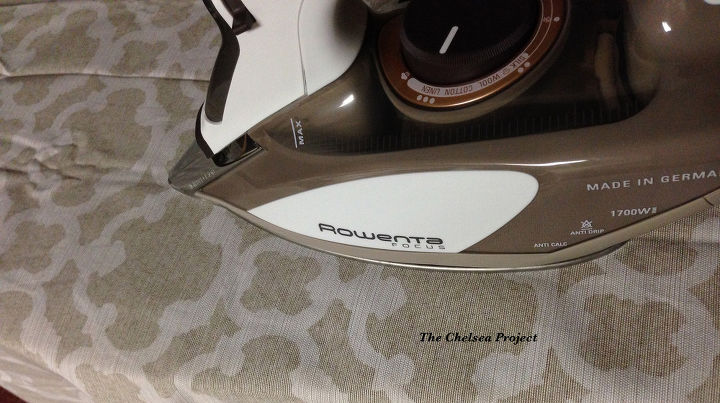
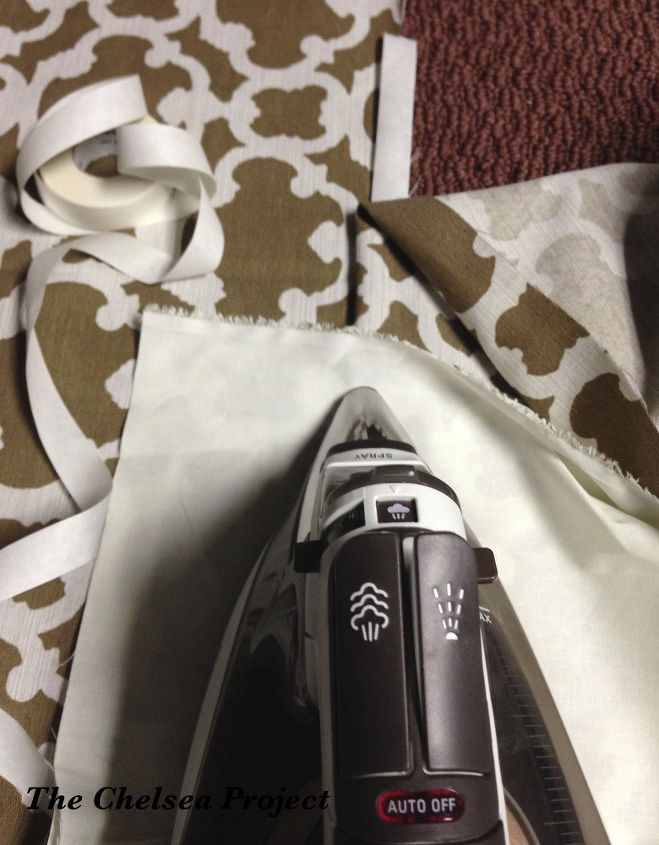
Then, lay the panels out and remeasure how much fabric length is there.... and subtract that from how much total length you need..plus add in for seams and hems. Then cut the fabric piece from the extra panel and attach it to the main panel. Either sew it or use fusible bond.
Then, add weights.... before attaching the hem. Coins, galvanized washers, etc., anything that is flat, slightly heavy for the fabric, and won't corrode. Weights can be added across the bottom of the hem wherever you like. I always place a weight at right and left sides of the panel. Then add some more across the middle of the hem if the fabric isn't holding the drape very well.
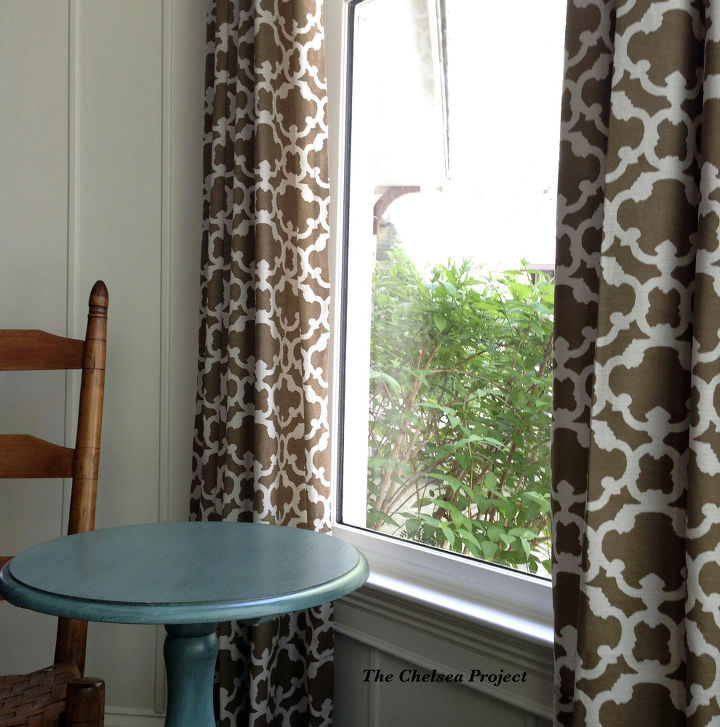
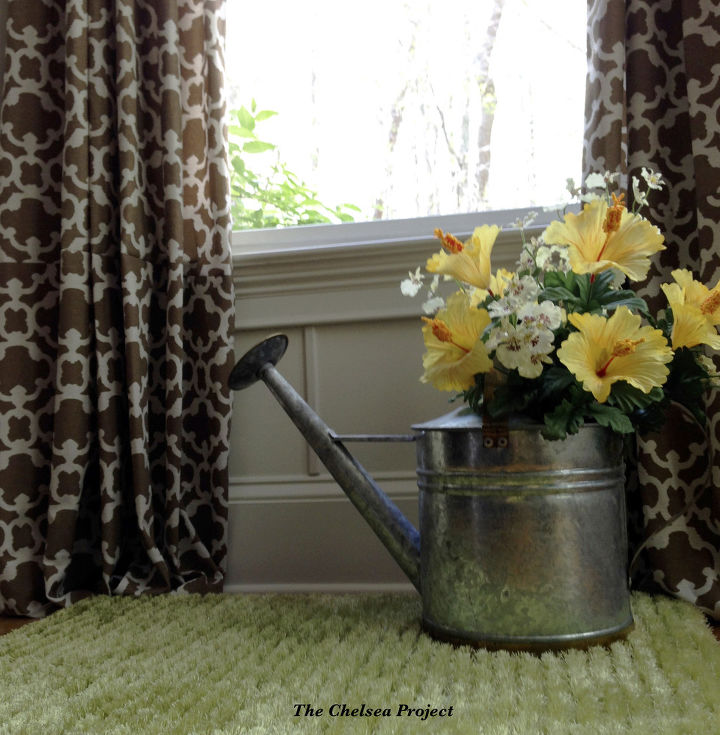
And, one other thing when shopping for the panels. Sometimes it is hard to visualize how a fabric will look with your decor. I found this fabric to work with just about anything. Like garden.
Or casual.

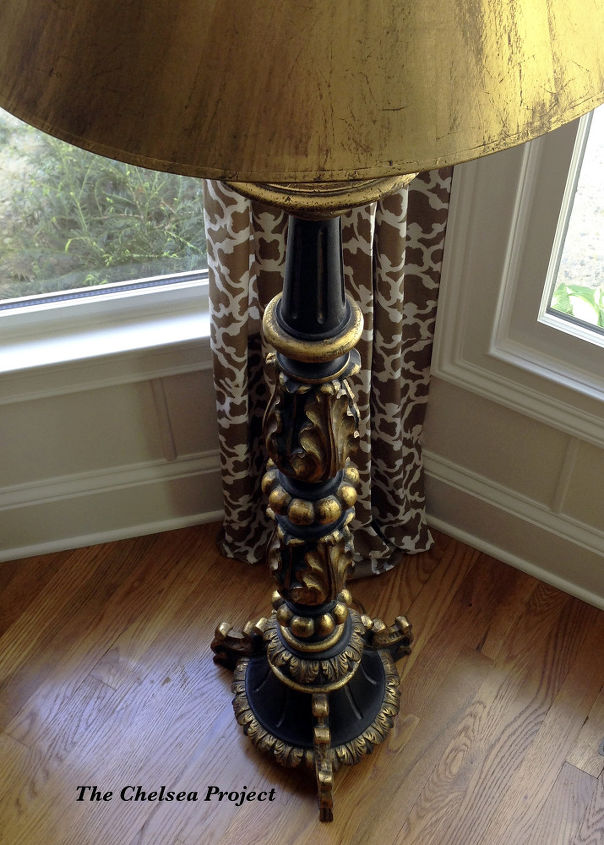
Or glam.
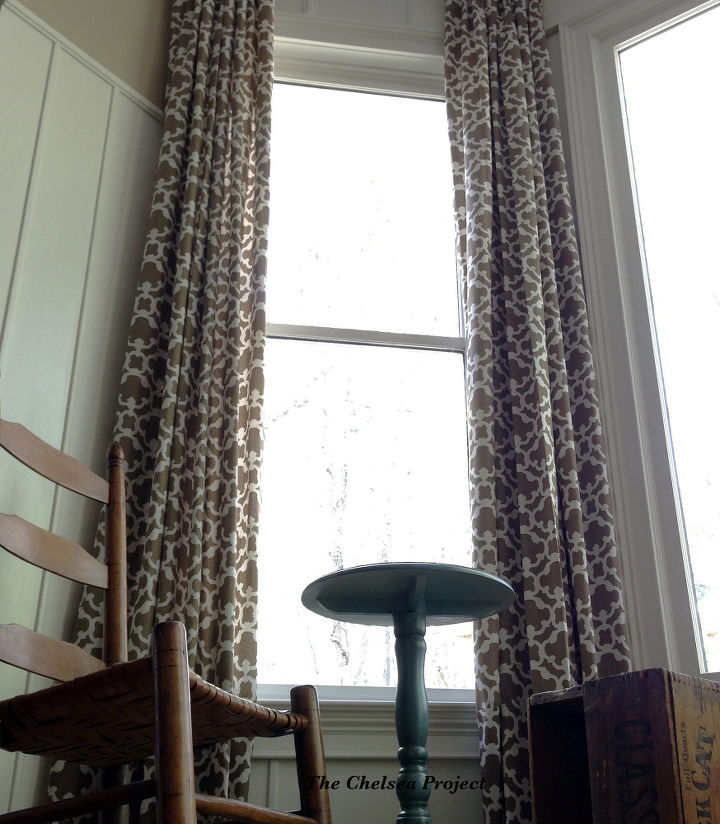
The main thing is to take your time, think through the process, and have a lot of fun. And, remember...for a good end result.....it really is.....all about the drape....bout the drape....bout the drape.
For all of the math and sewing details, please visit the blog. It's always a pleasure to assist you with projects. Please, don't hesitate to forward comments or questions.

Want more details about this and other DIY projects? Check out my blog post!
Comments
Join the conversation
3 of 12 comments
-
Looks great. Will probably use. Be sure and match the print at the seam though or the added fabric will look patched in.
-
Susie, those are some beautiful draperies that you made. You know, right now my wife is looking for draperies to install on our windows and bathrooms. She has a passion of decorating and using draperies. http://www.yourshadylady.com/Interior_Design_Framingham_MA.html


Frequently asked questions
Have a question about this project?