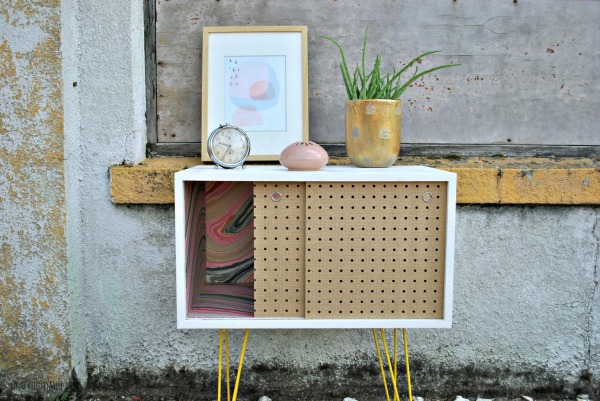
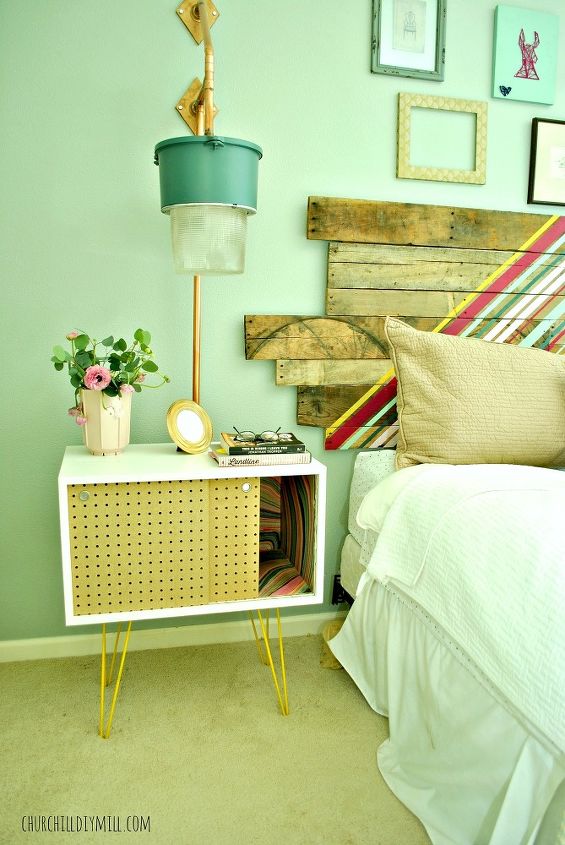
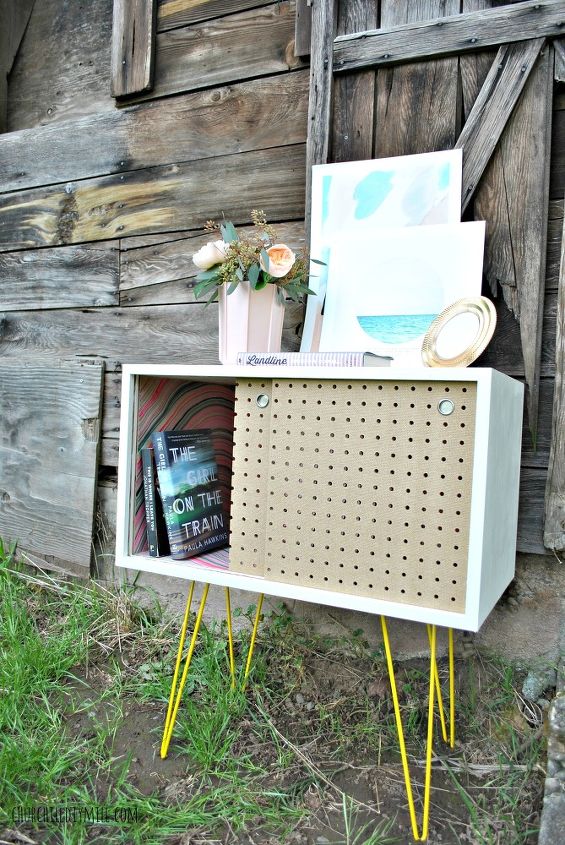
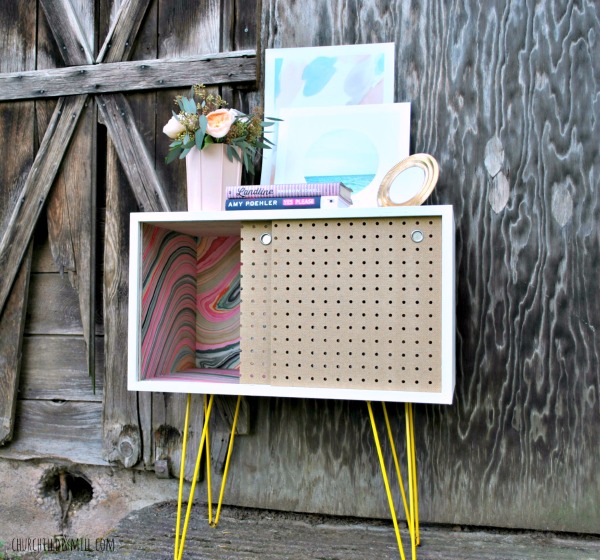
Pegboard Nightstands

Shannon Churchill
by Shannon Churchill
$250.00
5 Hours
Medium
Home Depot Monthly Gift Challenge Round 3
It's the third round of the Home Depot Monthly Gift Challenge I do with a handful of other insanely talented bloggers. Our mission: pick out an item from Home Depot, put our own unique DIY spin on it and give it as a gift. This month, we chose pegboard to be gifted to any family member.
So, I came up with these fun nightstands for our master bedroom to give as a gift to my husband and myself!
Here's what you'll need (for 2 nightstands):


-1 4x8 sheet of plywood (3/4 inch thick)


-Circular (Skillsaw) saw


-Table saw


-Pneumatic nail gun and nails


-Wood glue


-Wood putty


-Saw horses (2)


-Strap clamps (not entirely necessary, but this made the assembly process a whole lot easier)


-Safety glasses


-Ear muffs (because safety is serious business people)


-Hole saw (5/8 inch)


-Drill and screws


-Paint and supplies


-Closet door fingeer pulls (4 total)


-8 Hairpin legs (we made ours, but you they have a great selection at Hairpin Legs for Less).


Here's how:


*Note: I really wish I had Photoshop so I could make a proper schematic for you, but for now this will have to do. I'm working on it.:)


Our dimensions: 14 inches height x 26 inches wide x 15 inches depth (our hairpin legs are 15 inches for a total of 29 inches in height).
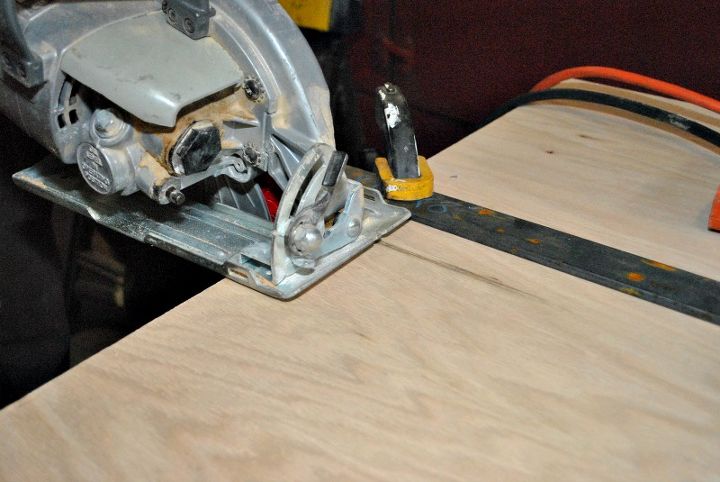
Using your circular saw, cut two strips out of your plywood 16x96 inches (this gave us room to fine tune our cuts with our table saw).
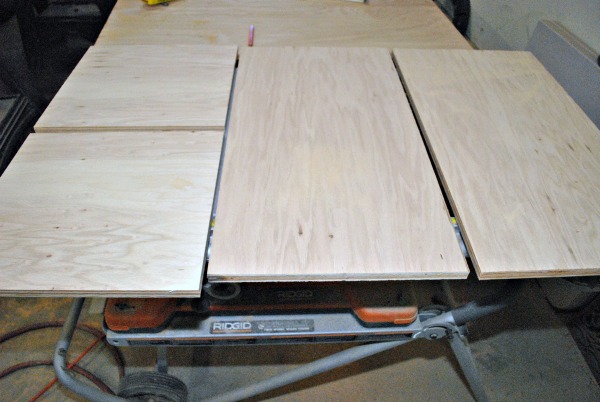
-With your circular saw, cut the strip into 4 pieces. Cut two pieces 28 inches long and the other two pieces 16 inches long (this gave us a little wiggle room).
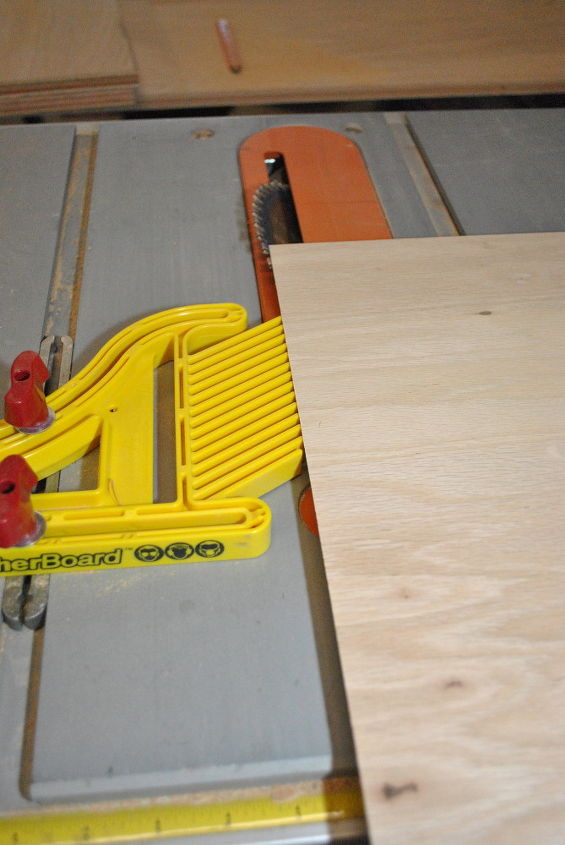
-Onto the table saw! Set your blade at a 45 degree angle and your fence to 14 inches (because the mitered cut will add 3/4 of an inch) in order to begin making the sides of the nightstand. Run the top and bottom of each side through the saw. Set these aside for now.
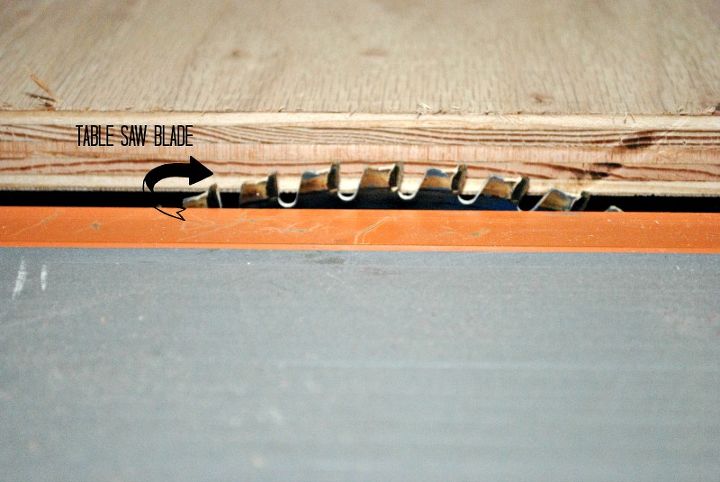

-For the top and bottom of the nightstand, keep your blade at 45 degrees and set the fence of your table saw to 25 inches. Run the top and bottom of each side carefully through the saw.


-Now, to fine tune the depth. Set your table saw blade at 90 degrees and your fence at 14 3/4 inches. Run the two sides and the bottom of your stand through the saw.


-For the top of the stand, set the fence at 15 inches and make the cut. We made the top of the stand 1/4 inch bigger so that the back cover of the stand will be concealed.


*Making the grooves in the wood for the sliding doors*
First Groove:


-Using your table saw, set the fence to 1/2 inch to ensure the doors are recessed. This will be the groove for the front door.


-Set the depth of the blade to 3/8 of an inch.
-Run all four of the pieces of wood through the saw. Because we don't have a Dado blade (I'm too cheap to spend $100 dollars on a saw blade to my husband's dismay:), we had to make multiple passes through the saw to create the grooves for the doors to slide in. We ran each side of the nightstands through the saw a total of three times. Each time, we increased the fence the width of the blade (1/16 of an inch).
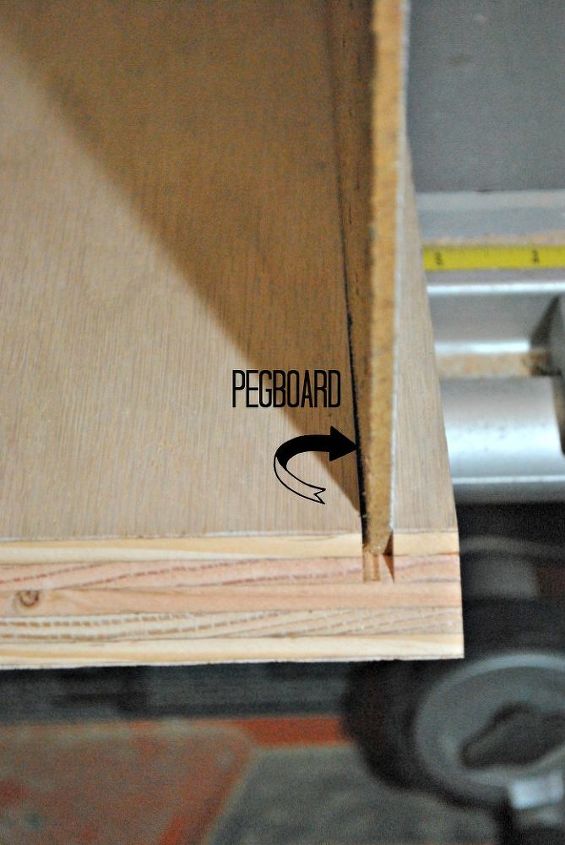
-Repeat above step for the second groove.


*Making the pegboard doors.*
-Measure the inside height of your box and add 1/2 of an inch to keep it in the groove.
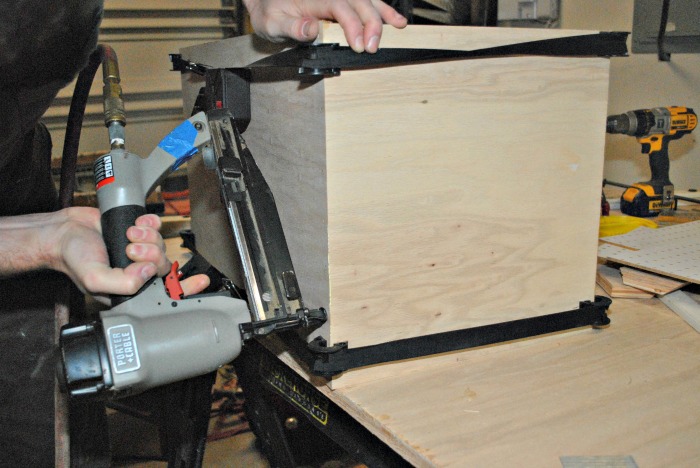
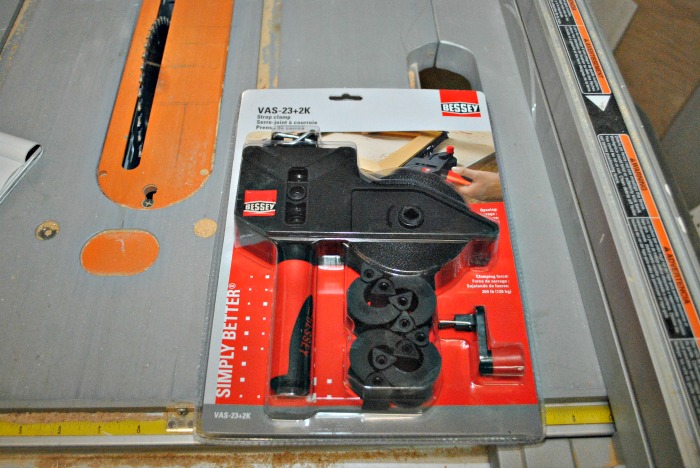

-For the width of the doors, measure the inside width of the box and add 1 1/2 inches.


*Note: this makes the pegboard sliding doors 13 1/2 inches wide by 13 7/8 tall.


-Using your table saw, set your fence at 13 1/2 inches and make the cuts. Then set your fence at 13 7/8 inches and make the remaining cuts.


-Loosen the clamps, put your doors in and tighten the clamps again. Your doors should move freely in the grooves.
*Securing the Stand*


-Loosen the clamps, remove the doors and apply a thin layer of wood glue to your mitered edges.


-Re-clamp your box, making sure you put the doors back in. Don't forget to line up your mitered edges.


-Using your pneumatic nailer (16 gauge and 1 1/2 inch nails), nail the sides of all the edges.


-Let the box dry for 24 hours.


-Once dry, putty your nail holes and any imperfections. Let it dry.


*Putting the finger pulls in*


-Using your 5/8 inch hole saw, make holes in each corner of the doors.


-Put a dab of wood glue on your finger pulls and place them in the holes.


*Back Cover*


-Place a piece of pegboard on the back of your nightstand that corresponds to the dimension and nail it in place.


*Sand/putty/paint*


*Mounting the Hairpin legs*


-Mount the legs on bottom of the box with the brackets using your screws and your drill.


*Modpodge your fine paper to the inside of your nightstands*


And there you have it! Feel free to check it out on the blog at churchilldiymill.com and don't hesitate to email me with any questions.:)
Shannon Churchill
Want more details about this and other DIY projects? Check out my blog post!
Go
Frequently asked questions
Have a question about this project?
Comments
Join the conversation
2 of 8 comments
Next