


Butlers Pantry in Progress Using Stock Cabinets
I have always wanted to have some version of a butlers pantry in my kitchen. The ranch home I live in was big on doorways and doors being everywhere. I am more of an open plan kinda gal. So with hubbys help and a decent budget we decided it was time I had more storage space for my dishes and some food. Plus we made the kitchen and entry more open and have let a lot more natural light in.
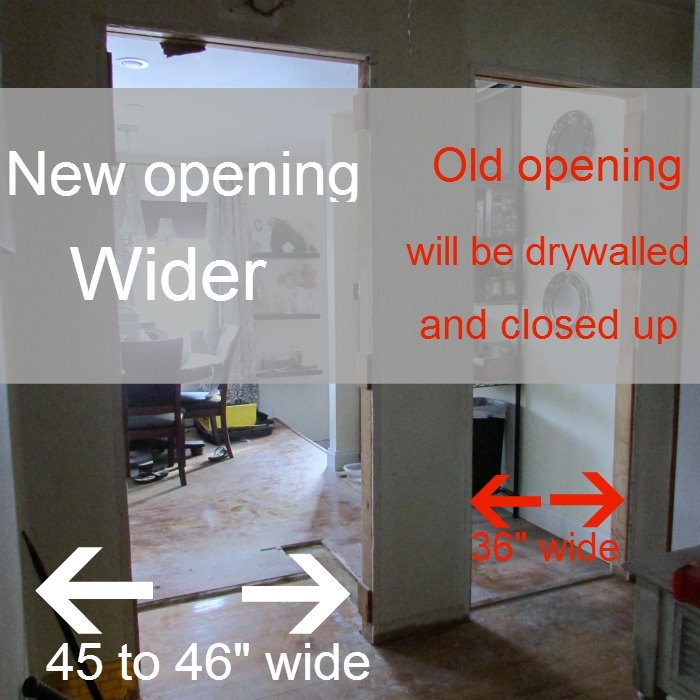
This shot is from the entryway. The opening on the right is the old opening which got drywalled up. The opening on the left is the wider opening we are going to use.
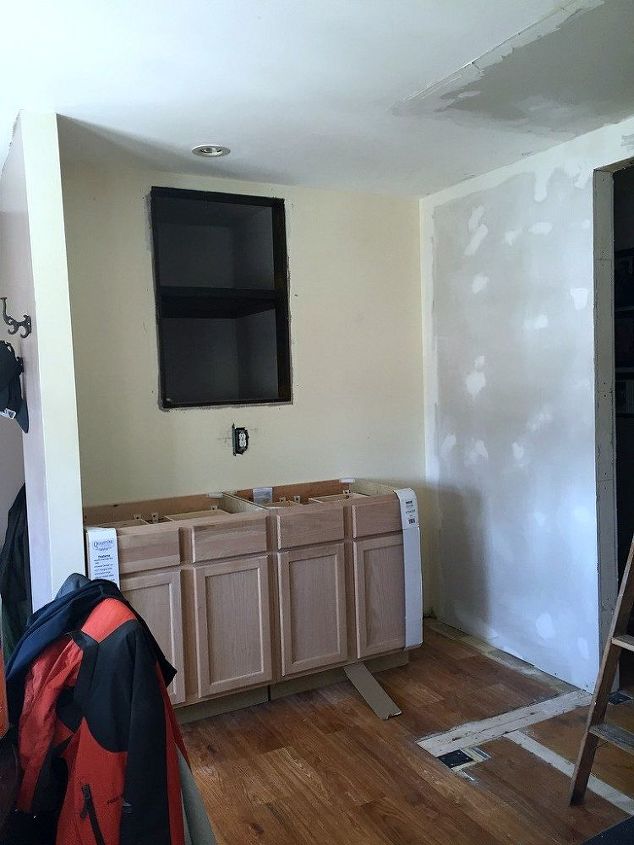
using stock cabinets from a local home improvement store we added two base cabinets and one tall pantry cabinet. Unfinished.
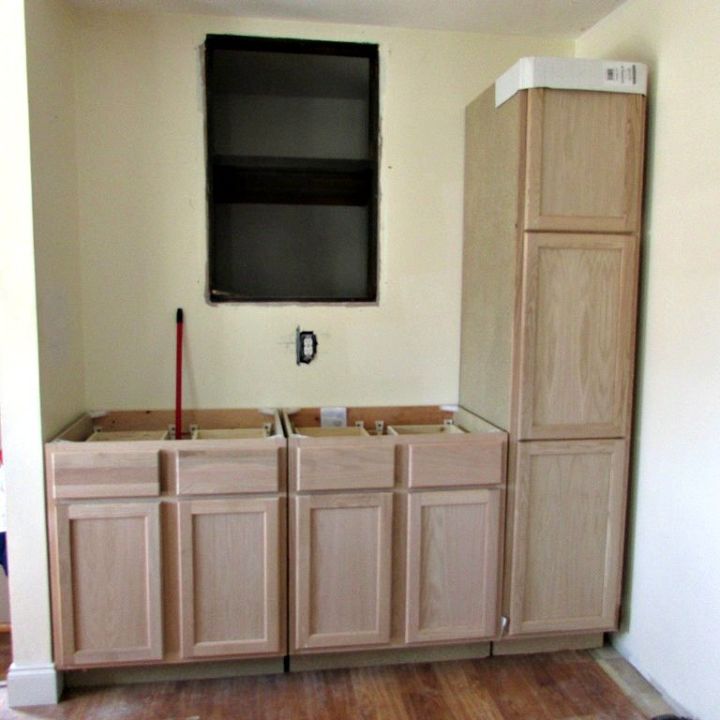
In this shot above we let the cabinets sit for a day and we just played with it. We had filler strips and wanted to make sure they were put in the right spots so that the pantry doors would open with no issues.
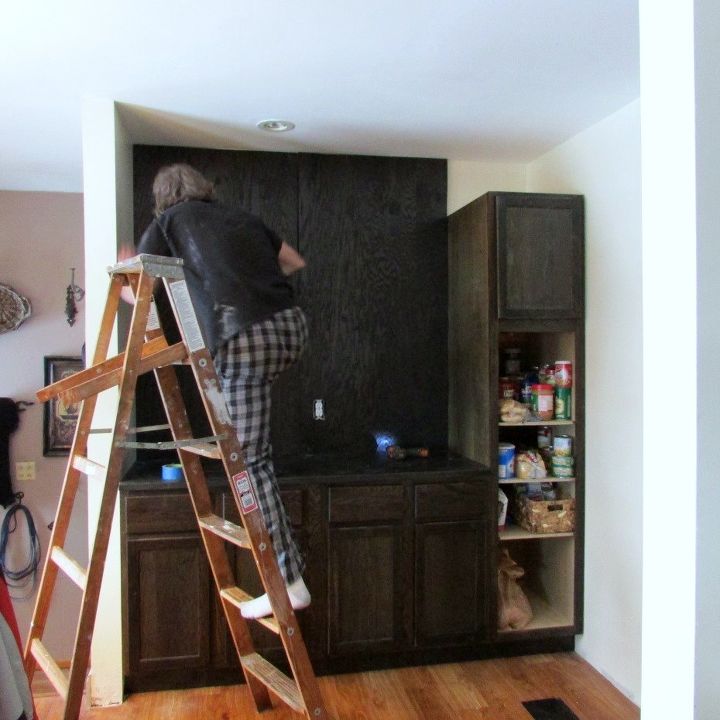
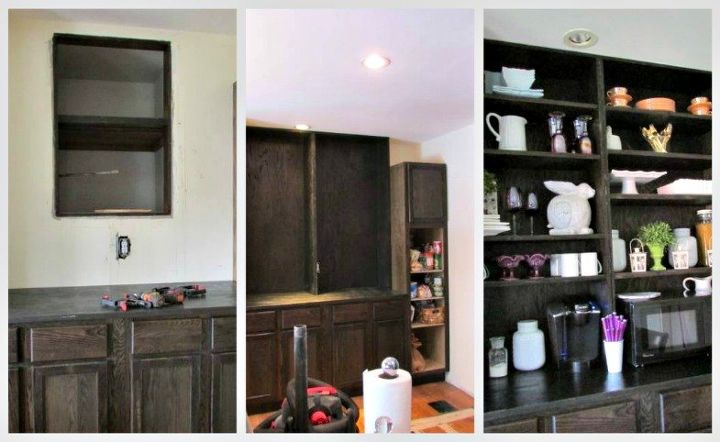
Here you see the dark ebony stain has been applied to everything. (The pantry door was drying down stairs) For the back wall we used stain quality grade plywood and cut out the needed hole for a newly moved electrical outlet.
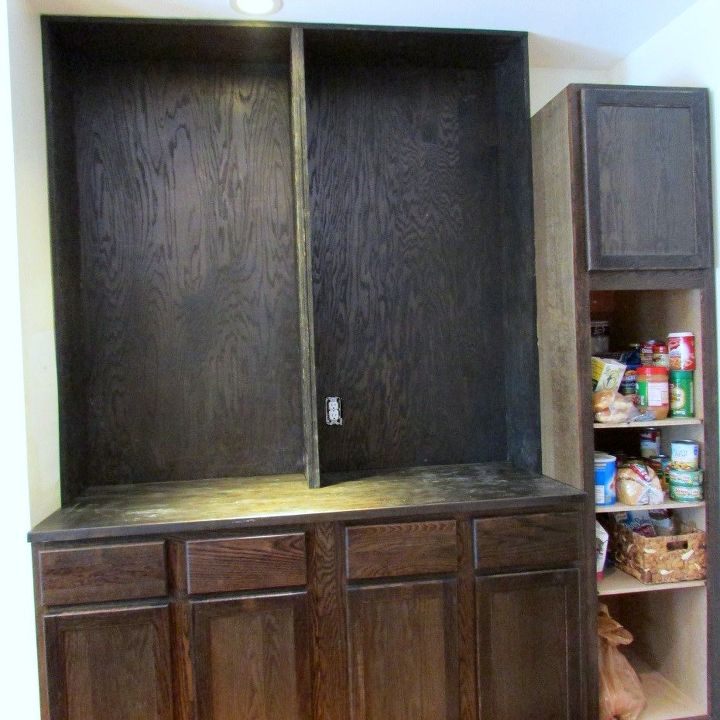
The counter top is a wood butcher block which we also stained using an ebony stain.
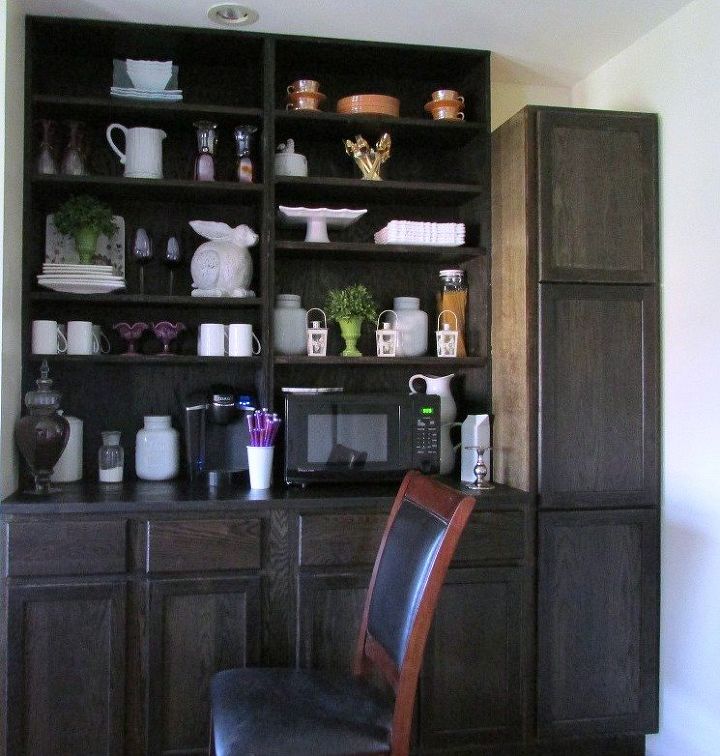
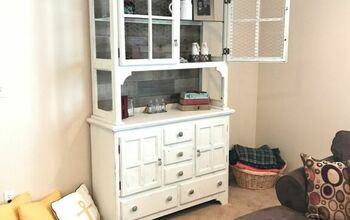
We still have to add some finishing details in this photo. We need cabinet hardware, trim the shelves out so they look built in and also add another stained cube or box above the tall pantry for platter storage. Then we can hopefully call this project done! As you can see I couldn't wait to play by adding dishes, and canisters filled with pasta, a coffee station.

Want more details about this and other DIY projects? Check out my blog post!
Comments
Join the conversation
2 comments
-
This looks great, thanks for sharing!
-
Fabulous job!


Frequently asked questions
Have a question about this project?