


Guest Bathroom Makeover
When we first bought our lake house, we relied heavily on the help of our friends and family for the initial work that needed to be done. It included everything from cleaning, demoing, painting, hauling stuff away...pretty much anything and everything! I thought it seemed like a great trade-off - we'd invite our friends up for a weekend of inhaling asbestos, exposing themselves to lead paint, stepping on rusty nails leading to tetanus shots, and in return, we'd buy them a round of beers at the local bar. Apparently they thought otherwise, and the lure of coming up for a 'fun weekend at the lake' quickly wore off. So, we resorted to Option #2 - a new guest bathroom. We figured if we were going to succumb our guests to hours of manual labor, the least we could do is give them a nice bathroom where they could enjoy 20 minutes of peace and serenity.
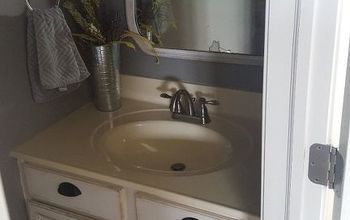
Here are the Before pictures.
Here are the Before pictures.

Lots of oak...
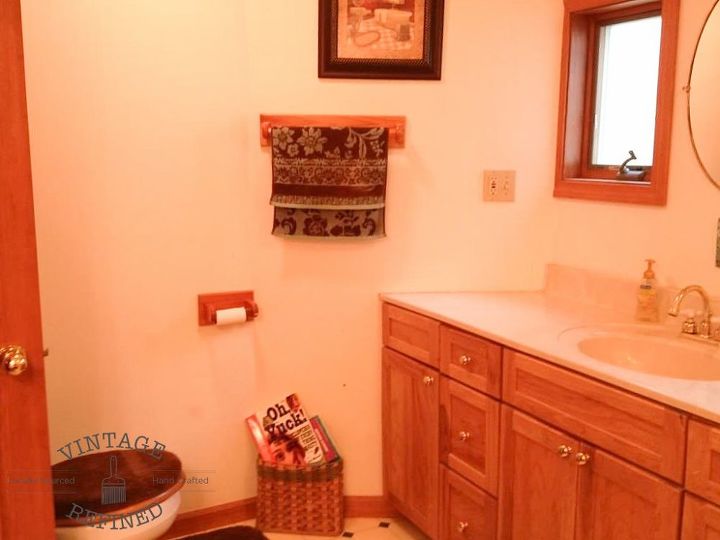
and brass fixtures
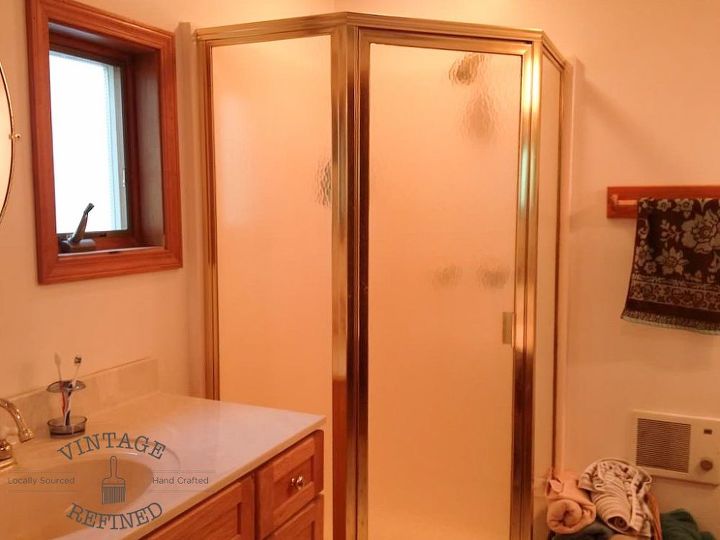
I'm sure we could have worked with this, but in the end we deemed it a gut job. Sometimes it's just easier to start fresh. That got us to about here...
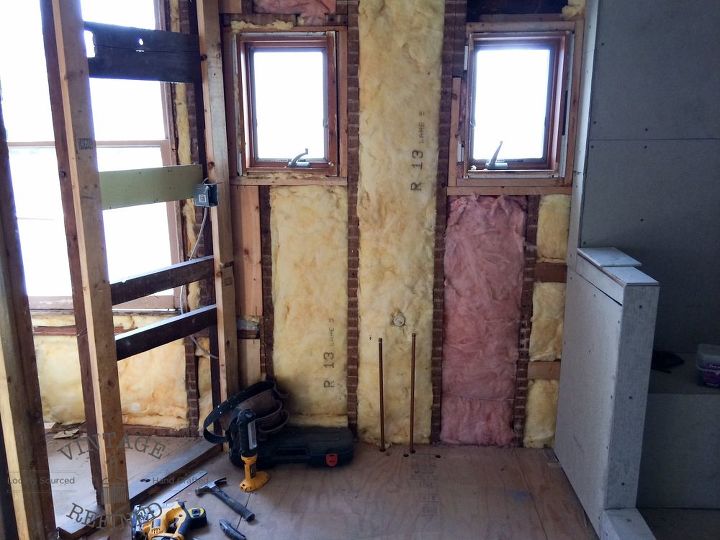
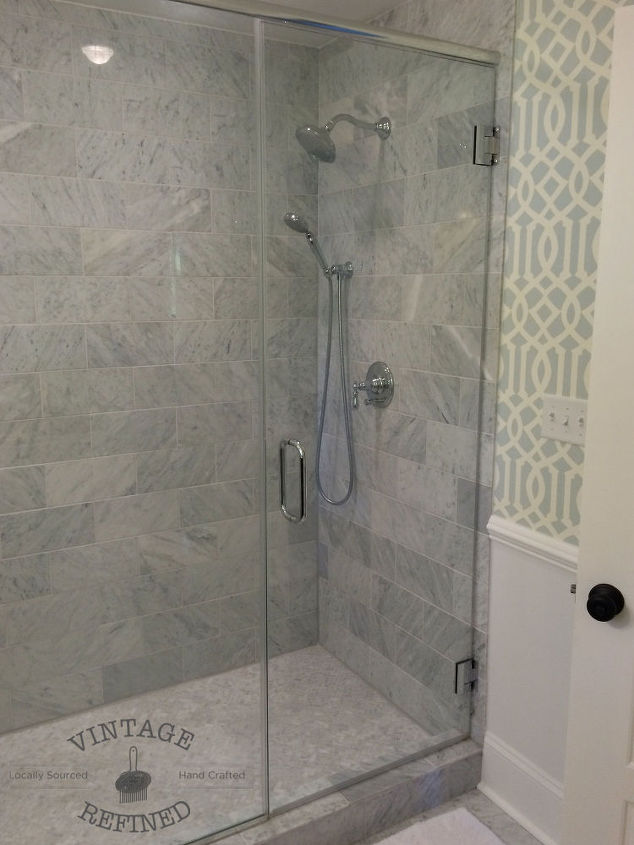
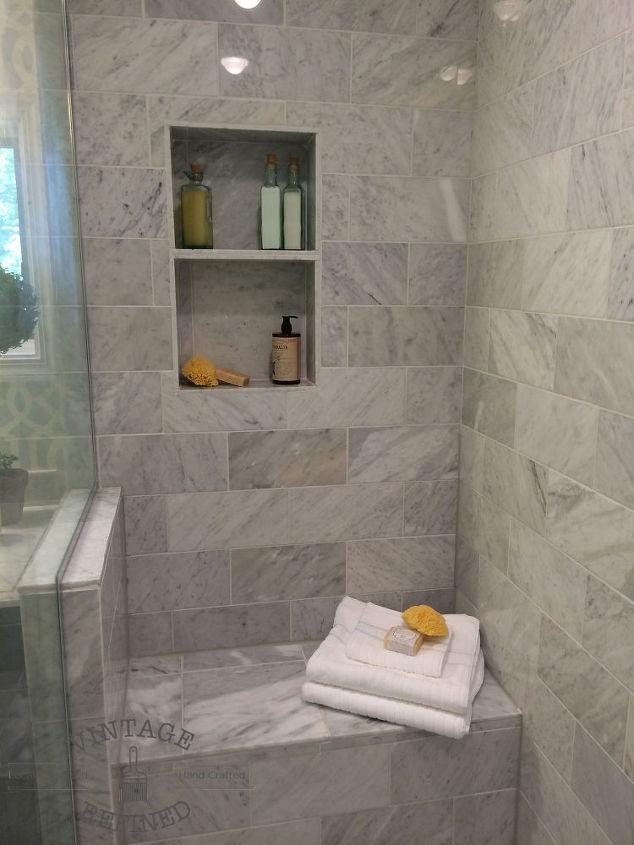
We wanted a luxurious looking space that gave a calm, serene feel and could make our guests forget about the past five hours they just spent ripping down lath and plaster. Two things came to my mind for this - oversized shower and marble. So we went with it...
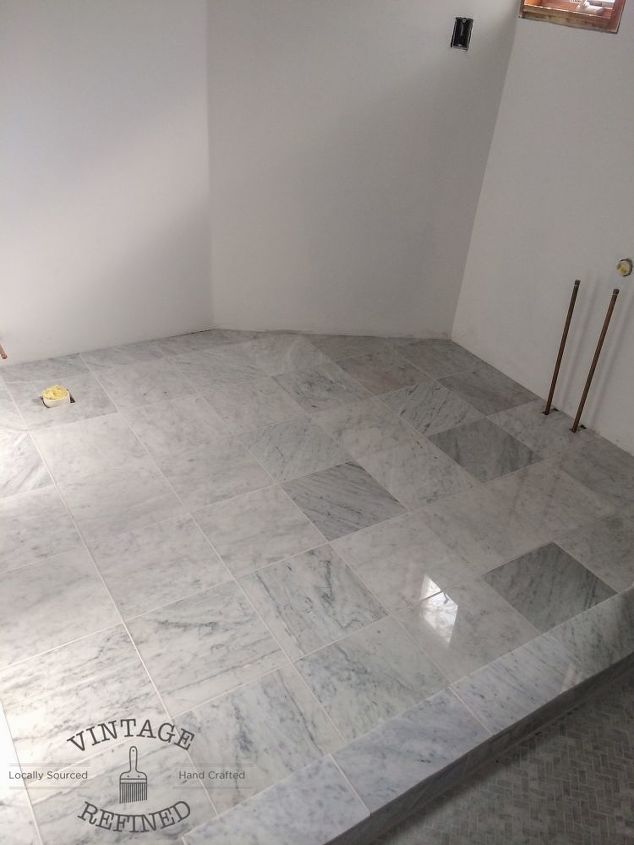
We went with Carrara marble for the floor and shower.
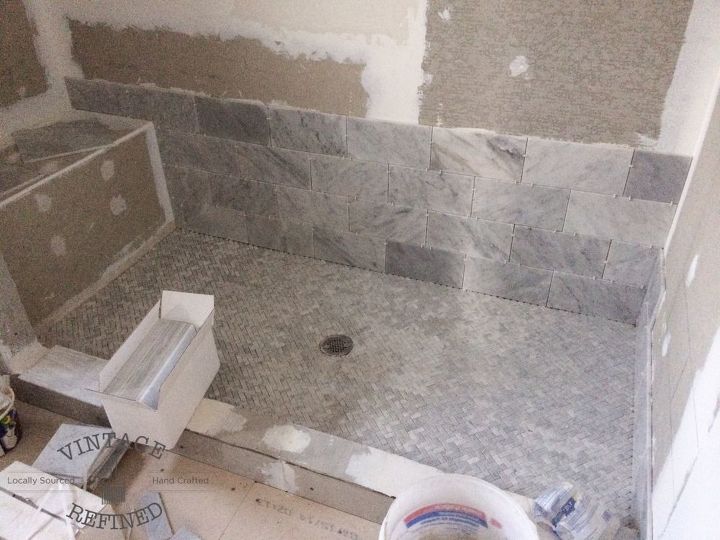
It gives a clean and sleek feel without looking too sterile.
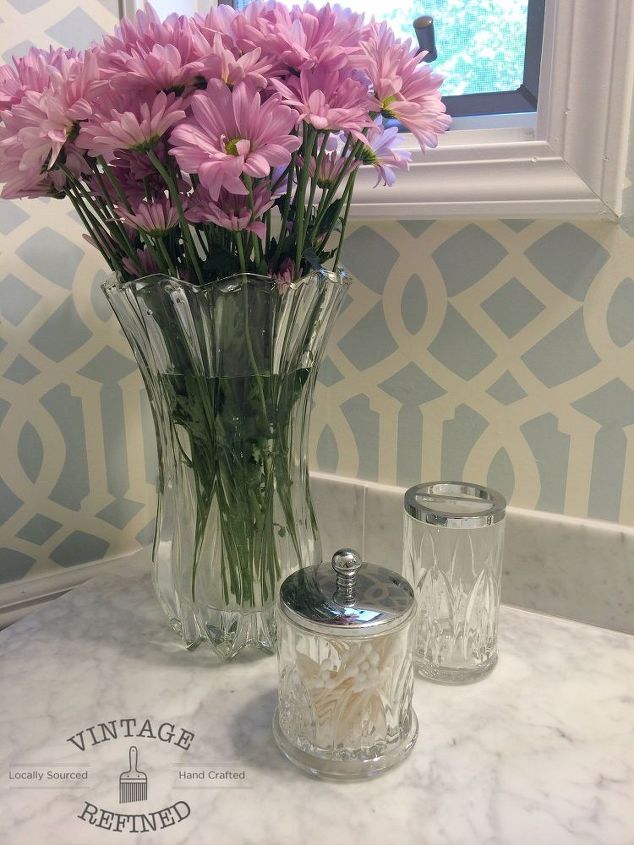
Now onto the fun part - talking about all the details that make this room pretty.
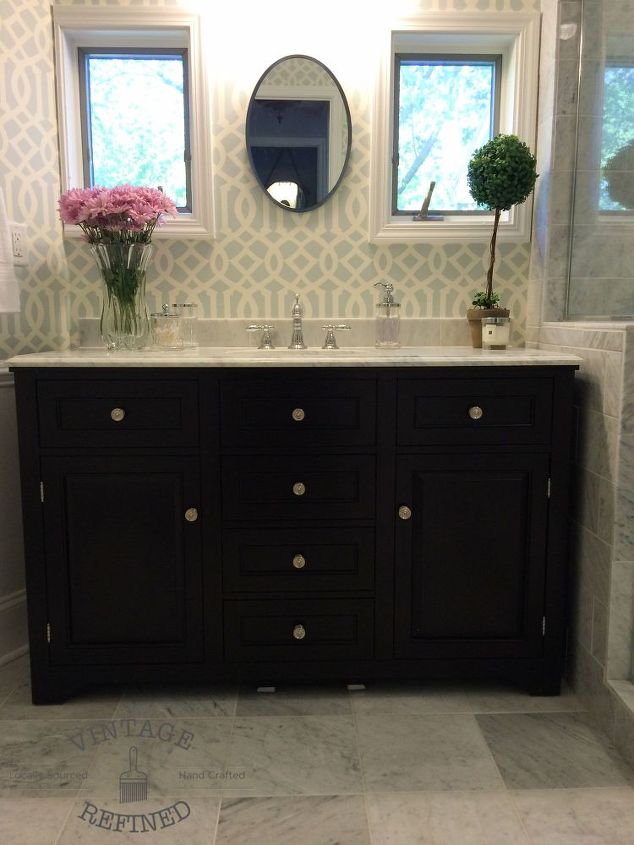
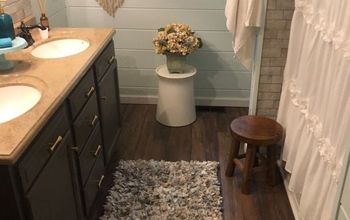
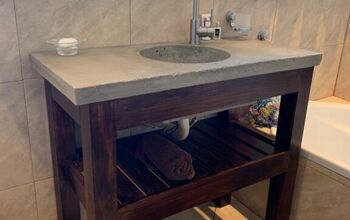
The size of this vanity fit the space perfectly. I also love the contrast of the dark wood.
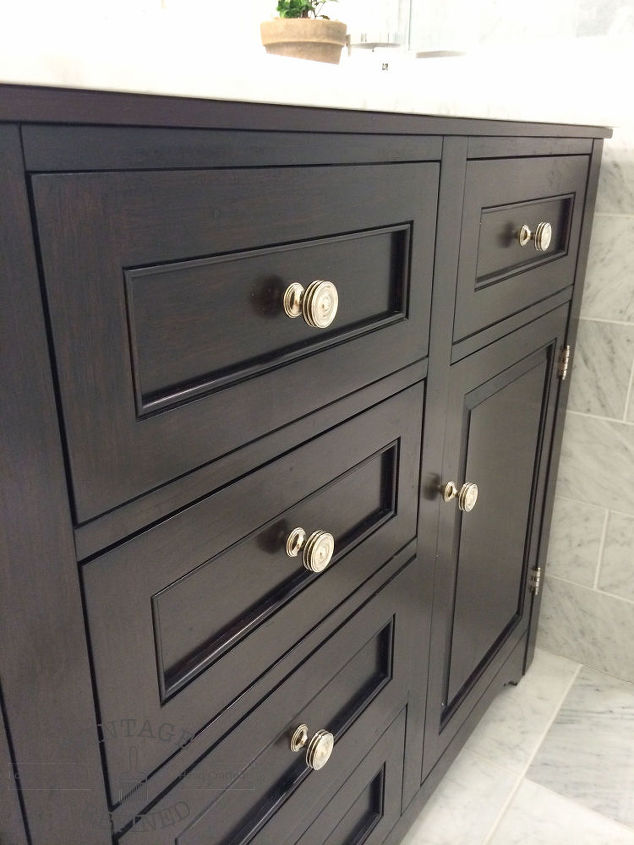
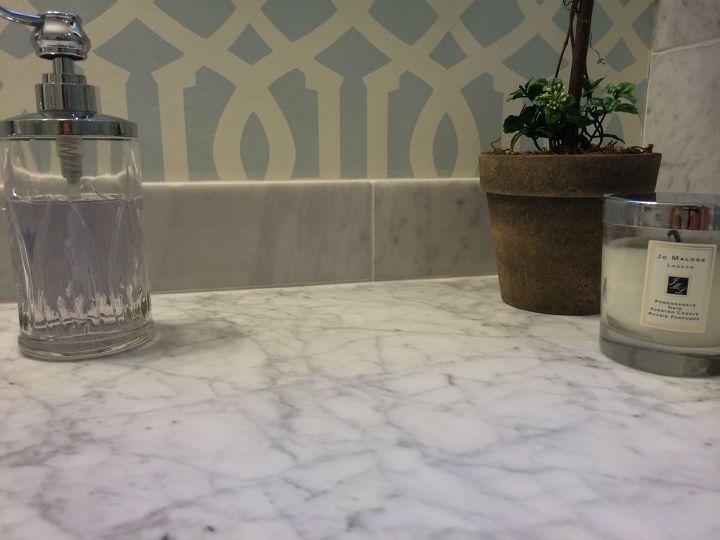
The one downside of this vanity though was it didn't have a back splash. I found some pieces of matching marble and had it installed to the back, creating a six inch back splash.
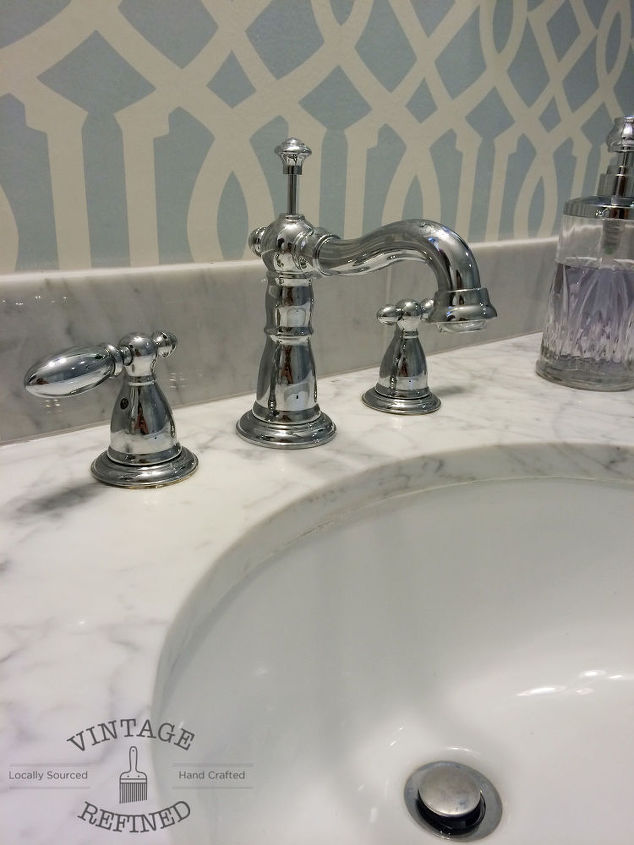
If you remember our Powder Room makeover, we used the same faucet and toilet to keep things uniform throughout the house.
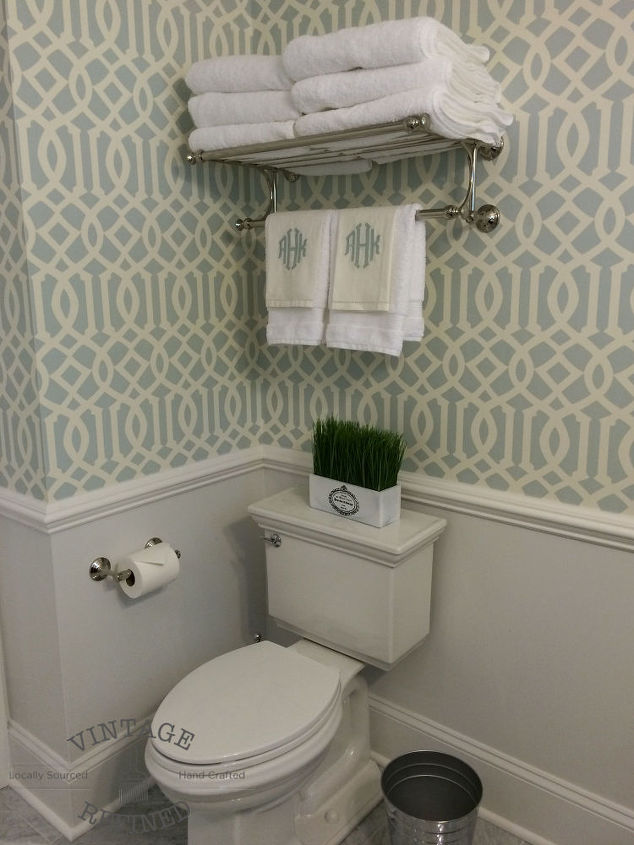
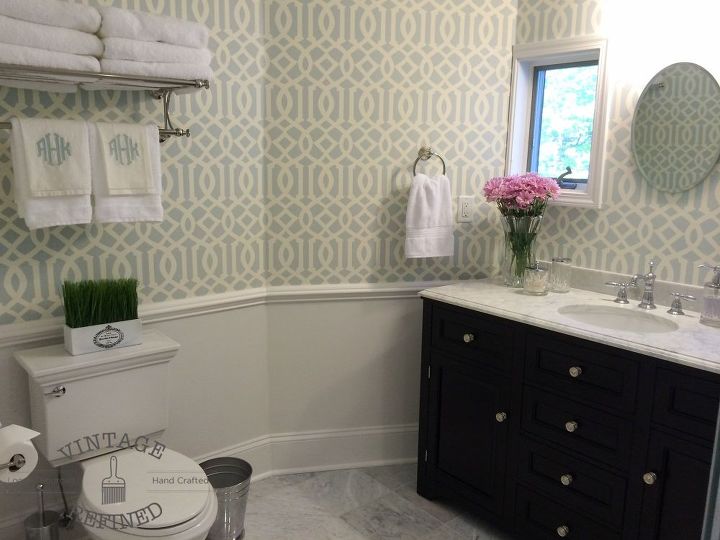
We also used the same eight inch baseboards and chair rail. However, this time we went with wallpaper on top of the chair rail.
Now onto the shower...
Want to see more...check out all the details at http://www.vintagerefined.com/blog/2015/5/15/guest-bathroom-makeover

Want more details about this and other DIY projects? Check out my blog post!
Comments
Join the conversation
3 of 15 comments
-
Please share where you purchased the towel rack/ shelves over the toilet. Thanks
-
Beautiful job!


Frequently asked questions
Have a question about this project?