


DIY Oyster Shell Mirror
As a self professed scavenger, (hence the name Scavenger Chic) I love searching the internet for projects to try and ideas to borrow.
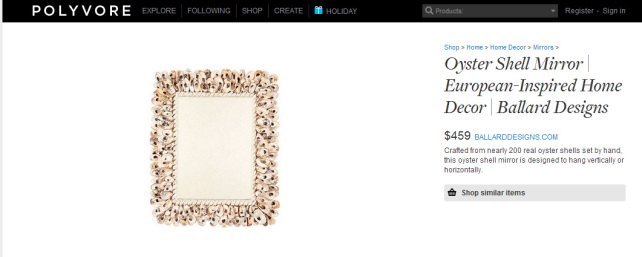
So when I saw this mirror from Ballard Designs, I knew this was going to be my next project. Beach combing is the perfect scavenger project. I'm sure you see that $459 price tag!
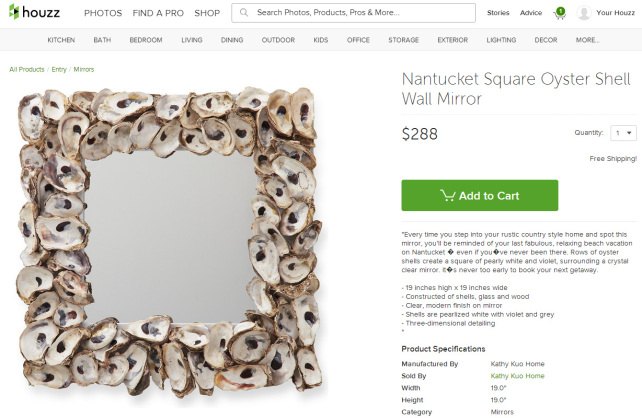
This mirror, from Houzz, measuring only 19" square was $288.
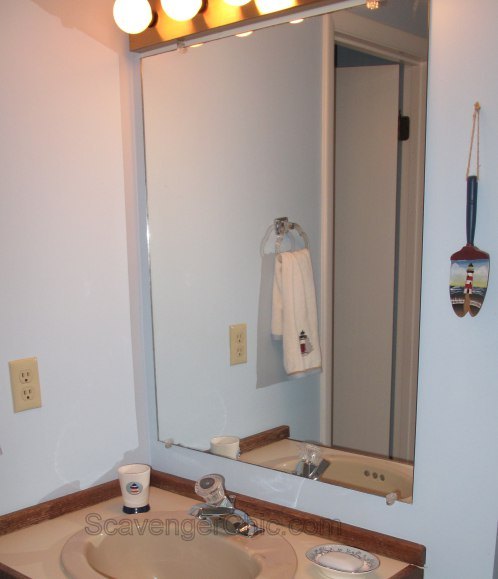
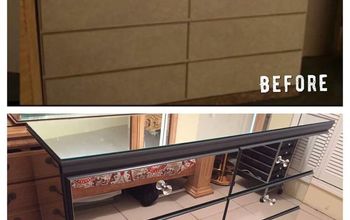
So starting out with this large, builder grade, bath mirror which was being replaced, I had the start of my project. The mirror measured in at 24″ x 36″. Considering the 19 inch square mirror above was $288, I can’t even begin to guess what this one would cost.

Started out by cutting a piece of 1/2 inch plywood 2 inches wider on all sides than my mirror. (28″ x 40″). Centered the mirror on the plywood and attached with liquid nails building adhesive.
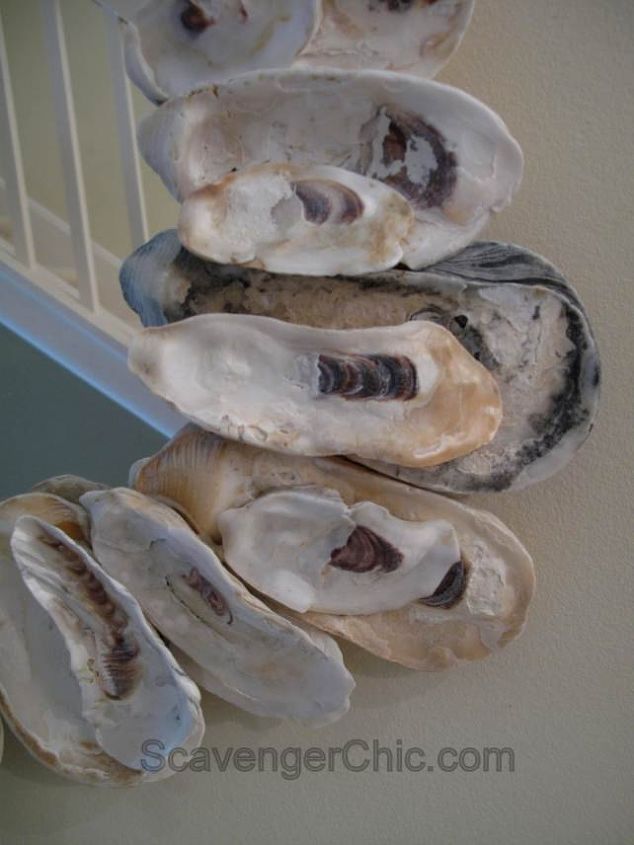
The largest shells were glued in place first, again with the builders adhesive. These shells overlapped the inside mirror edge as well as the outside plywood edge.

Smaller shells were used to fill in any gaps and holes.

Want more details about this and other DIY projects? Check out my blog post!
Comments
Join the conversation
1 comment
-
Great job! I love these kind of mirrors too, and always thought to myself it's be fun to get the shells and DIY it!


Frequently asked questions
Have a question about this project?