


Seashell Garden Markers

3 Materials
We live in Myrtle Beach, SC, and our home is decorated with a nautical/beachy look. I was trying to find cute ideas for plant markers for my new herb garden that would fit in with our beachy style...and this is what I came up with!
First, I gathered some random seashells...all different shapes and sizes. I tried to find ones that were fairly smooth on the inside. I used some regular shells and some oyster shells for variety.
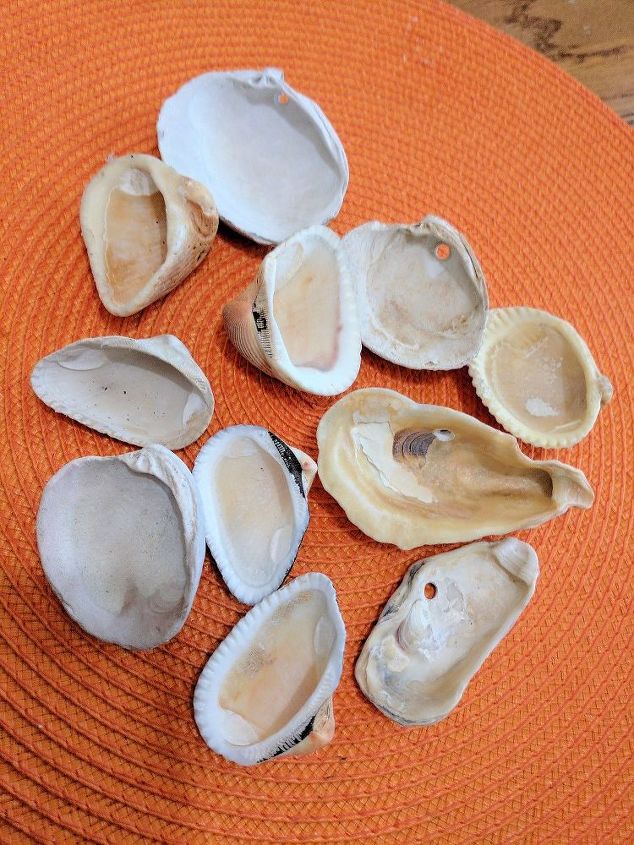
First, I gathered some random seashells at the beach. I used a variety of shells...some regular shells and some oyster shells. I tried to find ones that were fairly smooth on the inside. Then, I used a Dremel tool and drilled a small hole in the top edge of each one. Be careful when drilling not to get too close to the edge because the shell could split or chip.
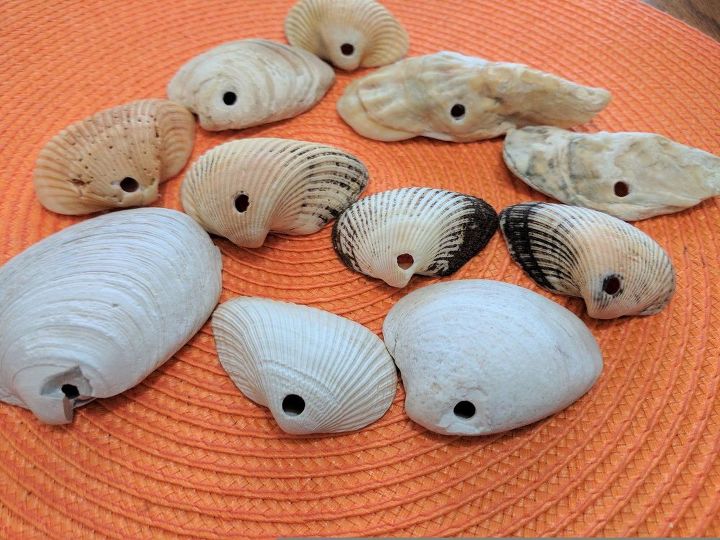
This shows all of the shells after I finished drilling the holes in them. You can see the variety of shells I used here as well.
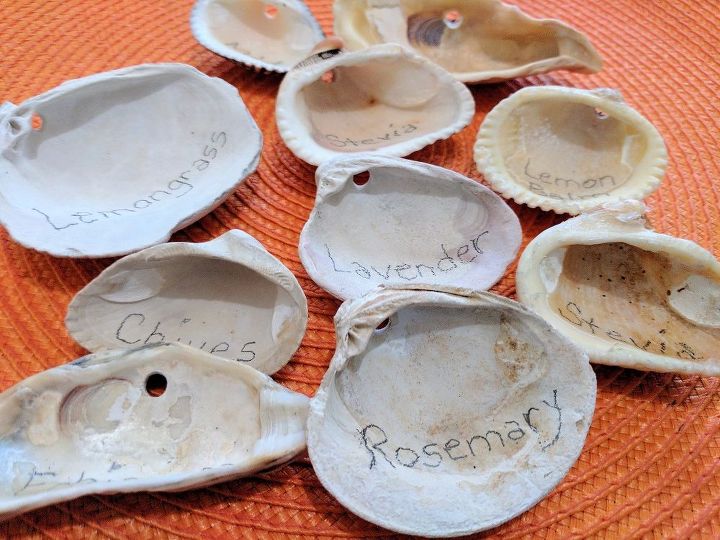
Next, I used a regular pencil to write the names of my herbs inside the shells. Since I am not great at painting letters free-hand, this step made things MUCH easier for me! This is where having different shell sizes comes in handy....the longer names work perfectly on the larger shells!
Next, I bought a package of copper wire at Lowes. Buying the wire in a roll like this was MUCH cheaper than buying it by the foot. I chose copper wire because I love the look of it, plus it will not rust in the garden.
Next, I cut the wires into 18" long pieces. After cutting it into individual pieces, I first bent each piece around a piece of 2x4 wood to get the shape shown on these bottom wires. Then, I used a pair of pliers and made a small crook in the end of the wire to hold the seashells. As you can see, they are not all perfect, but that's okay! They will still work great!
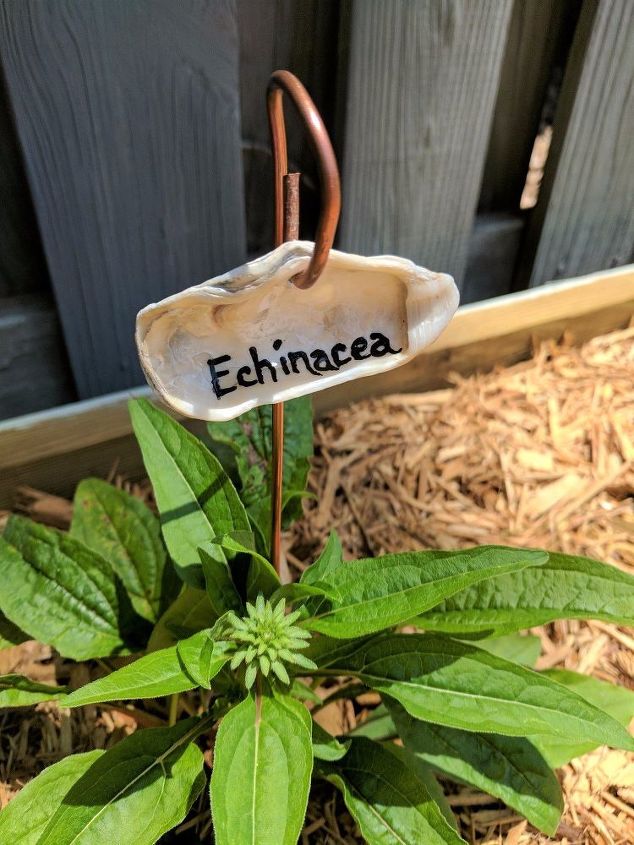
Next, I slid the seashells onto the hooks and stuck them into the ground in my herb garden.
I love the different shapes of the shells and the fact that it is easy to read these markers.
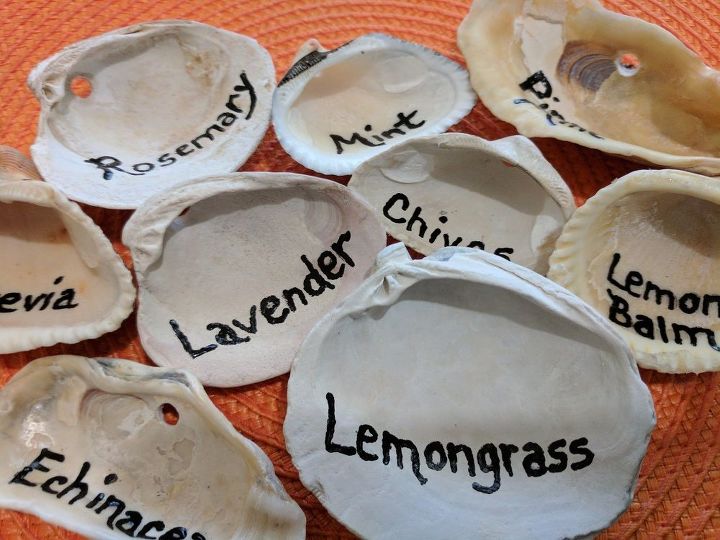
Next, I painted over the herb names using a toothpick dipped into exterior latex paint. It only takes a tiny bit of paint. You could also use model paint or something similar for this.
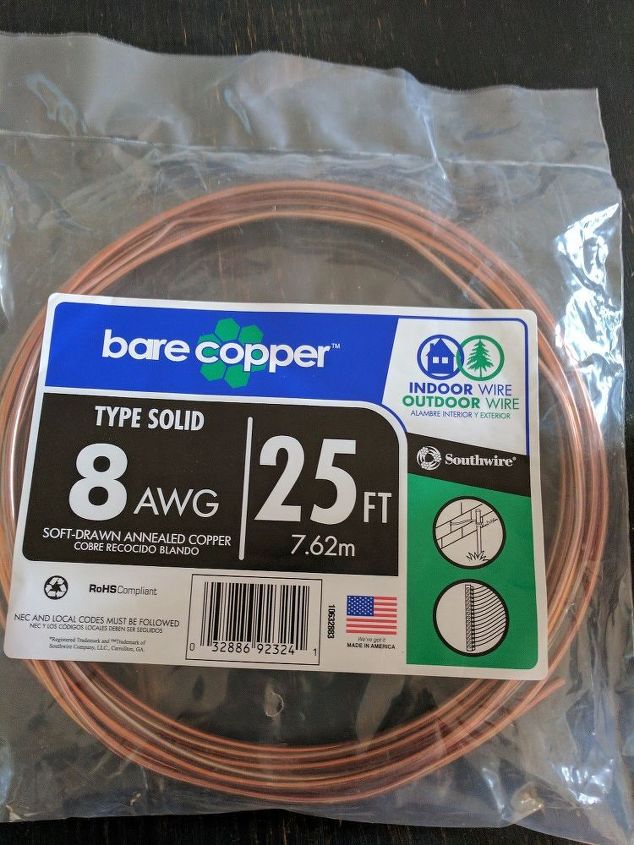
To make the hooks, I bought a roll of copper wire at Lowes. It is MUCH cheaper buying it this way instead of by the foot. I chose copper because I love the way it looks, plus it will not rust in the garden. Over time, it should develop a beautiful natural patina as well. The cost of this wire was approximately $8, and it is really the only cost involved in this project.
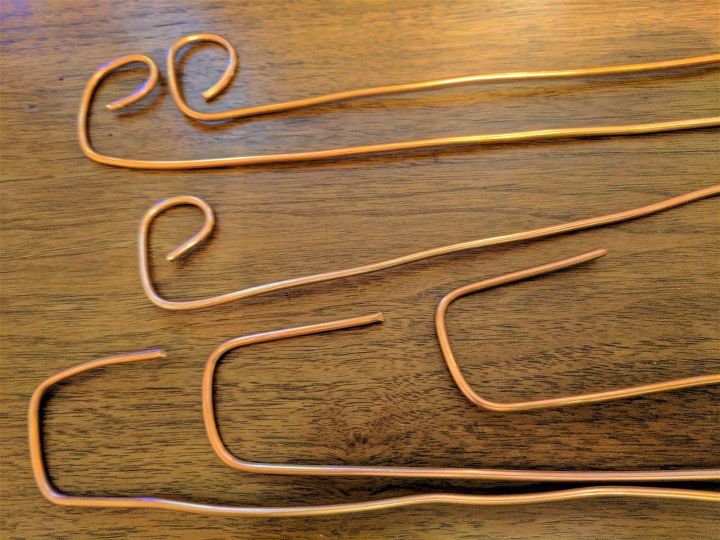
Next, I cut the wire into 18" pieces using a wire cutter. Then, I bent the end of each piece around a piece of 2x4 wood to get the shape shown on the bottom wires. The 2x4 made it easy to get a fairly consistent sized bend each time. Next, using a pair of regular pliers, I bent a small "crook" in the end of each wire. As you can see, they are not all perfect, but that's okay. They will still work great!
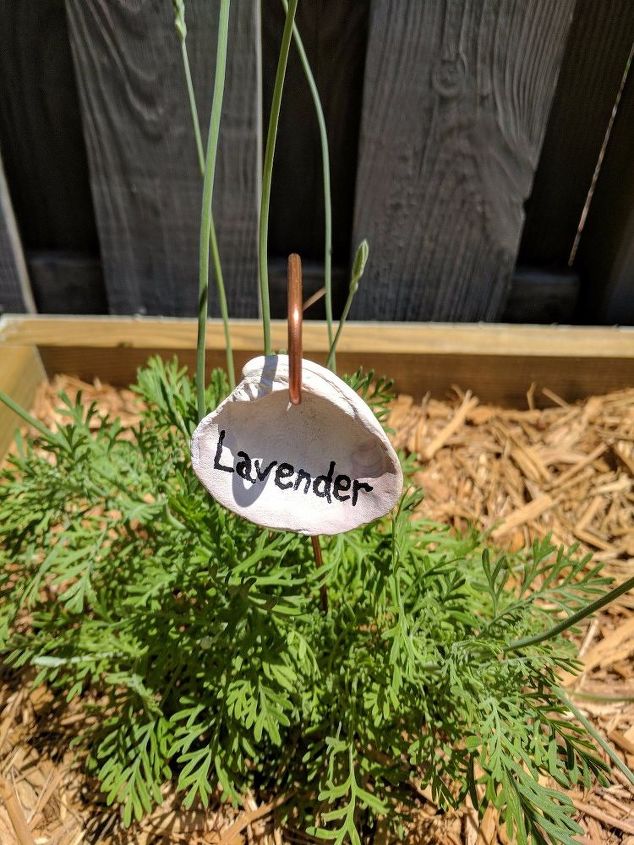
Next, I simply slid the shells onto the hooks and stuck them directly into the herb garden.
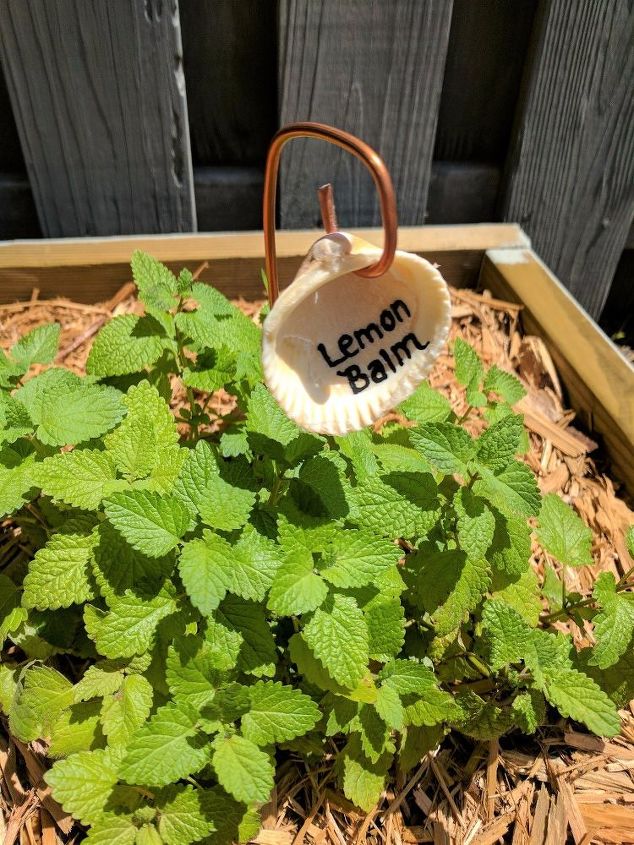
I love the beachy look, and the fact that they are so easy to read.
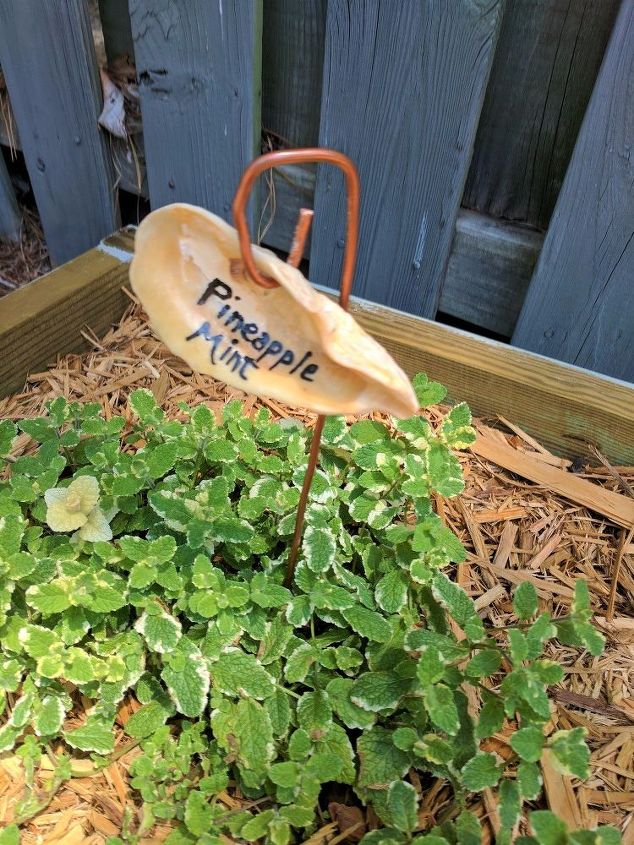
As you can see, the different sized shells work great for longer plant names!
I hope you have enjoyed my Seashell Garden Marker tutorial! The total cost of this project was less than $10, and it really brightens up my herb garden and makes me smile each time I go outside. Happy gardening!
Comments
Join the conversation
3 of 19 comments
-
make sure when drilling shells they are in a little bit of water so the shell or bit wont heat up
-
Truly love to peruse the majority of your weblogs. Basically needed to illuminate you that you have individuals like me who value your work. It's an extraordinary post, Thanks. Business Essay Help UK Online


Frequently asked questions
Have a question about this project?
Please let me know the specific Dremel you used for these shells.
Thank you!