


Awesome Bar for Under $200 From Upcycled Material!
$200
1 Week
Medium
Hi it's Jason from East Coast Upcyclers. I'm cheap and impulsive when it comes to DIY projects (who isn't). That means that I often get an idea in my head and next thing you know i've driven 45 miles in a snow storm to pick up old cabinets that someone just pulled out of their kitchen, scored a free wine fridge that didn't work, visited my favorite reclaimed building material to pick up salvaged tile, lumber, nails, screws, trim, mortar, grout, cement backer board, lights backsplash, tile, glass shelving and pelican brackets. And, spent $7 at a thrift store on a used dartboard. Ok, so I guess that sums up the materials you'll need for this project and where you can find them. As far as time for the project, give yourself a week ATLEAST! In typical East Coast Upcyclers fashion, this DIY post is as much about the actual process of building a bar as it is about giving you suggestions as to where you can find reclaimed material.
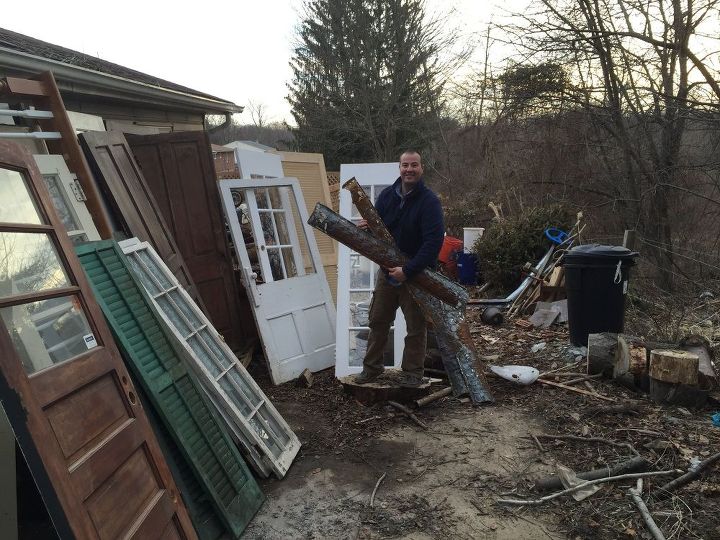
STEP 1 THE CABINETS: Unless you are going to order custom cabinets and completely blow your budget, your next best bet is to find someone getting rid of their kitchen cabinets. You'd be amazed at what people get rid of. I suggest you hop on your favorite online sale page...(my favorite site rhymes with freggslist) I GUARANTEE you will find them quickly. Don't like the color? No biggie! Just sand them lightly and paint them. I could get into detail here, but your best bet is to watch a few youtube videos if you choose to go this route.
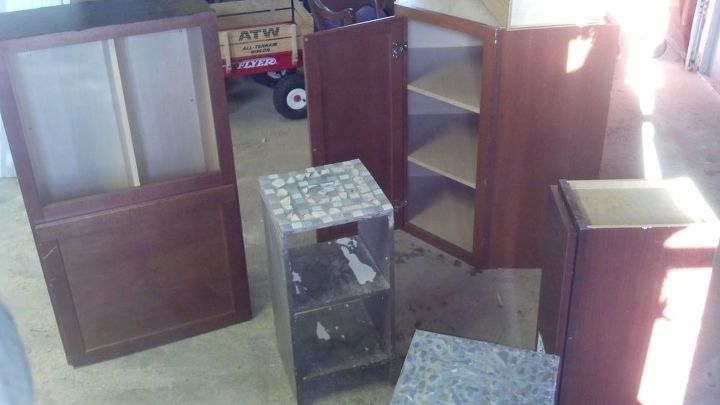
bad picture, much more cabinets than this!
STEP 2 LINING UP THE BOTTOM: Line out your bottom cabinets exactly how you want them. Place a level over top of them to make sure they are level (you want that little bubble in the middle in case you were wondering). Then commit yourself and start screwing them into the studs. (Can't find the studs, pick up a stud finder for about 18 bucks, you'll use it alot!) You'll know you've hit a stud when you feel the screw grab. (Don't ask my wife for help, she'll tell you that she is still looking for the stud). If you don't feel that the board on the back of the cabinet is strong enough, you may need to take a small strip of wood and place it overtop of the board and screw into it.
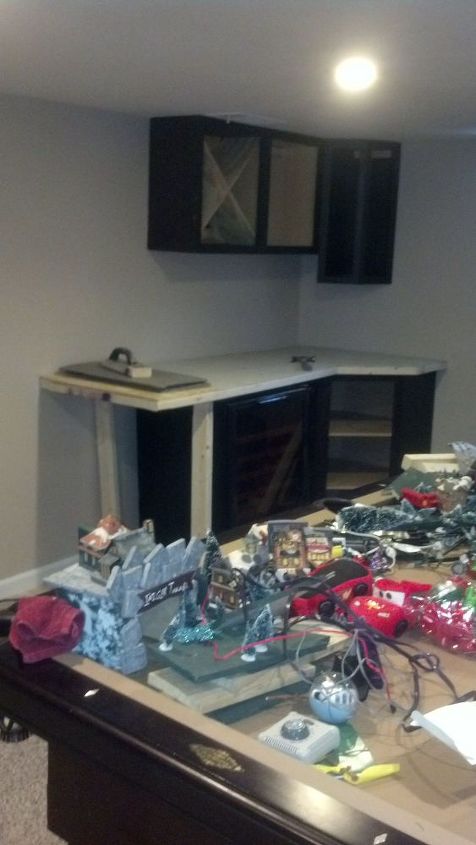
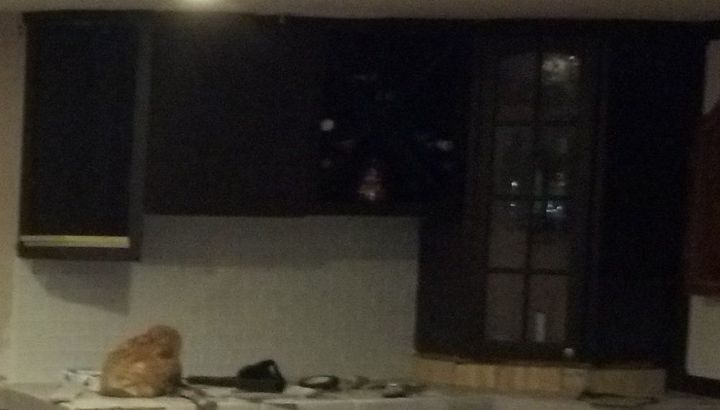
this pic is missing the left cabinet
STEP 3: FRAMING THE COUNTERTOP: Get some 2x4's. Again, I GUARANTEE your local salvage building material store has them. Just make sure they aren't bowed or else your counter top will be slanted (to do that, picture you are the dude in the ricola commercial...google it and you'll get the idea). Measure from one side of the cabinets to the other and add 3 inches (that gives you a standard overhang of 1 1/2 inches on each side. Then measure front to back and add 1 1/2 inches (overhang). Cut your wood to fit and put together the frame. Then put a cross piece at least every 16 inches ( I guess that's correct?). Now screw that into the top of your cabinets (if you are able to) and screw the back piece of the frame into your studs (they should be 16 inches apart). Make sure it's sturdy and not going anywhere or else the rest isn't going to turn out right....
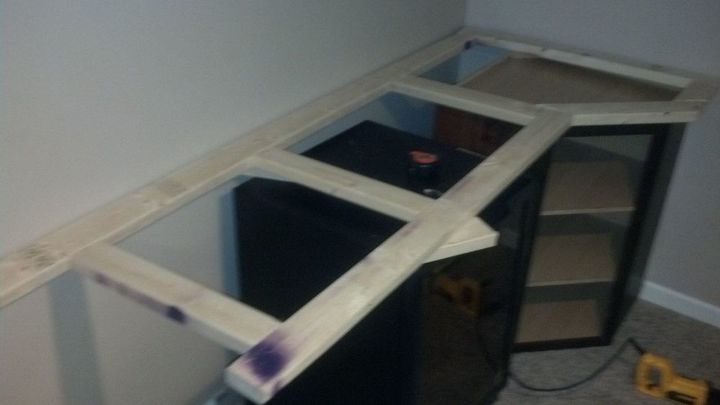
Looky there, purple spray paint = discounted!
STEP 4 THE UPPERS: Did I mention I am impulsive? That means that I often jump ahead in my project to get a glimpse of the finished project instead of going through the logical steps. Therefore, now I am going to send you right to putting the upper cabinets up.... One by one line out your uppers. Unless you have a friend over this part is going to be tough. I suggest placing a few temporary screws when you place them just so you can make sure you like them, they're level, etc.. Once you have them where you want them, make sure they are snug with the ceiling (or else you are going to have do alot of marking and measuring to get them evenly set below the ceiling). Again, just like the bottoms, make sure to screw right into the studs (should be 16 inches apart. Ok, so, here's where the cabinets don't always line up right and you start to wish you would have just bought custom cabinets. Don't give up. Just do whatever you need to do to make it work. You'll see that the corner cabinet on the right didn't completely touch the countertop, whoops!!! So, instead I just built a little custom base to bridge the gap and it turned out awesome. And, remember, trim and spackle can cover up any mistake.... or, since it's a bar just cover up your mistakes with empty liquor bottles. Your house guests will totally understand why you messed up.
STEP 5 THE COUNTERTOP: Depending on the type of countertop this step may vary for you. I chose tile (of course that's because it is what I could find at my local salvage store for cheap). I don't know what the deal is with tile manufacturers but it seems like they are always giving away excess tile to these stores. I GUARANTEE that you can go to almost any salvage store and find an awesome box of tile. So, if you are going with tile, you are going to need cement backer board, grout and mortar. You can also find that type of material at the same store (forget the big box store again). Instead of me walking you through tiling, just watch a few youtube videos and you'll get the gist. It's not hard, but make sure to be careful or else you'll be picking up mortar off of your carpet and your dog....and your kid's shoes that they left on the floor.

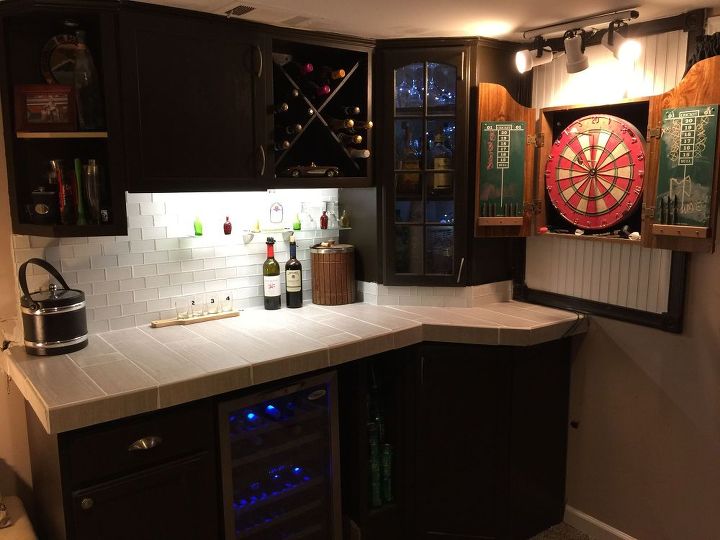
STEP 6 THE WINE FRIDGE: Now this is where my wife and I differ. I was proud of myself for finding an awesome wine fridge for free. She happened to be stuck on the fact that the reason I got it for free was because it didn't work. I can't stand how she is always into the little details.... My word of advice, a free offer for a wine fridge is often too good to be true. Unless you have a friend that knows HVAC! But what's better than one free wine fridge? How about finding a second one at a yard sale. Ofcourse I picked it up because it was stainless steel and had cool blue lights (you can see it below in the final project picture).
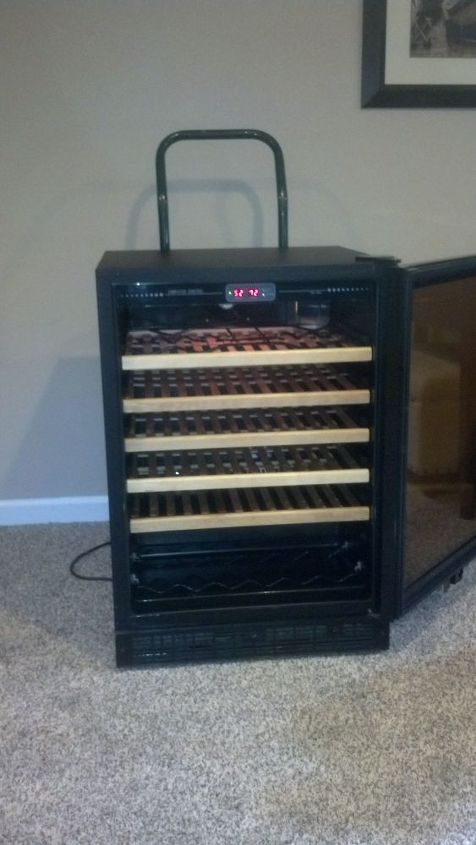
i actually got 2 broken ones, see below!
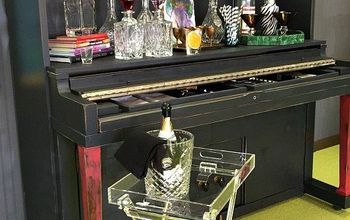
STEP 7 LET'S GET FUNKY AND ACCESSORIZE: So, you've done all the heavy lifting. Now is your chance to get funky. Want one of those "X" wine holder things? Just make one by taking shelves out of a cabinet and cutting them half of the way widthwise (your cut should measure the thickness of the shelf so that once crossed they will fit like a glove...this is much easier said than done!) then cross them like and X and screw or nail them in. I mentioned screws, yup, I got them from the salvage store too (check out the video below where I talk about it) Consider ripping some doors off and making open shelving. Or, maybe you scored an awesome glass door and it happens to fit one of the cabinets...put that on instead of the boring old solid wood door. Or, maybe you got lucky like me and found glass shelving and pelican brackets at your local reclaimed store. And, you can find track lighting galore there too (check out what I did). Ofcourse, nothing completes a bar more than a dartboard, I found the one in the picture at one of my favorite local thrift shops for $7. And, it even had the housing with it!
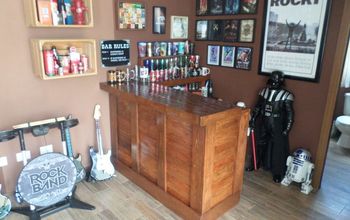
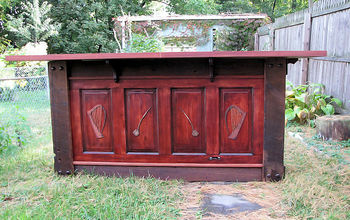
So, I got to this point, played one game of pool and got an alert on my phone that there was a horse farm in my area with free cinderblocks. Next thing you know I was hitching up my trailer and dragging my friend, his son and my sons out to the horse farm and strategizing for my next project. I had so much fun building the inside bar, it was time to build an outside bar. Follow East Coast Upcyclers on hometalk and like us on facebook to see how this next outdoor bar project turned out!

So, I mentioned that this post was as much about building a bar as it was about giving you tips about where to get reclaimed material. We're all about giving things new life and keeping them out of the dump. Check out this video where I give tips about finding reclaimed nails and screws thanks to my kid's telling me all about reducing, reusing and recycling.
{
"id": "2884091",
"alt": "",
"title": "",
"video_link": "https://www.youtube.com/embed/8EJmSkmppCM",
"youtube_video_id": "8EJmSkmppCM"
}
{
"width": 634,
"height": 357,
"showRelated": true
}

ABOUT EAST COAST UPCYCLERS

Want more details about this and other DIY projects? Check out my blog post!
Comments
Join the conversation
2 of 33 comments
-
Love it, and the concept of reuse,, reclaim, recycle.
-
Looks great!


Frequently asked questions
Have a question about this project?