


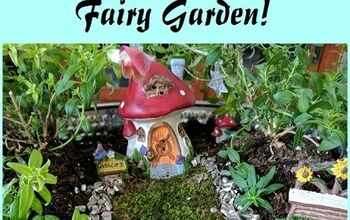
Fairy Garden
For the last few years I have been making a fairy garden in the bird bath of my back yard. The last two years, my daughter has been helping me, which she loves... and, sometimes her ideas are even better than my own.
This year she picked out the plants and I planted them.
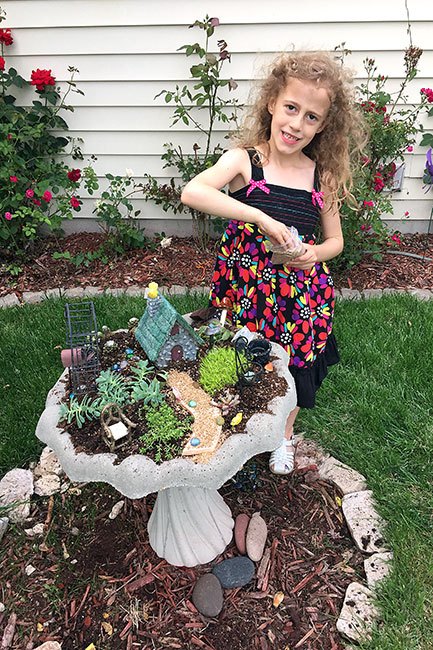
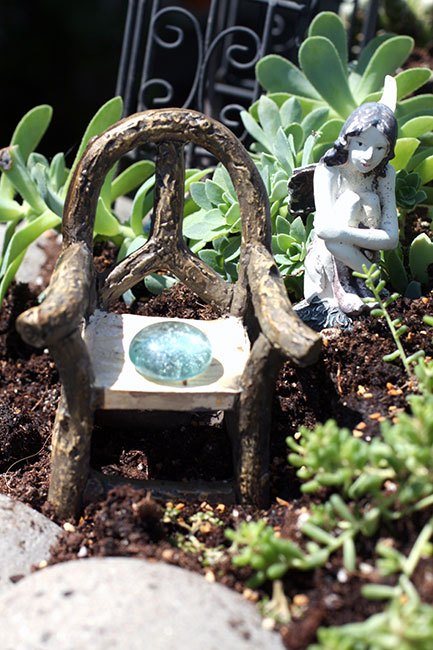
I laid out all of the little fairy garden pieces on our patio table and then she laid out the entire design of our fairy garden on her own. It was hard for me to not help her, or to not want to move something a different way... but, when she was done I was just in love with her creativity and how she laid everything out. I just couldn't change a single thing. Its a little 'messier' than previous years... but, that's ok. :) Its her creation. :)
And, here is what she came up with! I love this years fairy garden and it is so different from last years.
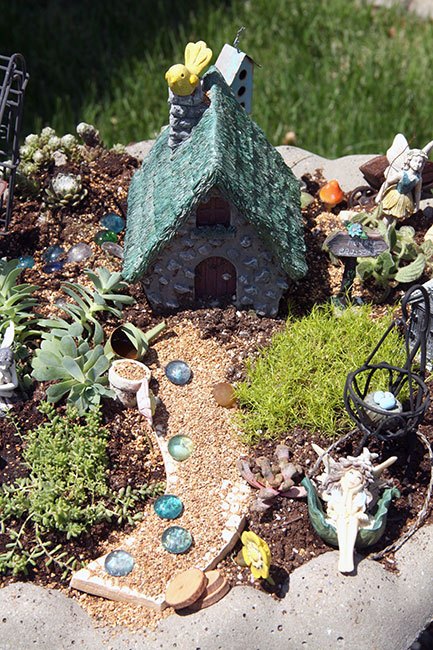
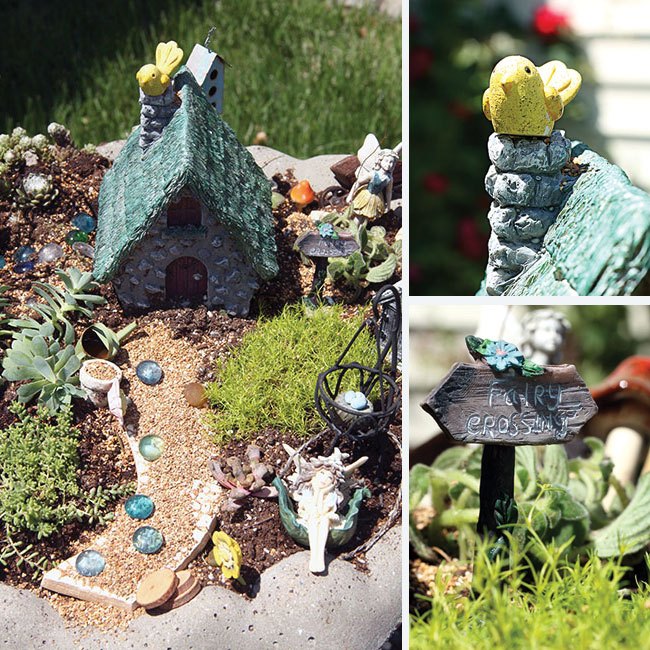
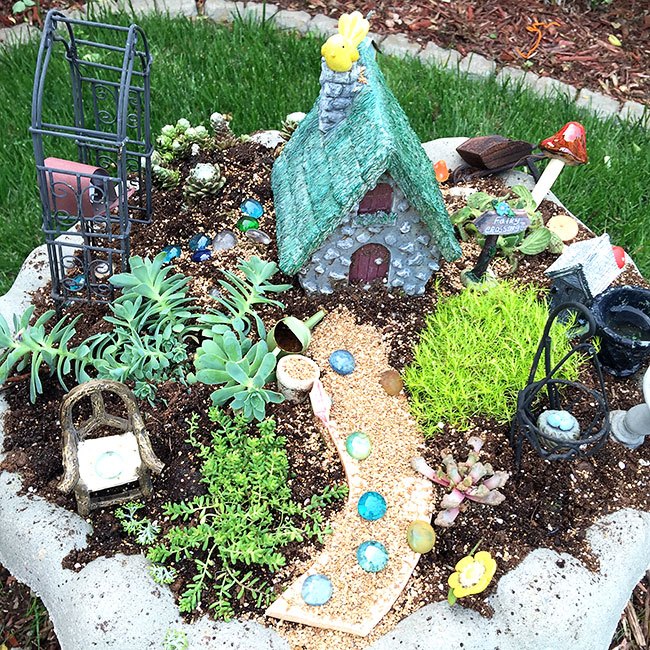
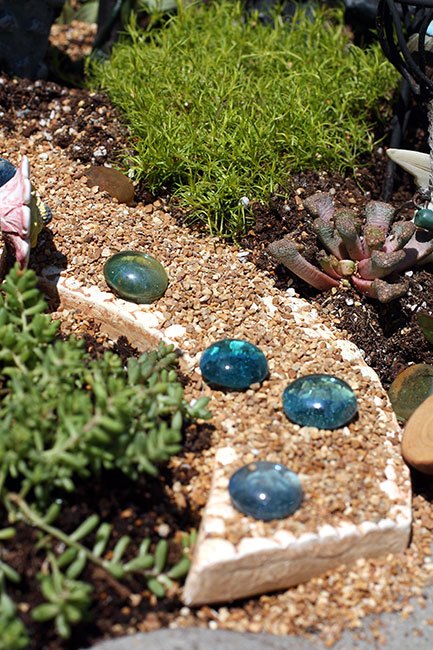
I bought a little bag of gravel and she sprinkled it all over this little terra cotta walkway that I bought. She then added some glass pebbles on top, just too cute! I was going to use the gravel in one little area, but I love how she made it part of the walkway leading to the house. The walkway is a new piece to the fairy garden this year.
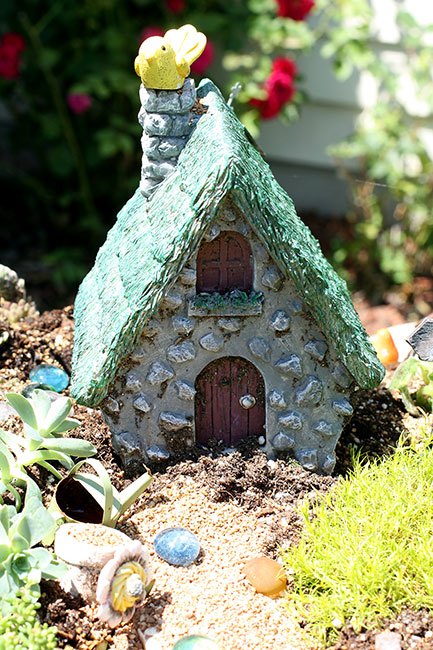
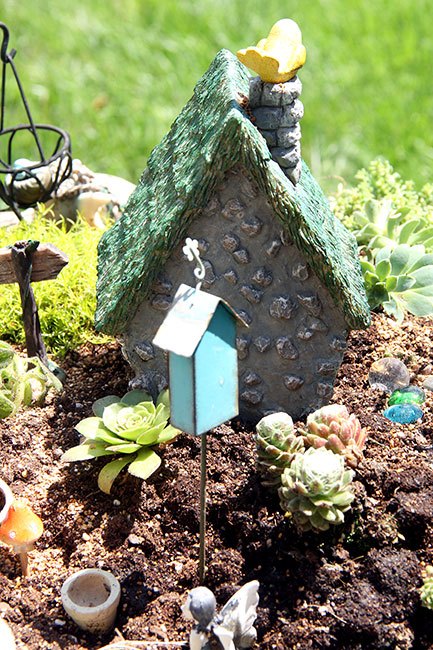
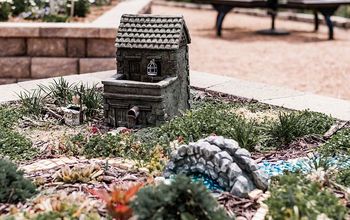
I purchased this fairy house the first year I did the fairy garden and it has held up well and hasn't faded at all.
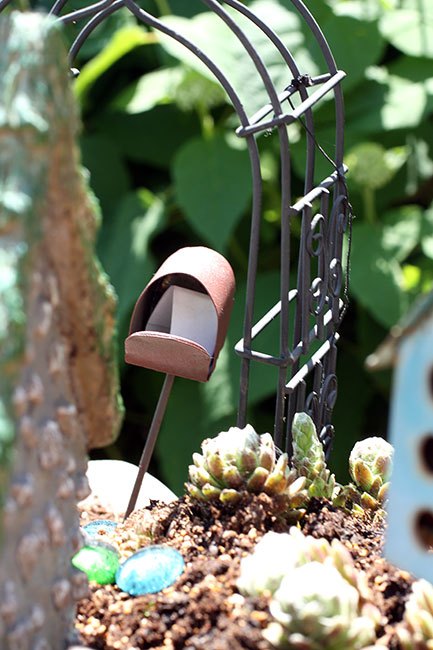
She even added REAL mail to the mailbox! Now this is a little detail I will never forget... she is just at a cute, cute age... Six is my favorite yet (but, I always say that).
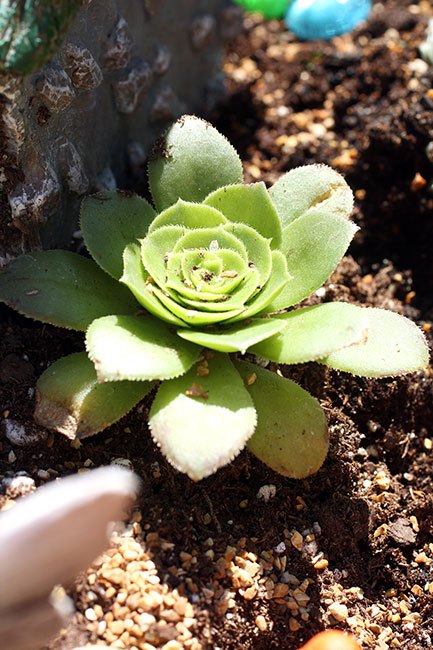
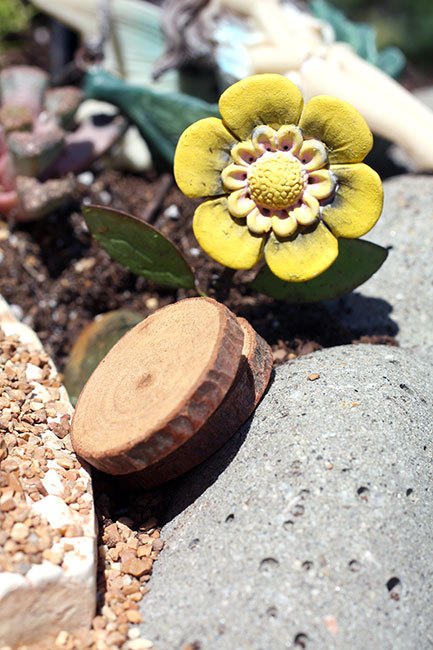
My husband always takes the kids on Mother's Day to get little plants for my fairy garden. The one on the far right actually survived the entire winter! I usually plant mostly succulents in my fairy garden, since they don't need a lot of dirt or watering.
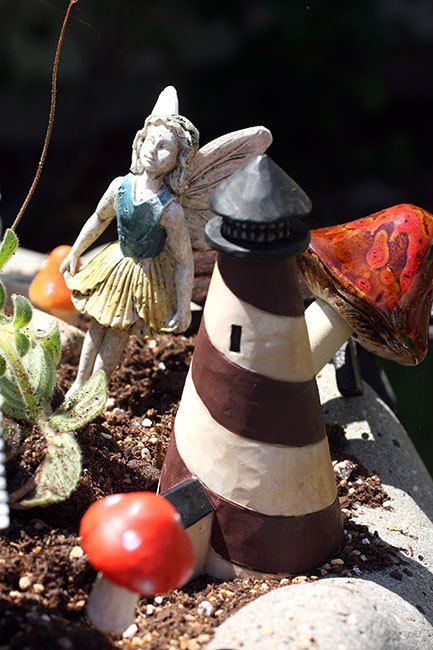
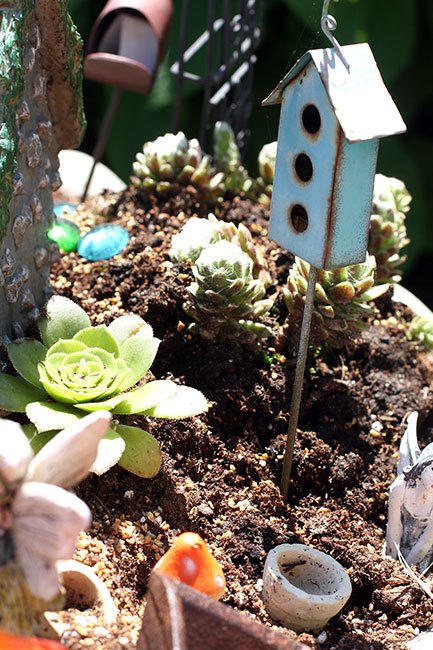
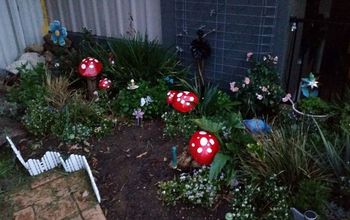
This lighthouse was also a Mother's Day present from them... if you know me well, you know that I collect lighthouse figures from lighthouses I have been in and those that friends have brought back for me from trips. Its funny that I love lighthouses so much, because I hate heights... anyway, now my fairy garden is complete, because it has a lighthouse, too! These little mushrooms are new, too, but I bought them when I was shopping with some friends in Downtown Kirkwood. :) Downtown Kirkwood shops have TONS of fairy garden goodies!
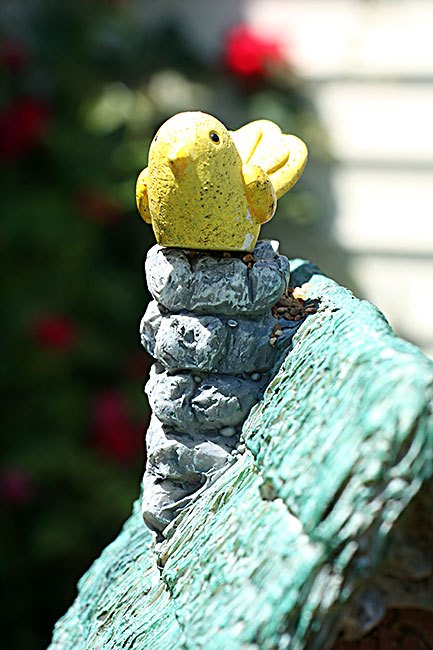
Autumn added this little yellow birdie to the top of the chimney to the fairy garden house. We'll see if the wind blows it off or not. :) I have put it in the fairy garden bird bath in the past.
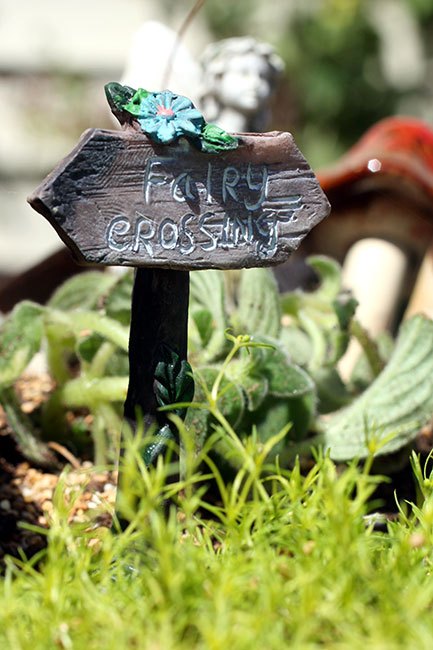
This Fairy Crossing sign is new, too. I also bought a metal banner that was really colorful for my fairy garden and I can't seem to remember where I placed it. Its funny, because it wasn't with the other new fairy garden items I bought... I hope it turns up eventually! Boo! I was really excited to share it this year with y'all. It drives me crazy when I misplace things like that.
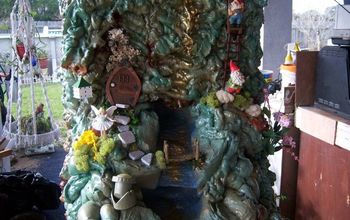
A view of the back of the fairy garden.
And, that's it! I can't wait to enjoy this fairy garden in the middle of my rose garden all summer long. Thanks to my sweet daughter for helping me with it! Oh, and ignore the mess under the fairy garden, that whole area needed to be mulched. I hope you enjoyed this post and it gave you some inspiration for your fairy garden! If you visit the blog URL, you will also see the fairy gardens we did in the previous two years... each year is different, so you'll get some more ideas if you go to those links. Thanks!

Comments
Join the conversation
-
There is no way to look at this post and not smile! So charming and sweet.
-
Adorable. Where do you find all your items? They are so charming.


Frequently asked questions
Have a question about this project?