


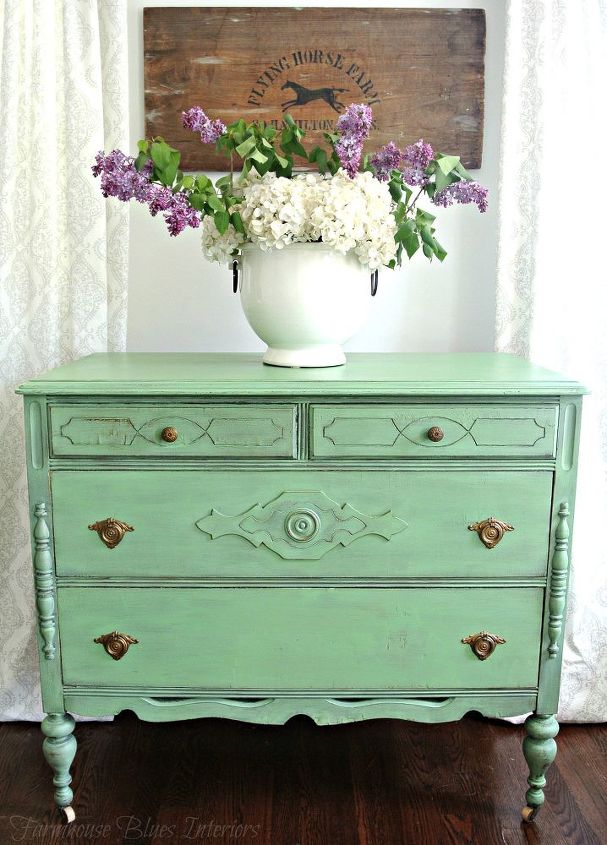
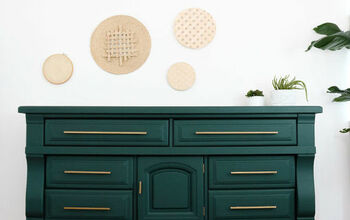
Rustic Green Dresser
Many times those furniture pieces in the worst condition become the sweetest makeovers.
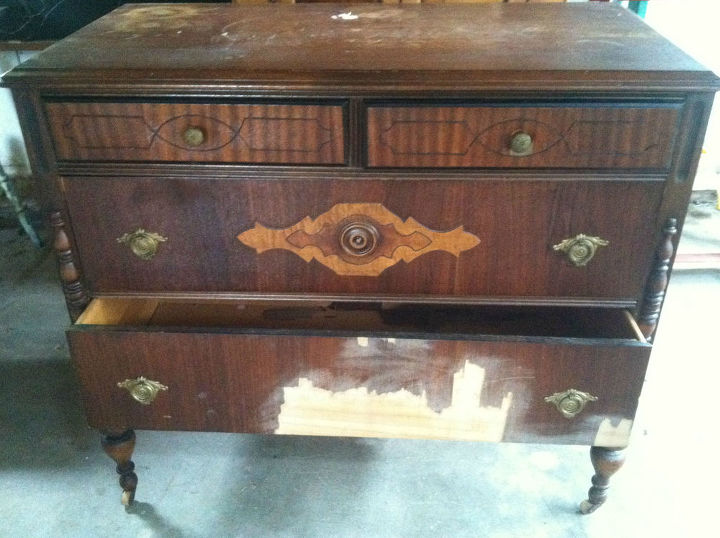
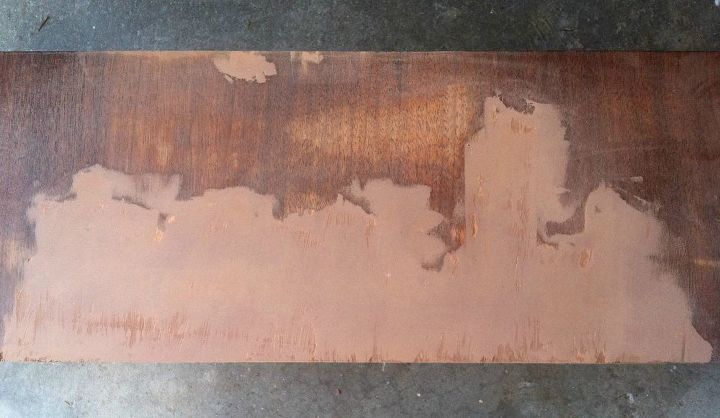
Like most of the pieces I choose, this one needed work! As you can see from the before photo, there was quite a bit of veneer missing on the bottom drawer front. There were also numerous scratches, marks, and even paper stuck to the top. But, I loved the details, turned legs, castors, and brass hardware. I had to make this work!
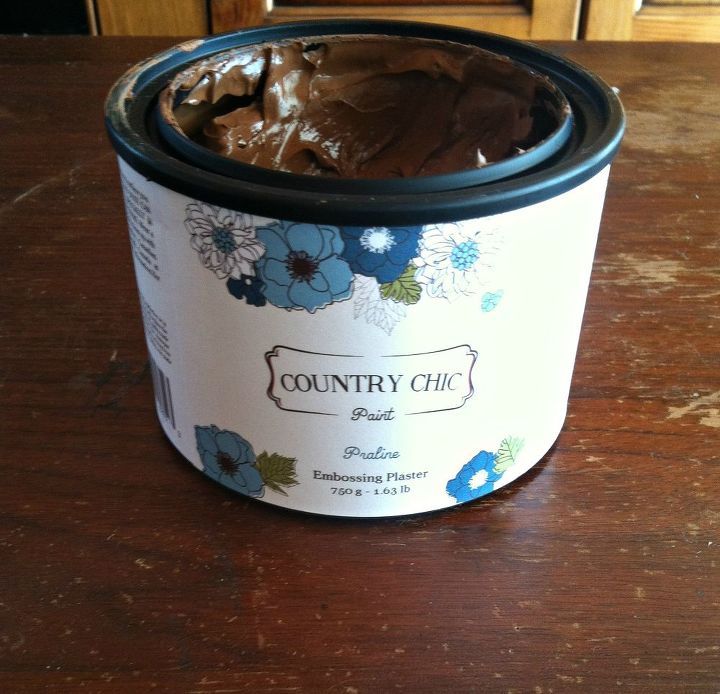
After I made sure all the loose veneer was off, I lightly sanded the drawer front and weighed my options. I could painstakingly remove the rest of the veneer but I really didn't want to go down that path. If you've ever removed veneer you'll understand why I didn't want to go with that option, it's tedious to say the least. I had just received a package from Country Chic Paint which happened to include their Embossing Plaster. The product is intended to be used to add texture to furniture or with a stencil to add decorative details to pieces. And that is what I initially had planned for the product. But as I looked at all that missing veneer I thought, "Why not try to fill the gaps with the Embossing Plaster?" The texture seemed perfect for such a project and it is already tinted brown, so I decided to give it a try. It's offered in three colors with the Praline being a medium brown.
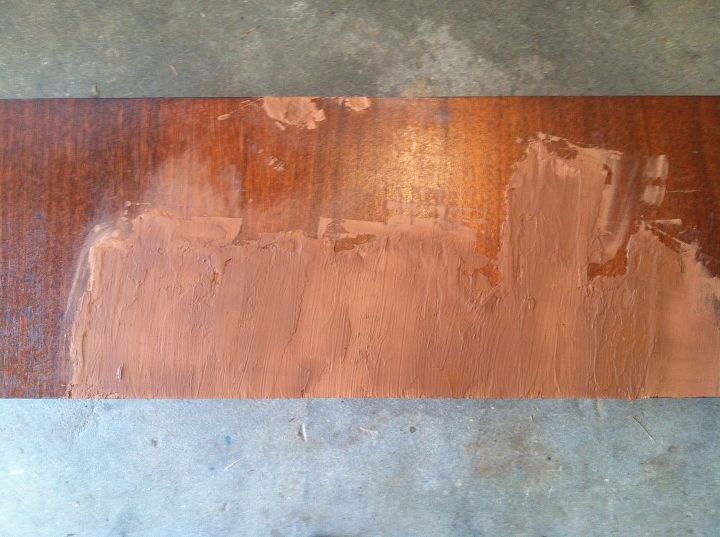
Here's what the drawer front looked like after I spread the Embossing Plaster on. You can use a brush or a putty knife and because I wanted to avoid brush strokes, I hoped to use a putty knife. But I couldn't find mine and was so eager to get going I used a small piece of cardboard instead. It worked fine!
Since I applied it rather thickly, I let it dry overnight and then sanded it down with my orbital sander. The instructions state that you may have some cracking if the plaster is applied heavily and I did have a little. But most of the unevenness was a direct result of how I applied the plaster. I could have applied it more smoothly, but I thought that given the rustic nature of the entire piece, the texture would add even more charm to the bureau once painted.
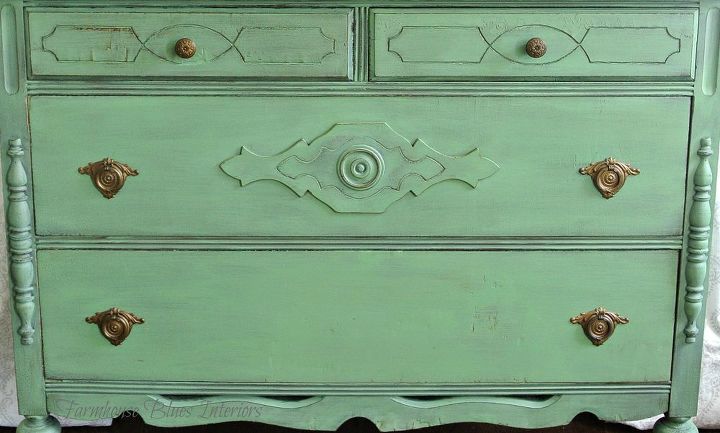
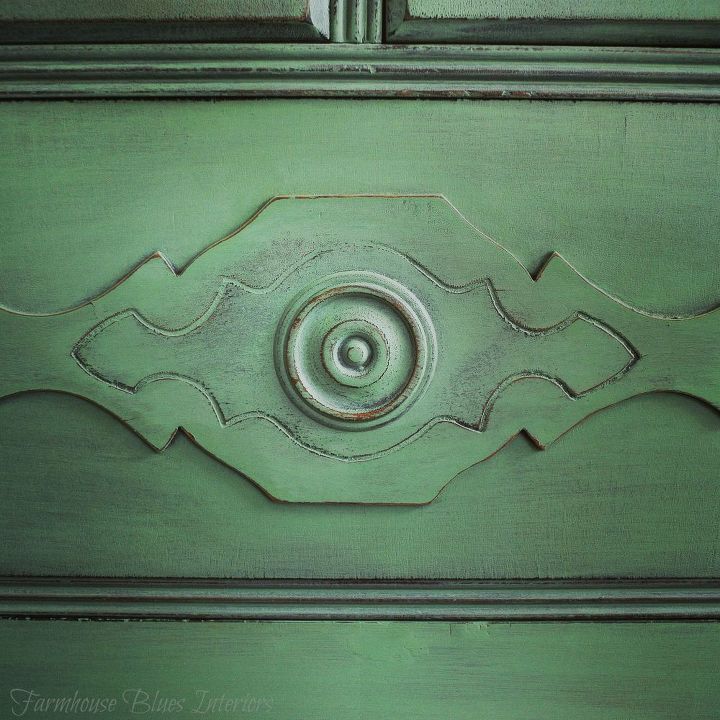
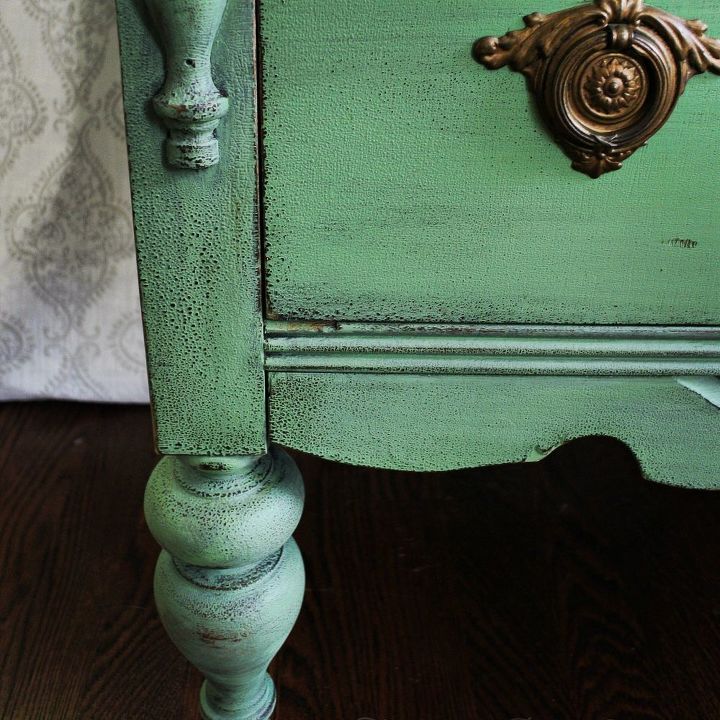
I wiped off the dust and was ready to paint! I had also just received the color Rustic Charm from Country Chic and given the condition of this piece I thought it was the perfect fit. I did mix in just a tiny amount of their color Vanilla Frosting to soften the shade a bit and added a little water. Country Chic paint covers very well but I wanted less opaque coverage, allowing the wood to show though in places. After two coats of paint, I used fine grit sandpaper to distress all the details and edges. I followed with two coats of General Finishes High Performance Top Coat in Flat and replaced the original hardware.

I think the Embossing Plaster worked great! Yes, the drawer front is not perfect. But neither is the rest of the dresser and all the imperfections contribute to its charm. Rustic Charm, that is!

Want more details about this and other DIY projects? Check out my blog post!
Comments
Join the conversation
2 of 124 comments
-
Wow, stunning. Beautiful work. You ladies are inspiring me. I have several vintage/antique furniture pieces that need some love.
-
Pamela thanks for the "iron" method to remove veneer.


Frequently asked questions
Have a question about this project?