


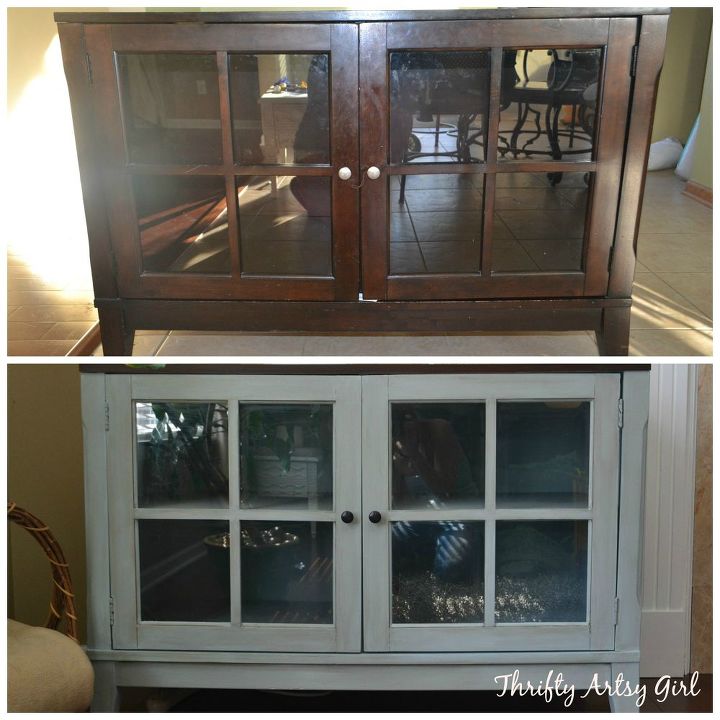
Blue Grey Chalk Painted Media Cabinet
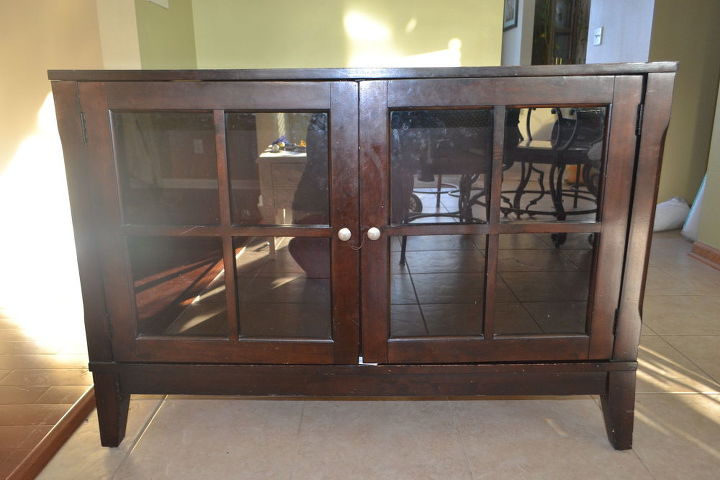
Before we even moved into our house we realized our giant entertainment center would not work in our living room. With two big "open" walls leading into other rooms (I just love the open floor plan) a giant window on another wall and a fireplace on the remaining wall we realized the only real logical place for our TV was above the fireplace. With no cabinets, shelves or storage of any kind for our DVR, Playstation, DVD's, etc. etc., we decided to buy a media cabinet from Craigslist.
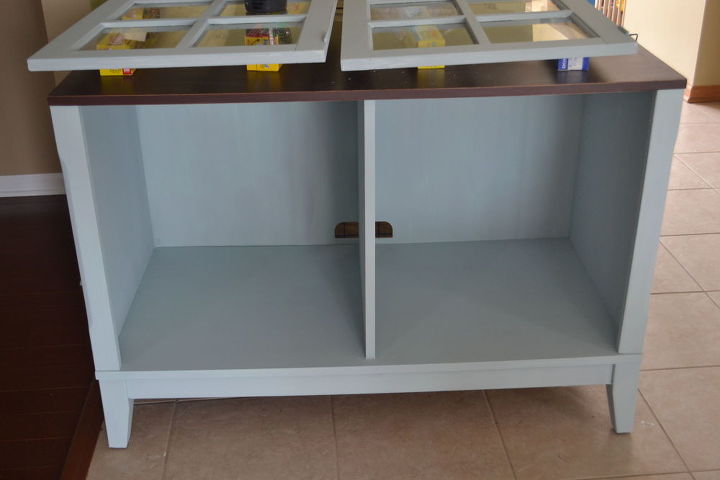
What we found was a cute, but somewhat beat up, media cabinet for $40.
I decided that the cabinet needed to be painted. I had painted the trim in that room white a while ago so I decided to paint the cabinet white to match.
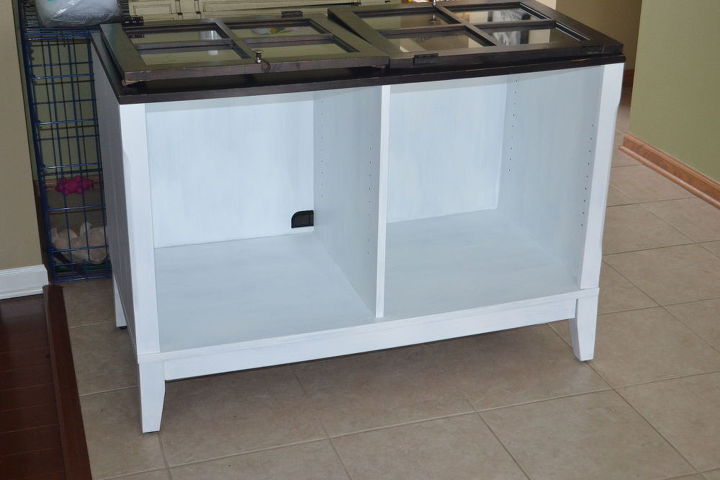
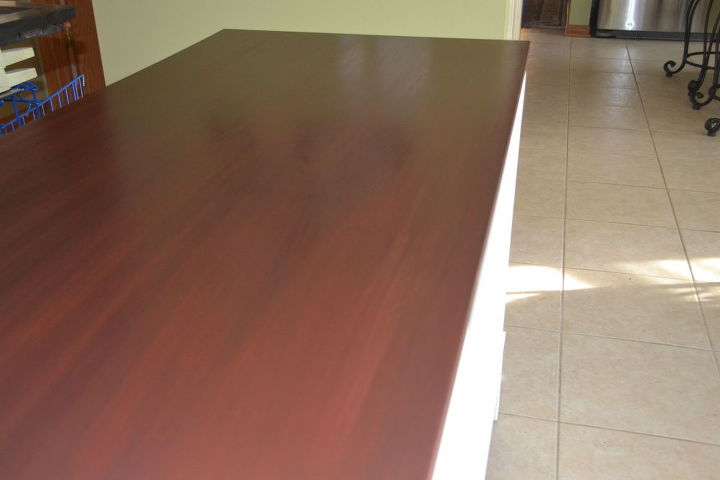
After several coats of white, I was almost done!! I painted the chipped top to look like cherry wood since it had deep scratches but I still wanted the cherry top.
After I had done all that work I let the cabinet sit for a couple weeks (for the look to marinate in my mind I guess) and decided to start all over! I wanted to try something new, maybe put a pop of color in my living room, not something that would pretty much blend right in. I also decided this project would be the perfect time to try my hand at homemade chalk paint.
After wasting my time painting the cabinet teal (a pretty color but NOT on this cabinet) I settled on a blue grey color. Let me just say this media cabinet was my first experience with chalk paint of any kind, homemade or store bought, and I'm in love . When I mixed the teal I think I mixed it too thin, which made it look even worse with white paint showing through. I mixed the blue grey a little thicker and it couldn't have worked out better. The paint went on super smooth, like nothing else I've ever used. One coat and I was done. Well, not quite. I love the look of dark wax on chalk painted furniture but since I'm such an extreme novice and I didn't want to go out and buy wax I used what I already have experience with: stain. I took out the glaze/stain from my cabinet restorations kit and got to work brushing stain on one of the shelves first. I used some cheesecloth to wipe the stain off.
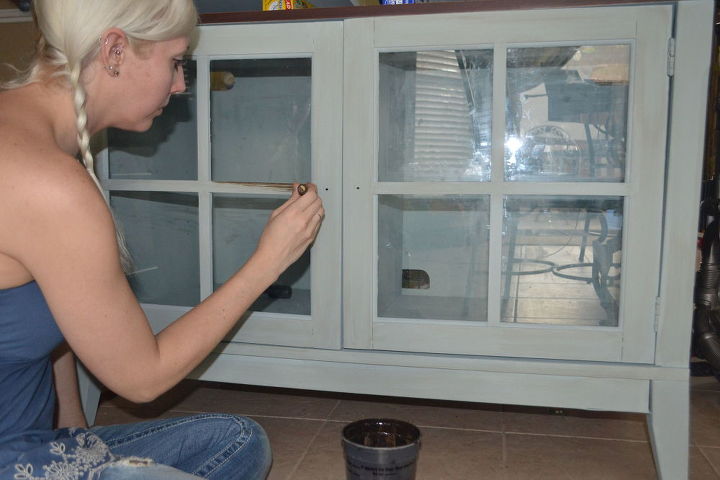
I painted the stain on with a foam brush.
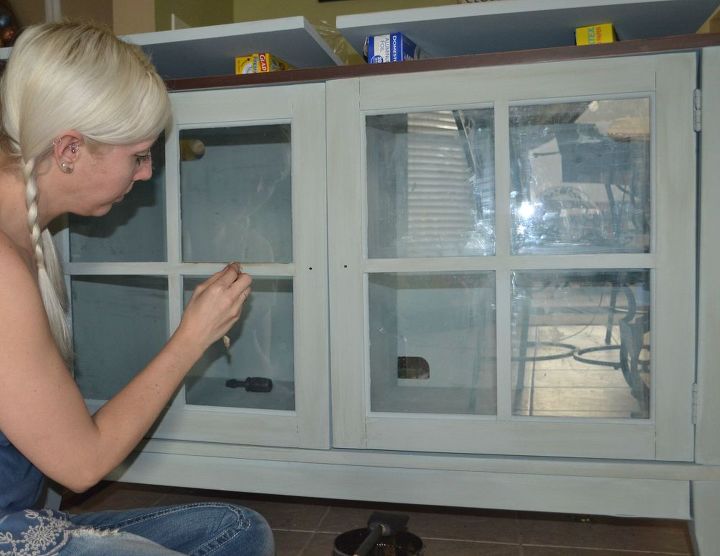
Then I wiped it off with damp cheesecloth.
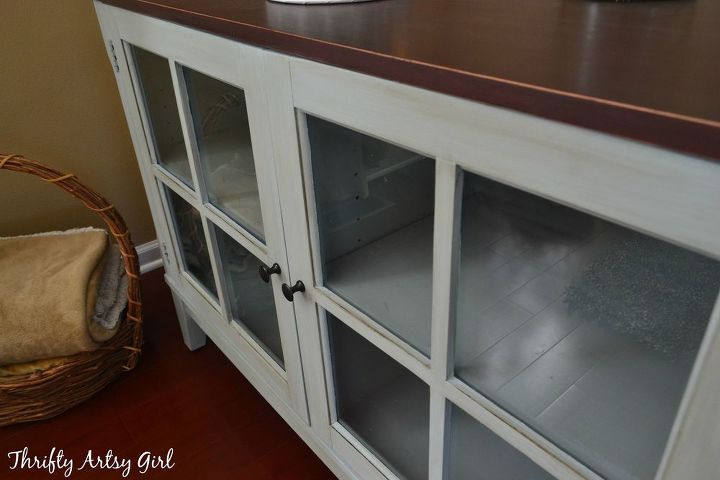
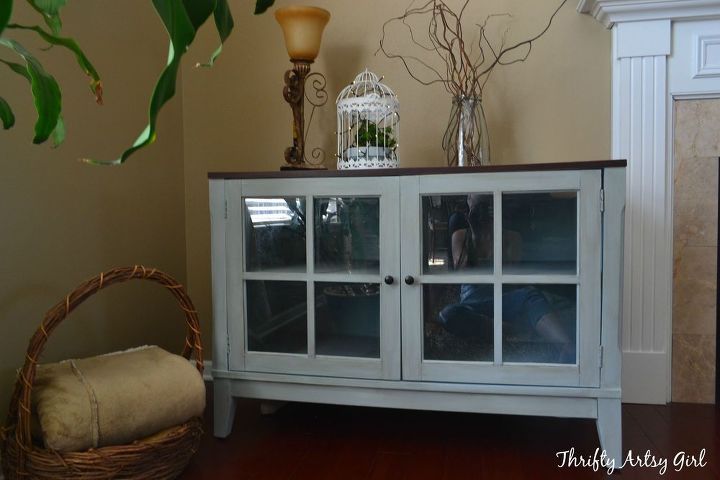
Here's a view of the finished product. You can see how I lightly sanded the edges of the top and left some of the stain on the edges of the doors to create the look I wanted.
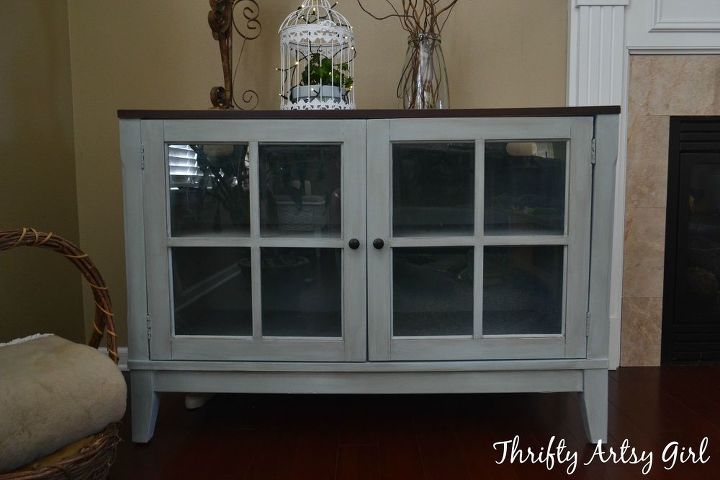
I also reused the handles by spray painting them oil rubbed bronze.
To see the complete tutorial, get more info on homemade chalk paint, how to paint a surface to look like cherry wood or just to view more pictures check out my blog :)

Want more details about this and other DIY projects? Check out my blog post!
Comments
Join the conversation
2 comments
-
Really like the new color!
-
Thanks Hannah :)


Frequently asked questions
Have a question about this project?