


Reversible Pallet Flag

by
Amy
Hand painted wood signs and flags are everywhere and I love them! We made a way to make our American Flag Pallet sign reversible so we can use the flip side for Autumn time. We took apart a pallet for this project but you could use any wood.
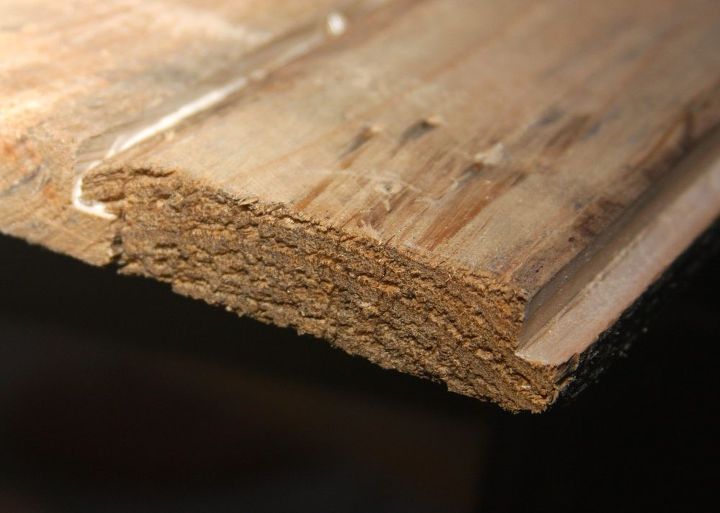
Using a router table we ran each side of the board through using a rabbiting bit to create a way to interlock the boards.
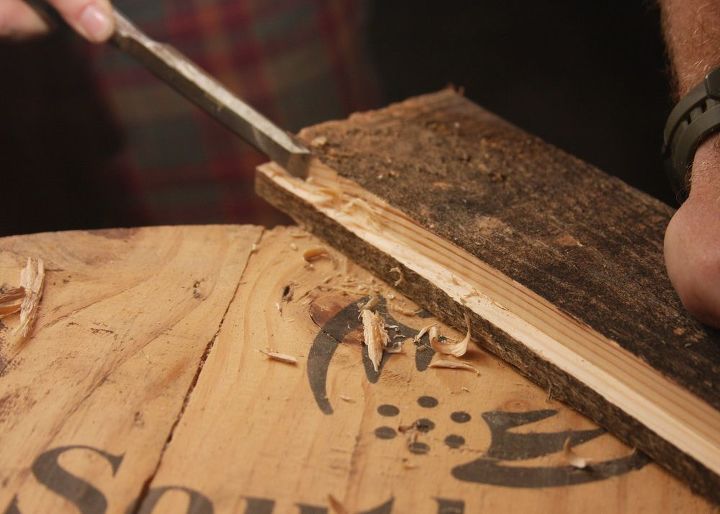
After sending the boards through the router we had to chisel a few places to ensure the wood was even and smooth so they would join to each other.
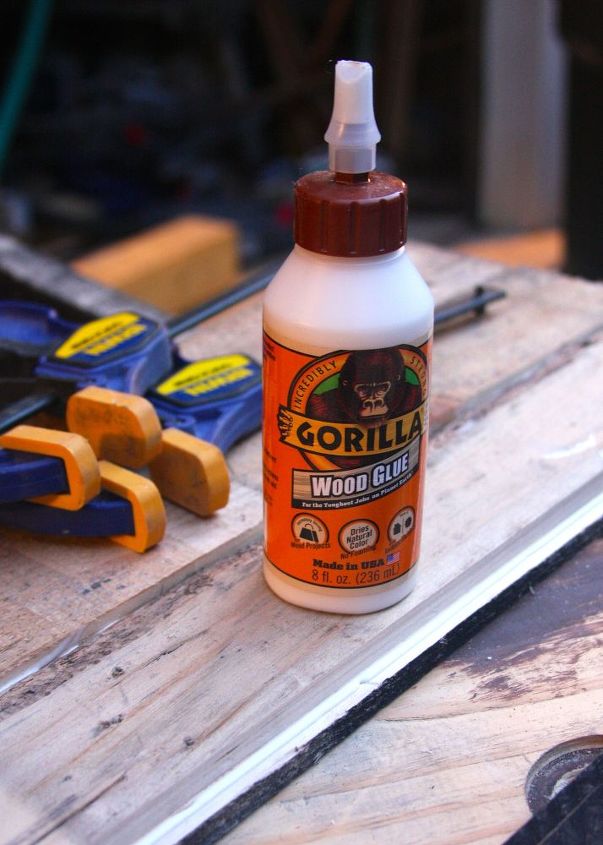
We ran a strip of wood glue along the portion we routed out and interlocked the boards together.
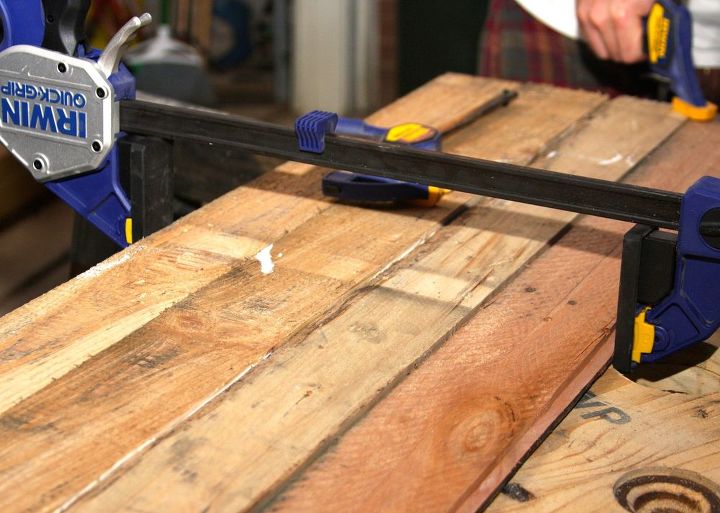
Once we added the glue we clamped sections together at a time.
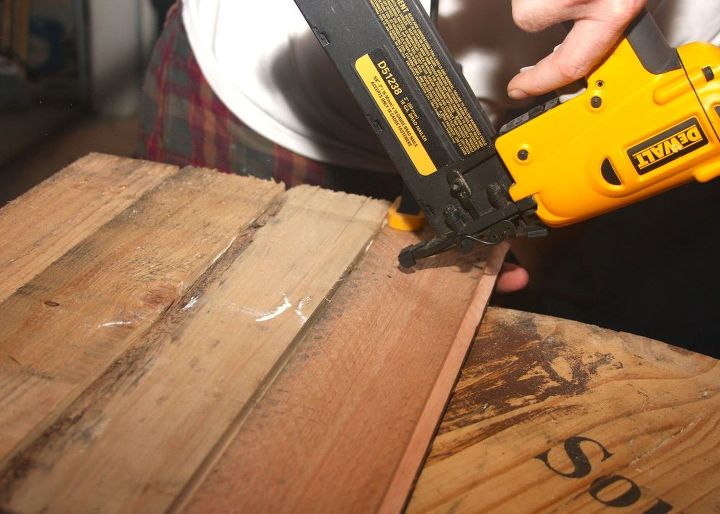
The glue gave a nice over all hold, but to ensure stability we nailed in finishing nails diagonally joining the boards to each other.
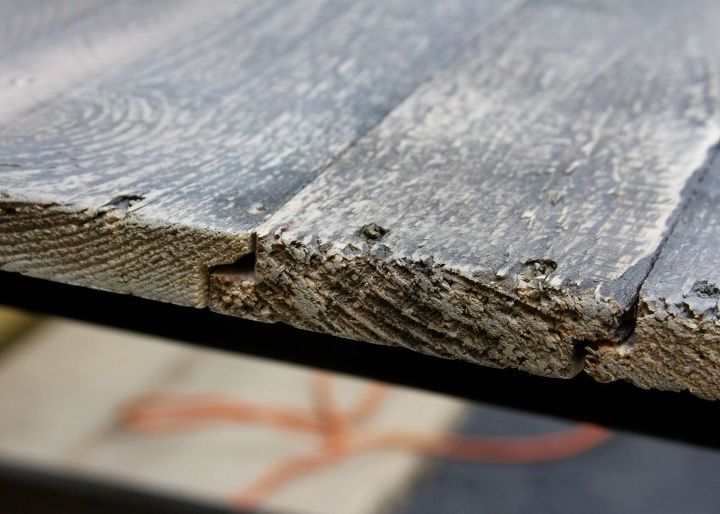
This is how the boards interlocked together creating a smooth and useable surface on both sides. Most large wood signs are put together using other boards to brace the back or a metal bracket of some sort. By interlocking the boards now both sides of the sign can be used.
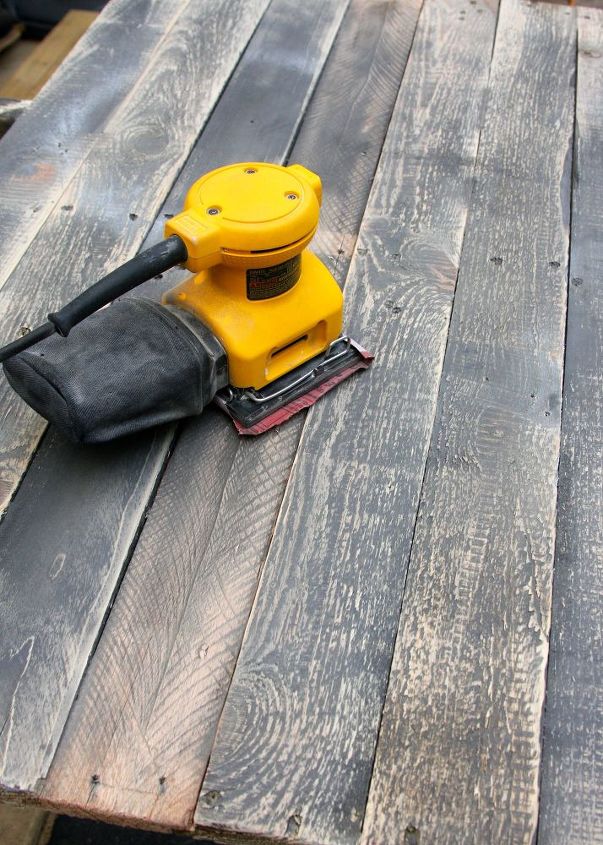
On the side we created the flag I painted it quickly with black paint, let it dry and sanded using a hand sander.
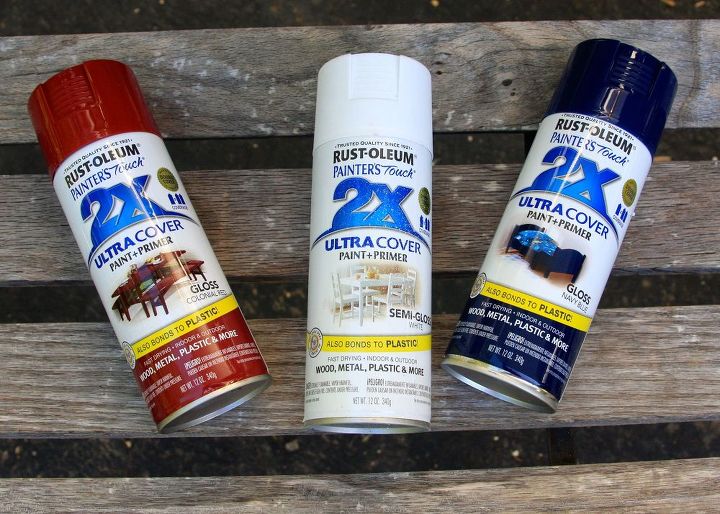
We chose to use spray paint, but you can brush or roll the paint on also.
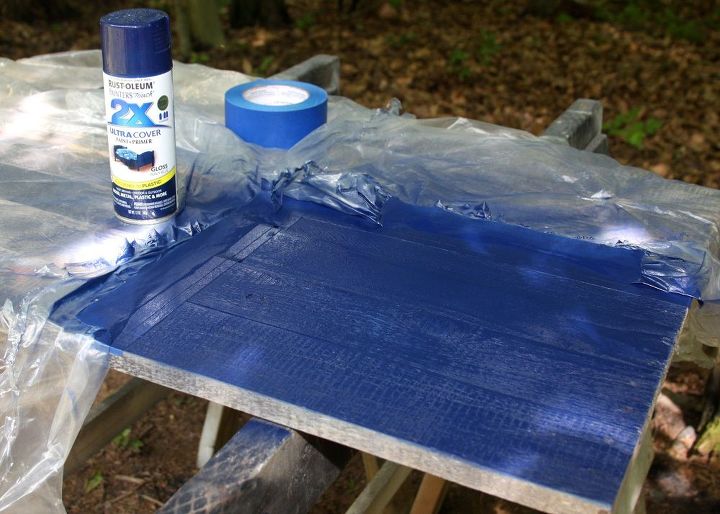
I chose to paint the blue portion of the flag first. Determine the space and then tape it off using painters tape and cover the rest with plastic.

Use painters tape to section off the stripes and paint. Allow ample time to dry in between coats before laying the tape.
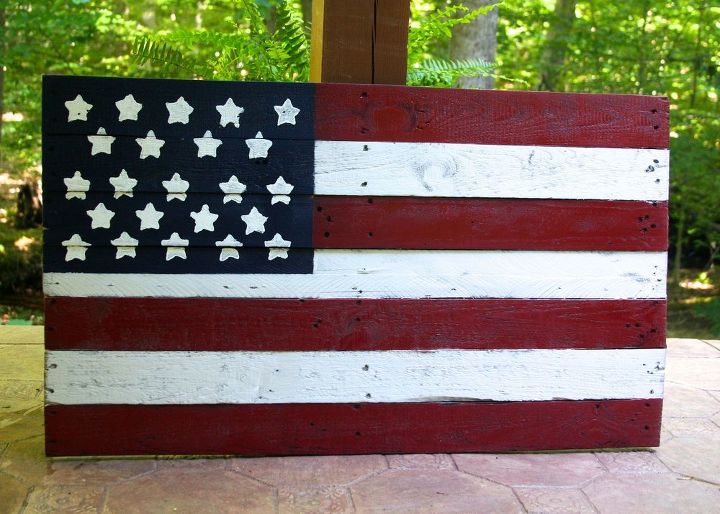
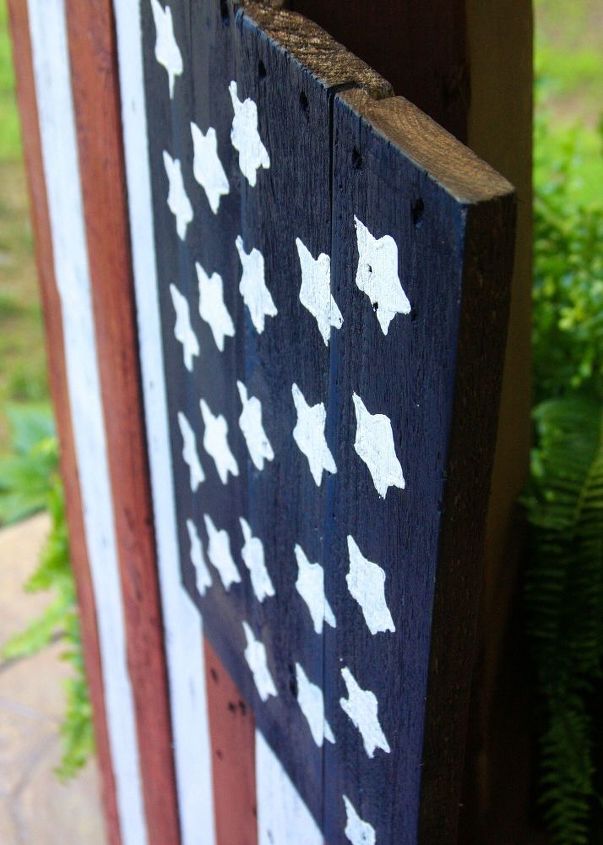
Once all was painted and dry I added the stars using a star stamp I cut out of a sponge. Dip the stamp in white paint and place your stars.
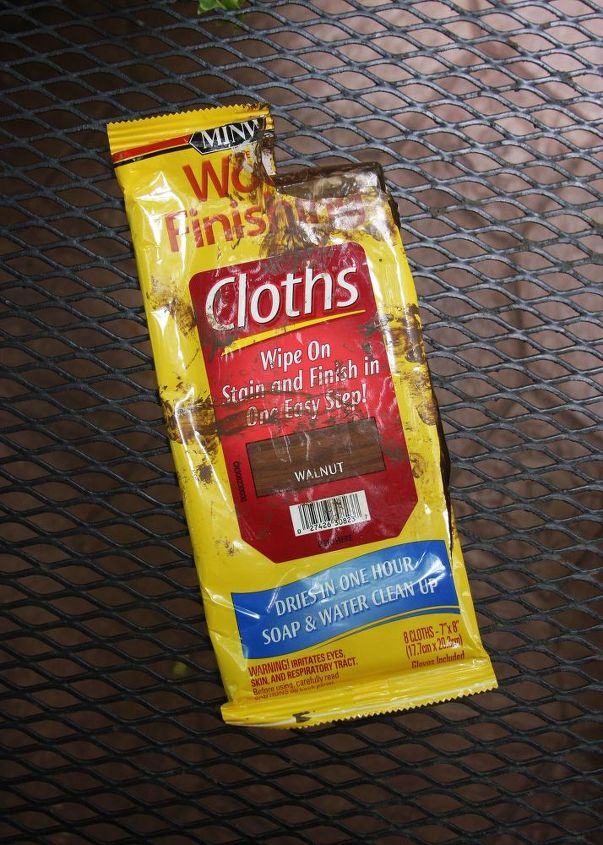
Once the flag was complete and dry I flipped it over and stained the previously sanded wood on the back side of the flag using Minwax stain cloths. Honestly, brush stain would have probably gone on easier for this project since pallet wood is dry and a little rough in a few spots (even after sanding) but this is what I had on hand.
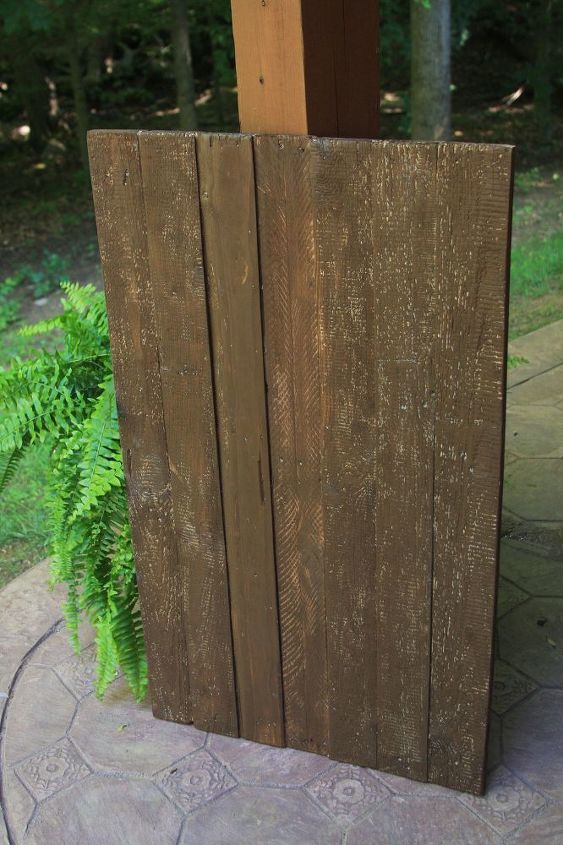
The back is now stained and ready for another sign on the back. I might add "Be Grateful" or "Happy Harvest" to this side but haven't figured that out yet.
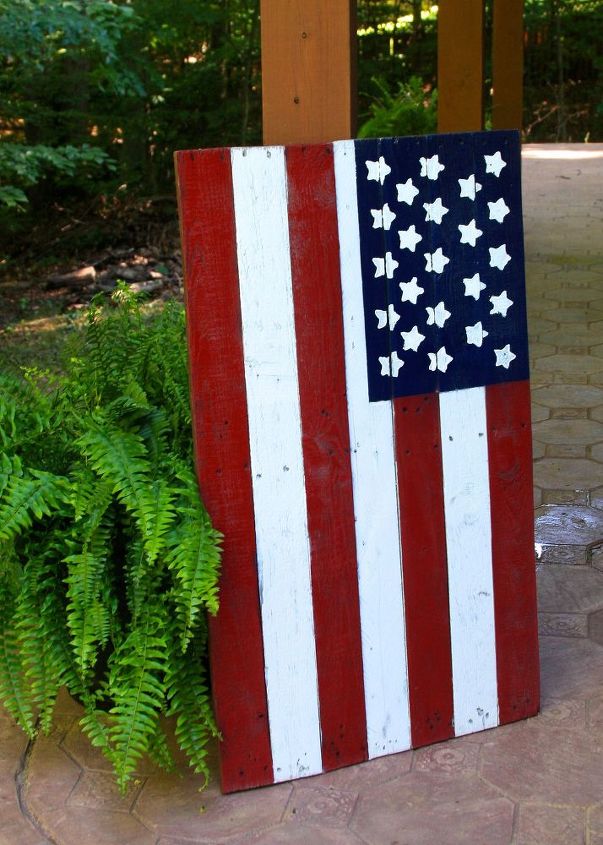
Now we will be able to display the Flag on our patio Memorial Day through Labor Day and just turn the sign over for an Autumn inspired sign all the way through Thanksgiving.
Want more details about this and other DIY projects? Check out my blog post!


Frequently asked questions
Have a question about this project?