


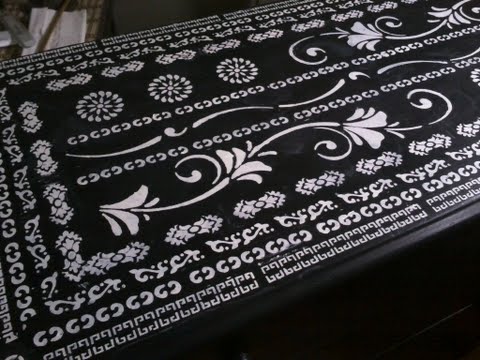
Stenciled/painted furniture

by
Kate F
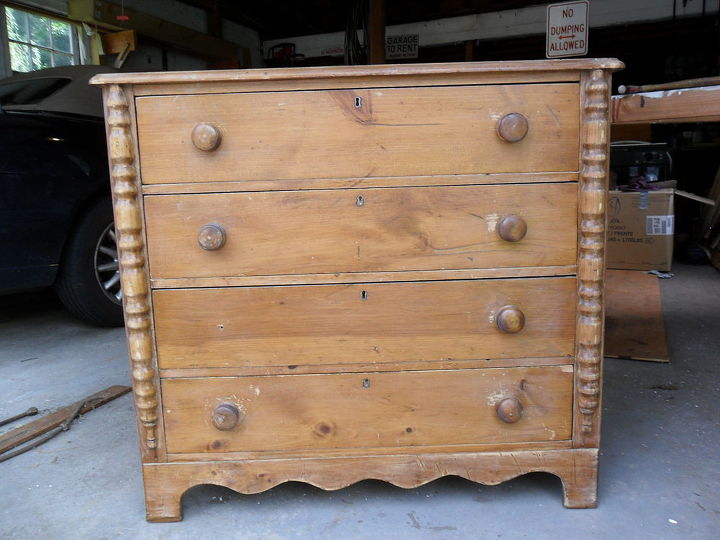
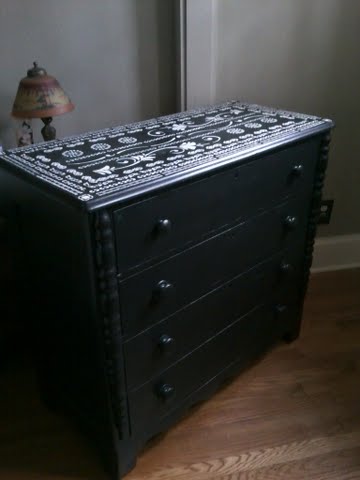
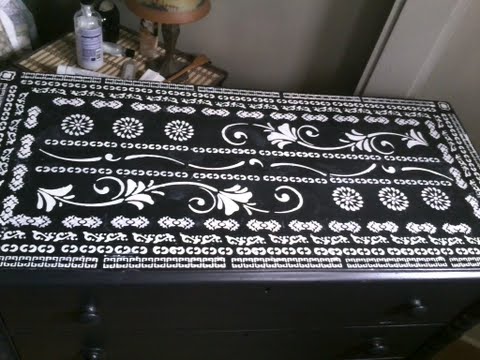
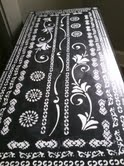
Purchased in Savers for $14. - Stenciled in Indian inlay technique - time consuming and tedius - but like the result. Needs touch-ups.

Comments
Join the conversation
6 of 35 comments
-
Love the black background. The piece is beautiful! Great job. Thanks for sharing.
-
Awesome, I love it! I have one comment for y'all though. I don't know if it's where I live, but no matter how hard I look, I can NEVER find these bargain pieces of furniture. I've tried the thrift stores (where I rarely find anything), craigslist, habitat restore etc; and the prices are always a lot higher. Perhaps I should move to another area!
- See 3 previous


Frequently asked questions
Have a question about this project?