


Dramatic Concrete Kitchen Update

by
Bev
Advanced
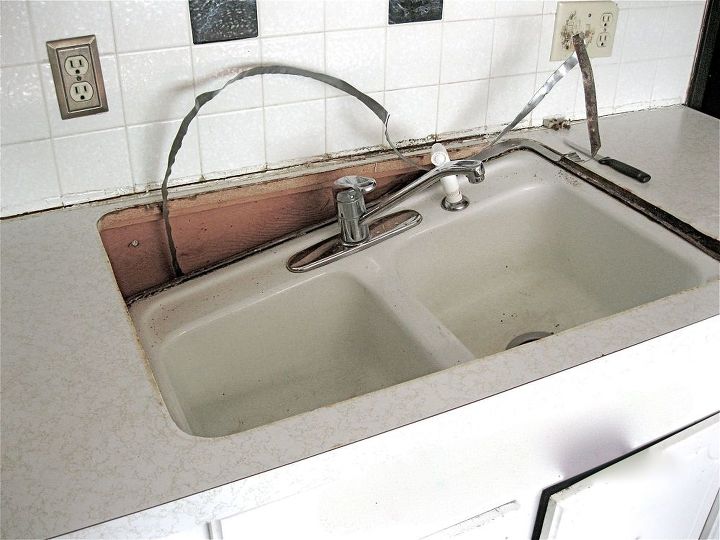
It's too late to turn back now.... we knew that the instant the sink dropped down... who knew it would do that, certainly not me or my husband? I forgot how awful that old kitchen was! We left the new sink and faucet installation to the professionals though. There's a time to admit your limitations. I was really getting excited about out new kitchen plans!
We watched lots of video's on how to pour concrete, how to measure, sand and polish.... then we watched them a dozen times more! We still made mistakes, but hopefully learned from each one.

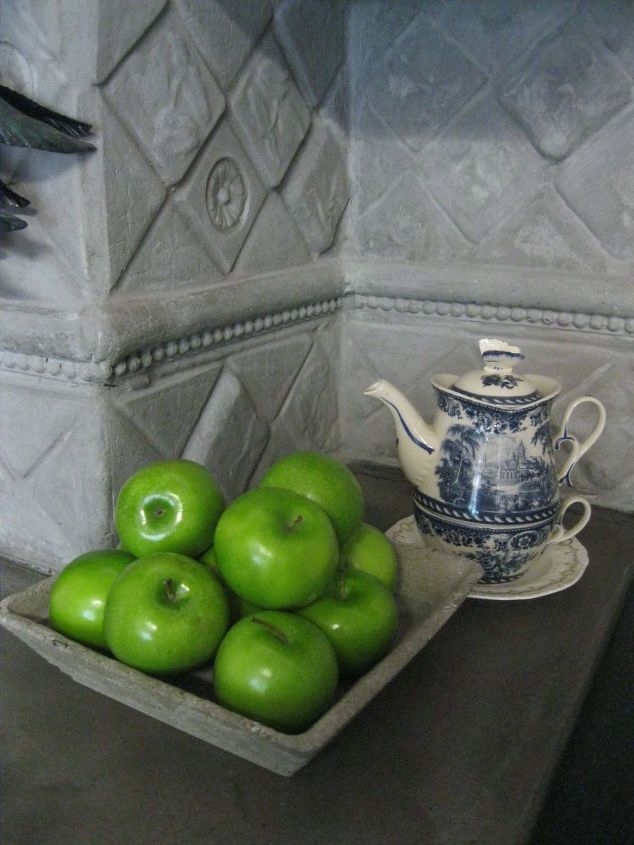
Not only did I want a concrete counter top, but I decided on redoing the entire space between the counters and the cabinets. We ordered about 5 different mold patterns and poured, let them set and then poured some more until we had a large enough supply plus some. We left the old tile in place since it was firmly attached and trying to remove it might cause bigger problems ahead.
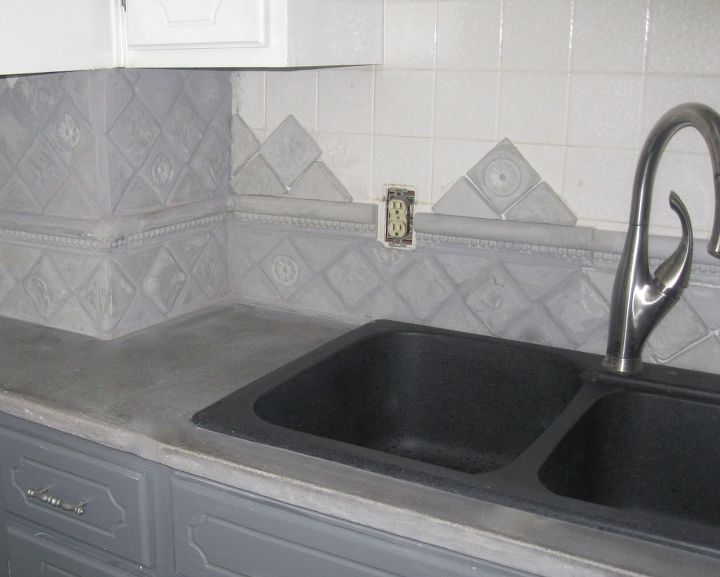
With the counter top in place, along with the new sink and faucet I began the very tedious task of applying my 4"x4" concrete tiles. Always have your "level" handy... lesson learned.
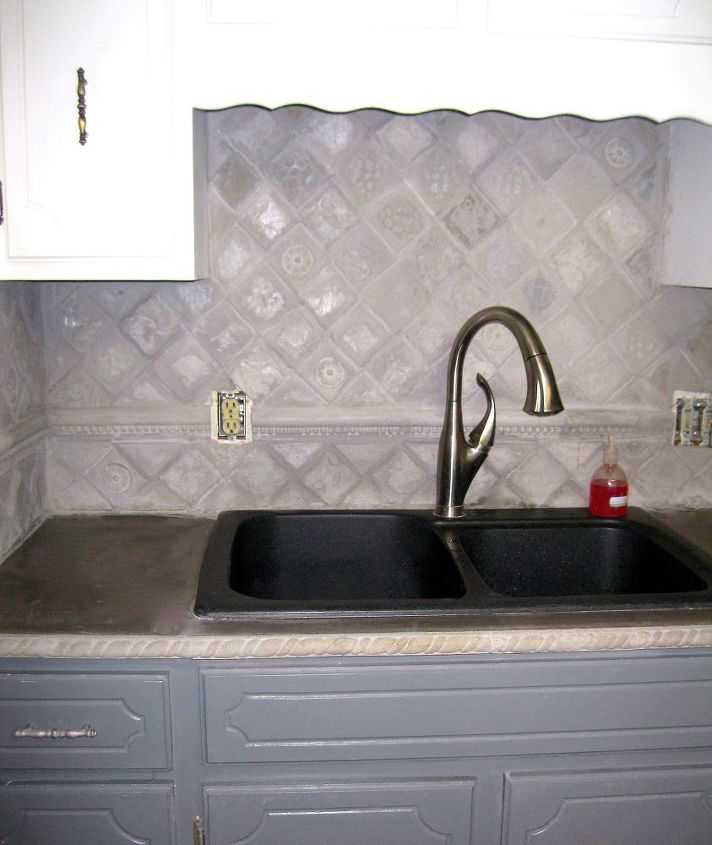
After all the tiles were in place I filled in the grout and wiped away any excess. I also used a Dremel sander to smooth away any rough patches. I decided on a decorative rope trim for the front of the counter. We didn't want everything to be all one color; it might get a little boring or seem bland. We stained the counter top a darker gray and added a thin stain to the tile as well but wiped a lot of it off; leaving just enough to show more of the detail in each tile.
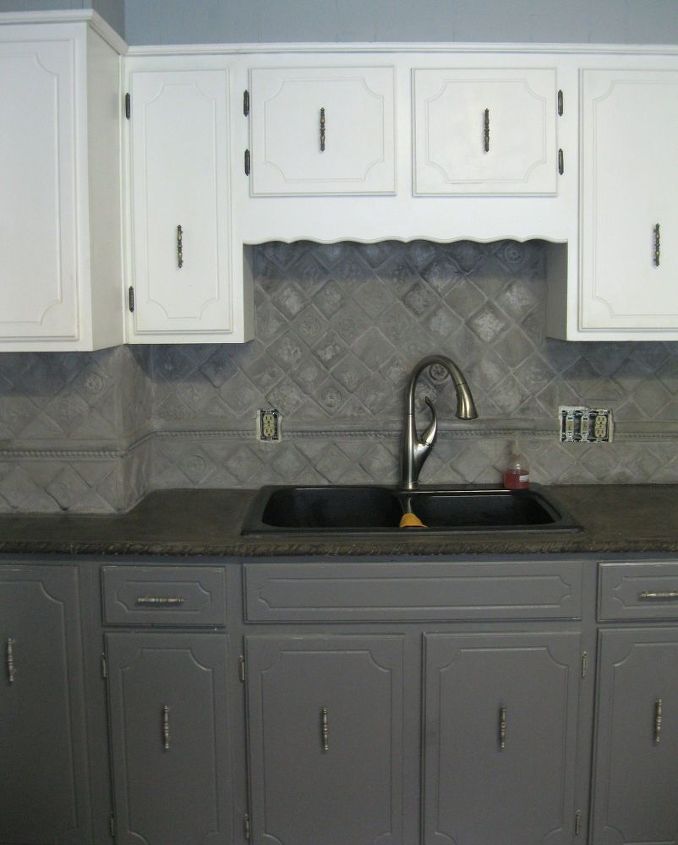
This shows the completed area around the sink.... at this point I still have 12 feet of counter space to finish! I'm very pleased with the results and we're waiting for the arrival of our new switch plate covers.
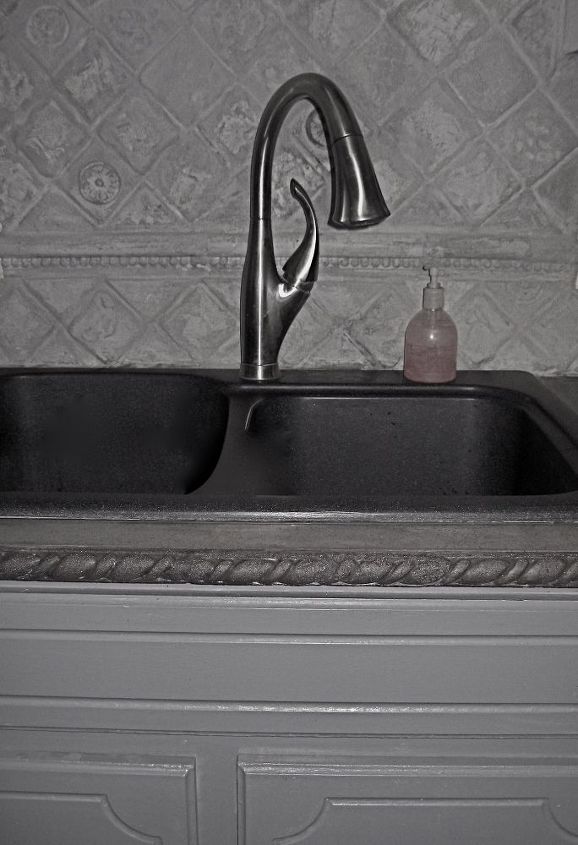
I love the detail of the rope trim front and the stain was perfect!

With some leftover concrete I made this square bowl using two identical plastic bowls. I poured the concrete into one bowl, pressed it around evenly and then set the second bowl into the first and let it set for 24 hours before separating the bowls. The detail from the textured bowls came out beautifully.
I'm really proud of our project and I enjoy working with concrete! I look for new ideas every time I visit hometalk.
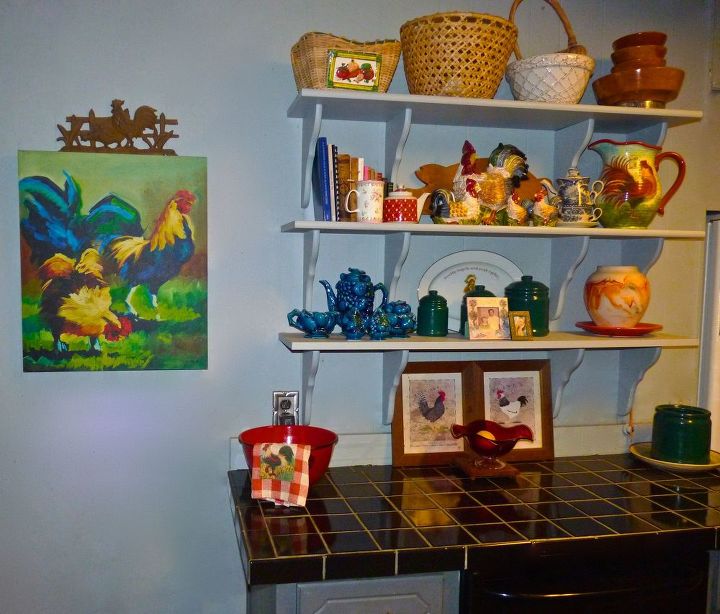
We haven't replaced this 6' countertop yet, but if you think our gray kitchen is bland or boring, think again. It's a treat to be able to use eye popping color and not be overwhelmed by it.... we added the shelves and I finally had a place to display my knick knacks, pottery, and rooster collection!
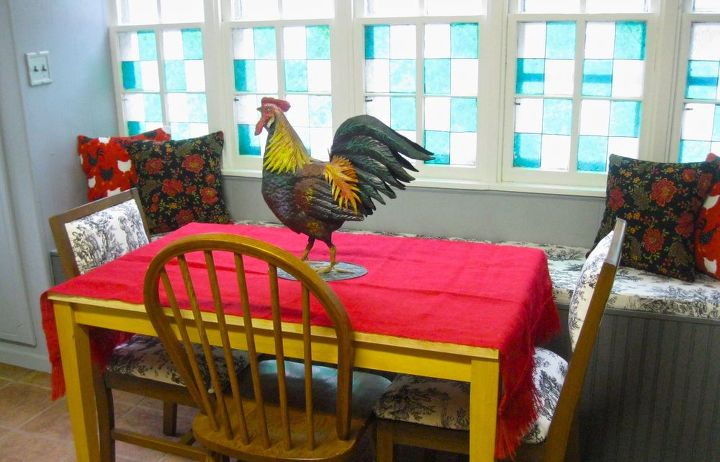
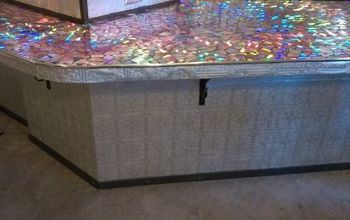
My kitchen finale was a banquette I've wanted since we moved into our home. I honed my skills as a carpenter and built a three section, 9 foot banquette below our window wall. Each seat section lifts up and provides lots of storage in each one.... I love it!
Comments
Join the conversation
2 of 89 comments
-
Wow! Tenacity and hard work paid off nicely. Beautiful job.
-
Thank you, we're still enjoying it and I'm glad we chose the concrete for our counter tops... I love them!


Frequently asked questions
Have a question about this project?
What type of concrete did you use? Was it an overlay on existing countertops or poured into molds? How did you seal it?