


DIY Industrial Cart Coffee Table
$110
6 Hours
Easy
I started drinking coffee at the young age of 11 while we were living in the cold country of Romania. It was just about the only hot drink available to us, but I haven’t looked back since. I love coffee! So, it stands to reason that I love coffee tables. These are the most creative and functional element in living rooms all across the world. They can be as subdued or fantastical as a person desires as they take center stage.
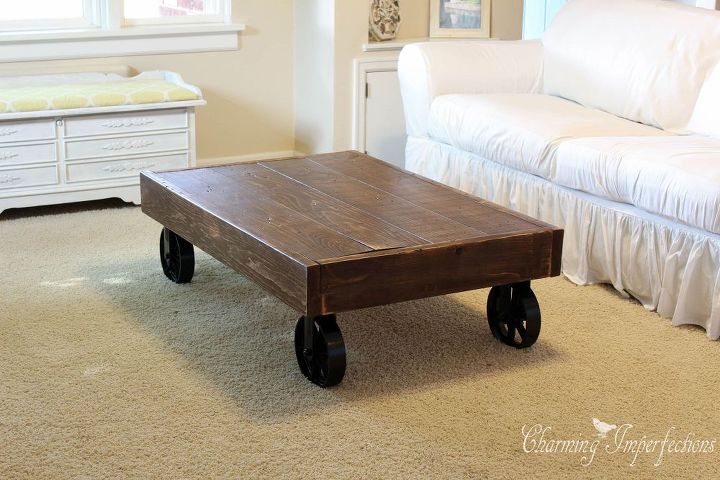
I won’t bore you with the story of our $35 garage sale pick up that filled the place of a coffee table for the first year of living in this house, but just know, it wasn’t all that great. It did its job and looked alright, I guess, but it didn’t have the statement or wow factor I was looking for. So, I decided to make one. I’m loving the industrial/farmhouse look that is becoming so popular in home, so when I saw Shanty 2 Chic’s tutorial for this one, I had to make it.
This is just a brief description of the steps you'll take to make this project. The full tutorial is available at the original blog post at www.charmingimperfections.com.
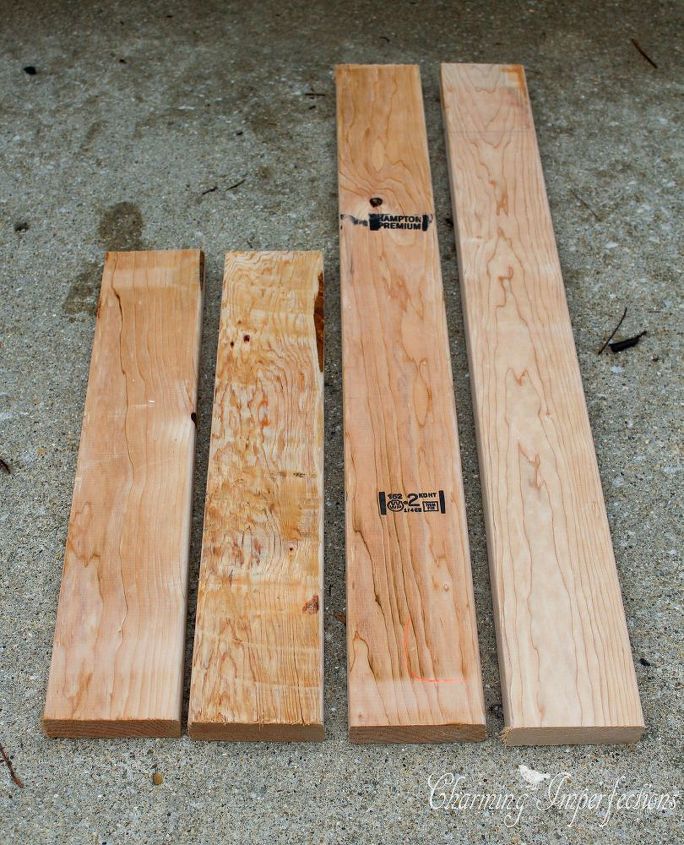
Cut List:
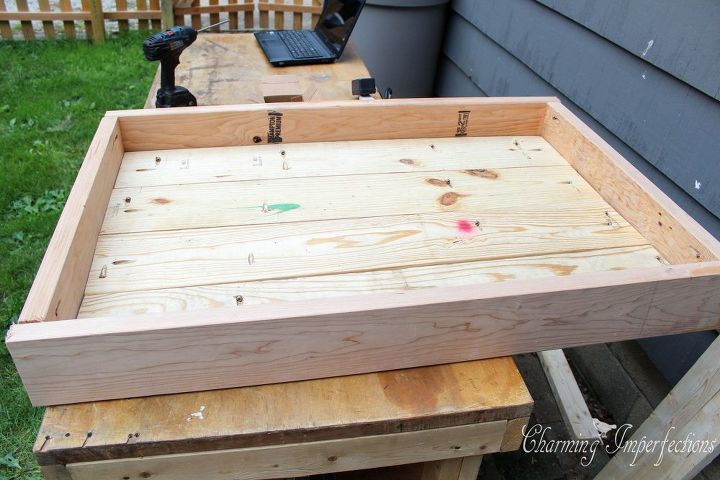
Once your pocket holes are drilled, get that handy clamp that came with your Kreg Jig and start fusing the table top boards together. Is there anything more satisfying than a pocket hole screw sinking into place perfectly?
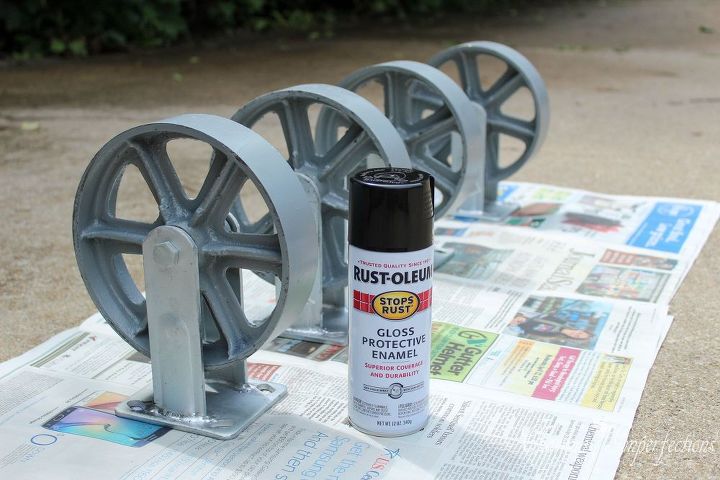
Once you get your wheels take a moment to revel in the sheer awesomeness of them…at least, that’s what I did. Then, take them outside to give them a lovely black coat using Rustoleum black glossy finish spray paint.
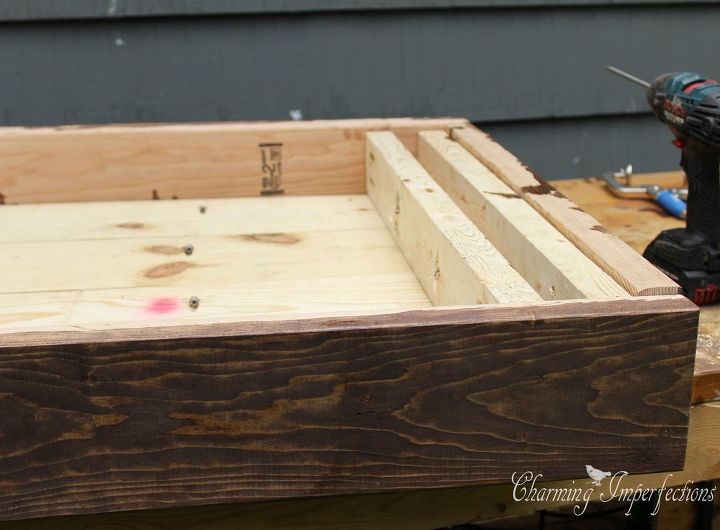
Now you can add those 2x4s with pocket holes and go ahead and attach the wheels.
At this point, I sanded over the stained surface of the top to give it a distressed look and to try to lighten up the color of the stain which I let sit too long before wiping away. I also took a hammer to the surface for some added character.

Want more details about this and other DIY projects? Check out my blog post!
Comments
Join the conversation
2 of 11 comments
-
I bought them at Northern Tool: http://www.northerntool.com/shop/tools/product_40256_40256
-
Cool project!


Frequently asked questions
Have a question about this project?