


Kitchen Renovation Reveal
I thought it was about time for a lake house renovation update. And guess what, it's not another bathroom renovation. It's time for the kitchen reveal. Get excited, I promise, you're going to want to see this one!
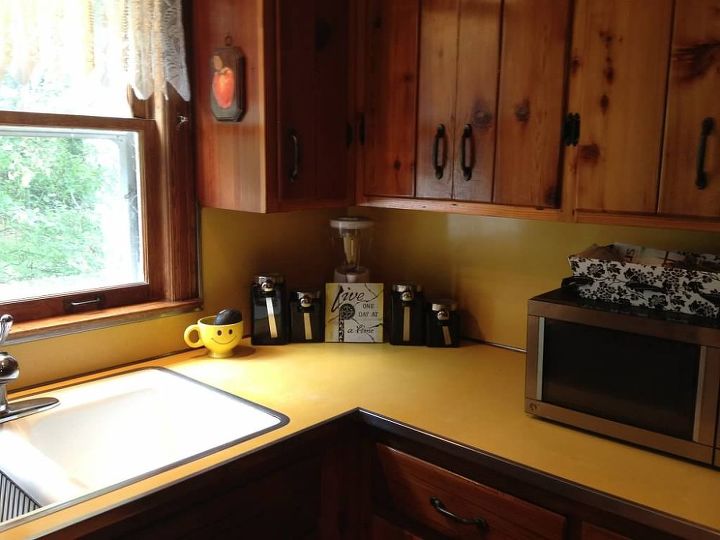
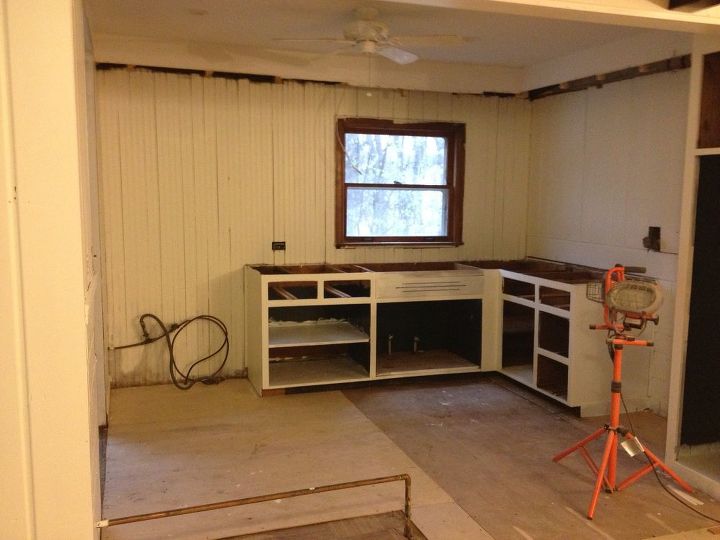
Here is a 'Before' shot.
Here is a 'Before' shot.
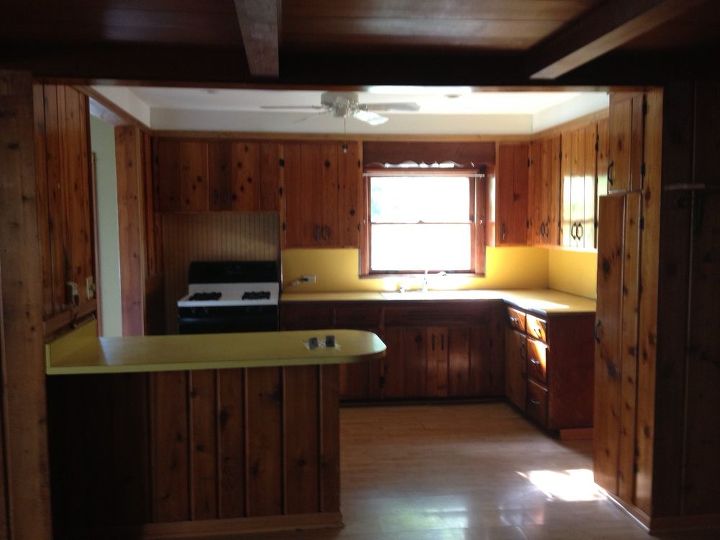
I think it goes without saying that the kitchen was not a selling point of the house. I mean, seriously, this kitchen is a lumberjack's dream come true! It's like the all the Pine trees in the world just came together for a Knotty Pine Convention. The only thing missing is the Pine scented air freshener tree hanging from the ceiling! But if that wasn't enough, the icing on the cake was the yellow formica countertops.
Bottom line, there was some room for improvement in the kitchen. However, as much as I may be insulting the cabinets, we didn't mind them too much...or maybe the better way of putting it was we DID mind the amount of money we'd have to spend on refacing or replacing the cabinets. So, after getting a couple quotes for new cabinets, we decided knotty pine it is! Once that was decided, the next challenge was how we were going to work with these cabinets. Let the fun begin!
Given the small space, we knew we weren't going to create our "dream kitchen". We decided to put that idea on the back burner as part of our "10 year plan". Therefore, we had to figure out what we could do to make the most of the space we had, while still not trying to blow the budget, knowing that we may want to change it up in 10 years or so. That meant we would continue to have a kitchen with no dishwasher. As much as I'd like to think I'm always environmentally friendly, I'll admit, I've used more disposable tableware in the past two years than I'd like to admit! But, I am a stickler that it ALWAYS makes its way to the recycling bin, so that helps me sleep at night.
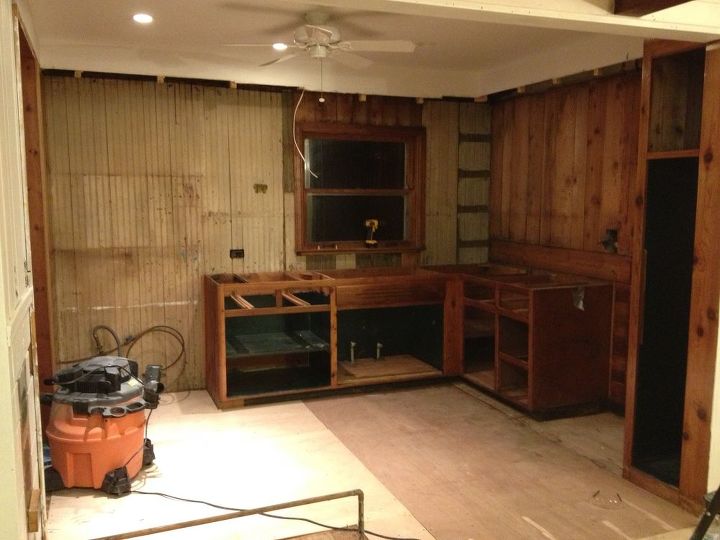
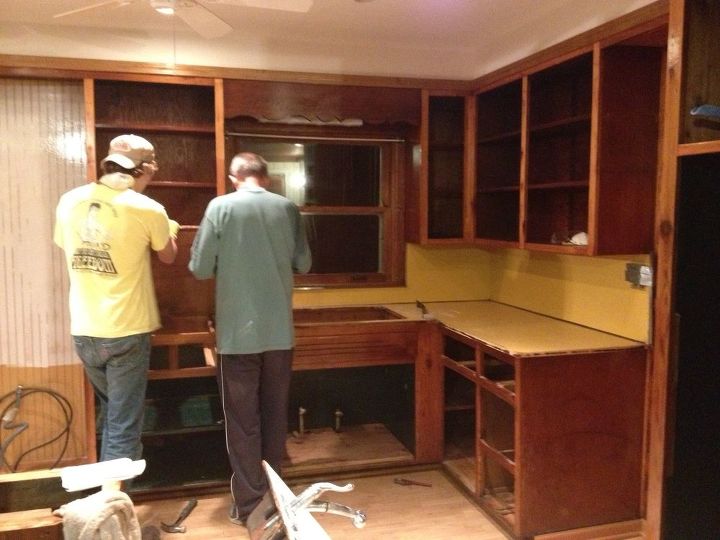
So are you envisioning it yet?! I think it was at this point of the remodel I sat back and said "Yes, this is it! It's going to be perfect!" Once the upper cabinets were off, the yellow formica was removed, and the flooring was up, I could really start to picture the end product. I'm sure some of you are reading this and thinking I'm completely crazy right now! But it's true, I was already falling in love the kitchen and knew it was going to be great. An added bonus was when we removed the fomica backsplash, we found the original beadboard behind it. I loved the authenticity of it, AND it meant we could save money by not having to install a new backsplash.
After the painting came the finishing touches...and there were A LOT of them. I think I'll save some of those details for another post, so for now, let's jump ahead to the 'After'. I mean, that's what we're all here for anyways, right?!
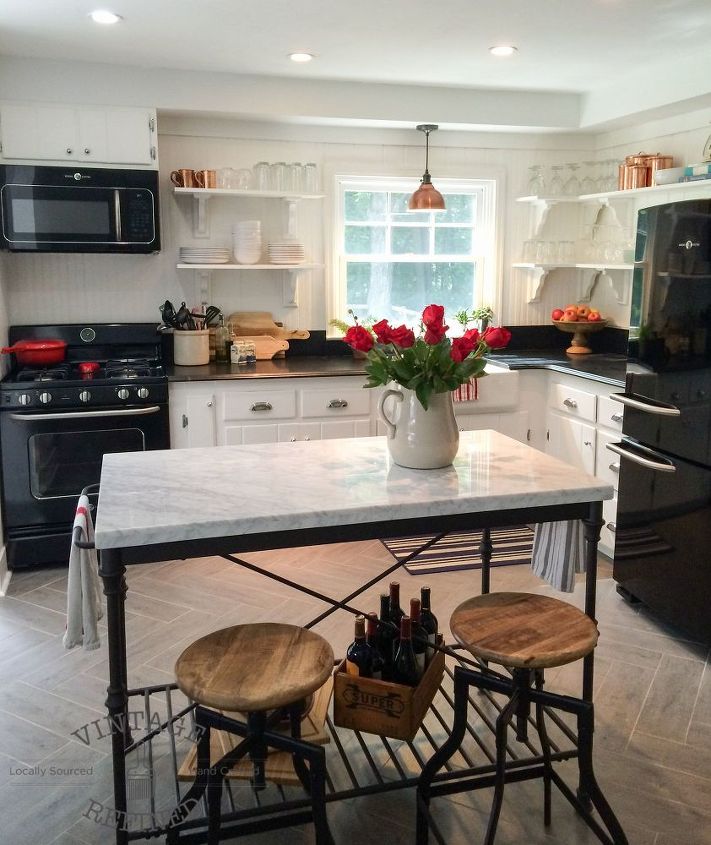
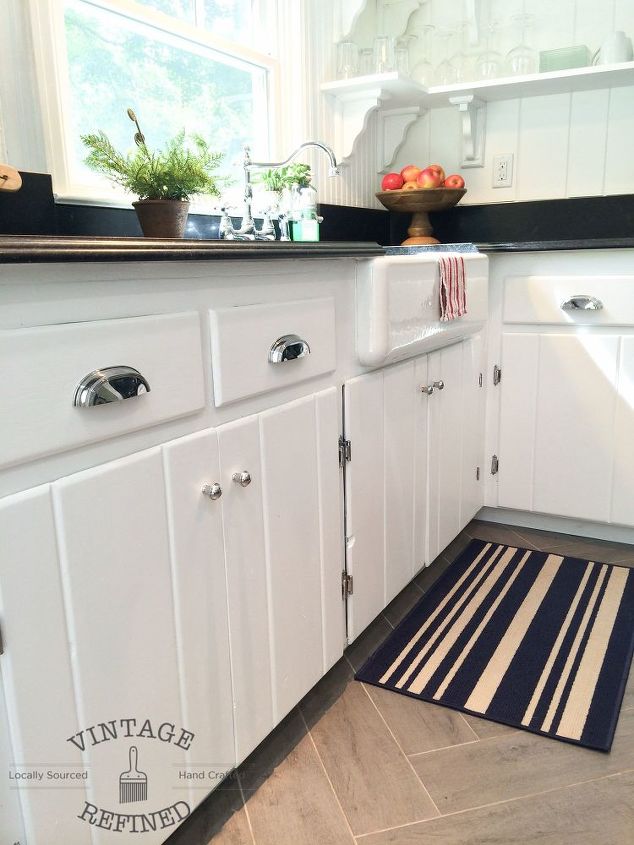
And there it is...the farmhouse kitchen we always dreamed about!
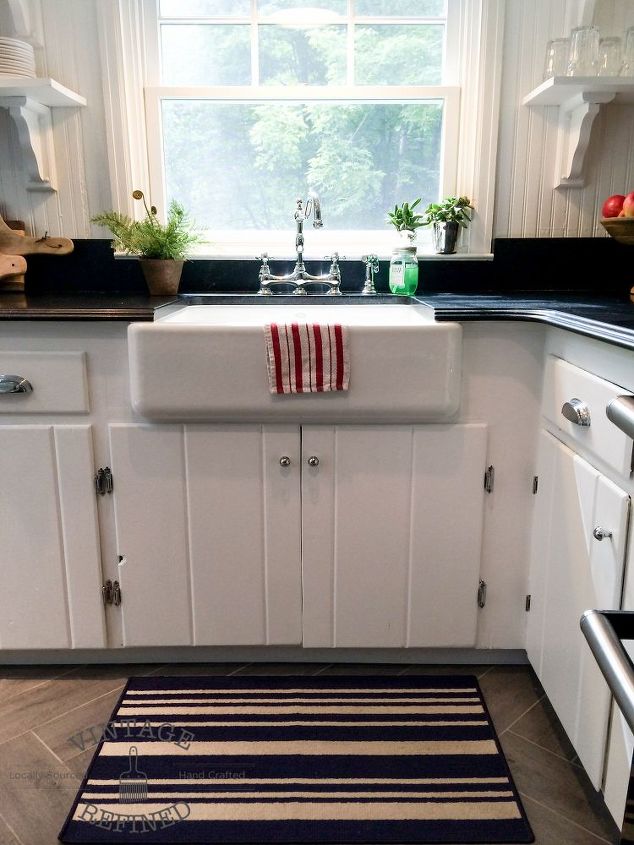
We tried to keep the faucet somewhat coordinated with all the bathroom faucets. I love the vintage look of this one.

The biggest challenge was deciding on countertops and appliances. Personally, I am so sick of reading home listings boasting "stainless steel appliances and granite countertops...woo-hoo!!!" As if you've never seen those features before and they've discovered something so profound. So, when I set out to find countertops and appliances, I was adamant I wanted to stay far, far away from the 'stainless steel and granite' trap. Well let's say I got one leg stuck, but I didn't get fully sucked in.
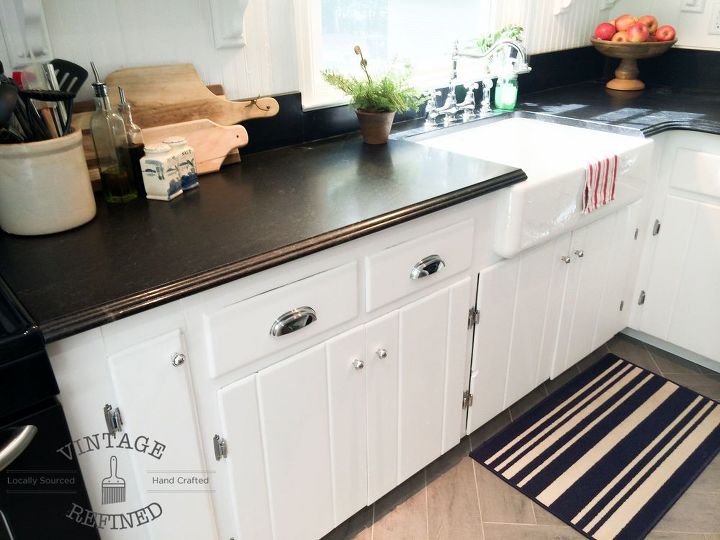
After looking at the whole gamut of countertop options and weighing out the pros and cons of each, it just made the most sense for us to go with the granite. It is the most durable option and it requires the least amount of maintenance. With that being decided, I figured I could splurge and get my marble fix on the island.
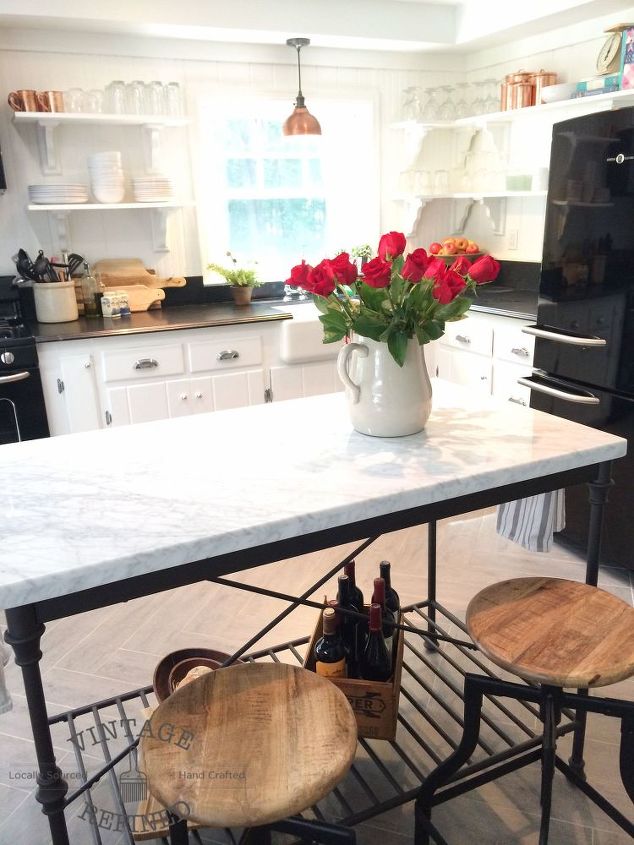
I really love the juxtapose of the island's light countertop and dark base against the dark granite countertops and white cabinets of the main cabinetry.
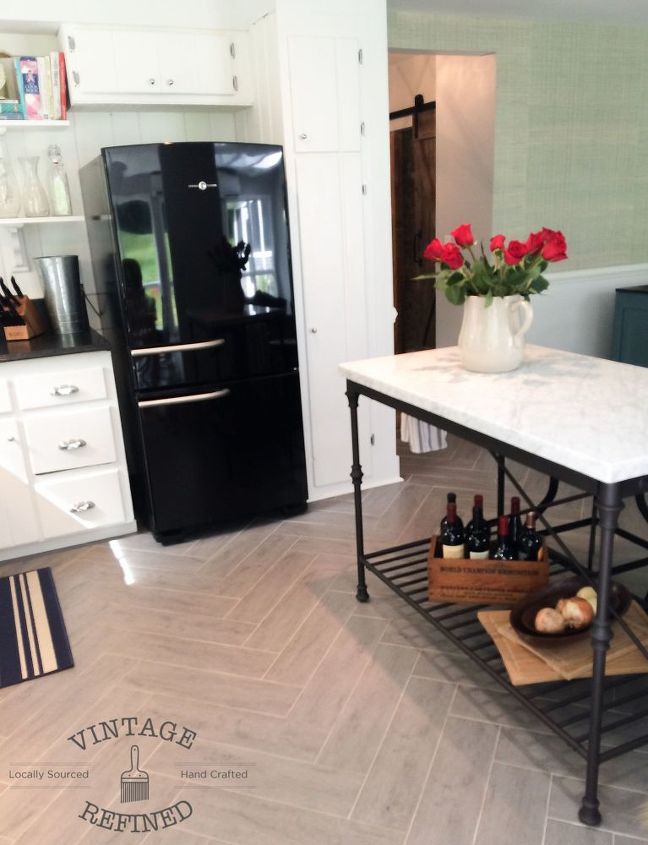
We were about to pull the trigger on stainless steel appliances as well when we were introduced to these awesome GE retro inspired appliances. They were perfect for the space! I loved the simplicity of the pieces, and let out a big sigh of relief that I wasn't going to break down on stainless steel as well.
Opting for open shelving on the top really opened up the space. We bought wood and brackets from Home Depot and made the shelves ourself. As long as you have a miter saw and a level, this is an easy DIY project.
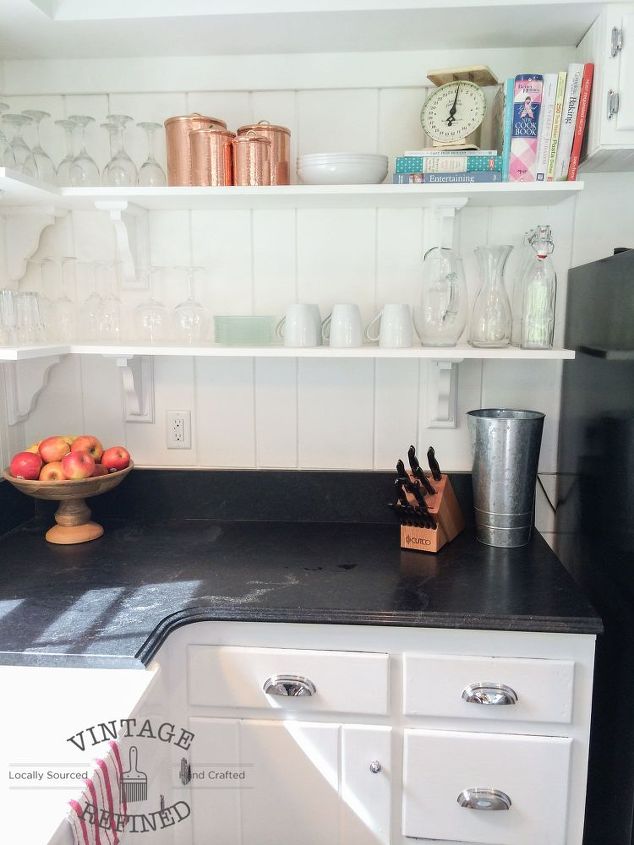
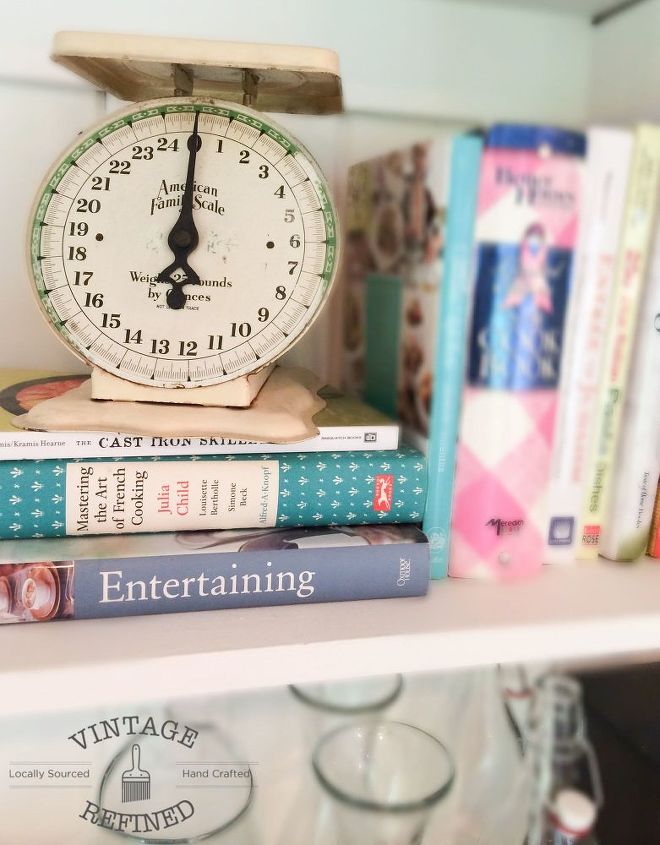
Another perk of making our own shelves was we could customize them to be just the right size we needed. I think the open shelving gives the kitchen a lot of charm. It also gives me extra space to display antique finds and cool serving pieces (the mismatched coffee mugs are all hiding down below).
I ended up painting the cabinets, back paneling and shelves the same color as the walls, Snow Fall by Behr. It helped to keep things simple. The final upgrade to the cabinets was new hardware. The chrome cup pulls really add some bling and help accentuate the farmhouse feel we were going for.
If you remember the flooring from the mudroom, we used the same tile in the kitchen, dining room and family room. Since we wanted an open floor plan, using the same flooring helped to create a flow throughout all the rooms. The only difference from the mudroom is we laid it in a herringbone pattern for the other rooms.

Want more details about this and other DIY projects? Check out my blog post!
Comments
Join the conversation
2 of 112 comments
-
Awesome job!
-
Forget the 10 yr plan. I could live with this forever. Absolutely beautiful. Love the whole kitchen. Job nicely done.


Frequently asked questions
Have a question about this project?