


DIY Magnetic Map Wall
$125
2 Days
Easy
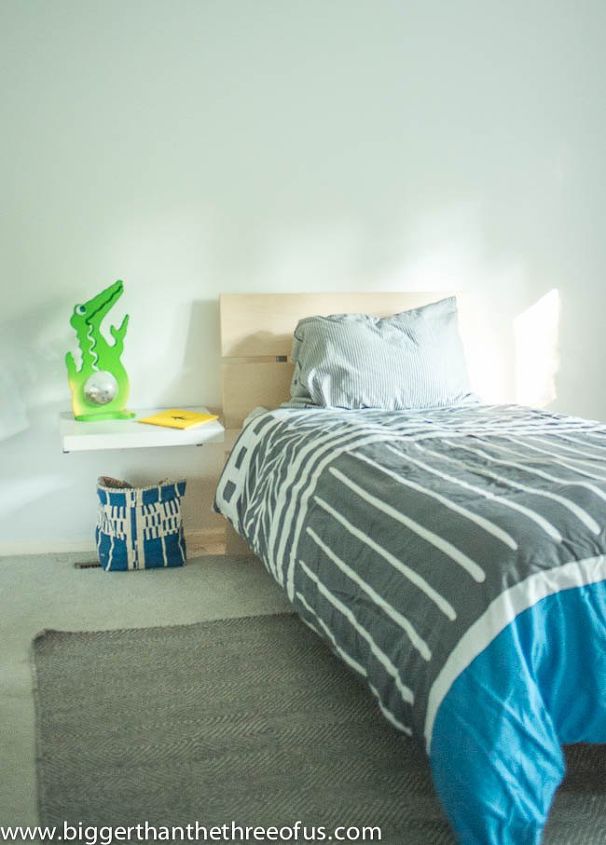
I'm here today to share a special project that we just completed in our little man's room... a Magnetic Map Wall DIY! Our little guy has been in love with maps, street names, how to get from a to z, etc., for quite some time. We thought the perfect thing for his room would be a map mural to help foster that love. So, we jumped right in to create one. Hope you love it as much as we do!

Awesome, right?! Before I get right to the tutorial, let's go back to his room before.
Nothing was wrong with his room before, but it had no personality. It had a few things that we had DIY'd (the floating nightstand, the oversized print, the car switch, and the DIY loft), but nothing on the major wall in his room. I believe (as my hubby constantly pushes me toward it) that all rooms need a bit of breathing room. But, this wall just had way too much breathing room. I proposed that we do a map mural and my hubby was on board.
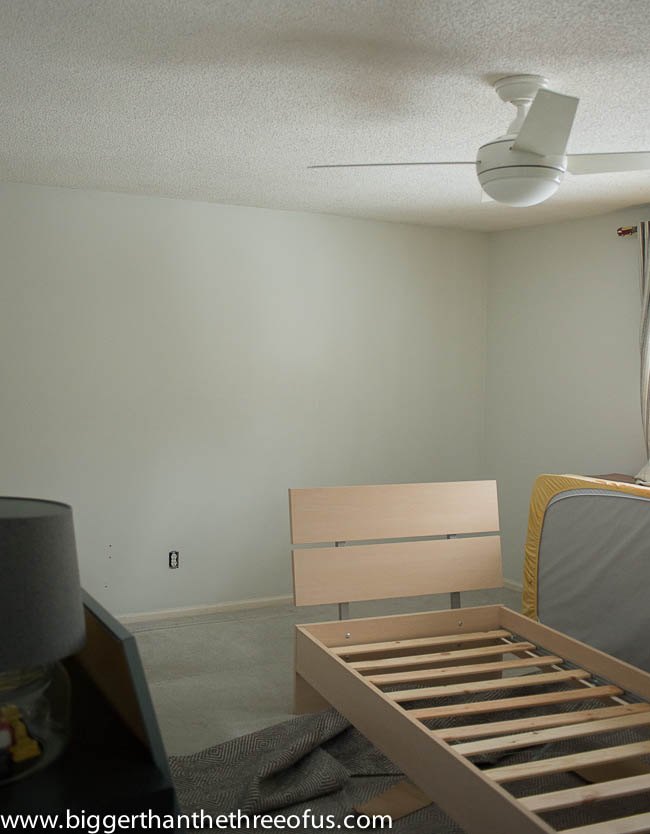
First thing we did was to move all the furniture away from the wall.
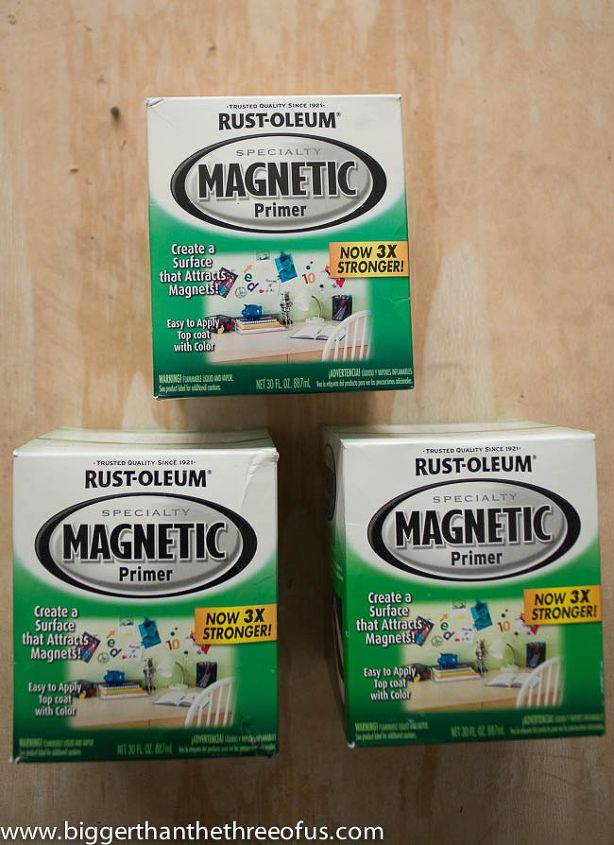
Next, we used Rust-oleum Magnetic Primer and rolled it on.
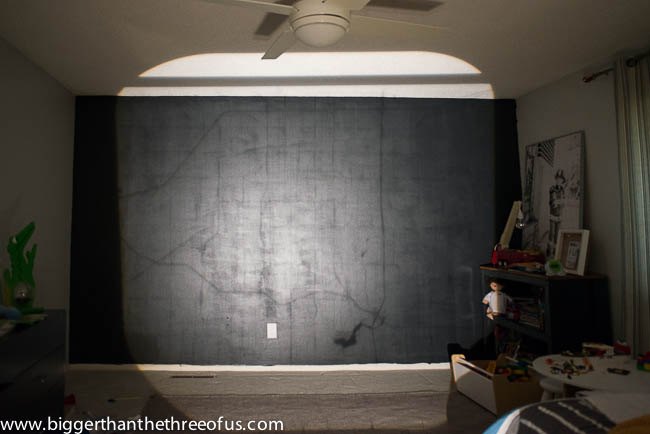
Next, we found a city map of our city and had it printed at Staples on a transparency print. We put the print on a projector and adjusted it till we liked how it showed on the wall.
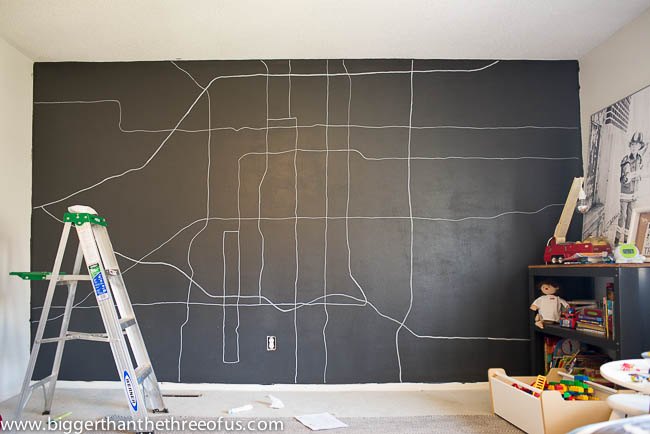
Luke (my hubby) used Sharpie Water-based paint pens to draw the lines of specific roads and lakes off of the projected map. I knew I didn't want it extremely detailed, so he started with the main roads and then added some in from there.
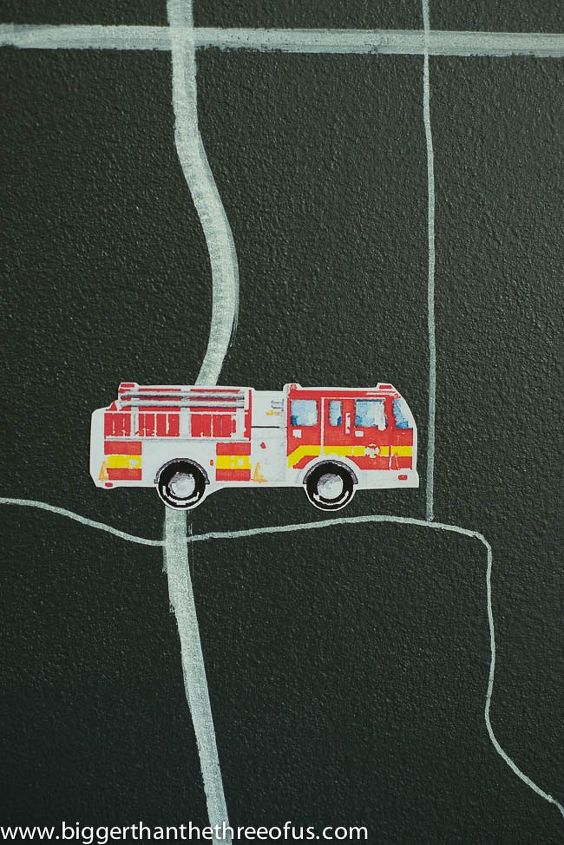
Next, we gathered pictures of all the grandparents houses and clip-art from things that we do around town (book to represent the library, helicopter to represent the hospital helicopter, firetruck, etc).
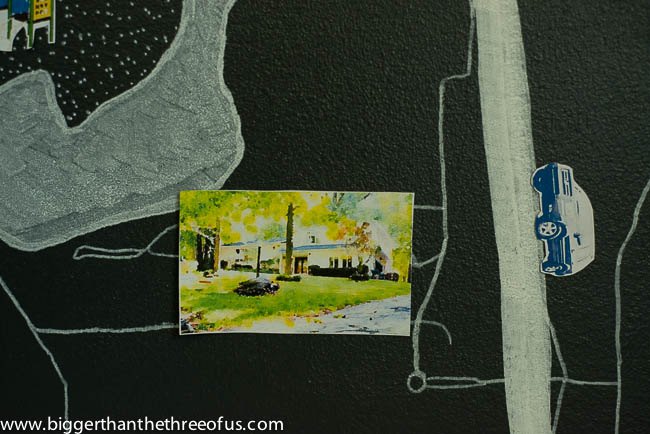
Once they were printed out, I cut them out to size.
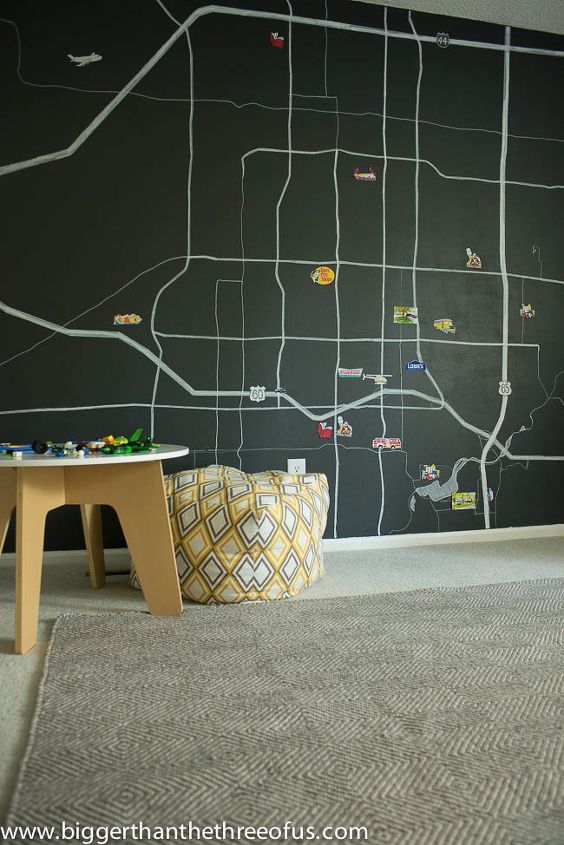
Greyson (our little boy) has requested more of his favorite places be added (specific restaurants, all the parks in town, another jump place, etc.). I think it's safe to say that he loves it.

Want more details about this and other DIY projects? Check out my blog post!
Comments
Join the conversation
2 of 70 comments
-
I don't know if you'll see this comment because this was reposted on the site from so long ago but it's the first time I've seen it and just have to say - AWESOME! I can't wait to show this to my sister for my my nephews. Bet they'll have a blast!
-
This is original, fabulous, wonderful, such a great idea for a kid's room. However I am inspired to do other themes using the same process.


Frequently asked questions
Have a question about this project?