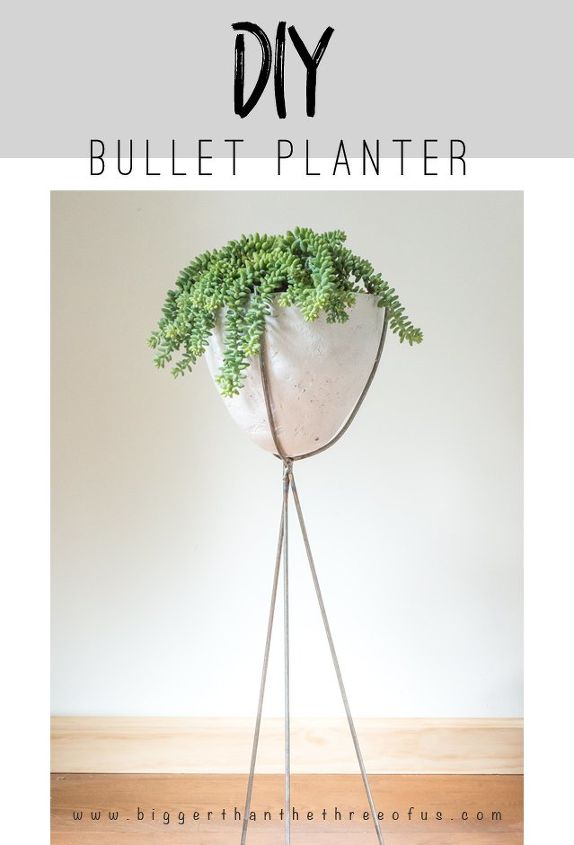
DIY Mid-Century Modern Bullet Planter

$40
1 Day
Medium
Do you ever get something in your head that you just can't get out? Sometimes, that can be a good thing and in this case it was... after working out some kinks. But, I'm glad to say that I worked out some kinks and am finally sharing how I made a Bullet Planter. This Bullet Planter DIY Tutorial will walk you through how I made one and, the best part is, you can make one exactly like it. And, better yet, I will even recommend some shortcuts! Ready to get started?
Step 1: Gather Your Supplies


Planter (in a shape close to an egg)


OR an over-sized Easter Egg


Styrofoam Ball (close to the diameter of the bottom of the planter pot)


3 Steel Rods (found in hardware dept - make sure they are bendable)


Fiberglass Kit


Wax


Orbital Sander


Duct tape


Level


Welding Equipment and Safety Gear (Thanks Dad!)


Plastic Cling Wrap


Spray Paint
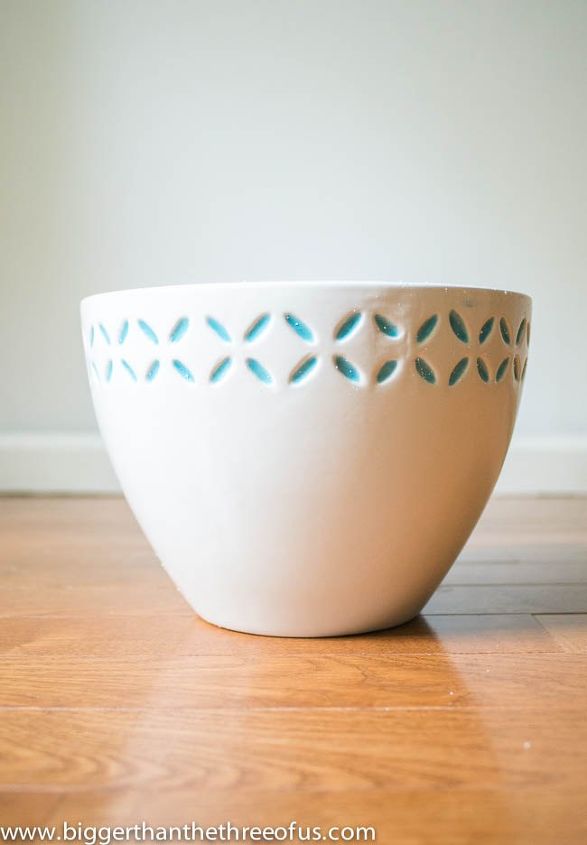
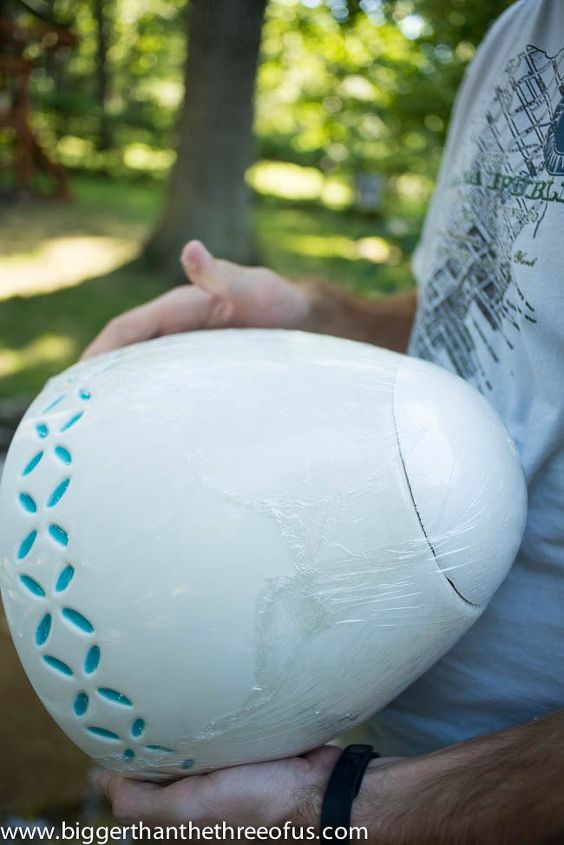
The planter that I used.
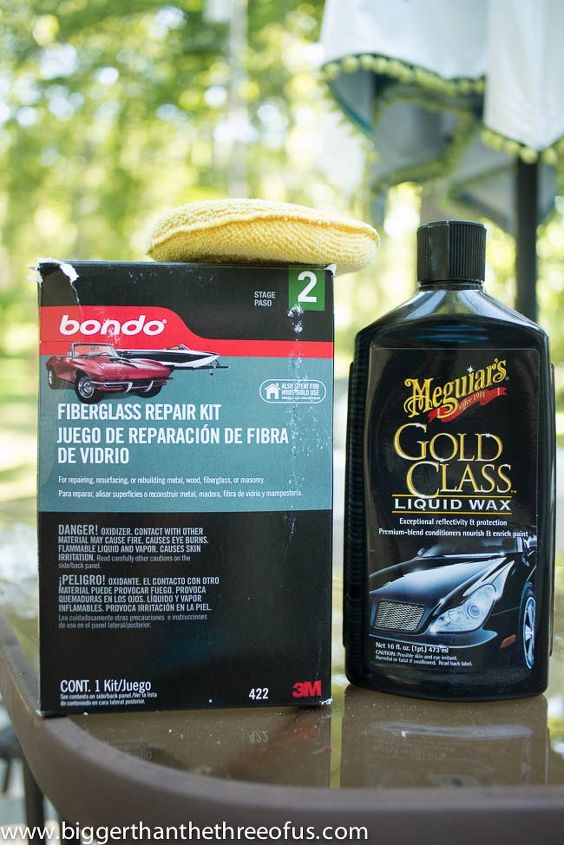
Fiberglass kit and wax.
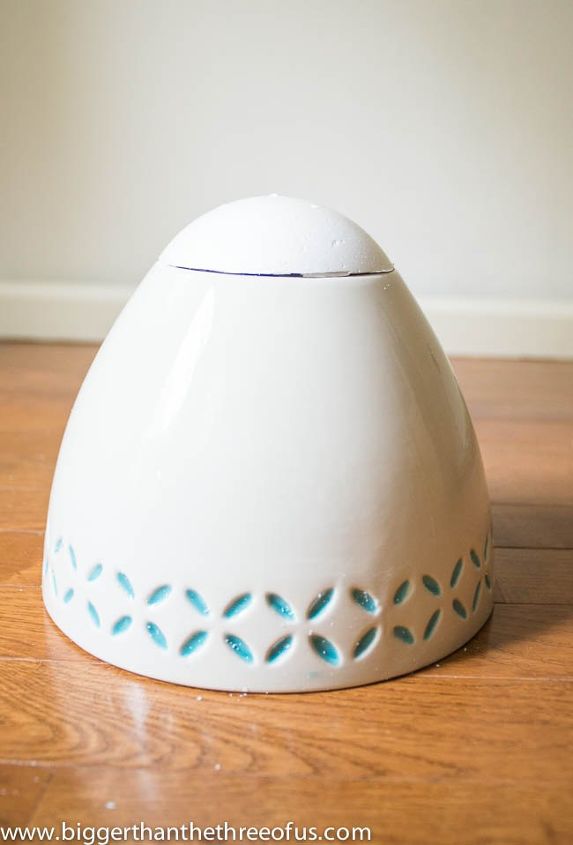
Step 2: Cut and attach styrofoam to planter.


Cut your styrofoam ball so that it fits on the bottom of your pot. This will give you the bullet-type shape. Attach the styrofoam piece to the planter using tape.


*If you bought an Easter Egg, you could skip this part.
Step 3: Prep Planter


Using plastic wrap, cover the entire outside of the planter and coat with wax.
Step 4: Apply Fiberglass


Cut strips out of your fiberglass mat first. Next, follow the directions of the kit and add the hardener to the resin and mix. Once your mixture is mixed, you will need to work fast as the mixture will harden. We found it easiest to dip the strips in the mixture and then smooth them around the pot. Try to avoid bubbles under the strips as you are applying them. Coat the whole pot once and let dry.


*If you want to see more photos of this step, make sure to stop by my blog.
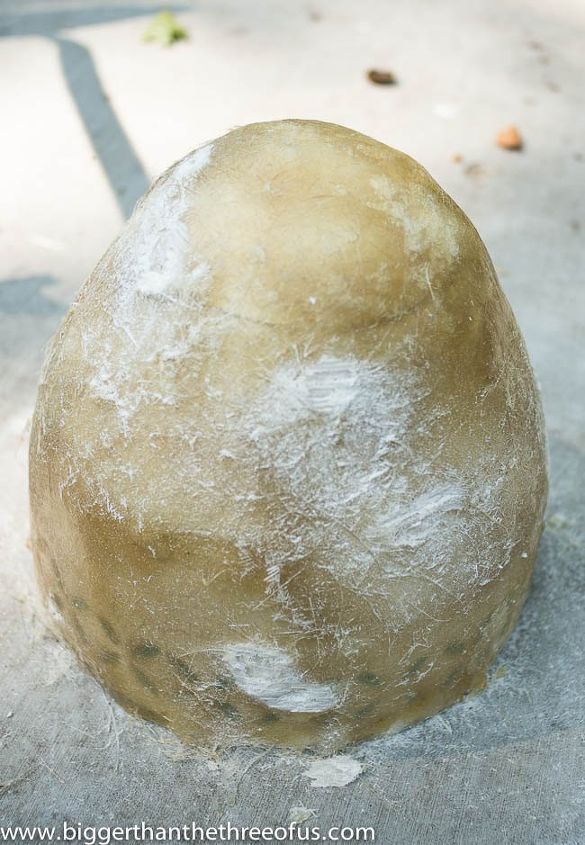
Step 5: Repeat Step 4 and Sand


After you have applied the second coat of fiberglass and it has dried, you will need to sand it. We did this with an orbital sander. If you're better than we were at applying smooth layers of fiberglass, you might be able to hand sand. Wipe clean.


Step 6: Apply Resin


Reapply resin but not the fiberglass strips. Let dry. Lightly sand after it's dry.
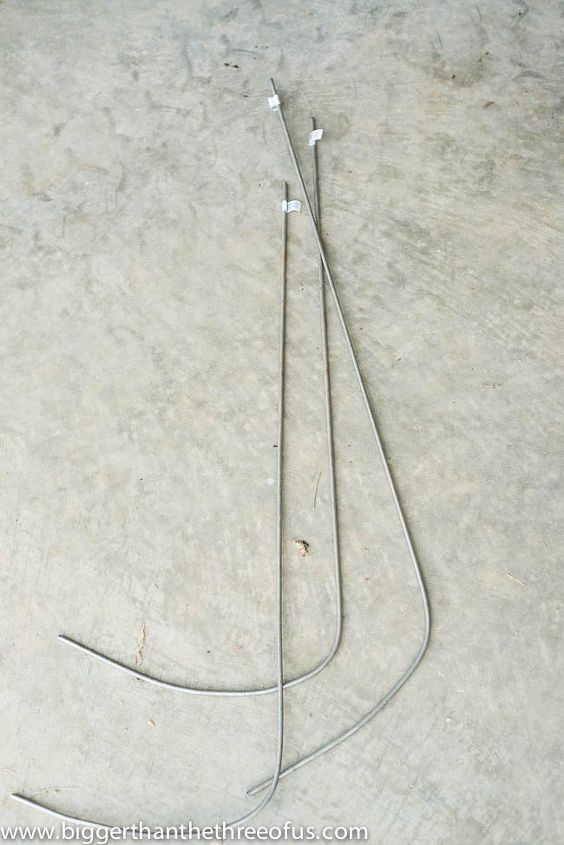
Step 7: Bend Steel Rods


Our steel rods were bendable by hand but we did make it easier on ourselves. We drilled into a piece of wood and stuck one end of the rod into the wood. Then, we bent the rods until we thought we had the curve of the bowl within the bend. At this point, you will need to check your bend with the curve of the planter and make adjustments accordingly.
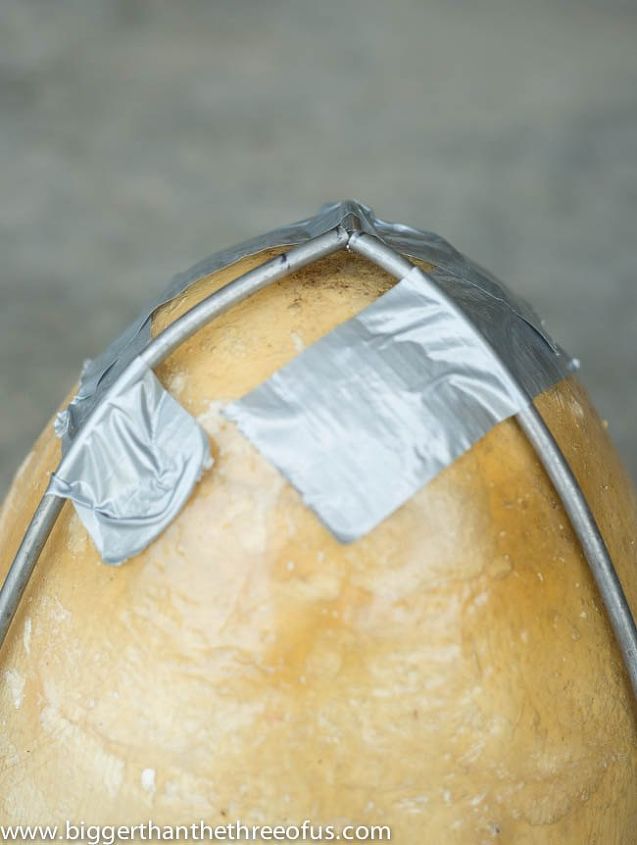
Step 8: Prep Rods for Welding


Mark your rods and cut them where they are going to be joined together to hold the planter. Using duct tape, tape the pieces together to create the form to hold the planter.
Step 9: Weld Your Base


Weld your planter base together first and then weld your tripod base to the planter base. Use a level to make sure you get them level.


*Luke and I have never done this type of thing before, so my Dad helped us. He's only done it a few times, so I'm sure this part of the tutorial could be improved if you knew what you were doing, but it totally worked for us and our planter is still looking amazing a year later!


Step 10: Spray Paint


I used Rustoleum primer and then followed that with Rustoleum Automotive enamel.
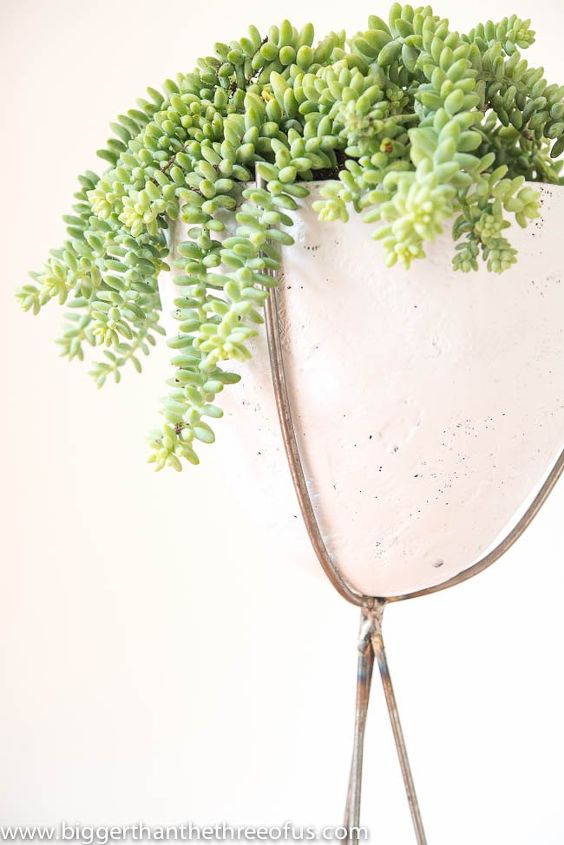
Step 11: Add a Plant
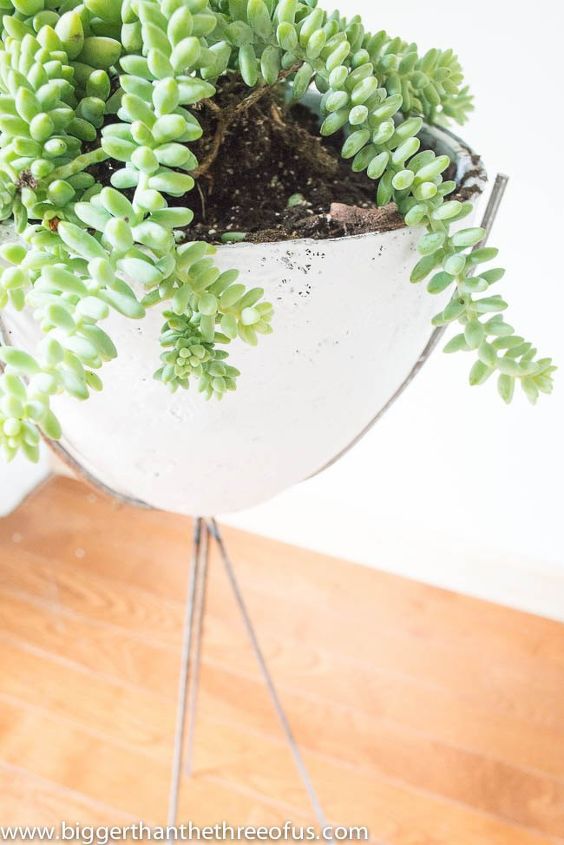
Enjoy!
Ashley@Biggerthanthethreeofus
Want more details about this and other DIY projects? Check out my blog post!
Go
Frequently asked questions
Have a question about this project?
Comments
Join the conversation
3 of 8 comments
  • Lora Lora on Feb 23, 2017
    Ohhhhh......I LOVE this!!! Great job! Can you suggest something for those of us not blessed enough to have welding equipment? :)
    • Hmm, I really don't know. I would say, find someone who welds at home for fun. It would be an inexpensive project to pay for. Other than that, there are some mid-century wood plant stands that you can find tutorials for but they are more square shaped (as opposed to tripod shaped). =)
  • Cyndy Browne Cyndy Browne on Apr 30, 2018

    Awesome job! I have been begging hubby to teach me how to weld, this would be a Perfect 1rst project for me. Thank you so much for posting this!

Next