


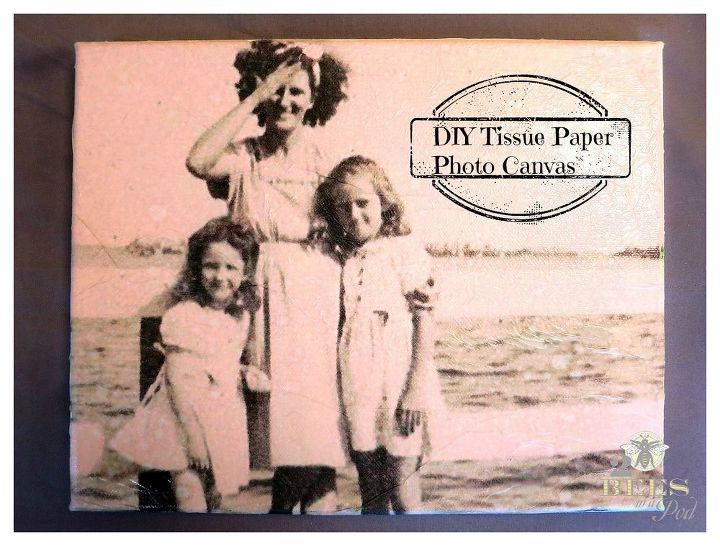
DIY Tissue Paper Photo Canvas
Jennifer and I were together for most of Saturday doing what we love most - thrifting, antique shopping and blog planning. And by blog planning I mean we discussed home projects that we are each working on, craft projects and new recipes. We can't wait to share more with you as the weeks progress!
It's no big secret that I love my family and all things vintage. Today's project is a combination of the two and near and dear to my heartDIY Tissue Paper Photo Canvas. I am in the beginning stages of creating a small photo gallery wall and using mainly vintage family photographs. I first learned how to do this craft over 12 years ago in a craft class. I was thrilled to find the original directions.
It's no big secret that I love my family and all things vintage. Today's project is a combination of the two and near and dear to my heartDIY Tissue Paper Photo Canvas. I am in the beginning stages of creating a small photo gallery wall and using mainly vintage family photographs. I first learned how to do this craft over 12 years ago in a craft class. I was thrilled to find the original directions.
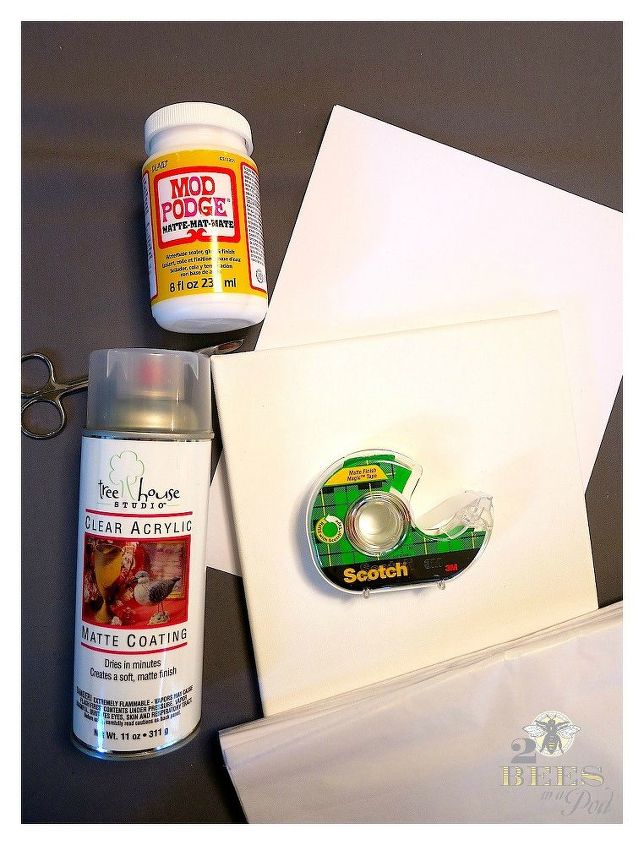
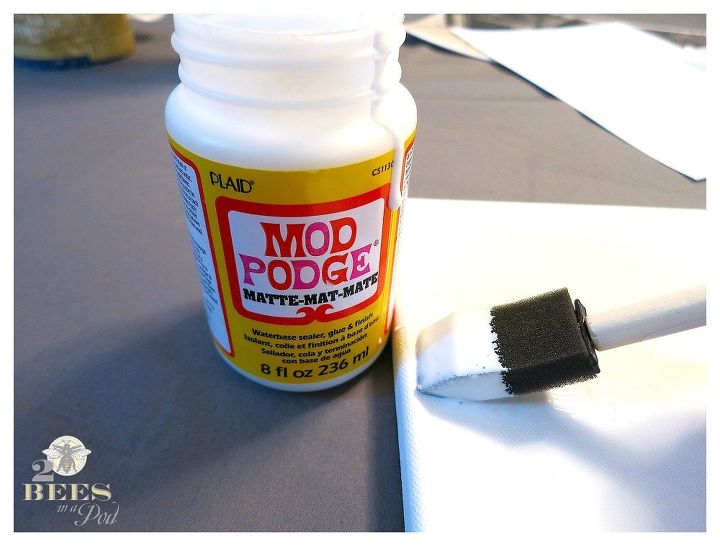
This is what I used:
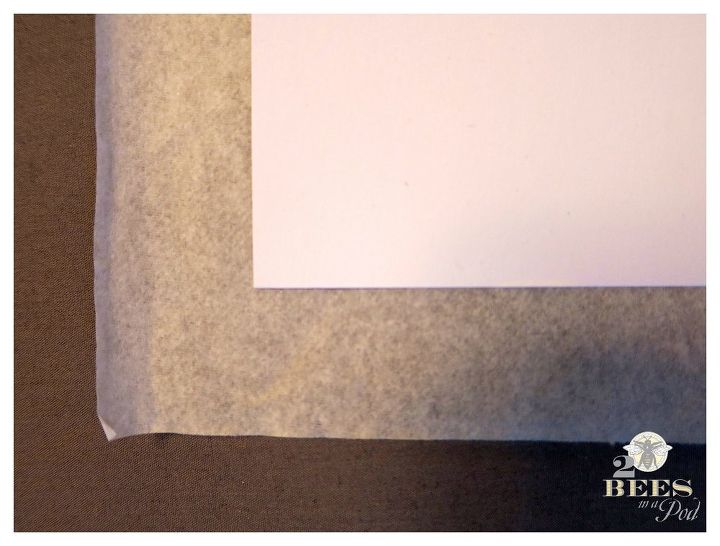
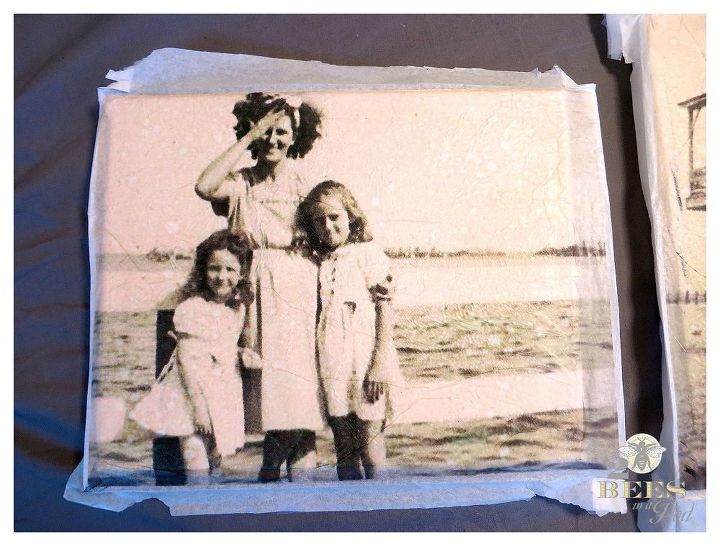
Using tape, wrap each side of the tissue paper onto the card stock. You do not need to use a lot of tape - just enough to hold it into place..
I am using a few different photos but this one is one of my absolute favorites. This is my mother (on the right), grandmother and aunt standing on a bridge over the St. Johns River in Florida.
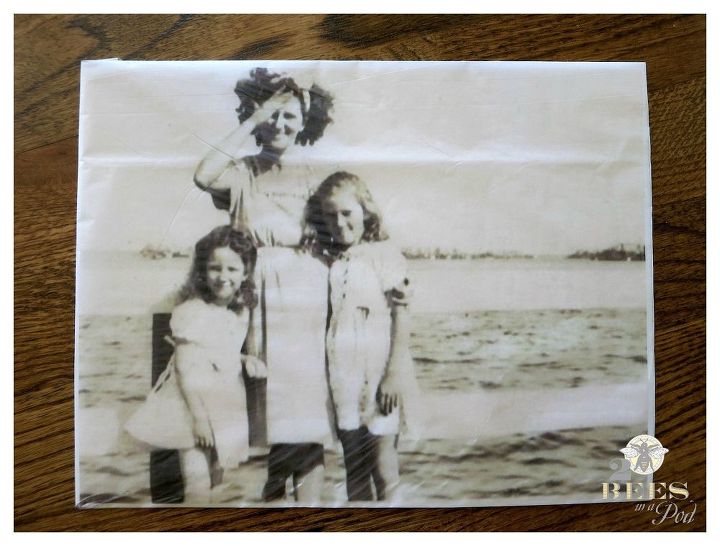
Using hairspray, lightly spray the entire tissue photo. This sets the ink and keeps it from bleeding and running.
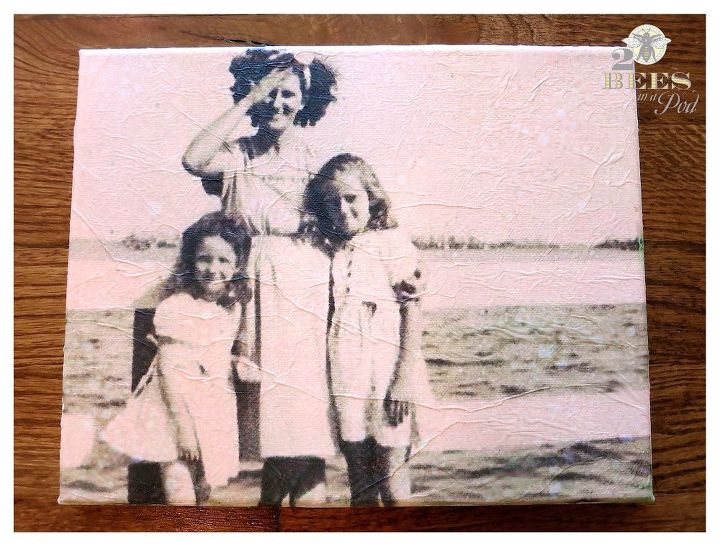
Using an exacto knife carefully cut the tape off the back of the card stock.
To remove the unused paper edges I lightly wet my finger with water and ran my finger down the edge of the canvas. The edge easily came off - just be sure not to use too much water.

Want more details about this and other DIY projects? Check out my blog post!
Comments
Join the conversation
2 of 13 comments
-
What a wonderful idea. I would rather keep these fabulous family pictures in a save place to pass down to family and have something this nice hanging on my wall. Thank you for showing us how to do,this. I have a picture in mind and can't wait to get myself a canvas to do it.
-
I love this project but I saw another question about how to use the Matt spray, would like to know also, Thank you, u can send answer to messenger or my FB page , it's Jacqueline colasanti


Frequently asked questions
Have a question about this project?
Brenda Gutierrez Salome, AZ
Just now
On the project for tissue paper photo on canvas, you show Acrylic Matte Coating in the materials used, but don’t say anything about using it. Do you spray the finished picture with it? If you could email me the answer please at Creationsbybrenda@aol.com. I would love to make this project for a Christmas present for my mom. Thank you. Brenda