


Project Guide: Working With Concrete
Concrete is a super stylish medium at the moment for indoor and outdoor projects, because it's an inexpensive material and it's easy to work with. Before working with concrete, whether you're doing a large project like updating your walkway, or a small project like making a planter, there are some very important tips you need to know that can make or break your finished piece.

1. Buy the right medium for your project
- Smooth or Rocky Texture
- Level of PSI (the measure of strength for concrete)
- Higher PSI concrete is used for construction projects. Concrete used for countertop or small mold projects ranges from about 2,000-6,000 PSI.
- Drying Time
- Outdoor or Indoor Usage
- Plasticity and Flexibility (for a concrete covered project, some flexibility in the medium will be needed so that the thin layers don't crack)
2. Gather all of your tools
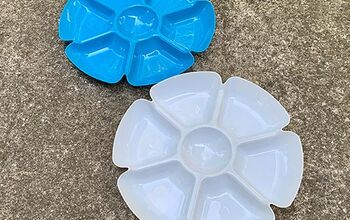
3. Prepare Your Surface or Mold
- Clean and dry out your container
- Apply a thin layer of vegetable oil or cooking spray to the inside of the mold
- Clean and wipe off your surface thoroughly
- If your surface is smooth (like laminate), some DIYers recommend scoring or scratching the surface on which you plan to lay your cement, to give it something to adhere to. Many have had success without this step, but we recommend taking this added measure.
4. Prepare Yourself for Working
- Remove all jewelry from your hands
- Wear work clothes that you won't mind staining with concrete or oil
- Wear gloves and a mask (if sanding)
Basic tools include:
- Buckets and Containers (for mixing)
- Bottle or Bucket of Water (for adding to your mix)
- Stirring Tool
- Rag Cloth (for cleaning as you go)
- Sanding Block or Palm Sander
- Fine Grit Sandpaper
- Protective Mask (for sanding dust)
- Paint Brush (for sealer)
- Rubber Gloves
- Concrete Mixture
- Concrete Sealer
- Pigment or Stain (if desired)

1. Mixing Your Concrete
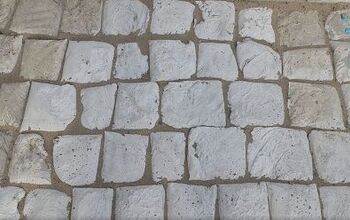
2. Pouring Your Concrete
- Fill your mold completely and wipe off the excess
- Make sure there are no air pockets or bubbles in your filled mold
- Get rid of any bubbles by tapping your mold lightly on a hard surface, or by sanding the outside of your container and creating vibration to settle the mixture
- Cover a small patch at a time, so that the concrete doesn't dry as you spread it
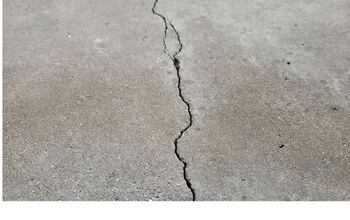
- Apply concrete in multiple thin layers, to get a full coverage and prevent cracking (the first layer will not cover the surface completely)
- Let the layers dry fully and then sand lightly with your fine grit sandpaper between applying each one
- If you accidentally sand through to your base, simply apply a new layer of concrete and allow dry time
- Wash and dry buckets and trowels as you work to prevent dried concrete from getting into your wet mixture

Once your work has dried completely, you'll need to seal it so that it stays protected against the elements.
- Apply sealer with a brush
- Add a layer of car wax to your finished pieces (to protect it from water damage)
- Do not apply sharp objects directly to your concrete piece or it will scratch the surface
- Keep oils and similar materials far away from your piece, as they will seep into the concrete and leave a stain
- If there is a blemish, you can simply sand and reapply concrete to the area
Projects to Look At:

Want more details about this and other DIY projects? Check out my blog post!
Comments
Join the conversation
2 of 13 comments
-
Thank you for this informational piece. I have never worked with cement.
-
I agree that concrete is great! I have many projects on here and my site; https://www.madebybarb.com/category/at-home/concrete/


Frequently asked questions
Have a question about this project?