


Fall Wreath From A Repurposed Funnel And Wine Barrel
There's Two Ultimate Truths about old wine barrels:
1.They're very cool looking.
2.They fall apart if you look crosseyed at them.
Because of this, I have a lot of wine barrel parts lying about which I've kept in the hopes of someday finding a way to repurpose them. That someday is today! :)
1.They're very cool looking.
2.They fall apart if you look crosseyed at them.
Because of this, I have a lot of wine barrel parts lying about which I've kept in the hopes of someday finding a way to repurpose them. That someday is today! :)

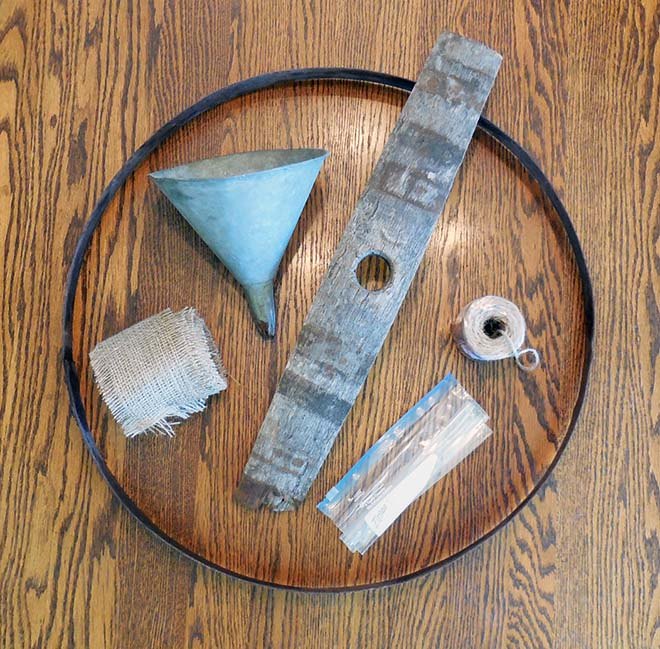
Here's what you'll need:
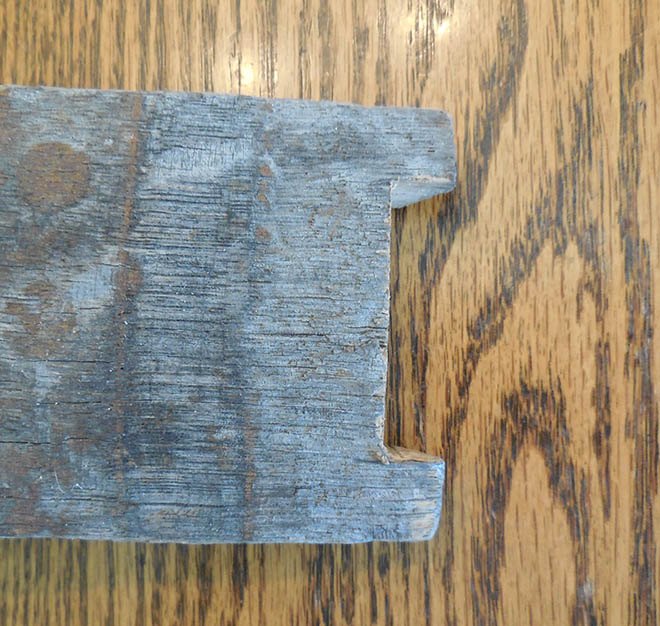
Measure the width of the wine barrel ring and cut a notch on each end of the wood stave accordingly. I used a stave that had the cork hole for the barrel, so there was already a place for the funnel. If your stave doesn't have the cork hole, cut a hole to fit the funnel spout using a hole saw and drill.
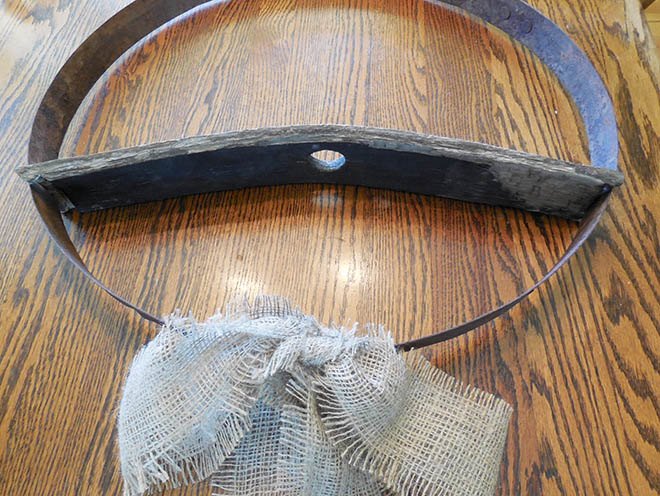
Check the fit of the stave in the ring. It should fit snugly and feel very stable when you hold the ring up from the top. This pic has a burlap bow tied on the bottom of the ring, but I decided not to use it afterwards.
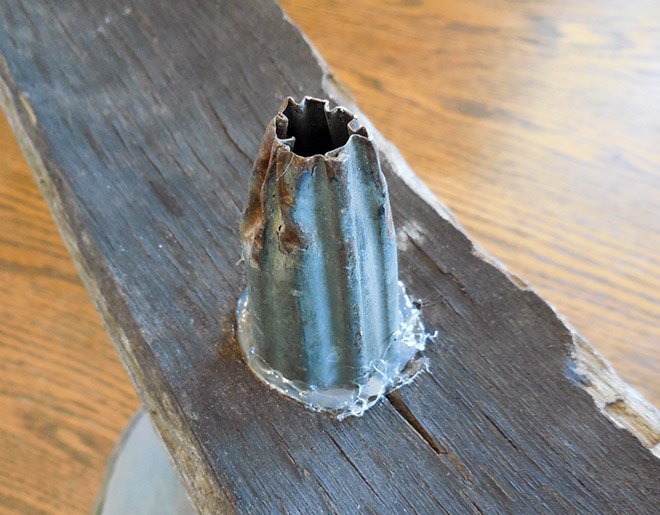
After checking for fit and adjusting it if needed, take the stave out of the wine barrel ring and fit the funnel into the hole in the middle. Since I didn't cut the hole to fit the funnel, I used a little hot glue to stabilize it. Fit the stave back into the ring.
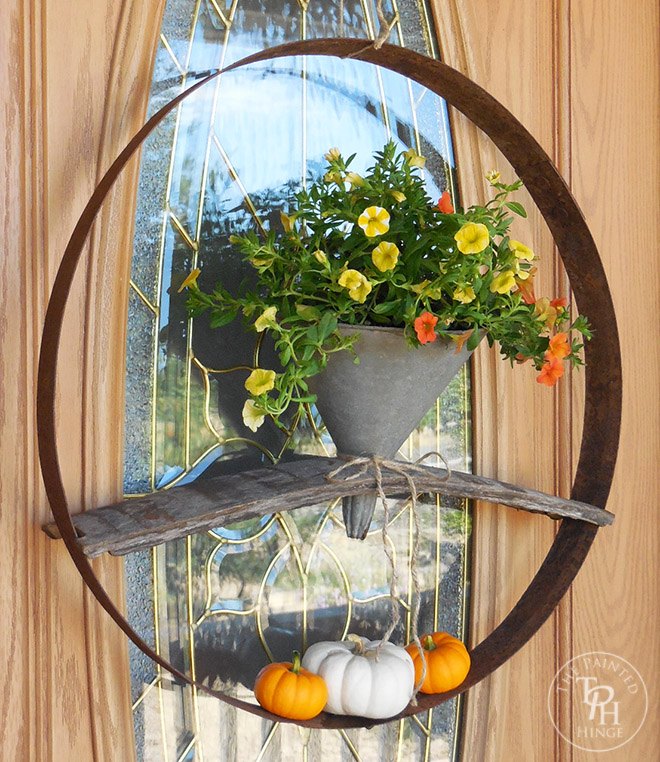
Plant the petunias in the funnel. If you can fit the pot the petunias came in inside the funnel, you can just do it that way, but the pot my petunias came in was way too big. Tie some jute twine in a bow around the bottom of the funnel for pretties. :) Hot glue the gourds onto the bottom of the wine barrel ring. Make a loop of jute twine around the top of the wine barrel ring, tie the ends together, and use the loop to hang up the wreath.

Want more details about this and other DIY projects? Check out my blog post!
Comments
Join the conversation
2 of 7 comments
-
what an imagination, this is awesome
-
that is beautiful


Frequently asked questions
Have a question about this project?