


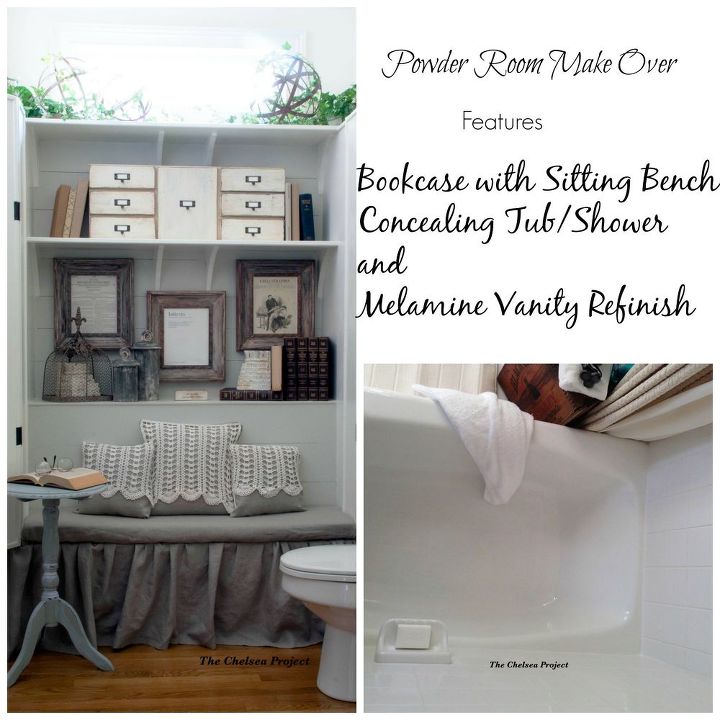
Powder Room Reveal - Bookcase Built to Conceal Outdated Tub/Shower
$75.00
6 Hours
Medium
Sometimes, if you live in a house long enough, the way you need a space to function can change. Such was the case with the bathroom on my main floor. After living in my 1990s brick traditional for 20-plus years, we were finally empty nesters. An exciting new chapter was beginning for the entire family. And, with this, came the perfect opportunity to make a few changes.
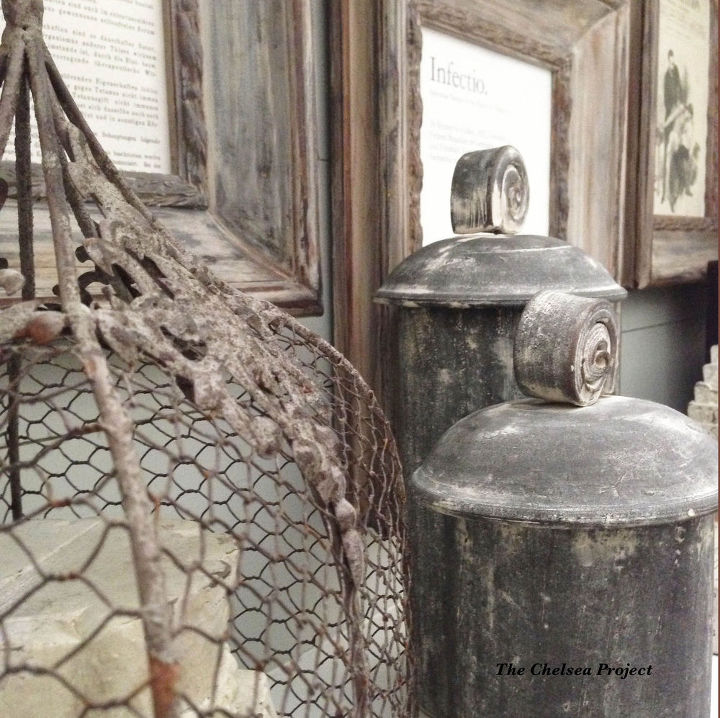
And, to make this happen, I started by collecting as many old things as possible. Ironic, since I wanted the old house to look new. But, for me, nothing warms and gives character to a space quite like vintage accessories. And, whatever accessories I couldn’t find, I ended up making. A time-consuming proposition, to be sure, but one that paid off in the end. This is why today’s reveal is all about enjoying the finished bathroom-turned-powder room results and not about a particular how-to project.
Because this room required a total of 13 DIY projects. I know! I thought I’d never get finished. But, thankfully….here we are.
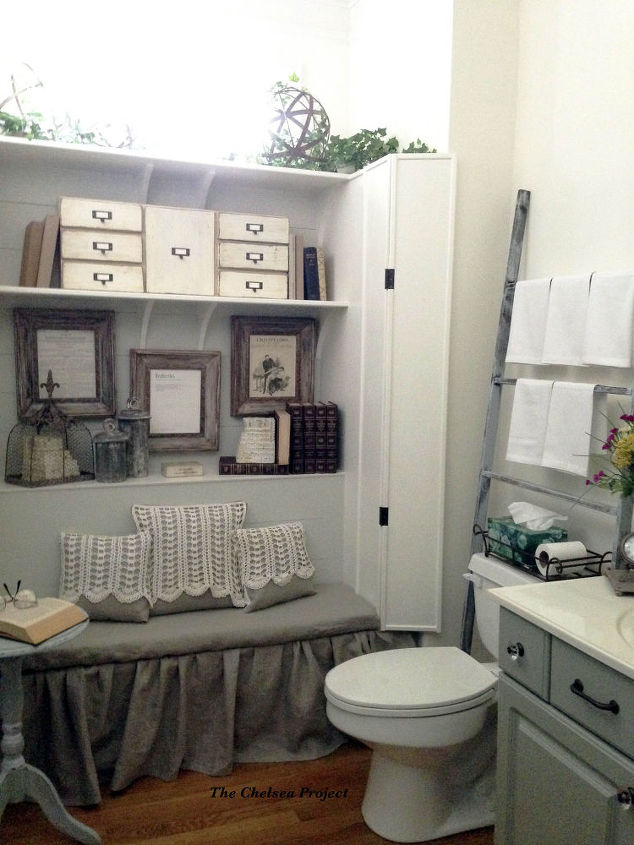
To the left of the toilet is a full tub and shower that was never needed for our family. And, for me, this is where the rubber meets the road. I wanted a powder room, not a full-on bathroom. After all, this area is on the main floor and if the powder room door isn’t closed, the tub and shower could be seen from the public areas. Awkward, to be sure. It was a totally crazy design that I had lived with for 20 years. And, now, it was way past time for it to go.
So here's what I did. I took a tub and shower that looked like this, complete with builder's grade tub, tile, and shower.

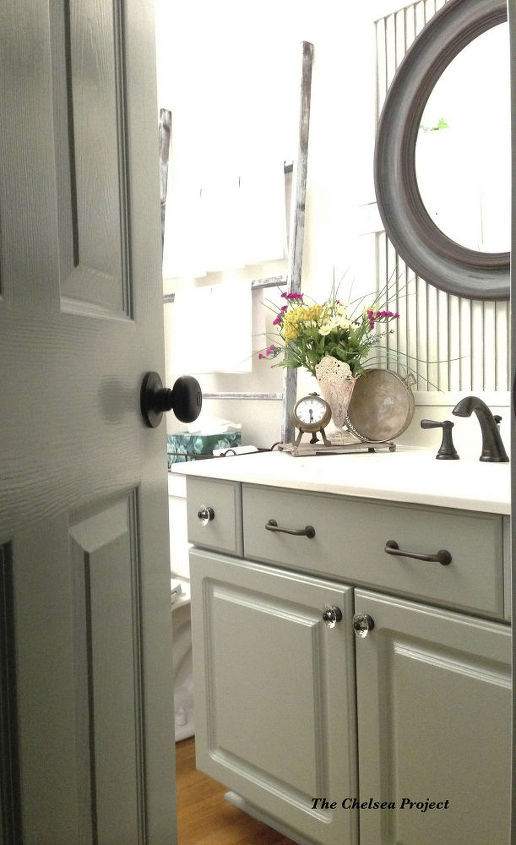
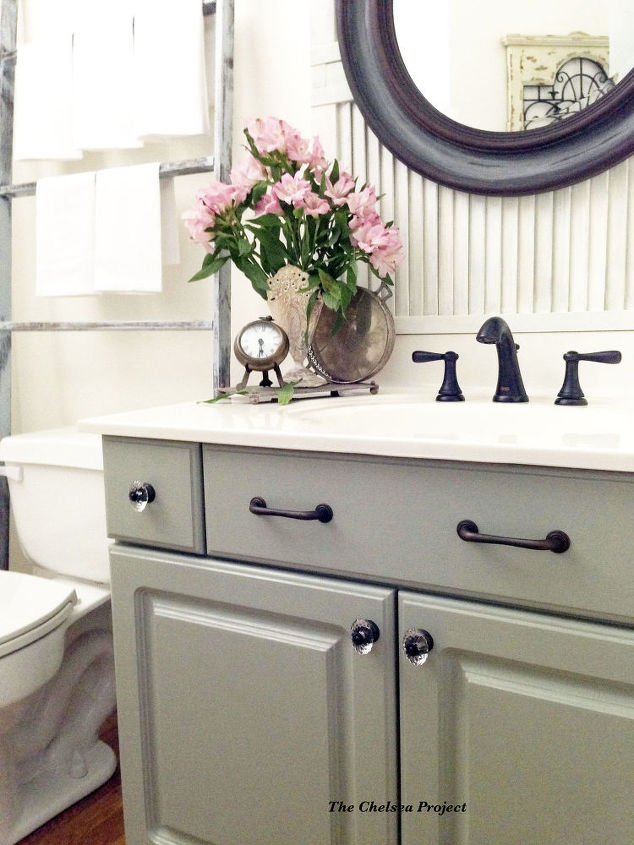
And made it look like this.
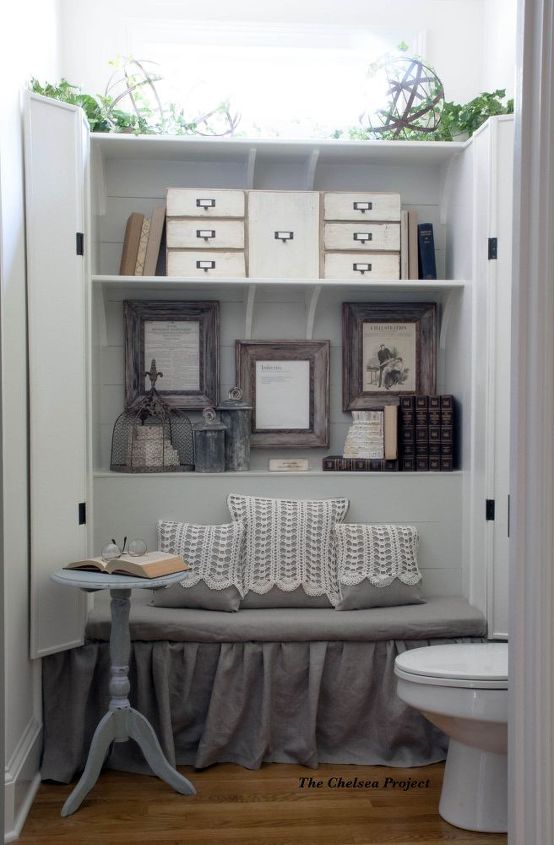
The tub, tile, and shower are completely intact and the unit can be removed to restore function at any time. But, for now, the space is repurposed as a bookcase with a sitting bench.

The insides are framed with 2 by 4s and then covered with MDF. Then I ripped 6-inch wide boards from quarter-inch plywood to back the bookcase with faux shiplap.
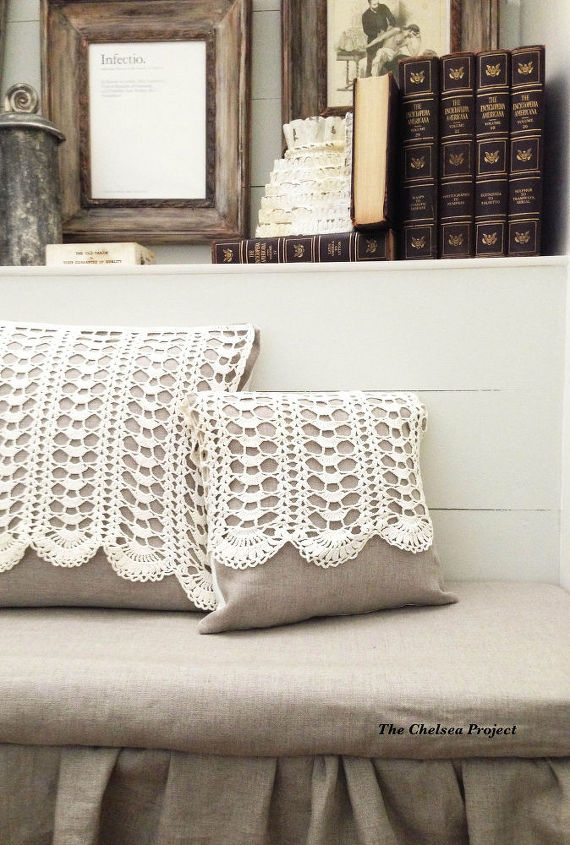
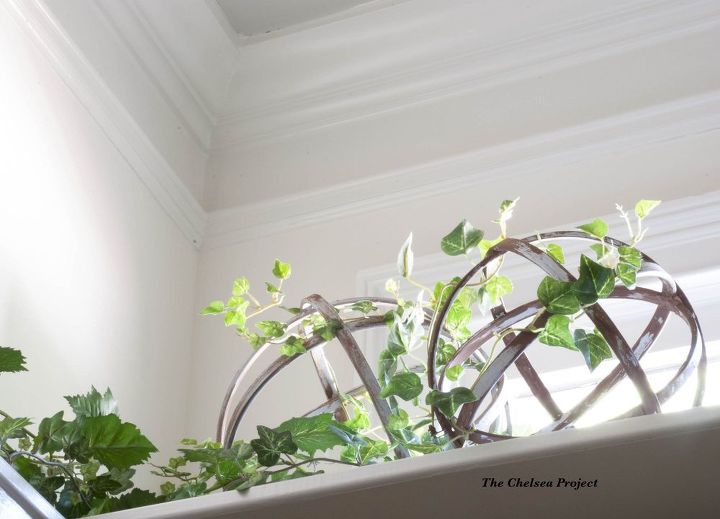
Most of the accessories were made to fit the space from either vintage family items or thrifted treasures.
The entire powder room reveal can be viewed on the blog. The instructions for making the bookcase and some of the accessories will be posted in the coming weeks. Since there were 13 different DIY projects, there's still lots to share. If, in the meantime, you have any questions, please don't hesitate to get in touch. And, as always, thanks so much. Hope you enjoyed this little tour.

Want more details about this and other DIY projects? Check out my blog post!
Comments
Join the conversation
4 of 8 comments
-
I love what you did. I remember when you first told me about this, I was having a hard time visualizing it. What you have done Susie is beyond my wildest imagination! It's just Super fantastic!!!!!
-
Looks wonderful.


Frequently asked questions
Have a question about this project?