


Pallet Lounge Chair

by
Sandra
2 Days
Medium
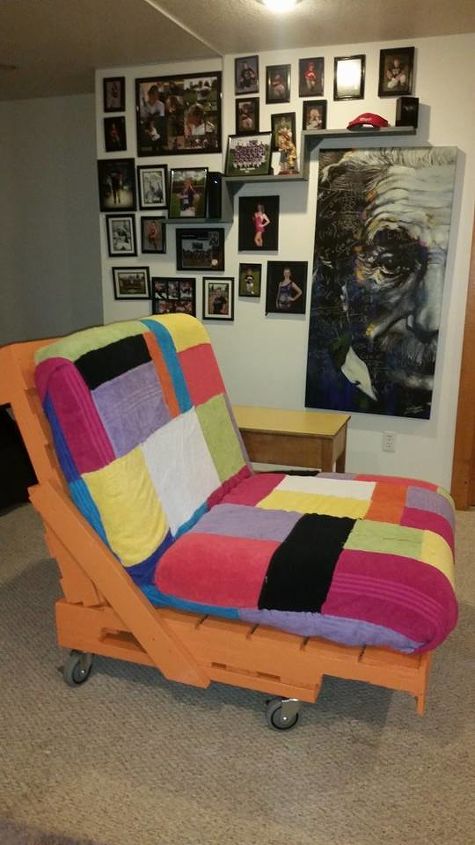
I wanted to try a pallet project as I am always impressed with what people have created with them. My goal was to make this project quick with a simple design. With some old couch cushions,2 pallets,a few 2x4's,4 Industrial locking wheels,paint & whole bunch of screws! 2 day's and done!
DIY Pallet Lounge Chair
More on this project can be found at link below.
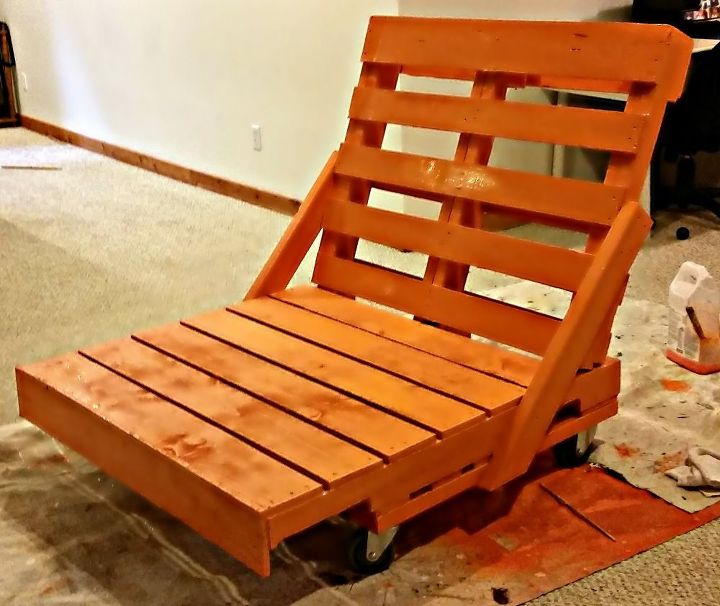
Final touch up painting.
I used a paint sprayer outside and loaded it up with paint. I didn't prime! Just painted until it was covered well! I will admit I would have used less paint had I primed first. But it was paint just hanging around and it really wanted to be on this chair. I did forget to paint the 2x4's before assemble. I don't think it mattered with this chair but if I wanted a cleaner look it could have been a problem.
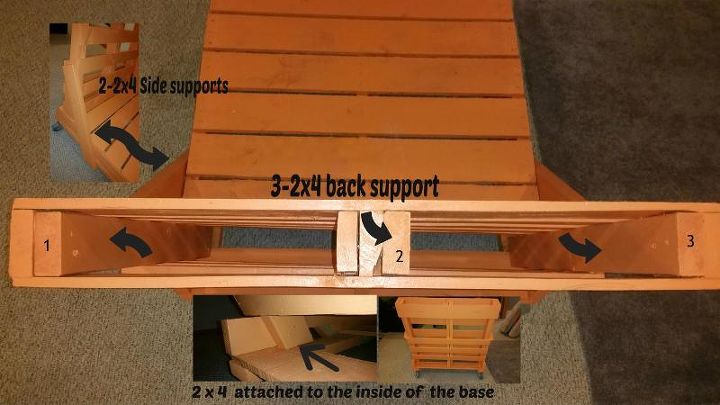
Assembly detail
I used a few 24's and some screws and assembled this support system that is strong and mighty!! The 24's fit perfectly between the pallet boards. A 35 degree angle cut on the bottom of the support 24's. This gave a good resting position for the back of the chair.
I wish I would have taken photos while assembling. The back pallet simply resting on the base pallet. The 2x4 supports are added and extended to the bottom of the base pallet. Then the back it screwed to the base.
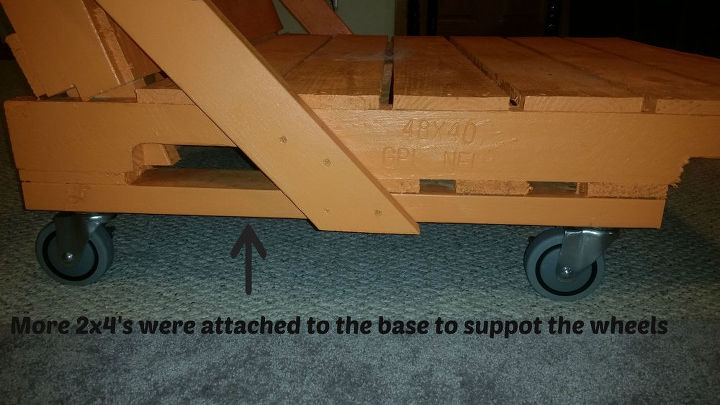
2x4 were added to the bottom of the base pallet. Giving the wheels a good sturdy mount.
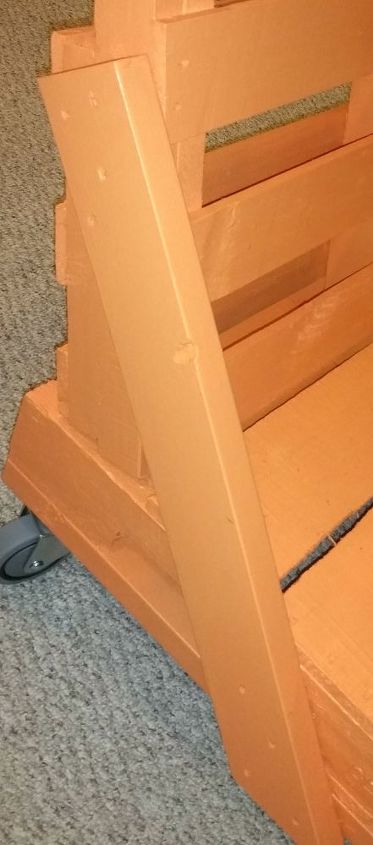
2 - 24 side supports for extra durability and to hold the cushions in place.
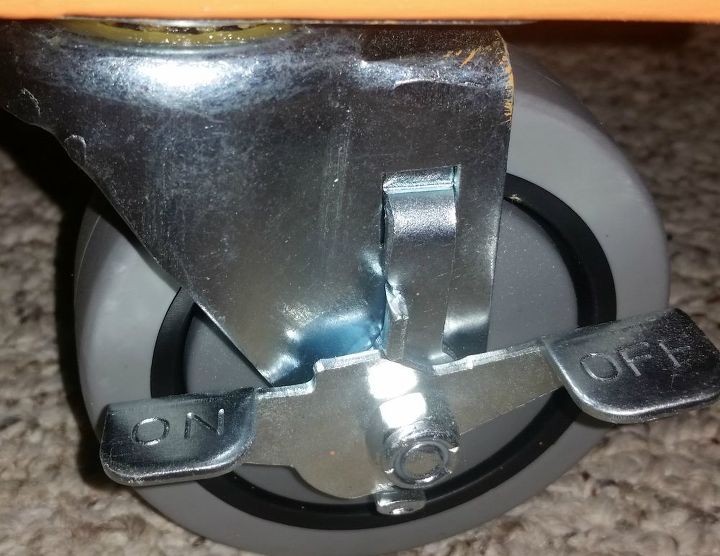
Large industrial caster wheels to keep with the pallet's casual theme. More importantly.This monster is heavy and needs to be easily moved as I am always rearranging furniture.
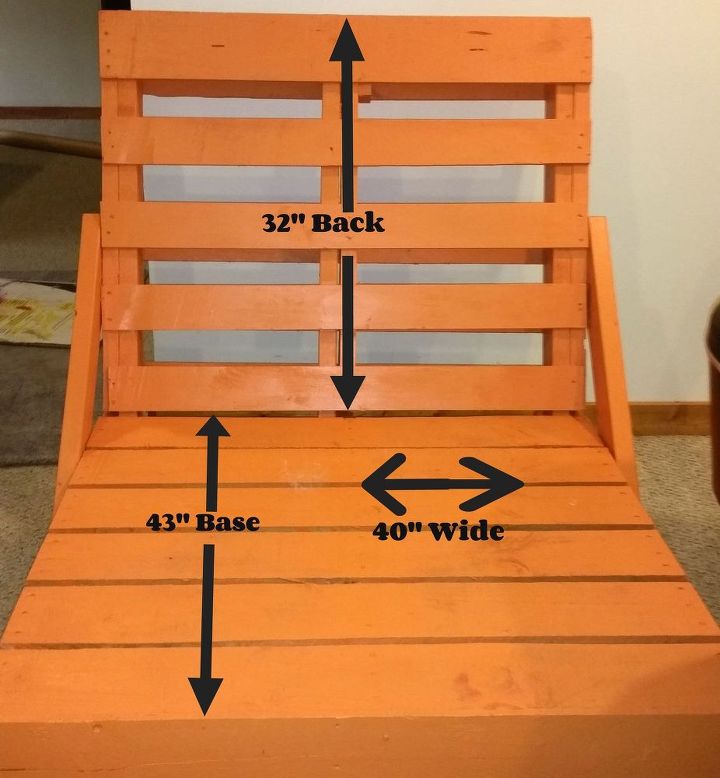
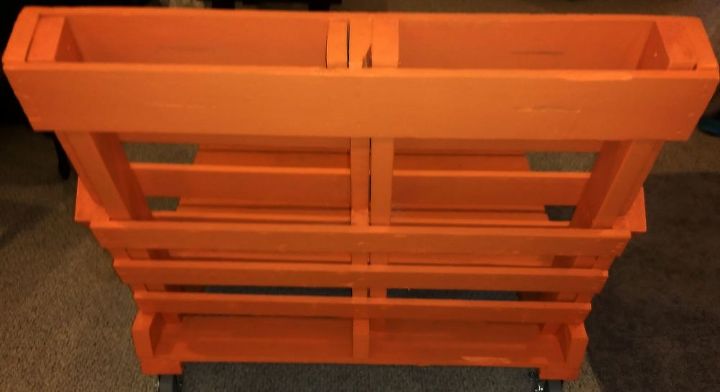
Measurements
The back pallet was cut to fit the cushion I had but the bottom pallet worked perfectly. A little bit of luck!
DIY Pallet Chair
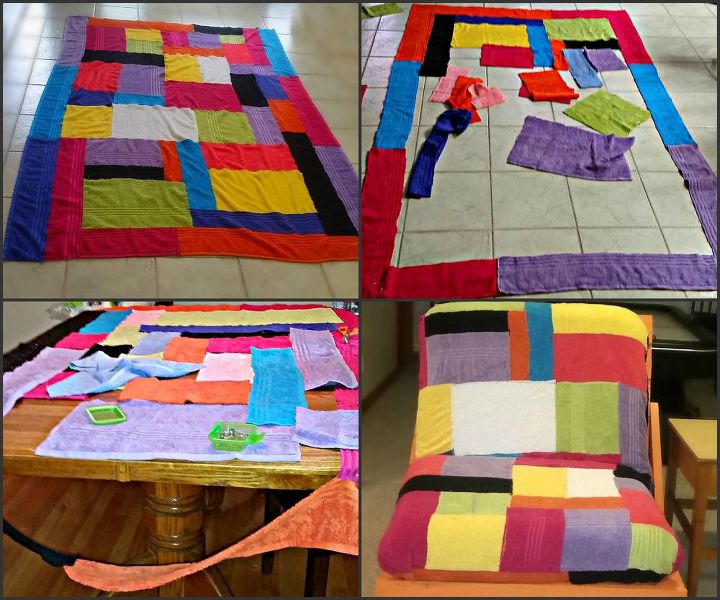
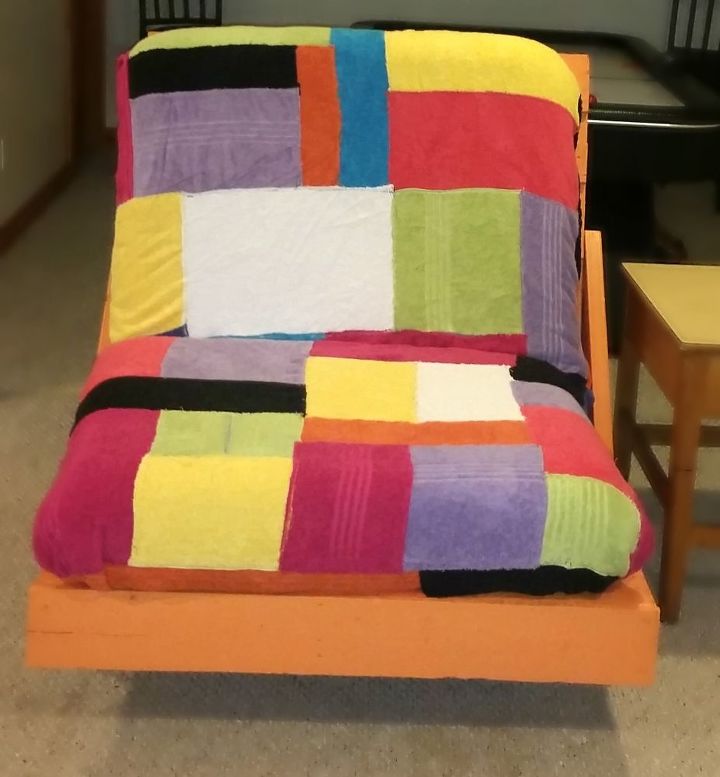
Color Block Chair Cover
This Chair cover is made from bath towel remnants left over from another project. Its original purpose was a beach blanket. Of course it still can be but unfortunately we use this chair more often than we go to the beach and it fits perfectly! The frame was constructed so that the “manufactured” finished edge of the towels was on the outside. This helped keep a good shape and I didn’t have to finish off the edges myself. Starting at the top I began sewing the toweling a row at time cutting pieced to fit the space I needed. I pinned & sewed the outside frame as I moved down the length of the blanket. I did need to buy a few more towels for good color balance as I had too much of one color and not enough of another. This took about 3 days on and off. Maybe 6 hours total. If you are good at sewing, I am sure it could be done
Want more details about this and other DIY projects? Check out my blog post!
Comments
Join the conversation
2 of 13 comments
-
This is absolutely awesome - not your run of the mill pallet project. LOVE!
-
Thanks Mary Beth


Frequently asked questions
Have a question about this project?