


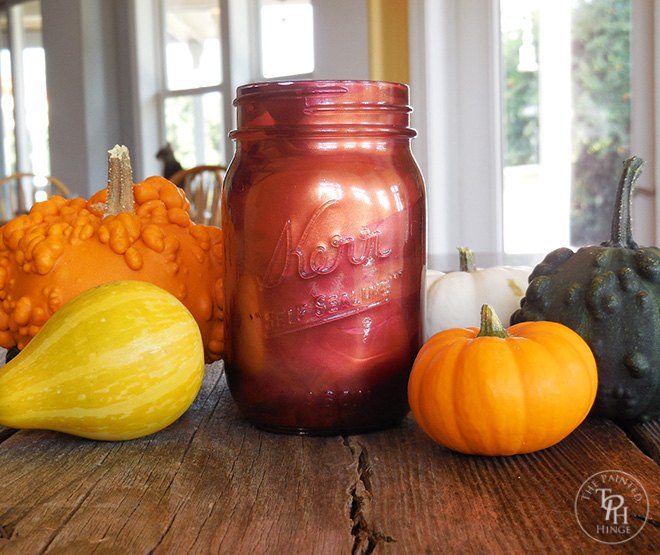
How To Paint Mason Jars With Nail Polish
Don't you just hate it when your nail polish goes bad? It seems like I buy a bottle, use it once (if I'm lucky), and then throw it away a year later because it got all thick and gunky. I know I can thin it out with nail polish remover, but then it takes forever to dry, and it my nail polish doesn't dry in under a minute I have it smeared on my clothes, my laptop, my coffee cup, my cats... you get the idea.
Since I've been on an upcycle kick as of late, I started thinking about all that old nail polish I need to throw out. Once it gets old, it's not good to paint my nails with let alone anything else because it just ends up a big old goopy mess. But I got to thinking- what if I took the painting part (in other words, using a brush) out of the equation? That's how I came up with using it inside a Mason jar- no brushes required! :)
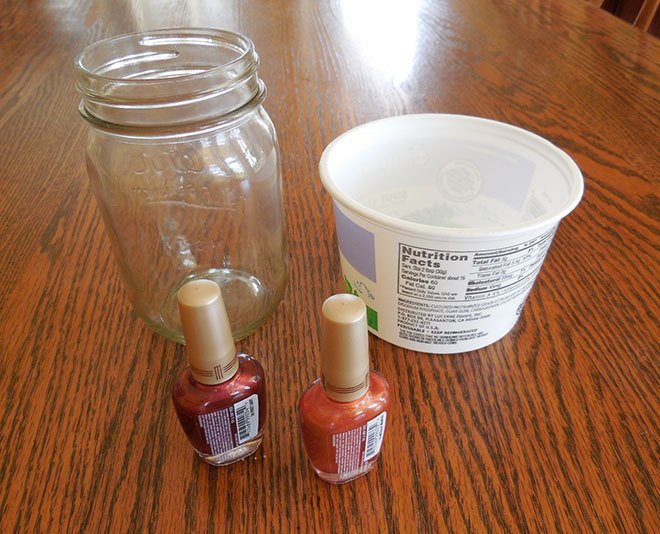
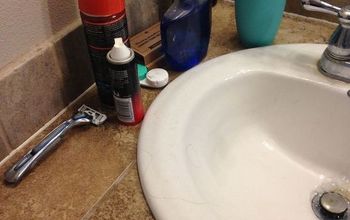
Here's what you'll need:
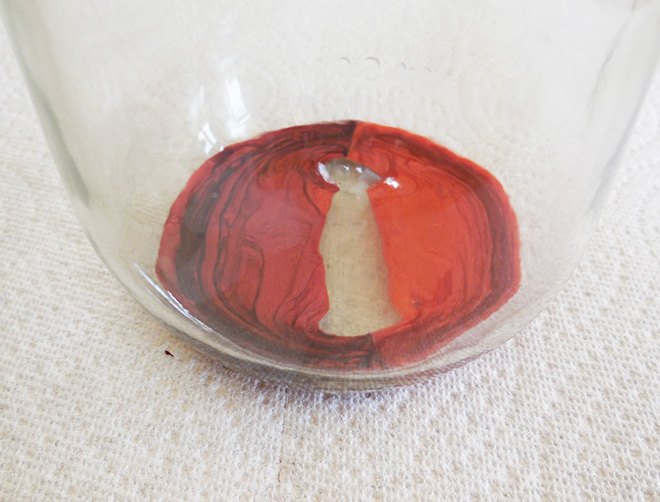
Pour some nail polish into the bottom of the jar. If the nail polish is thick and goopy, you can thin it out using a little nail polish remover (it works good for this, just not on my nails).
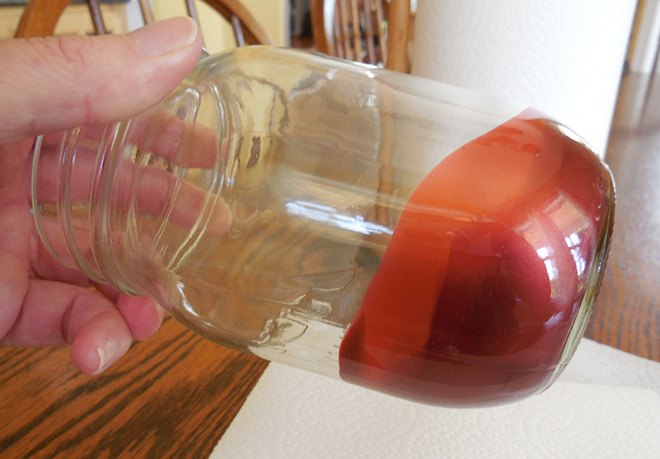
Tilt the jar to and fro to spread the paint around. Add more paint as needed.
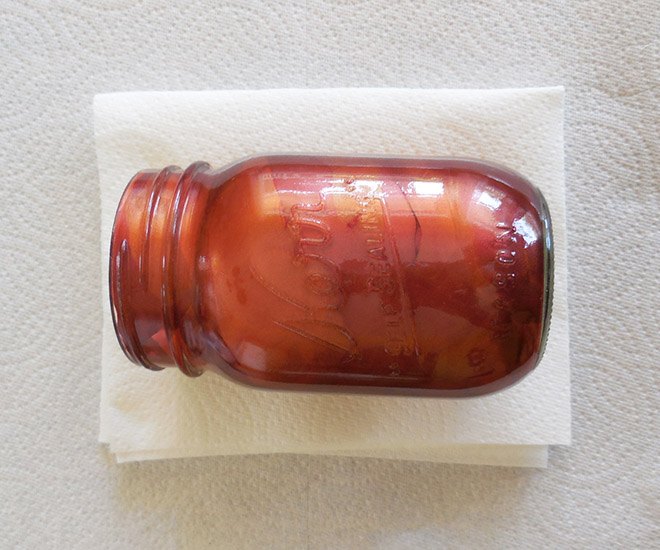
Let the paint dry for at least a few hours to lessen the fumes before you bring it in the house to decorate with. The paint set up pretty quick so I was able to let the jar dry on its side, but if the paint is still runny, let it dry upside down in the plastic container for a bit so you don't get the paint coagulating on one side of the jar.

Want more details about this and other DIY projects? Check out my blog post!
Comments
Join the conversation
2 of 80 comments
-
It's really pretty
-
OMG I LOVE IT. Such a great idea.


Frequently asked questions
Have a question about this project?
Michelle - love the idea! Can I put a regular flamed tea light inside even though it's nail polish? Would it be flammable then after drying?
This is beautiful I have been watching these nail polish ideas this is by far the best my question do you think I could do this to a pair of old white canvas sneakers?
Approximately how many bottles of nail polish would it take to paint the pictured mason jar?