


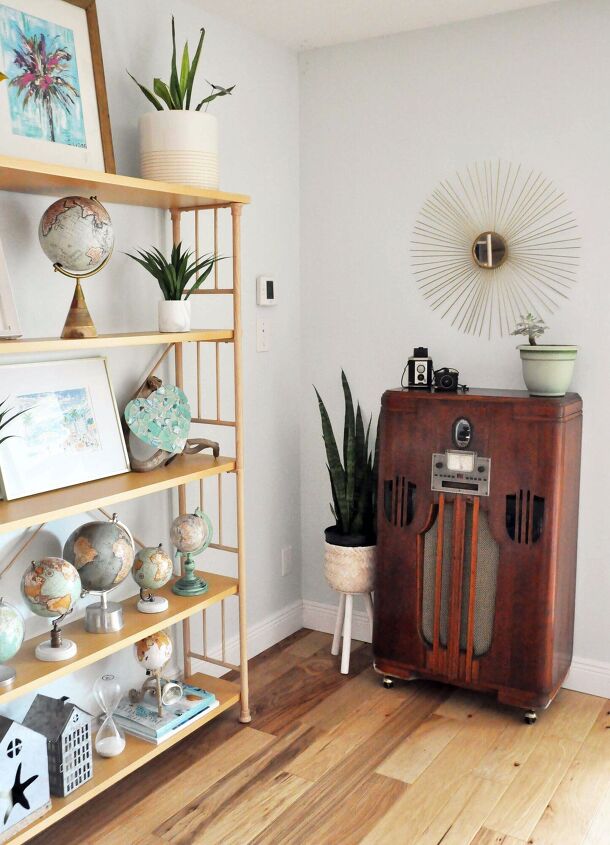
Trash to Treasure Vintage Radio Cabinet
A lot of my friends know that I like to find goodies on the side of the road that I makeover and flip for a profit. I frequently get texts from friends with pictures asking if I want an item they happen to see on the curb (or something they are getting rid of themselves). So, when my friend Trish texted me these pictures recently, I immediately jumped in my car and went to her neighborhood and got this piece. She even helped me put it in my car. Thanks, Trish!!! Anyway, isn’t it cool? I think I'll keep this piece!
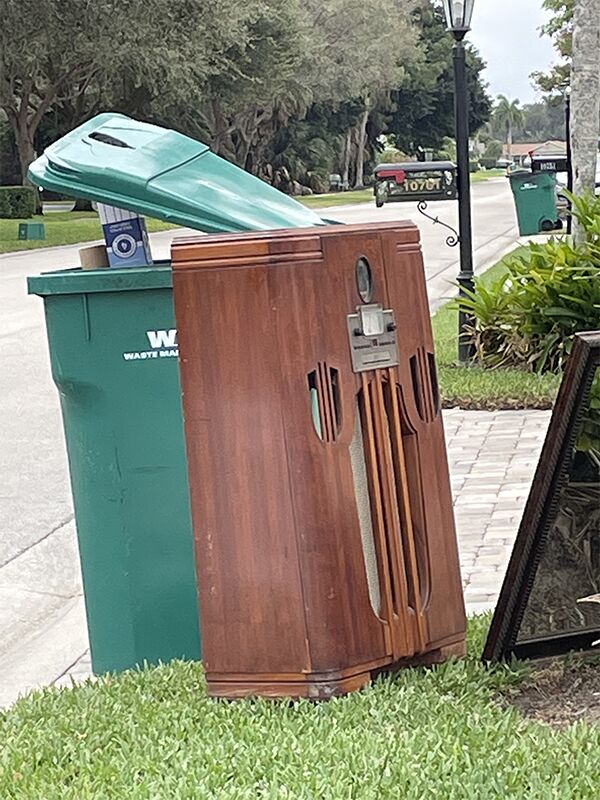
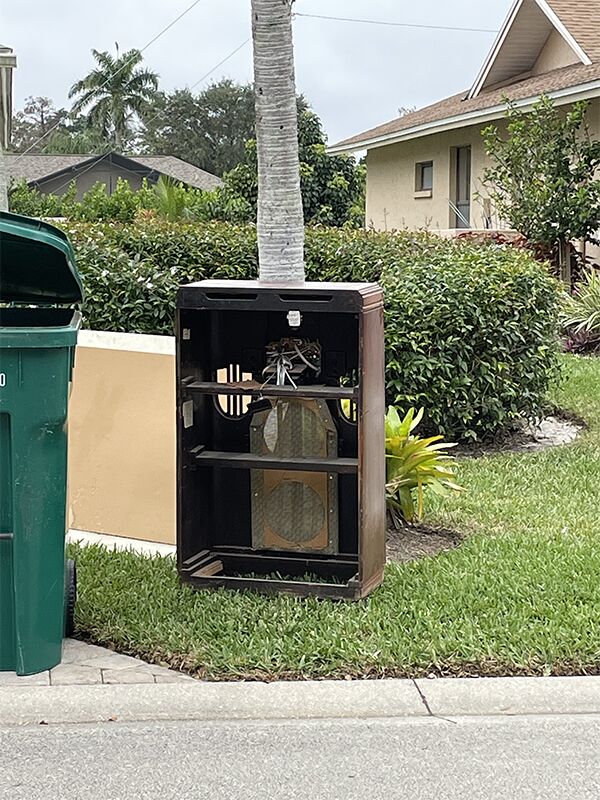
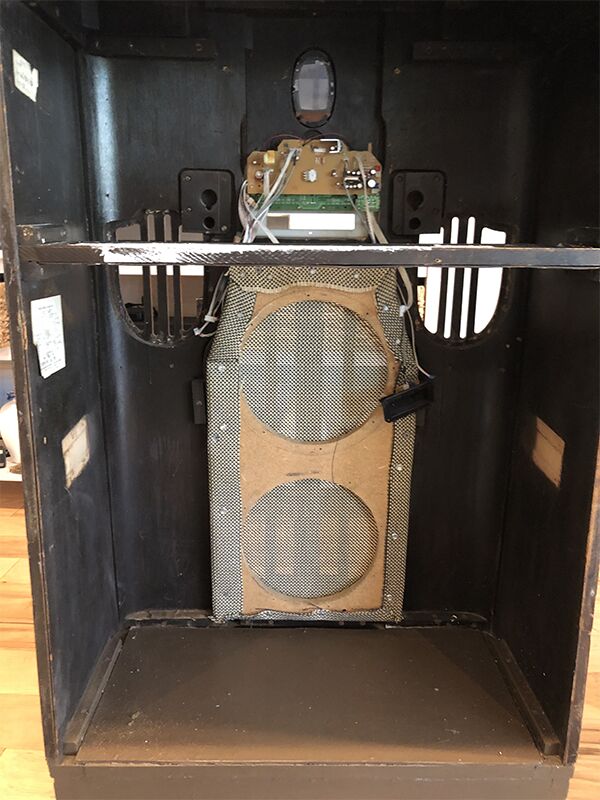
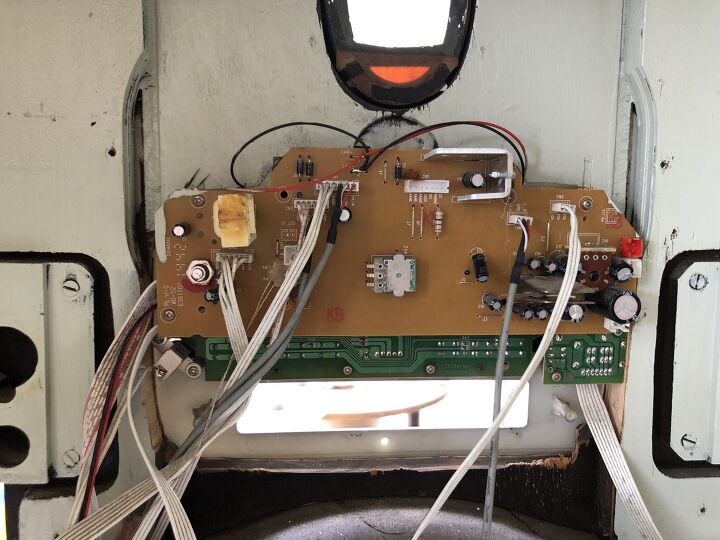
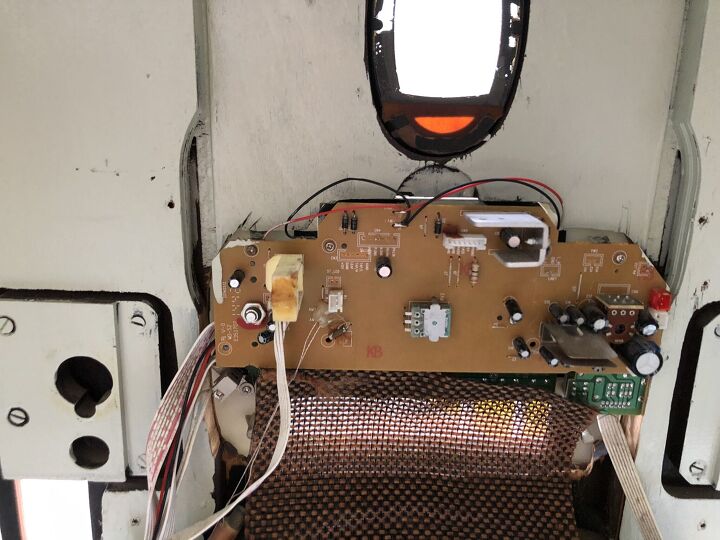
When I got it home and really took a good look at it, I found it was pretty beat up. It is a Philco Model 116, which was first introduced in 1935. Unfortunately, I don’t think it is worth any significant money in the condition it was in. The radio didn’t work, and the speakers were missing. ALSO, it had a CD player in it (that didn’t work) making me believe the previous owner fit one in there later on. I’m pretty sure they replaced the entire face front with an updated one. We looked into replacing the entire radio portion but it was just to expense. In any case the front of it is still really cool.
So, what was I to do with this thing?
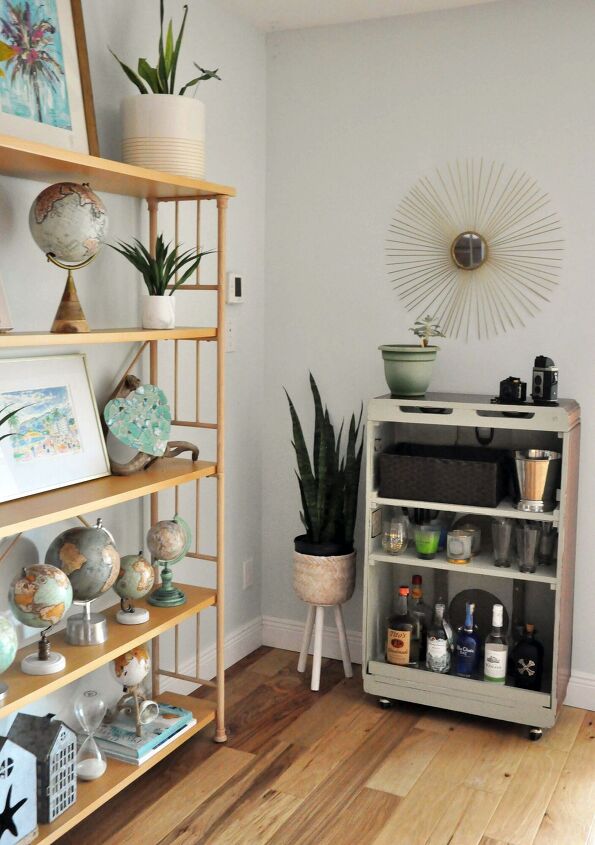
Another friend suggested I make it into a bar. I liked that idea and immediately my wheels started turning in my head with how I could make that happen. Here is what I ended up doing…
Step 1 in making my Trash to Treasure Vintage Radio Bar…
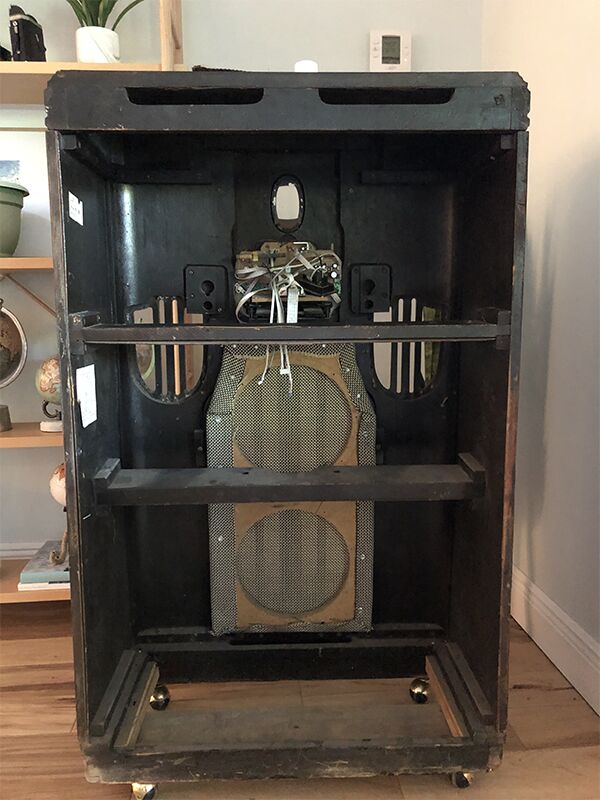
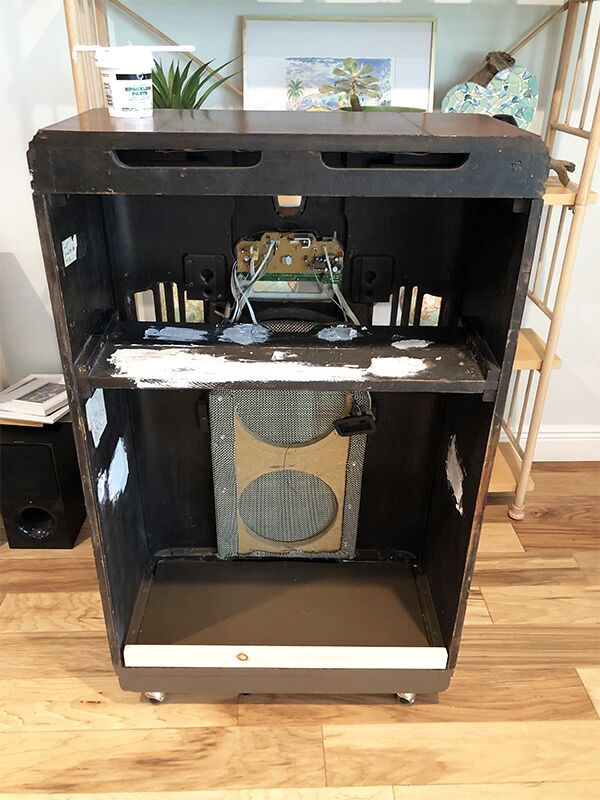
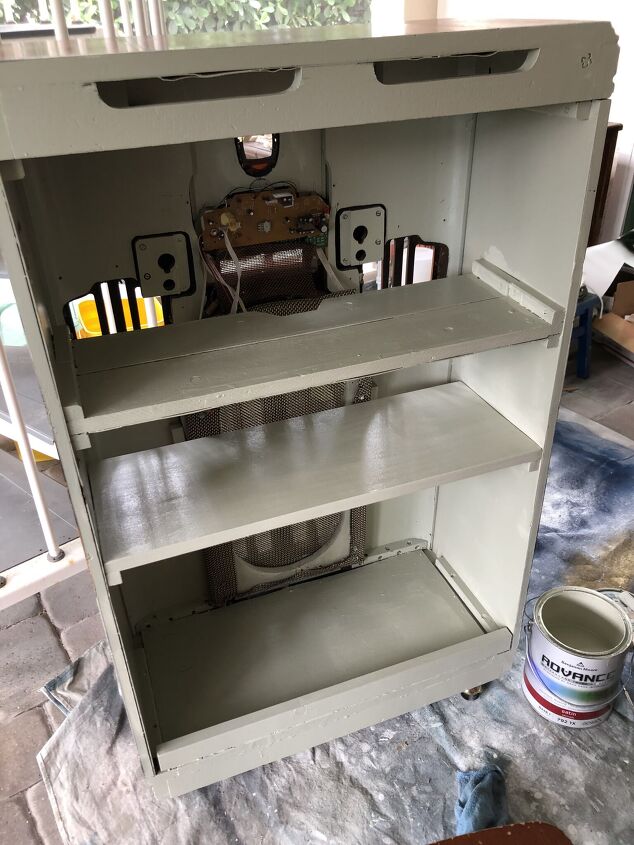
First things first, I gave the entire piece a good cleaning. Inside and out. The wood on the outside was in good shape and I liked the color so I didn’t plan to paint it. The inside was a different story.
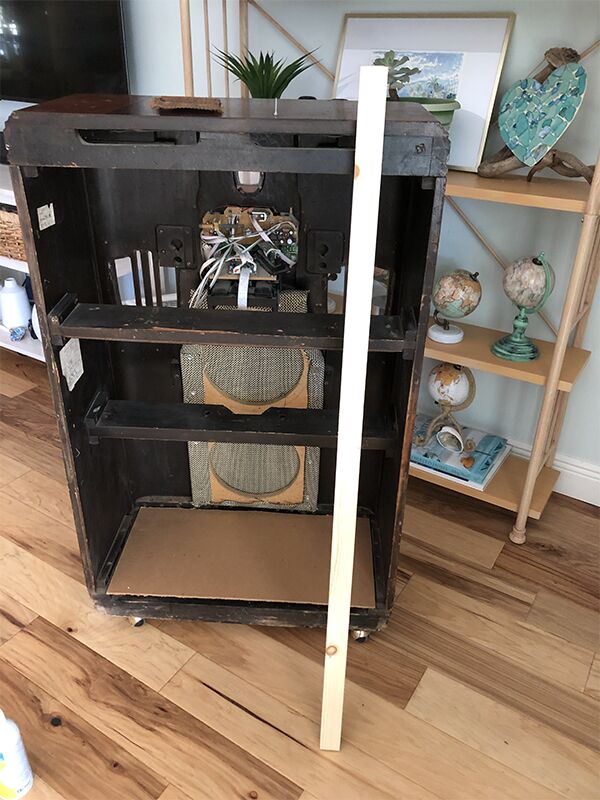
Step 2, Attaching Some New Shelves…
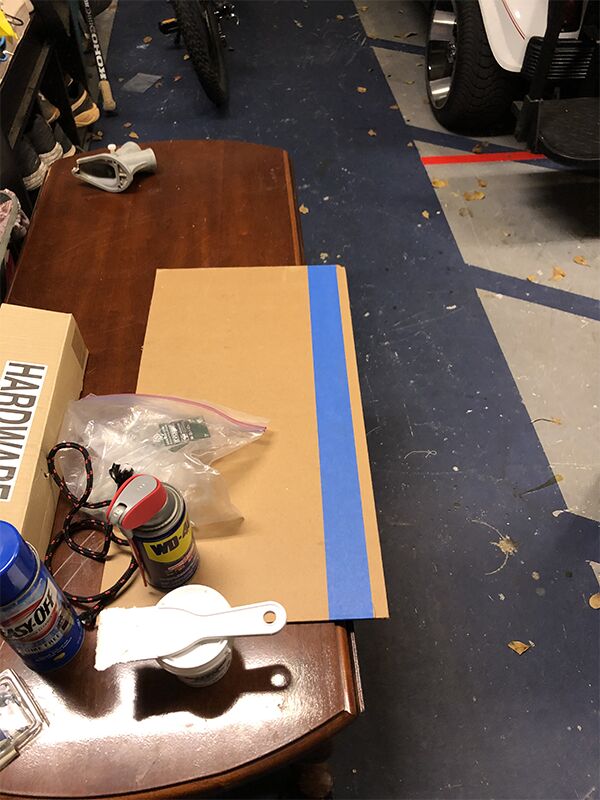
I wanted to create a shelf on the bottom (to hold the booze), so went into my garage to our scrap wood pile and could not believe I found a piece that fit. However, it was about an inch to deep. I had to cut it slightly using my jig-saw and a piece of tape as the guide.

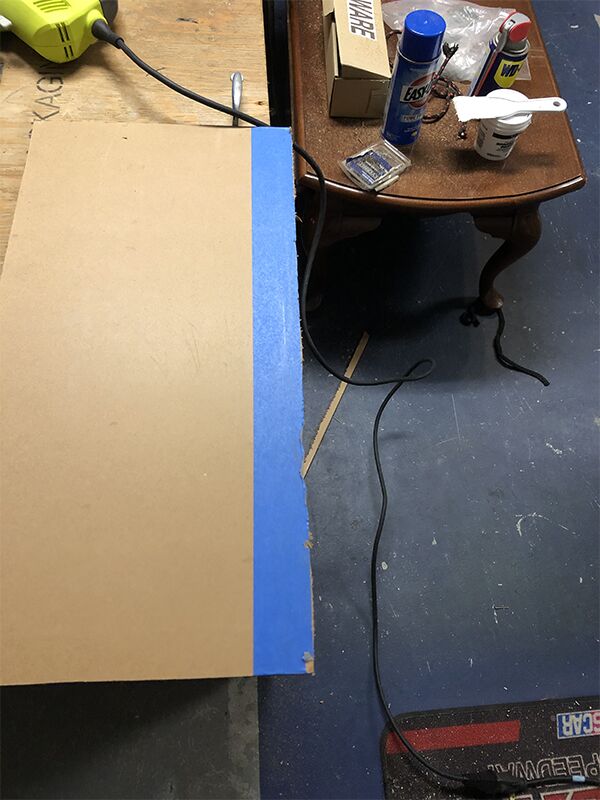
After I placed the new shelf in, I realized there was a gap that needed to be filled underneath it. Back to the garage I went to search the scrap pile, but had no luck finding a piece that fit. I had to take a trip to Home Depot to find what I needed. I bought the perfect piece of wood for under $3, and cut it down to size. Then used some brad nails to secure it all together. Lastly, I painted it brown, using some paint I found in the garage (and below you will see I painted over the brown anyway).

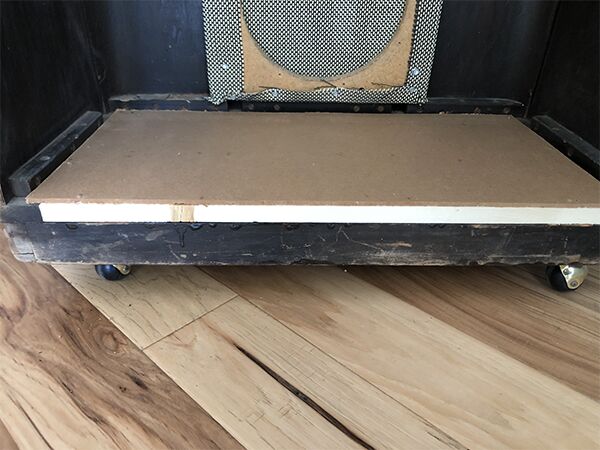
I also moved the middle shelf up to the top shelf to make it wider. These aren’t really shelves to begin with so are only about 4 inches wide. By combining the 2 on the top, it made it much wider. To move the shelf I had to unscrew the brackets and then use the hammer to really hit it to pry it loose. Once I got it off I had to fill in all the nail holes and other dings and scratches, using some spackling paste. Also, I attached a lip to the bottom shelf.


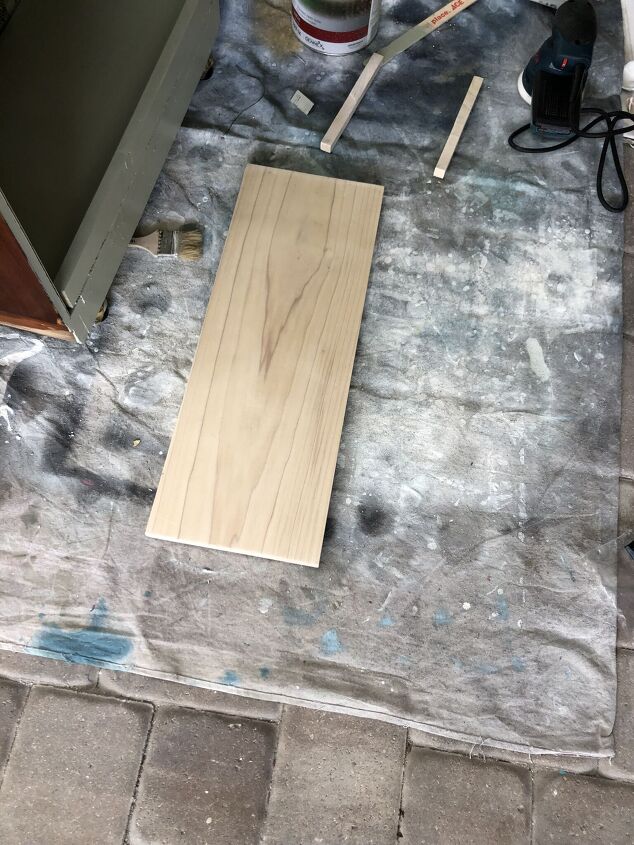
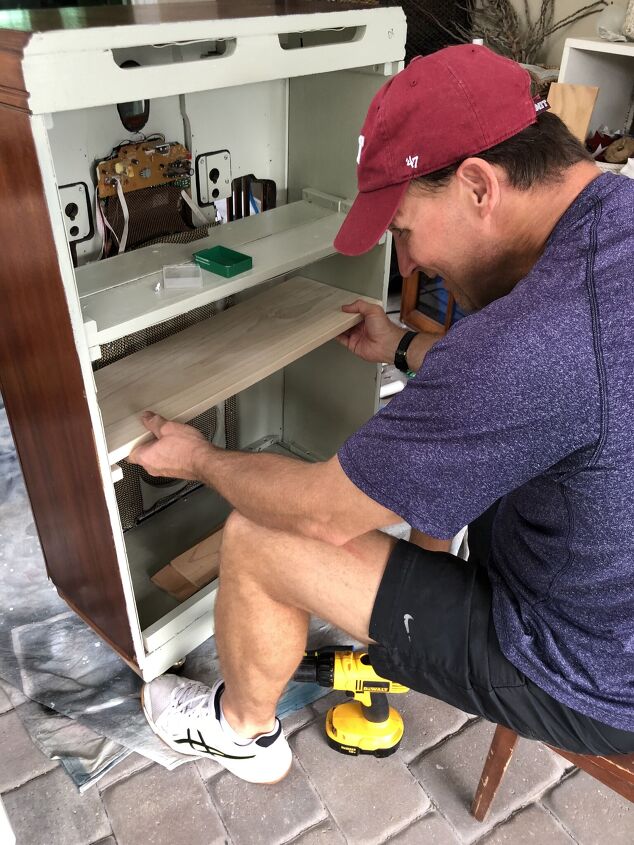
Lastly, I added a wider shelf where the other one had been using 22.5″ L x 9.25″ D X .75″ H piece of wood that I picked up at Home Depot. Actually, the piece I picked up was 4 feet long, so I had to cut it to 22.5″ using my saw when I got home. My husband helped me cut some brackets using the same piece of wood and then helped me attach it all. Note: we made sure this shelf was spaced enough to hold tall bottles of booze and was also tall enough to fit the glasses we wanted in there.
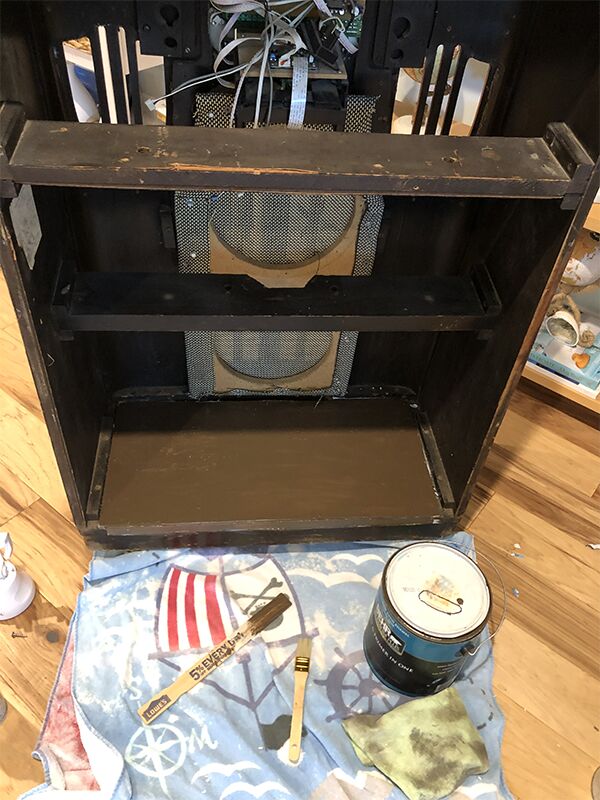
Step 3, Paint…
Once all the shelves were set, I painted the inside October Mist by Benjamin Moore. I had this on hand from previous projects so figured I would use it up.
Step 4, Addressing The Wires…
All the wires going to nowhere were a bit of an eyesore, so I took off as many as I could. I couldn’t unscrew this piece. I did try and it took off the entire front plate of the radio, and left a big hole, so I had to put it back.
Step 5, Adding Lights…
The last thing I did was add some ‘ puck lights‘ underneath the top of the bar. These will probably only be used when we have people over. This set on Amazon comes with a remote. The ones I used don’t have a remote, so I plan to order some that do. I need more lights to attach to the shelf underneath the glasses anyway.


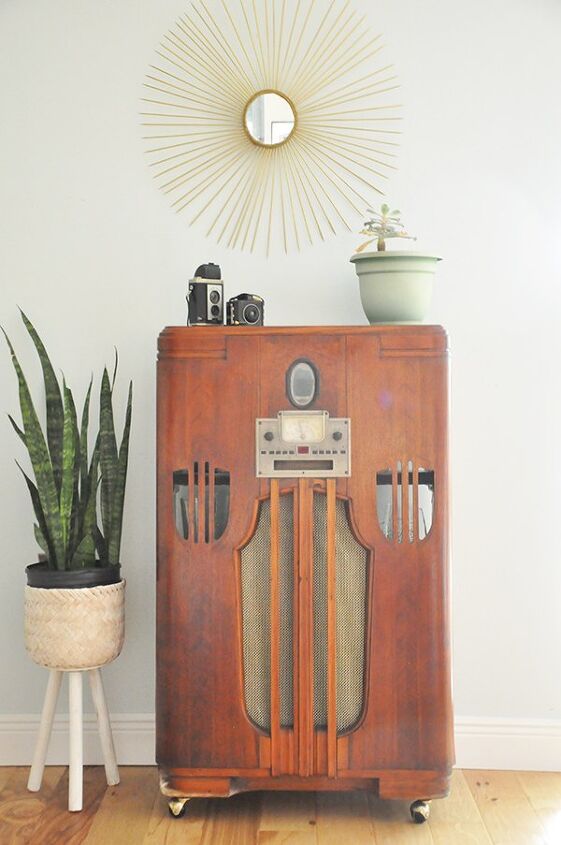
The finished piece….
I brought it inside and filled it up. Here is how it looks. I’m absolutely loving how it turned out. The basket on the top shelf hides the remaining ugly wires. I will only turn it around to the bar side when we are having parties. Otherwise it will stay on the radio side as I think it looks pretty cool that way. Vintage pieces like this are all the rage these days.

What do you think?
Resources for this project:
See all materials


Comments
Join the conversation
-
What a clever idea. A bar when you need it. I can see it being adapted to a
small bureau.
-
You could have done the same thing with an old dresser!


Frequently asked questions
Have a question about this project?
I like how you changed this into something useful. An old radio cabinet has a new purpose. One thing I wondered is the decorative holes in the front. Did you think about covering them inside with wire mesh or something?