


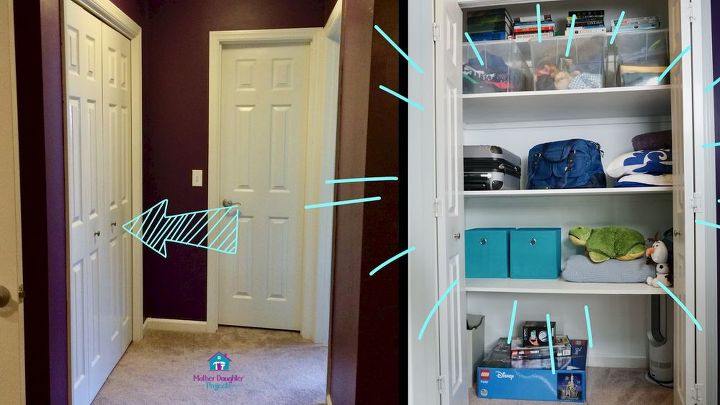
How to Make Built-in Closet Shelves
Before reading further, please take a minute to subscribe to the once a week Mother Daughter Projects newsletter. Click this link.
For your convenience, there are links to the products we use in our projects from Amazon as well as The Home Depot. (Mother Daughter Projects is a participant in the Amazon Services LLC Associates Program, an affiliate advertising program designed to provide a means for sites to earn advertising fees by advertising and links to Amazon.)
Watch the video for step by step instructions.
Sign-up for our email list to get project updates!
Supplies:
- Plywood, 1x2 strips, base shoe molding
- Ryobi Drill/driver
- Circular saw
- Kreg Rip-Cut
- Kilz primer
- Minwax poly protective finish
- Magnetic stud finder
- SPAX 2 1/2" screws
- Construction adhesive
- Ryobi 18 gauge brad nailer
- RapidFuse glue

Cut one shelf to check the size
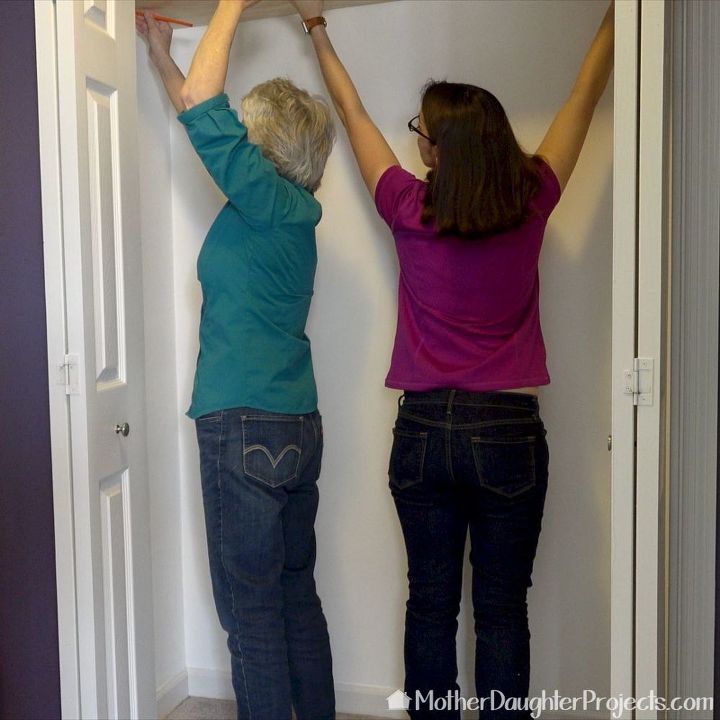
Mark where each shelf will go in the closet
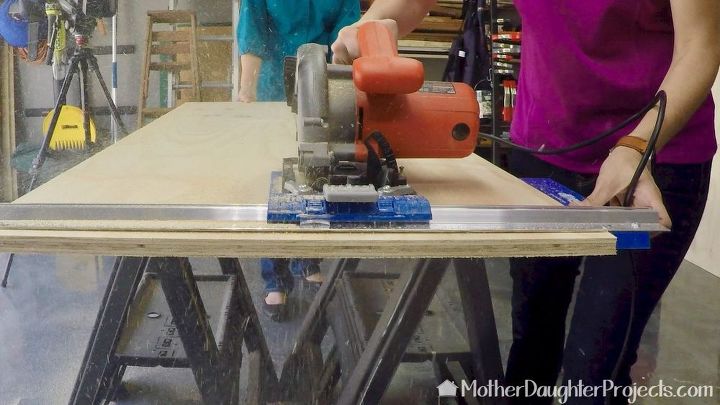
We used our kreg circular saw jig to make nice straight cuts in the plywood. Our circular saw just slides into the jig and attaches in place. Cut out the rest of the shelves. We made our top shelf half the width of the others. This way we have room to put items on the shelf and the door frame will not get in the way.
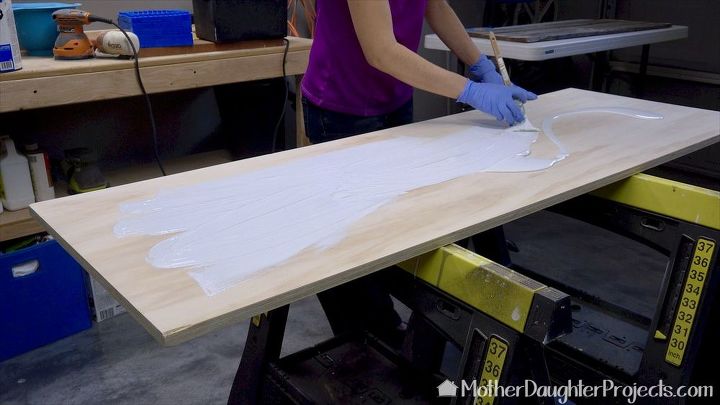
Paint the shelves. We used kilz primer then finished it with a clear poly.
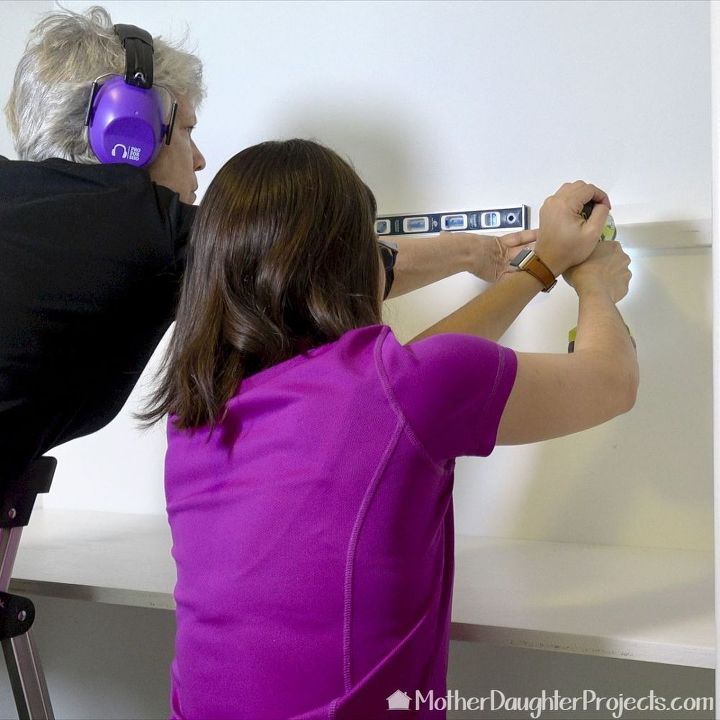
Find studs in wall then level the 1x2 board and drill pilot holes for screws.
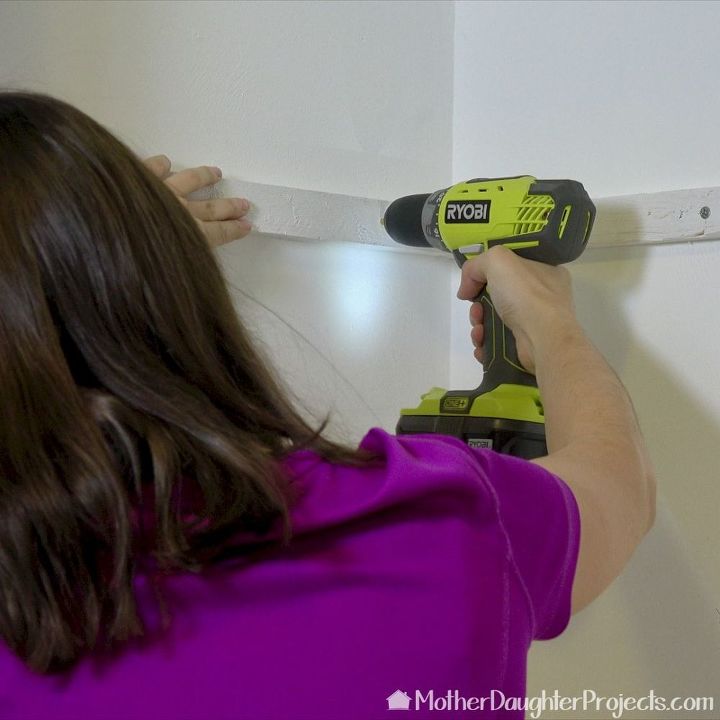
Attach the side strips the same way

Place plywood on top
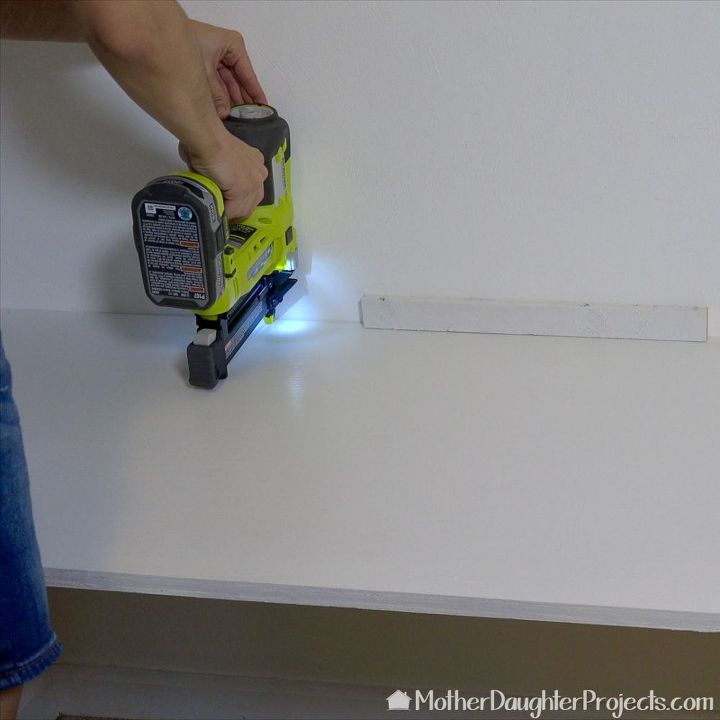
Use construction adhesive on the support wood, then place the plywood on top. Use a brad nailer to secure the plywood to the support.
To attach the molding, use RapidFuse glue or wood glue. Cover the screws with wood glue. We also used caulk to cover any seams. Touch up paint and done!
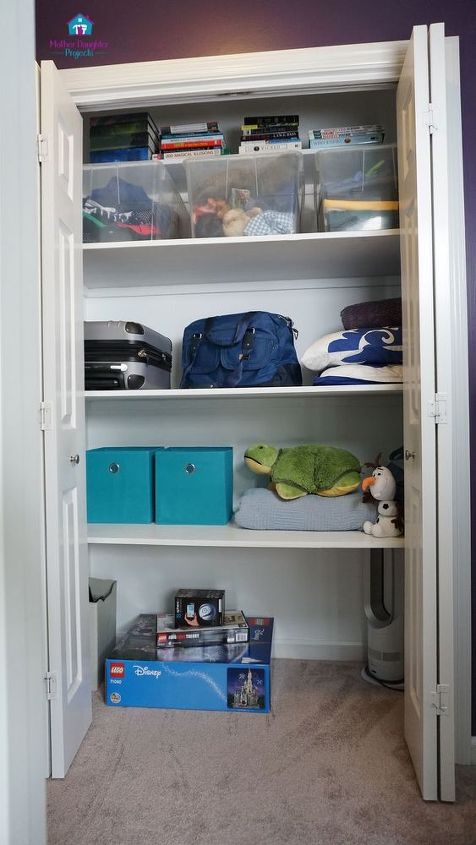
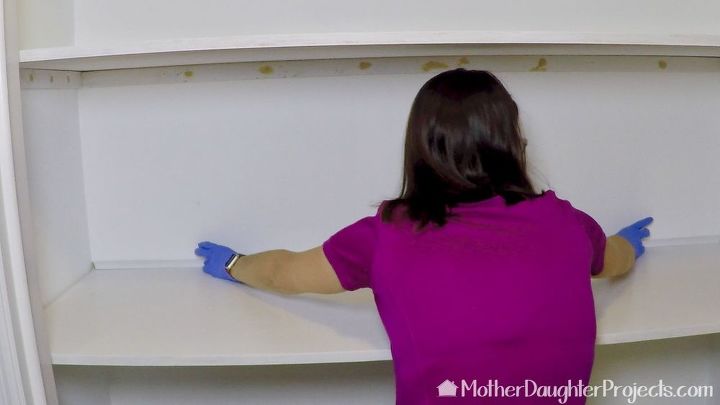
I really like how these shelves turned out. I have room for my books, old keepsakes, travel gear, guest supplies, future gifts and more. It makes me smile to open this closet now and see my organized closet of things!
Visit our website in the link below for more details!

Comments
Join the conversation
-
Great tutorial. Thanks for sharing!
-
Thanks, just ordered it and read the reviews!!!!!!


Frequently asked questions
Have a question about this project?
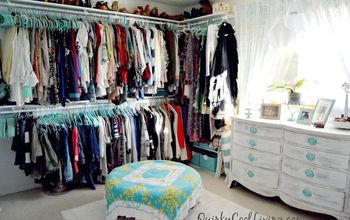
Where do you hang your clothes?
what thickness is the plywood?
What kind of stud finder do you use??????