


Adding a Decorative Detail to a Bland Doorway

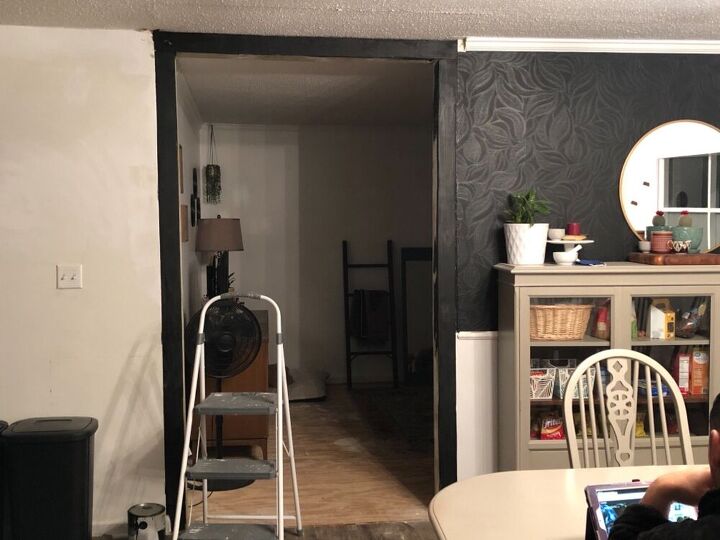
After completing the wall between my dining room and living room, I felt that something was still missing. I couldn't figure out what it was until I saw Ashley from At Home with Ashley on Instagram place 4x6x8 posts between her kitchen and family room. She did this so that she could place crown molding in the kitchen and not be obligated to also add crown to the rest of the home. I went to Pinterest to find some additional inspiration for this project. I was then ready to upgrade my doorway to the living room. Here is how I did it.
I started by cutting my 4x6x8 posts to size.
I then attached them to the wall using 3" lag screws.

After installing the posts, I felt like the new doorway trim was too narrow, but I decided to keep going and modify the project as I saw fit.
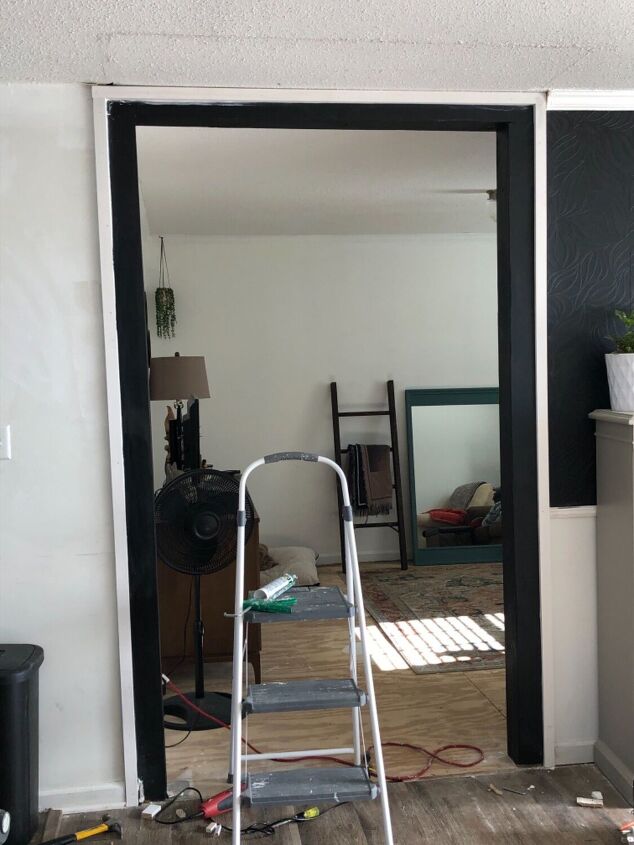
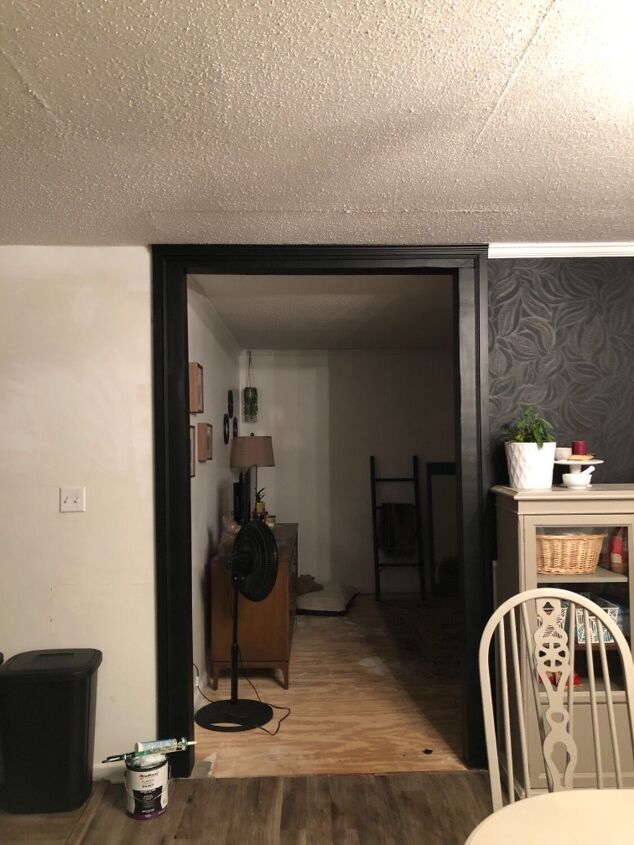
After a light sand I was ready to paint. Initially I wanted to paint the frame white, but since I still had the never-ending can of black paint left over from 3 previous project, I decided to use this paint. My additional thought process in choosing the black paint was that I would not be able to see the tannins bleed through at the knots of the wood like I surely would be able to if I just used white paint. There are ways of sealing the knots to avoid the tannins bleeding though, but the process that I know of involves some pretty strong primers and my husband is very sensitive to smells to I opted for the darker color. (If you know of anything that is not super strong smelling that can be used to seal knots, please let me know!). This picture was taken at the end of day 1, and by this time I knew for sure that I needed to "kick it up a notch" with the decorative details of this piece.
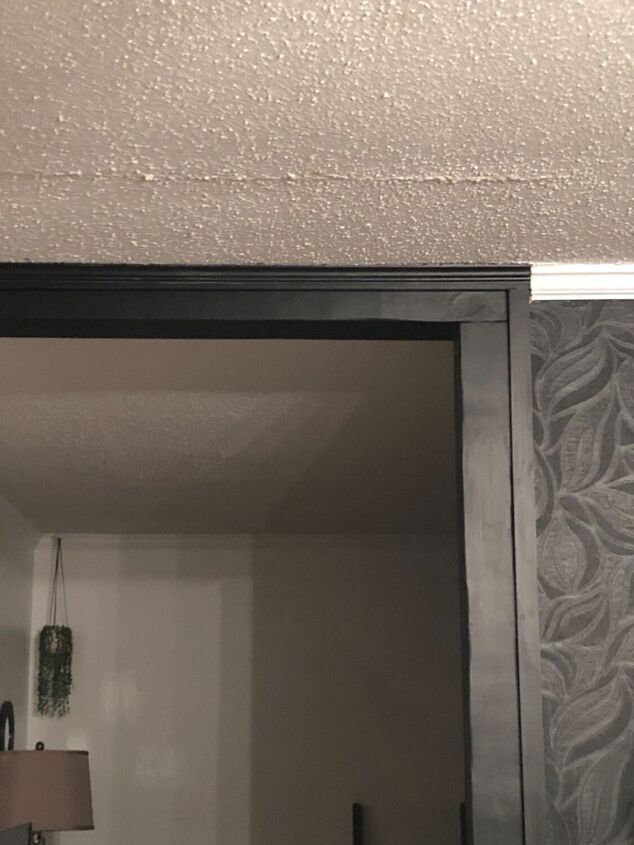
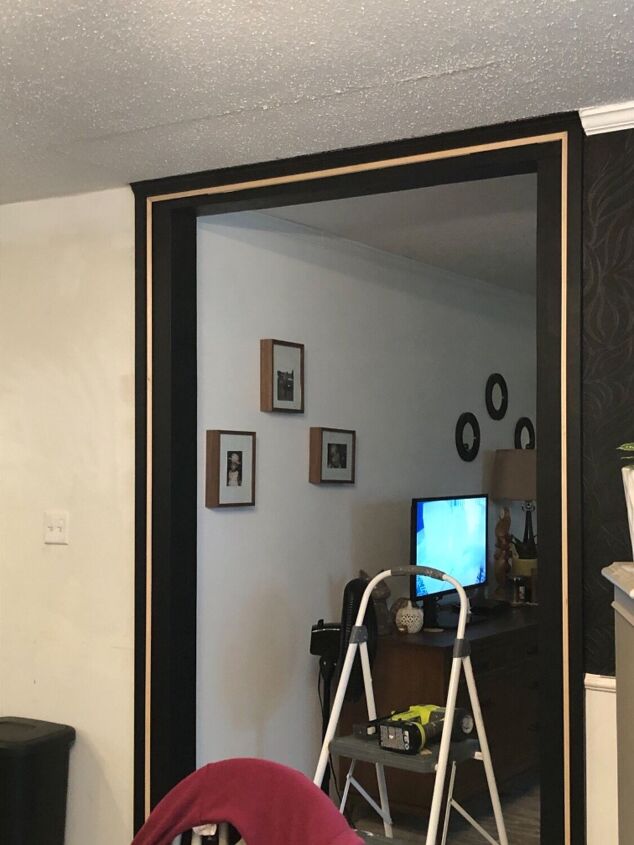
After a relatively rough night of tossing and turning as I mulled over how I was going to "beef up" the trim, I decided to go to Lowes first thing in the morning and pick up some 1x2x8 primed boards to add to the outside perimeter. This would allow the trim to have a more substantial appearance. I also added a piece of 1.25" crown moulding to the top of the trim.
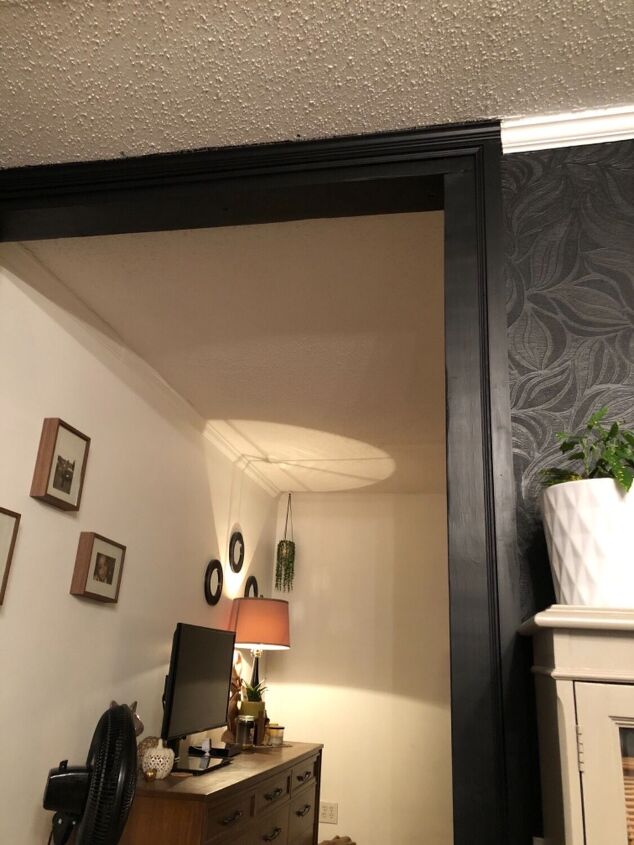
With the crown added and painted black.
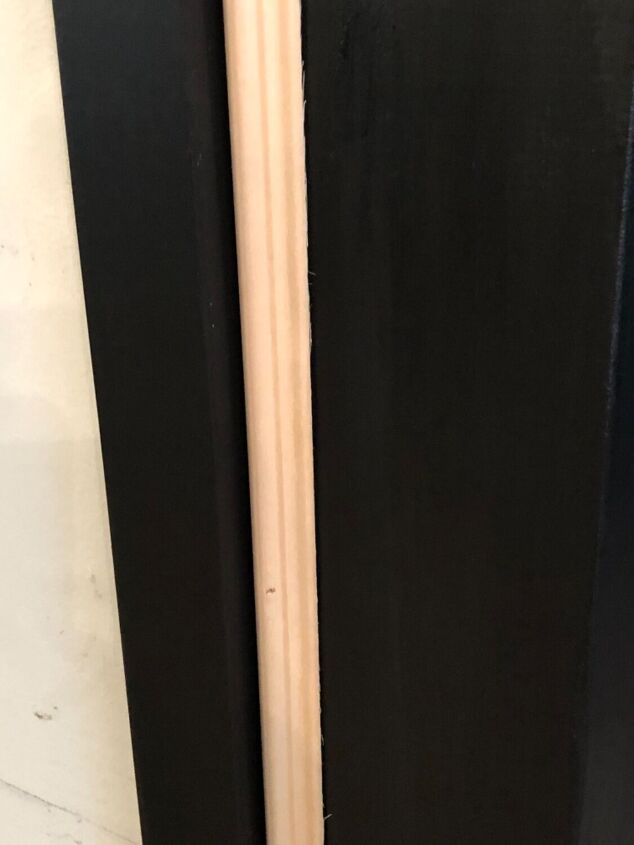
I still felt like the trim needed one more decorative element to finish it off, so I opted to add a .5" trim to the inside corners to add the finishing touch.
Last piece of trim has been added!
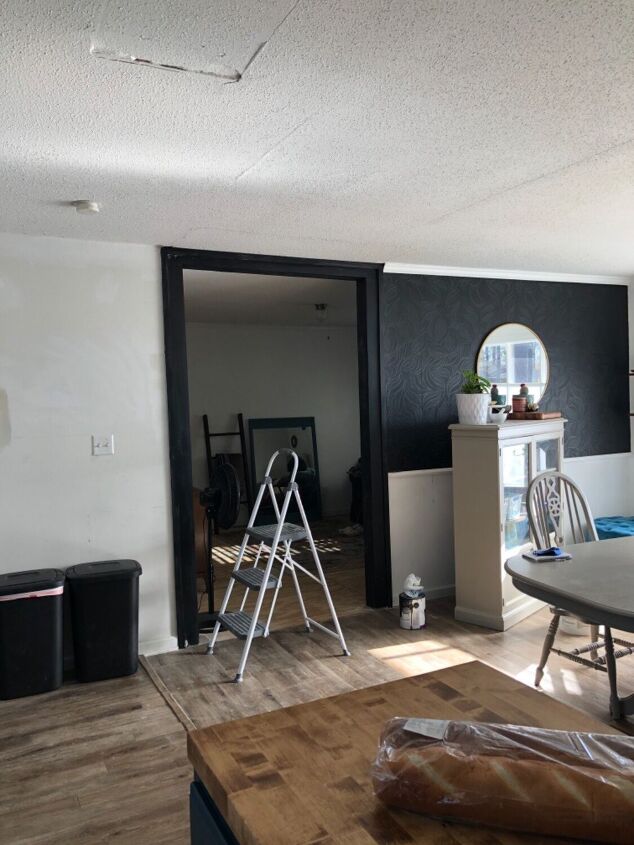
After some caulk and a few coats of paint.... DONE!
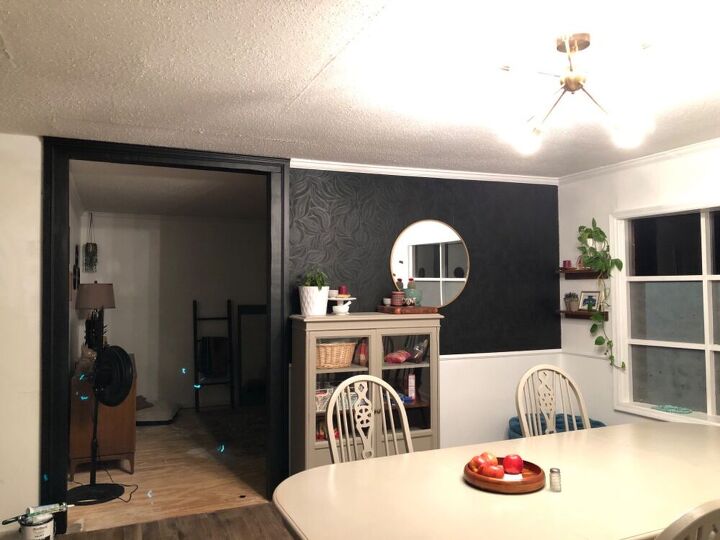
*Please ignore any wonky bits you see in the ceiling... that is one of my future projects... in addition to putting down flooring to cover the plywood floors... and and and.....*sigh*...... 
Resources for this project:
See all materials


Comments
Join the conversation
-
Pat yourself on the back!! Very nice job! Its inspiration for me to learn to use my power saw for my door project. Thank you.
-
I love this!😊


Frequently asked questions
Have a question about this project?
Where did you get the great wallpaper!
This looks amazing, I love the black and I love your wallpaper. Your space is going to be awesome when you get to the end of your "and, and, and" list. (Do we ever get to the end of that list???)
Nice job! I love the wallpaper. Do you remember where you got the wallpaper? Also, what is the brand and color of the paint?