


DIY Wingback Headboard – Bedroom Makeover
Our bedroom makeover was a dream come true for us. The handmade wingback headboard is my favorite addition. Let me share how we built and upholstered it.
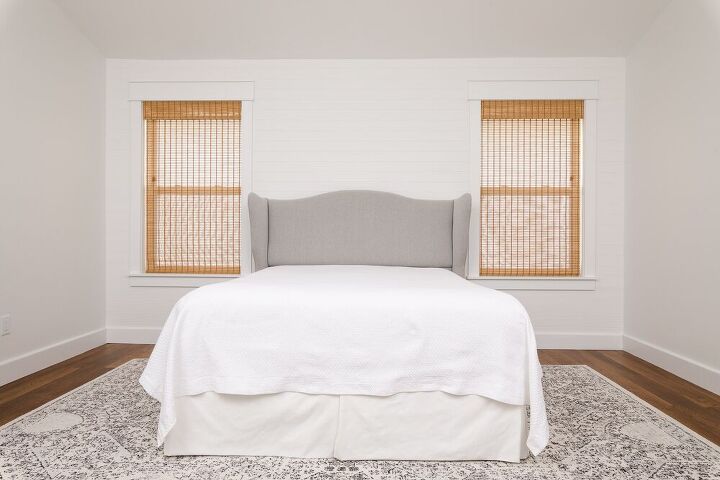
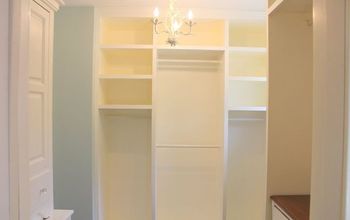
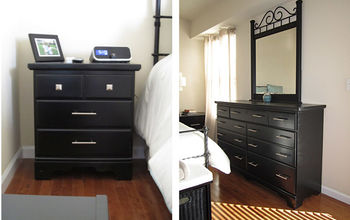
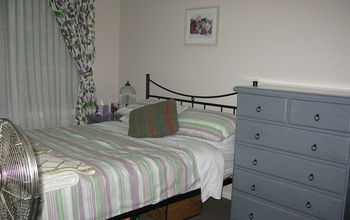
 You will not believe our bedroom's BEFORE photos see them HERE.
DIY Wingback Headboard
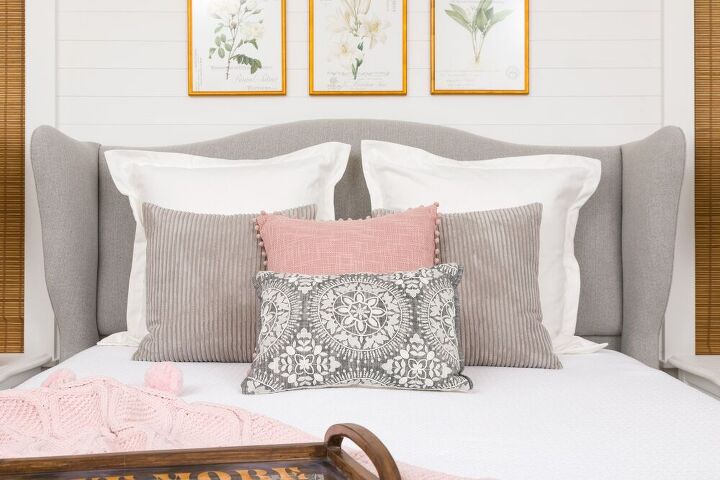
Bed with Pillows and Handmade Tray
The handmade bed tray was loving created by our daughter.
Handmade Bedding
The sewing technique I used for the white Euro shams is the envelope style closure.
However, I made the gray pillows with invisible zippers like in this earlier post. The bed skirt I made using the same pleating technique I used when making slipcovers or upholstering furniture. The deck of the bed skirt is a heavy duck slipcover fabric and the skirt is the same linen blend as the Euro shams.
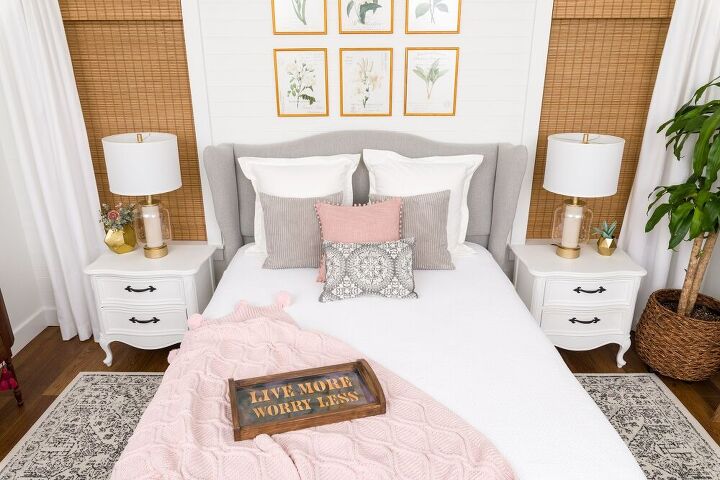
After headboard
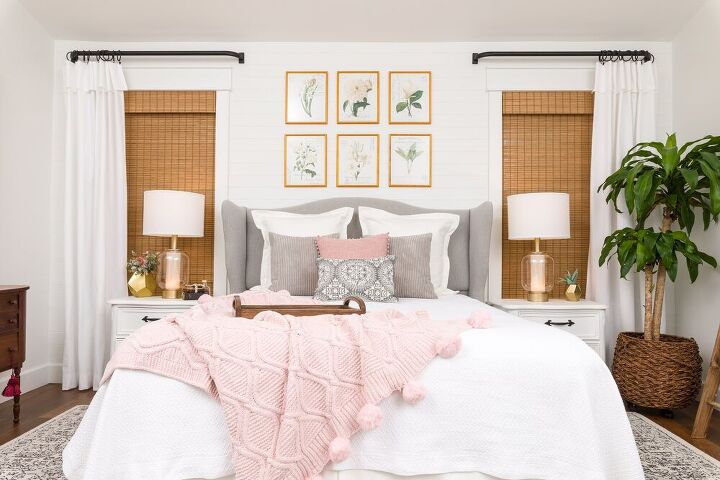
Bedroom Makeover with DIY headboard wingback
Materials
- 3/4 Plywood
- 2″ Foam
- 1.25″ Dacron
- 1/2 Dacron
- 1.25″ Screws
- Wood Glue
- 2.75″ Screws
- Spray Adhesive
- Flex Grip Tack Strip
- Hard Tack Staples
Tools
- Jigsaw
- Bandsaw
- Belt Sander
- Cordless Drill
- Circular Saw
- Table Saw
Wingback Design
I wanted a special headboard, so I designed a romantic styled headboard (you can see it below.)
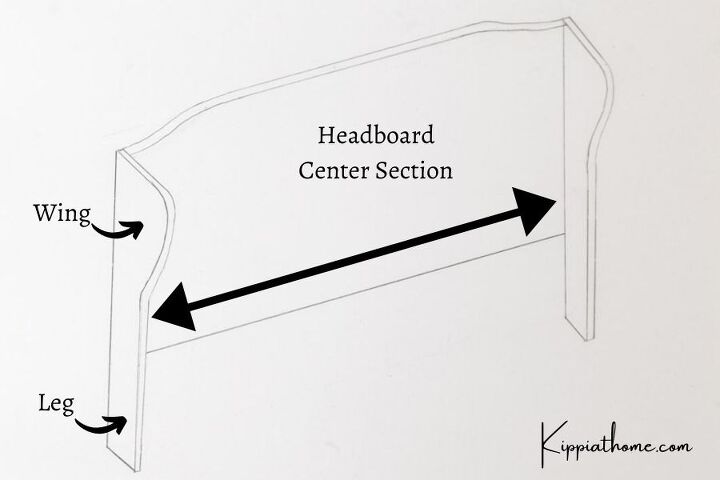
Wingback Headboard Parts
After cutting the design out of plywood, I was ready to build the headboard's wooden frame and wings.
Build the headboard out of a ¾ X4X8 sheet of plywood.
Cut the center portion of your headboard 26X65 1/2.
Cut a doubler strip 5 X 65 for the top and 3 X 65 for the bottom edge.
Next, cut a doubler 3 X 18 for the ends.
Glue and screw the doubler strips around the outside edges of the 36 X 65 headboard piece.
➡️Print out the wing pattern HERE ⬅️
Trace your pattern on the headboard and cut it out using a jigsaw. Use a sander and/or rasp and smooth the cut if needed. Remove any sharp edges or splinters.
Foam
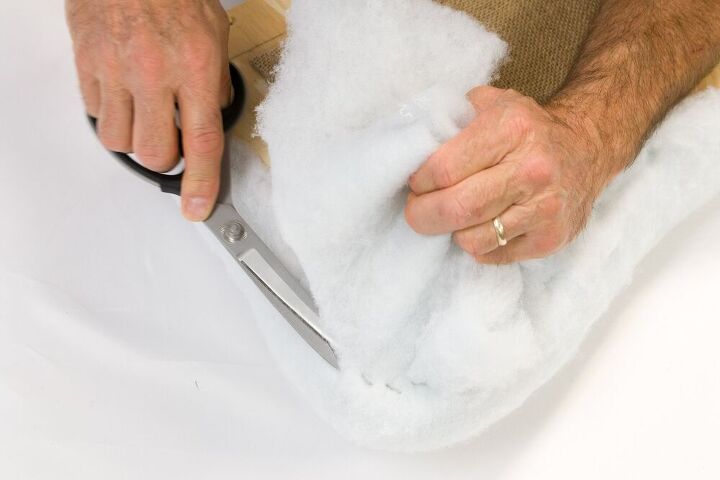
Cut the foam to 25 X 61.
Center the pattern you used to cut the wood on the foam. Cut the foam to size.
Go to the ends and gently pull the poly wrap and secure it with a few staples. You will want to leave this edge squarer. Do not over pull the poly wrap.
Go back to the top center and work both sides to the ends smoothing and stapling the poly wrap.
Finish stapling the ends. You will want a nice straight line.
Cut off all excess poly wrap right along the staple row.
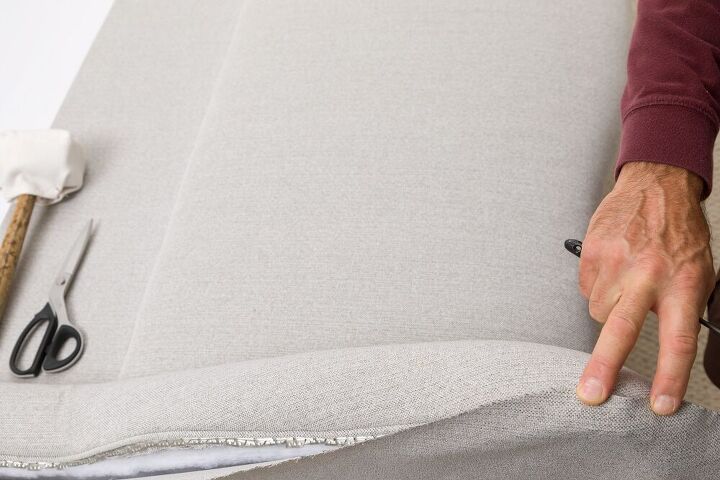
Cut a piece of face fabric large enough to cover the foam and poly wrap—about 34 X 70, maybe a little larger. Start by placing a few staples in the center along the bottom edge of the poly wrap edge.
Then smooth it to the top back edge and tack it with a few staples and at either end. Making sure your fabric is straight.
Go back to the bottom edge and staple it across, working your way out from the center. You will want this to be a nice straight line.
Cut two wings out of ¾ x 13 X 48 plywood using a jigsaw or band saw pattern.
Attach a ¾ X 2 X 48-inch piece of plywood with glue and screws to the wing that will be used to attach the wing to the center portion of the headboard and maintain the 2-inch thickness on the back edge of the wing.
You can find the patterns for both the wing and headboard curve below:
Wood Wing, Supplies, and Step by Step DIY Headboard
To make the headboard, the only step that requires basic sewing skills is covering the welt cording.
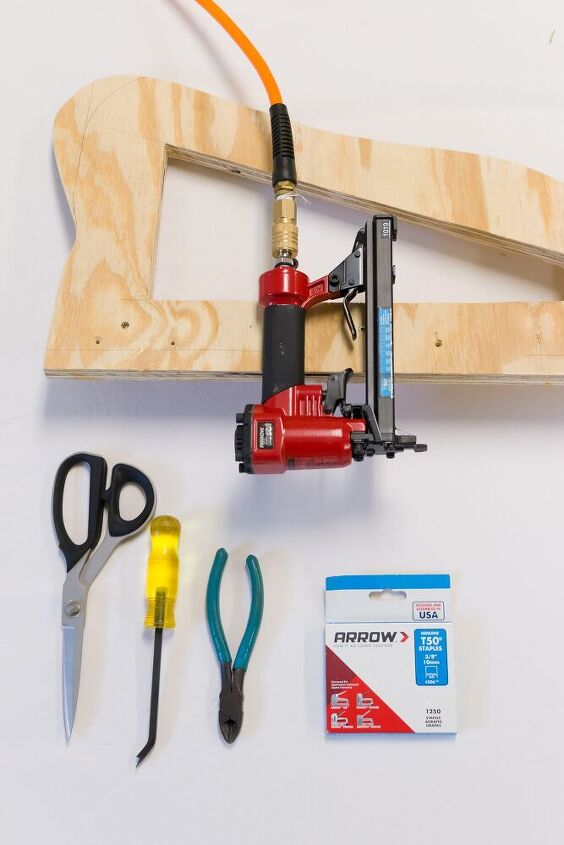
Wing and upholstery supplies
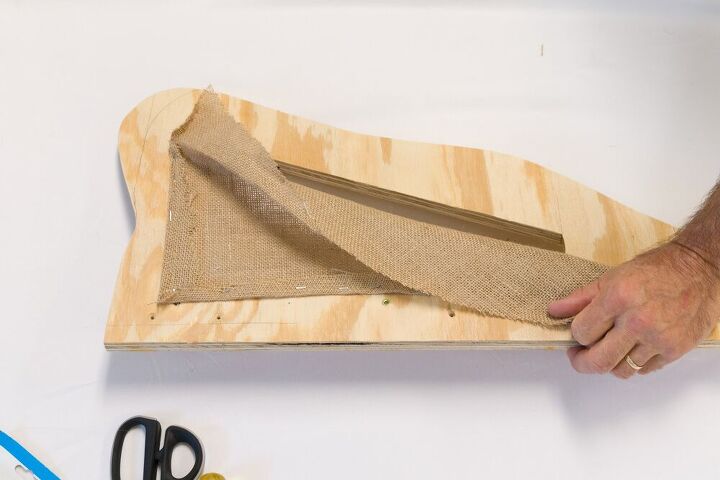
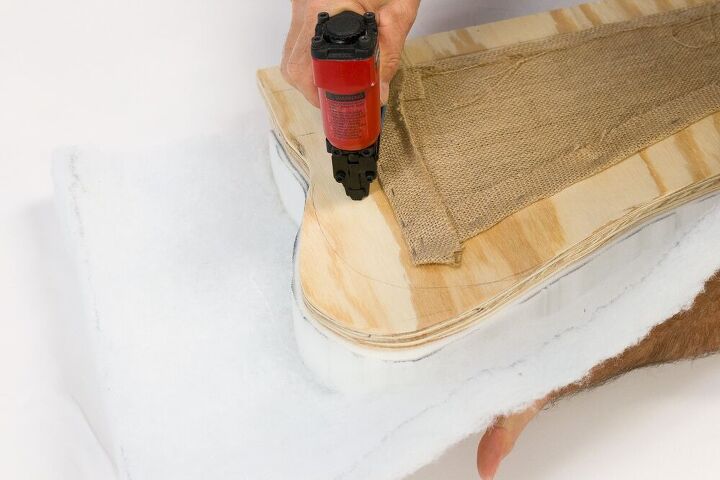
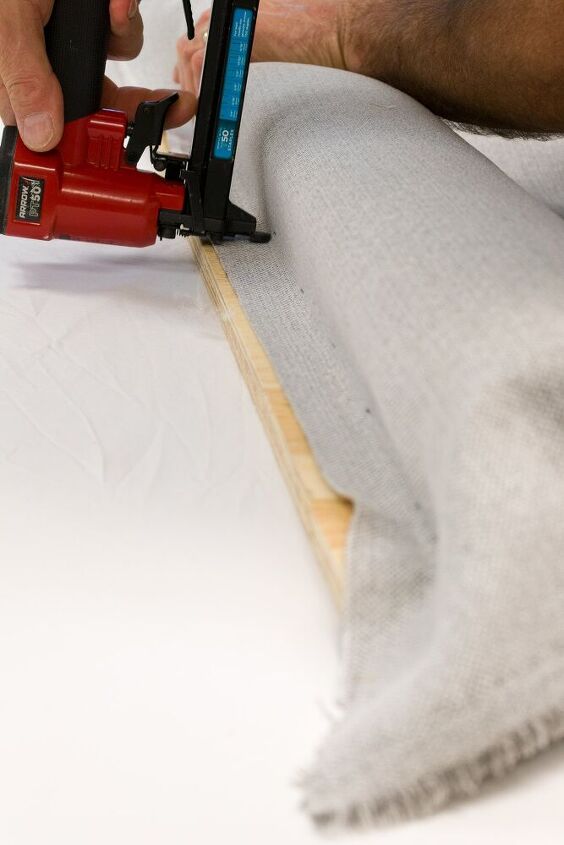
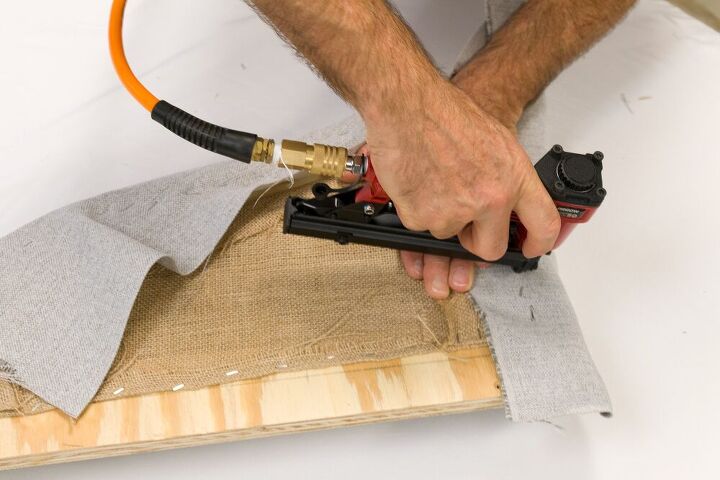
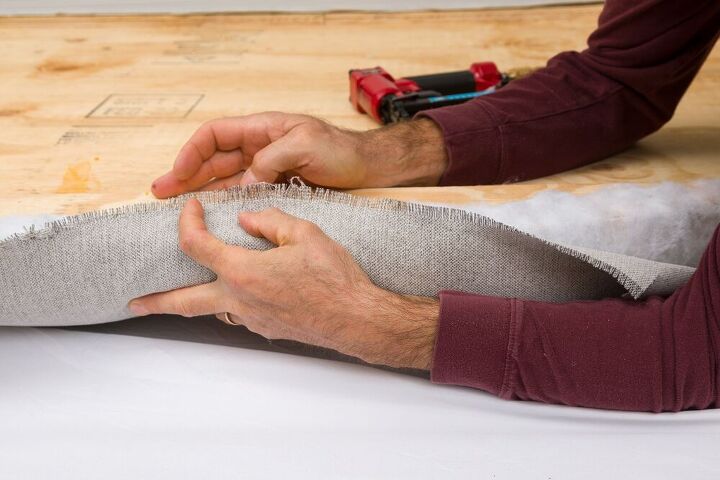
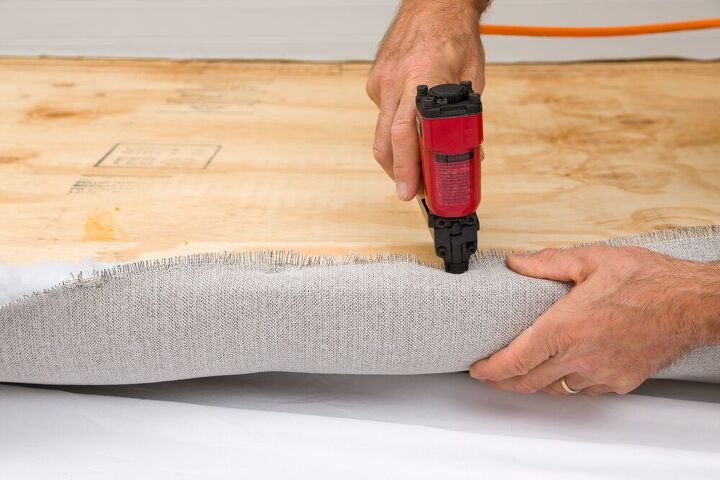
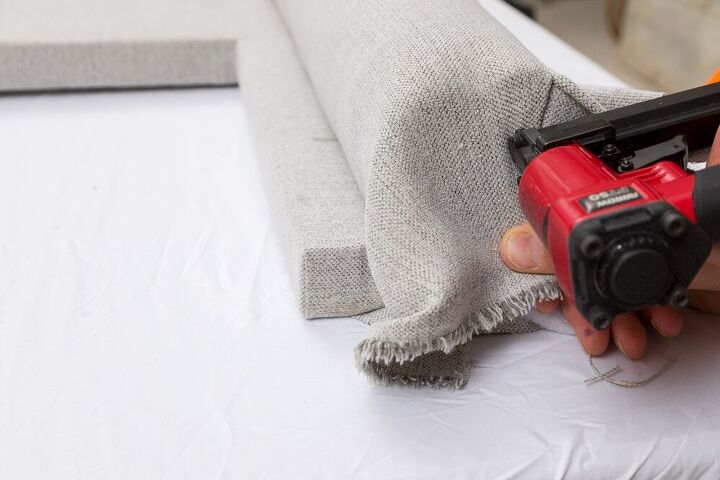
Stapling burlap to the wing
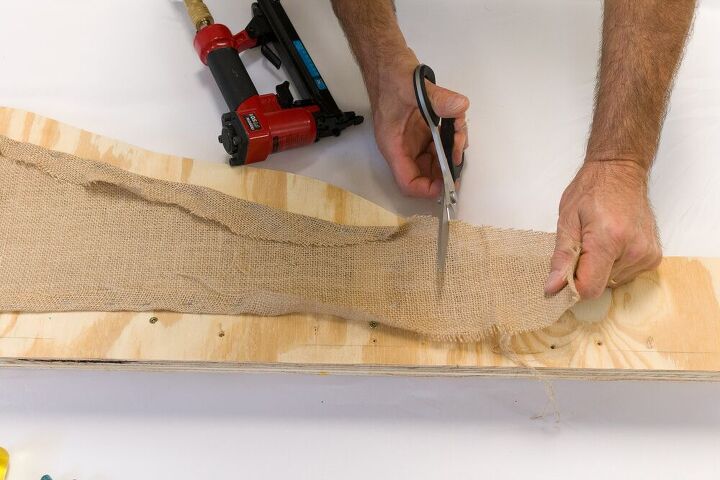
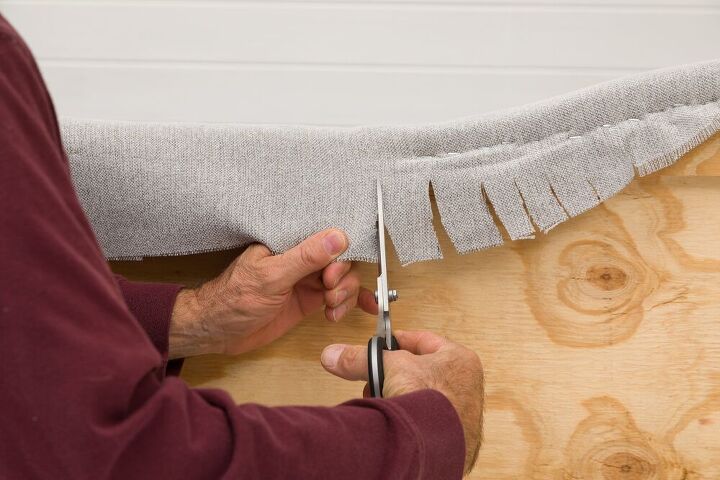
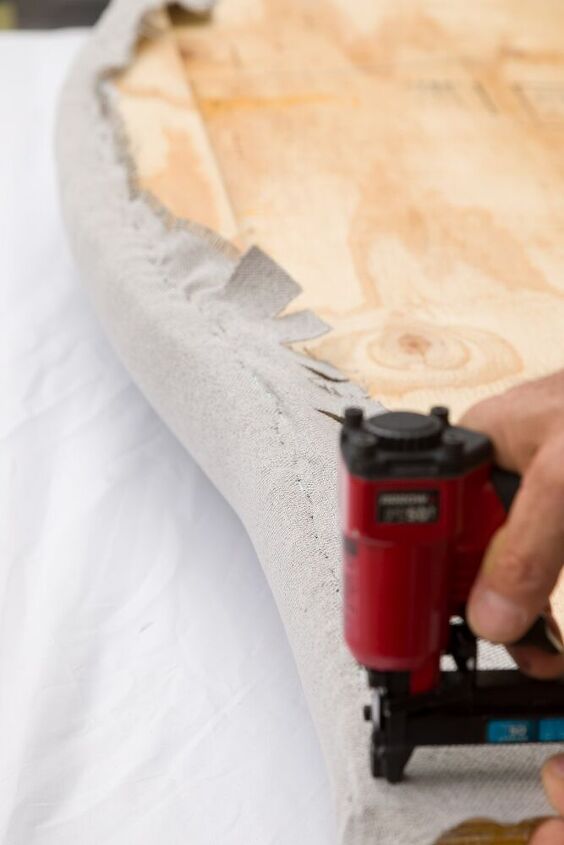
Trim the extra burlap
Apply spray adhesive to the wood and foam and then attach the foam to the board. Let the foam stick over the top edge about ½ inch.
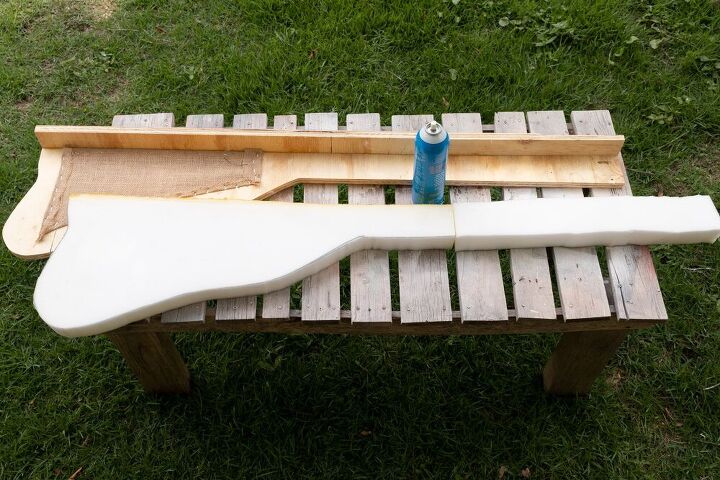
Wing with Foam
Gluing Foam to Wings
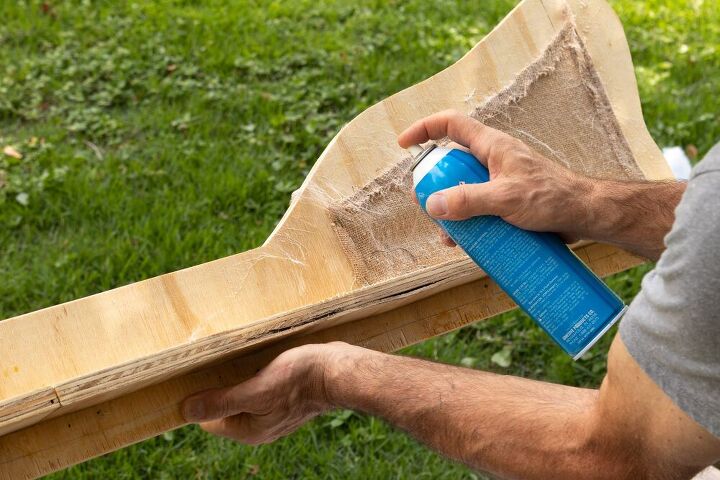
Apply Spray Adhesive to inside wings
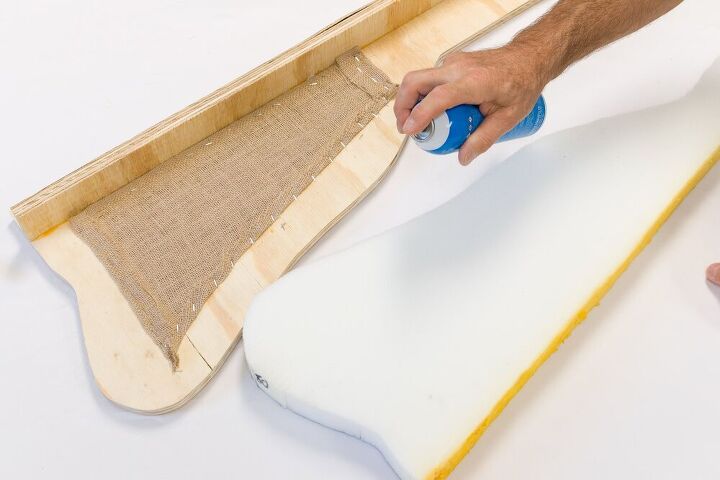
Apply to spray adhesive to foam too
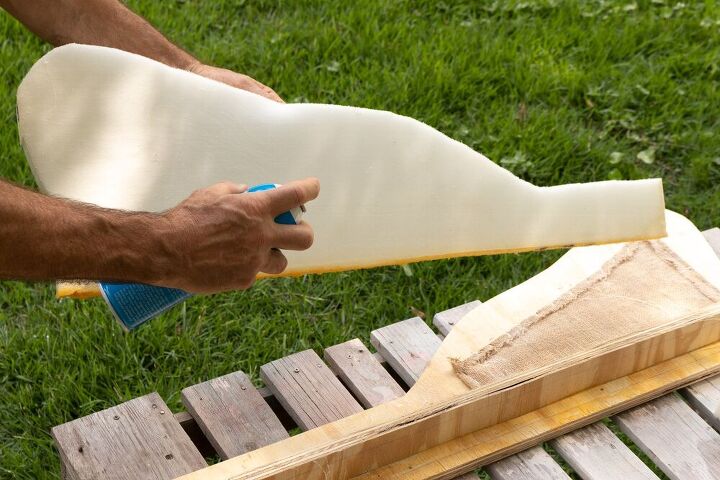
Place the foam with adhesive onto the inside of the wing
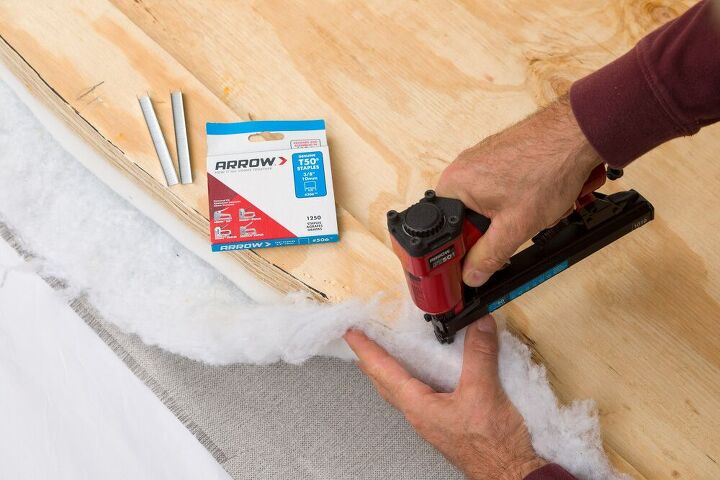
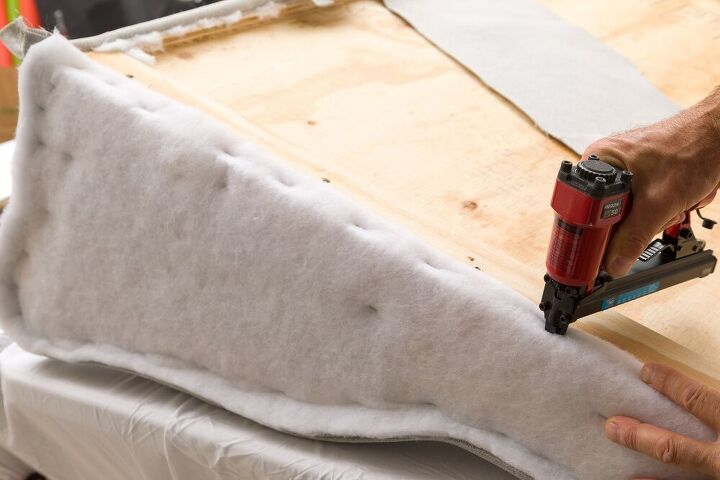
Cut a piece of the poly wrap 34 X 70 (this is oversized). If you need to piece it use spray adhesive along the joints. Lay the poly wrap over the foam letting it hang over the edges.
Staple the poly wrap along the bottom edge. You will want a nice even straight line. Pull the poly wrap back and use spray adhesive to attach the poly wrap to the foam.
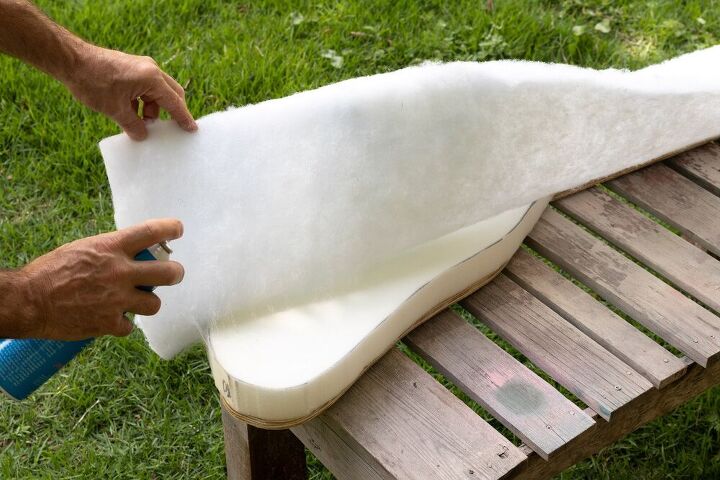
Spraying adhesive on both the foam and Dacron
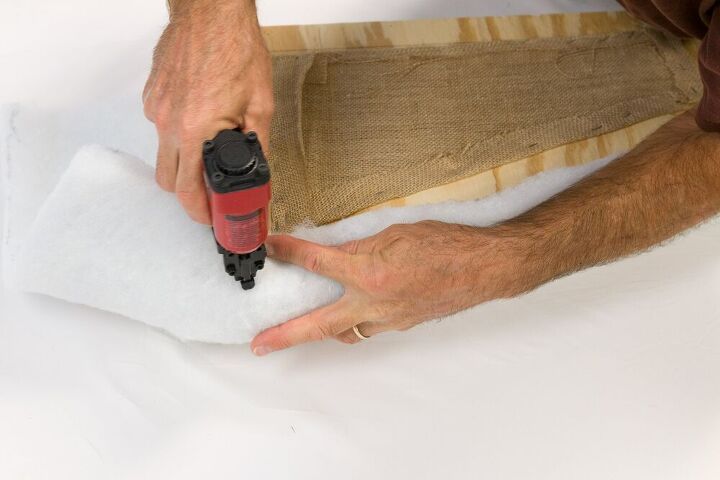
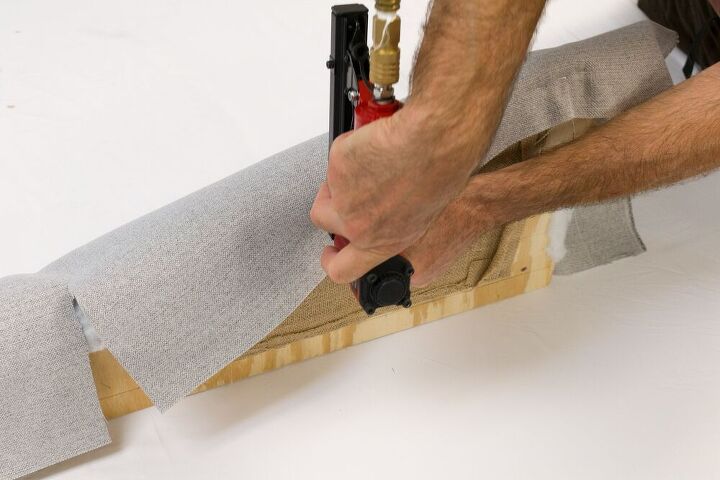
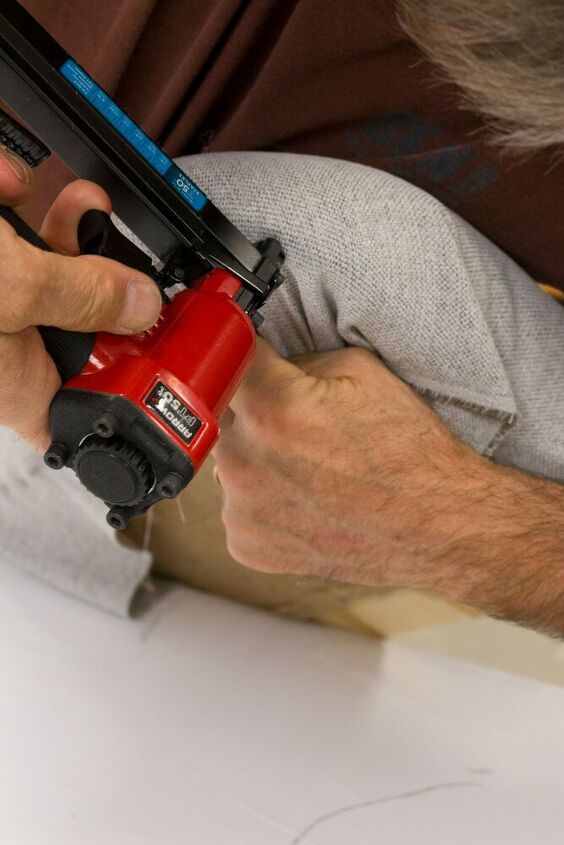
Stapling Dacron to Wings

Stapling the Dacron in place
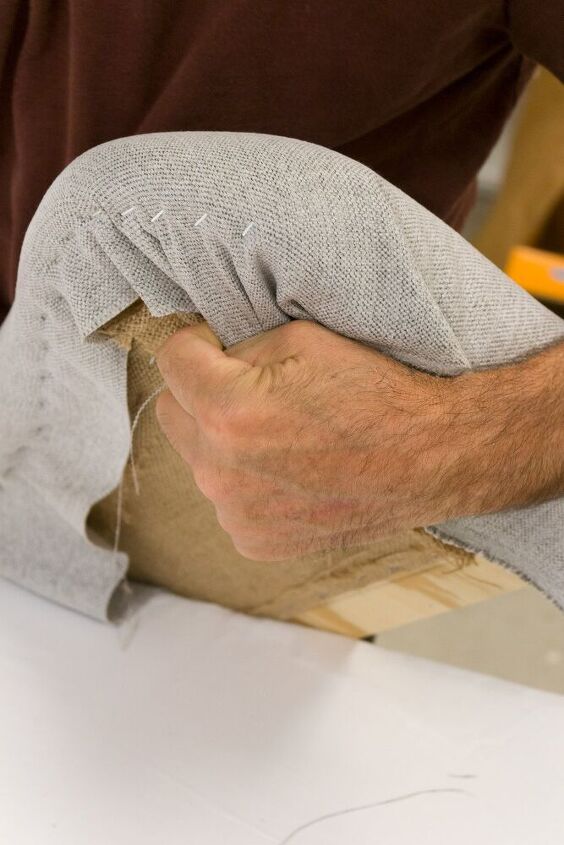
Pull the poly wrap over the top to the back-top edge of the headboard and put in a few staples. You will want to pull it tight to give you a rounded front edge to the foam.
Pulling the Dacron over the top and stapling to outside edge
Pulling the Dacron over the top and stapling to outside edge
Trimming Excess Dacron
Trimming the extra Dacron

Bottom view while placing the face over the Dacron
Stapling the fabric to inside wing

Continue stapling along the inside wing
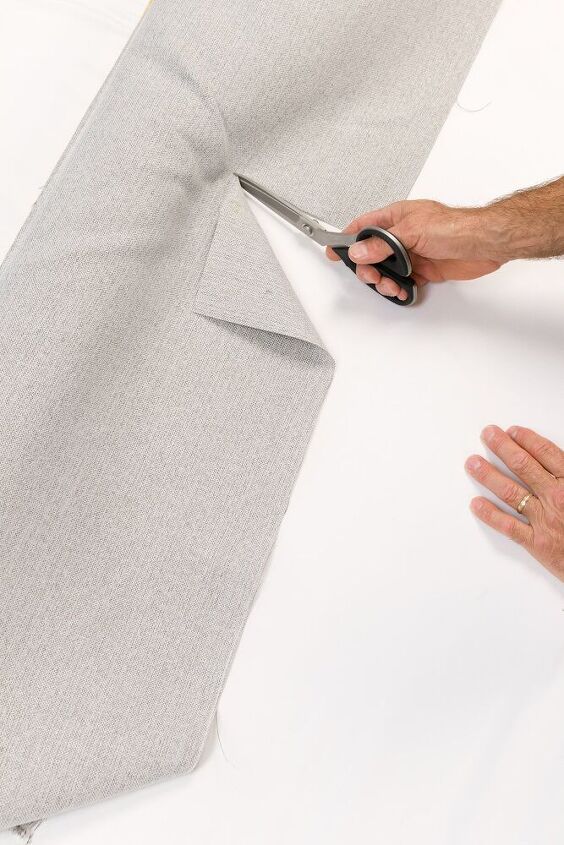
Making a relief cut
Pulling the fabric over the top of the wing to outside and stapling it in place
Continue Stapling fabric on wings
Evenly pulling fabric to staple
Stapling Face Fabric to Wing
Neatly stapling the fabric to the outside wings
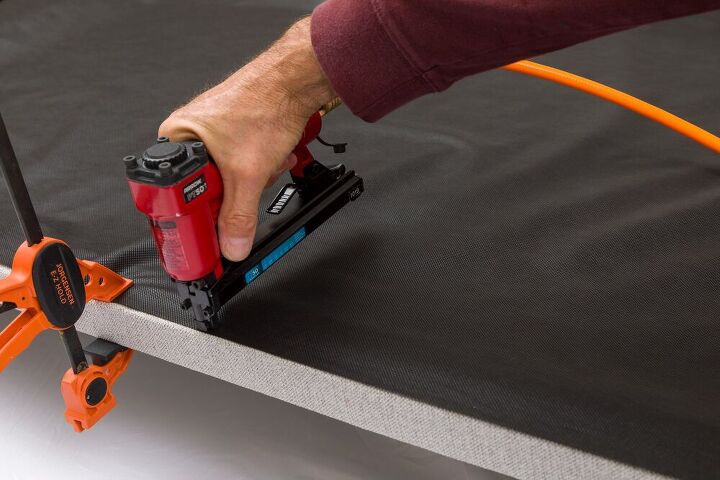
Smoothing the poly wrap to the back of the headboard and stapling using a pneumatic staple gun
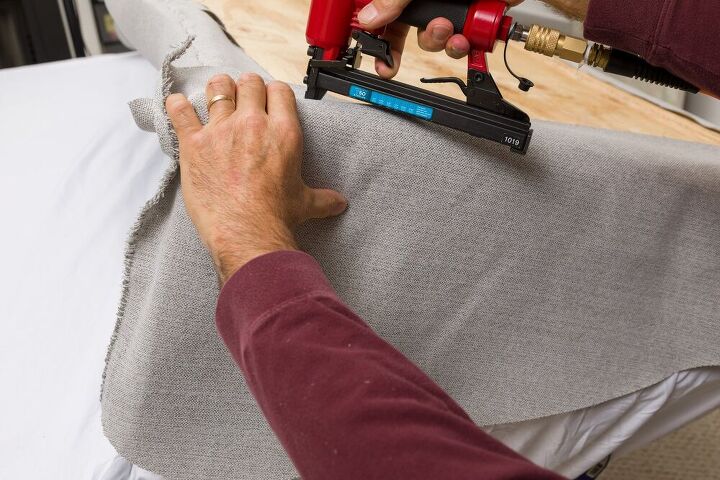
Starting at the center, smooth the fabric to the back of the headboard and staple.
Continue working left to right, continuing to smooth the fabric evenly and stapling in place.
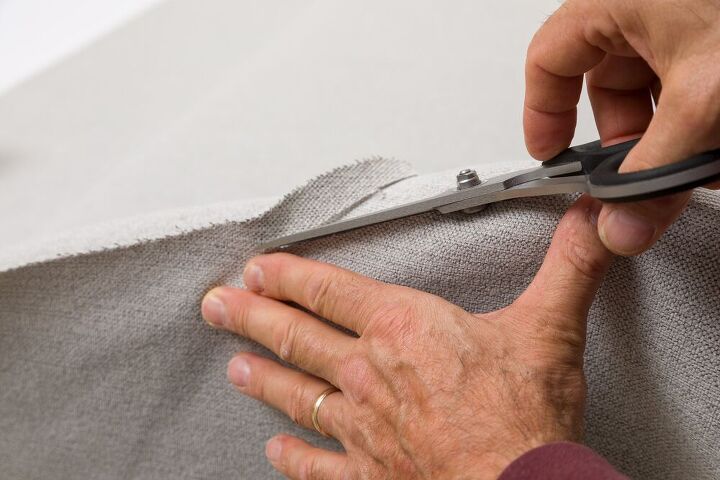
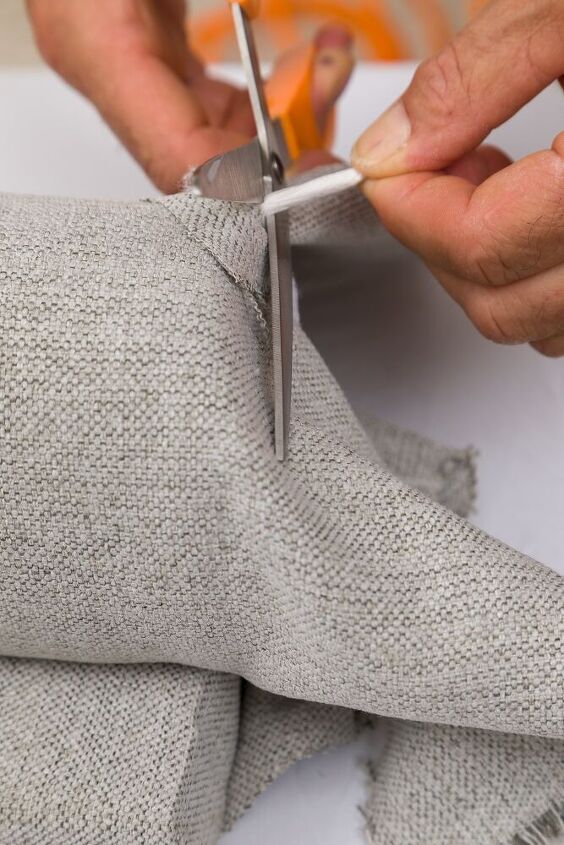
Making Relief Cuts
While covering the wood headboard structure with the fabric you will see there are areas in the covers where the fabric is unable to lay flat. In those areas, you will need to make relief cuts to see in the photo below.
In the curved areas make relief cuts to make the fabric follow the contour of the headboard.
Complete stapling across the back of the headboard.
Positioning the wing against the center portion of the headboard.
Using 2.5″ screws to secure the wings to the main portion of the headboard.
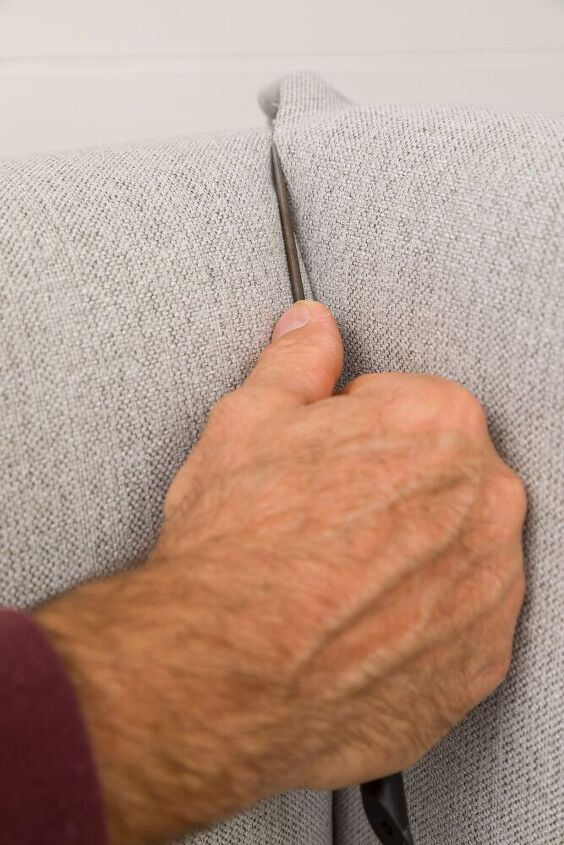
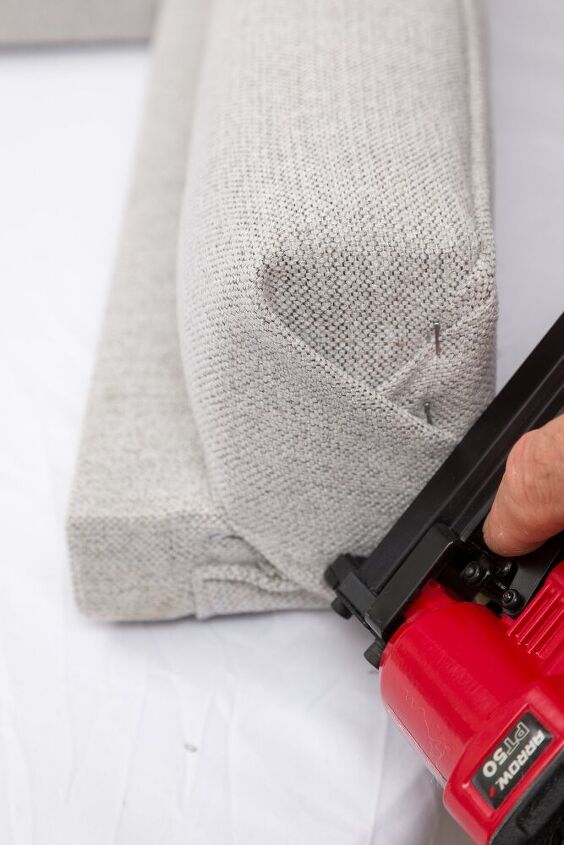
Using a regulator to tuck the fabric into the joint between the wing and the center of the headboard.
Adding a corner relief cut to accommodate the fold at the corner.
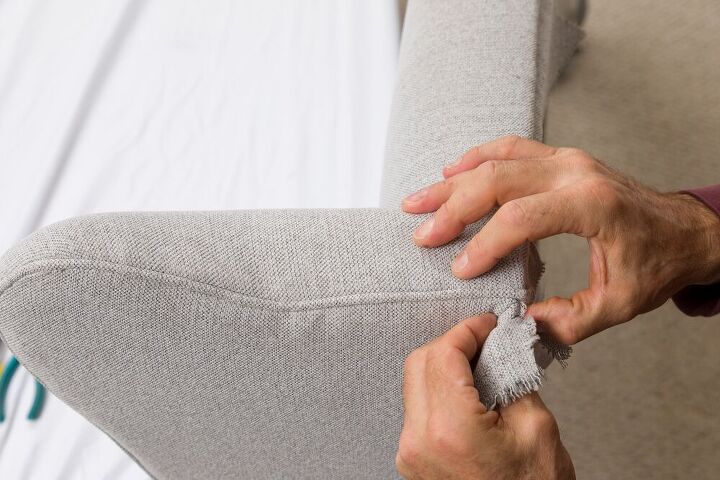
Attaching quarter-inch dacron to the outside of the wing, Before applying fabric
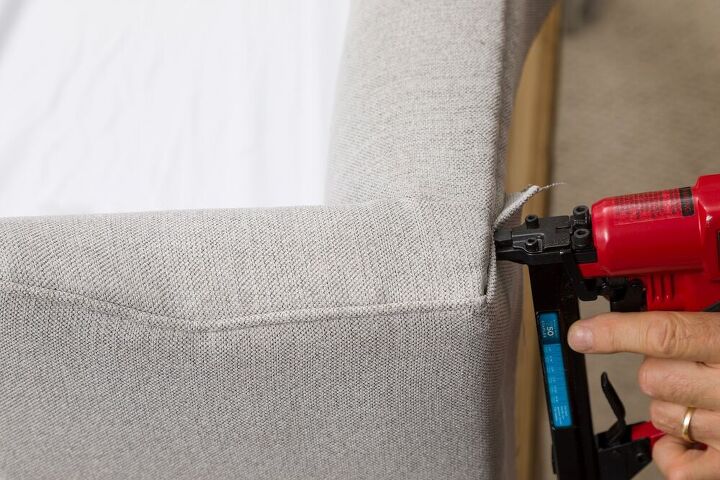
Attaching the fabric to the outside of the wing.
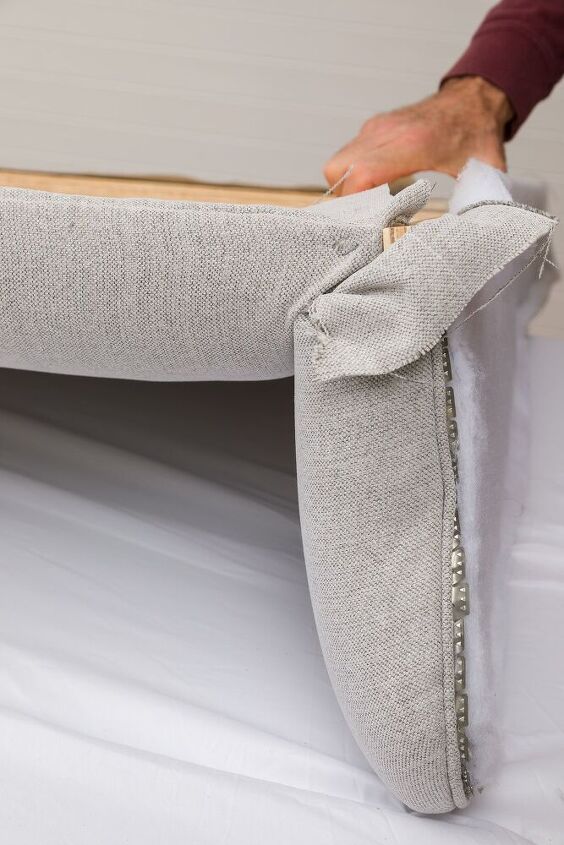
Pulling the fabric from the back and tucking it into the tac strip at the front of the wing.
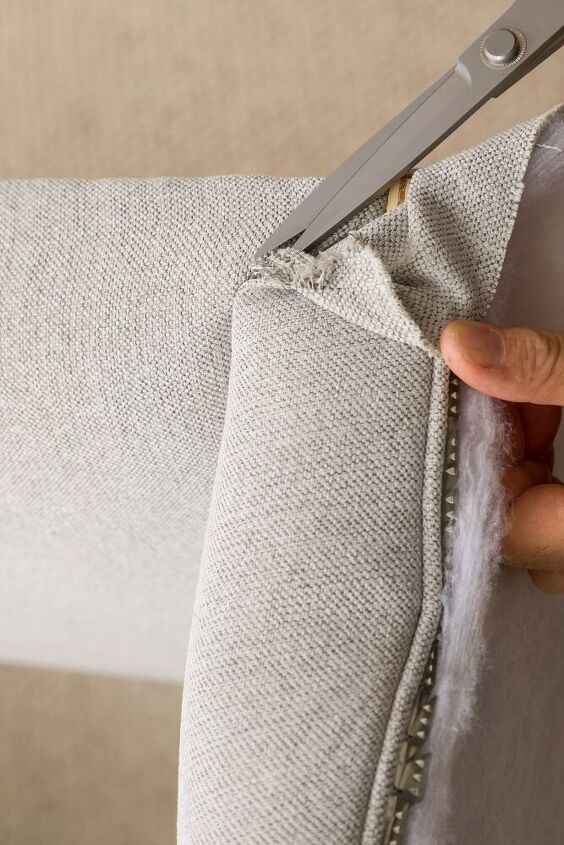
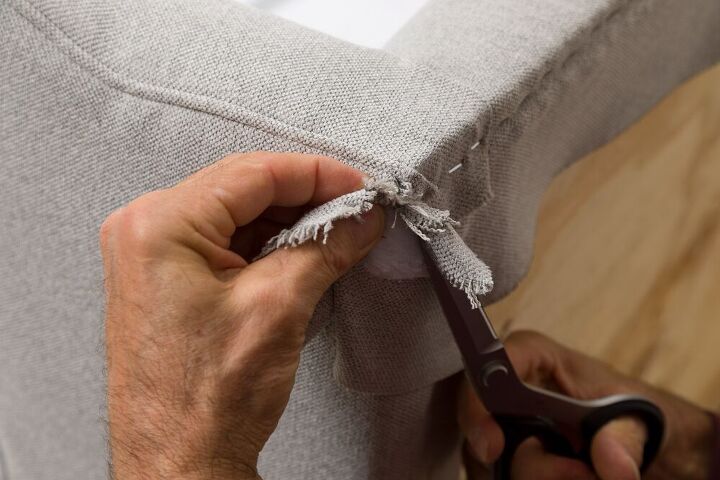
Trimming the excess fabric off before tucking it into the tac strip.
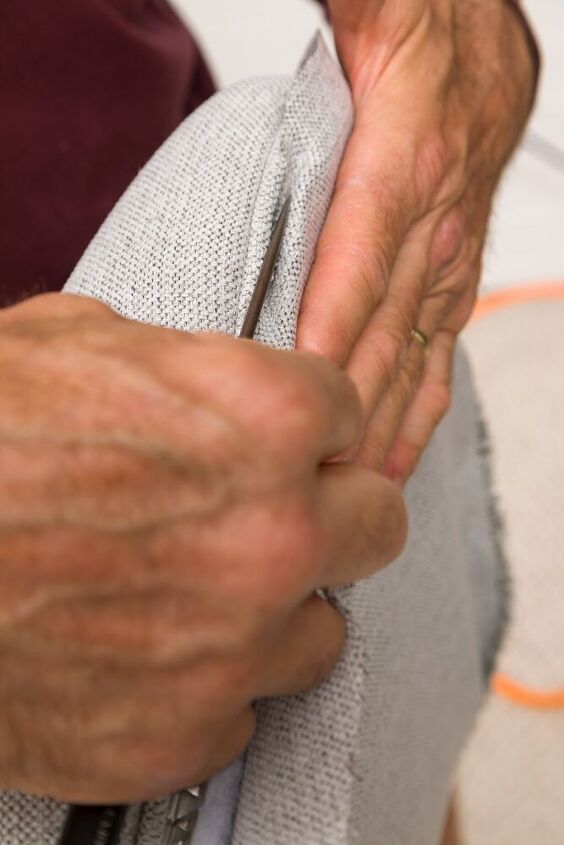
Continue working the fabric into the tac strip on the front edge of the wing
Use a mallet to tap the tac strip, securing the fabric to the wing.
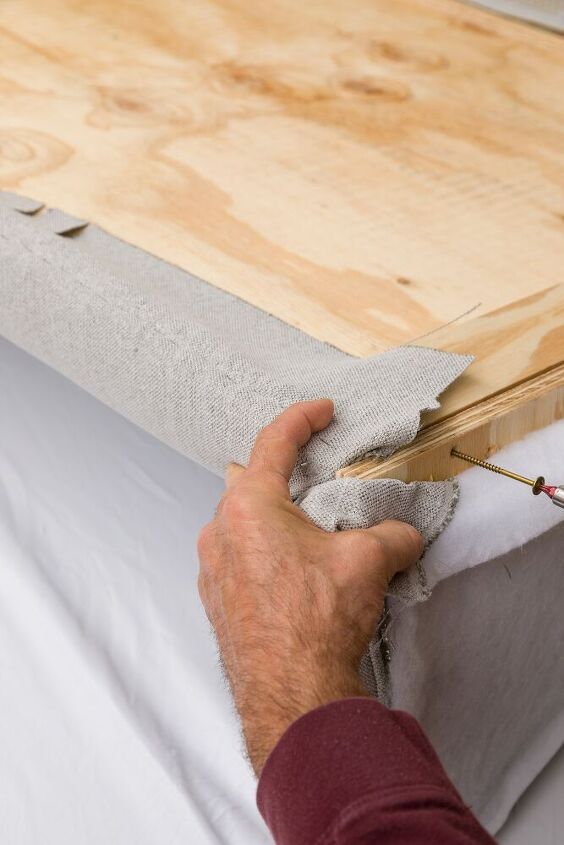
Finishing and trimming the back corner before stapling in place.
Finishing and trimming the back corner before stapling in place.
Stapling the back corner
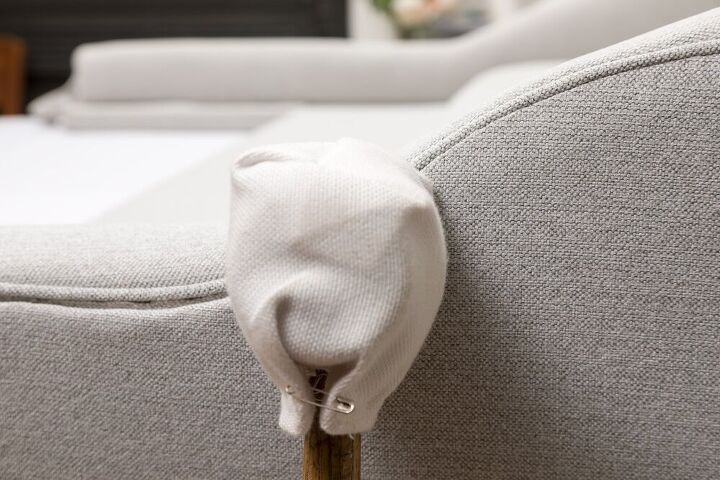
Finishing the bottom of the legs
Trimming the cord and finishing the end.
Finish folding and stapling the bottom of the leg.
DIY Headboard Dust Cloth
Attaching the dust cloth to the back of the headboard.
Attach the headboard to the bed frame or use French cleats to attach to the wall.
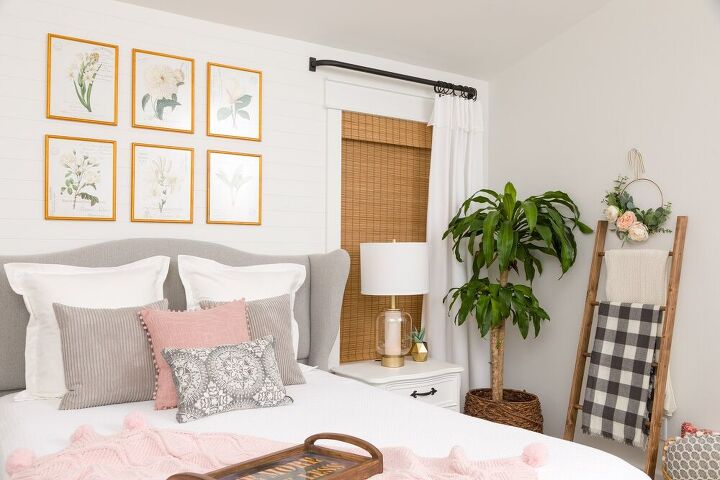
Handmade Curtains, Euro Shams, and Blanket Ladder
The adorable blanket ladder we made to display our Christmas stockings this past year.
Thank you for stopping by,
 Kippi
Kippi


Comments
Join the conversation
-
Fantastic job. I don’t think I could’ve persevered with everything..
-
Just an amazing work ! More like a professional job !!


Frequently asked questions
Have a question about this project?
Why are the holes cut out of the center of the wings?
Looks great! Please explain why there are cutout in wings and the purpose of the burlap?
What size is the bed? It looks like a full or queen?