


Dressing Vanity With Full Height Mirror & Light
Make your custom DIY Dressing vanity with full height mirror, light, hidden shelves, storage and hanging hooks. Its modern, simple and functional design for any home. Best part is that it does not take up any floor space but still you get all the storage you need to get ready.

DESIGN
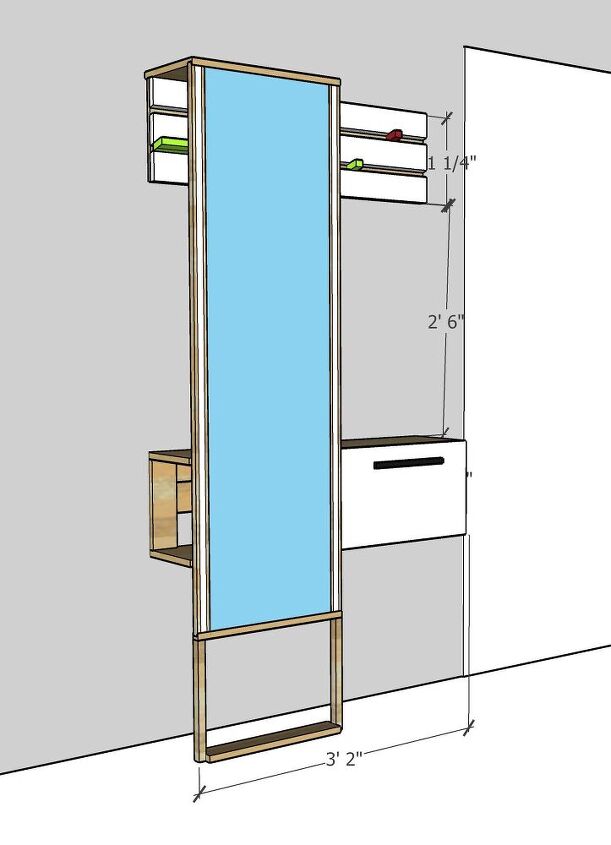
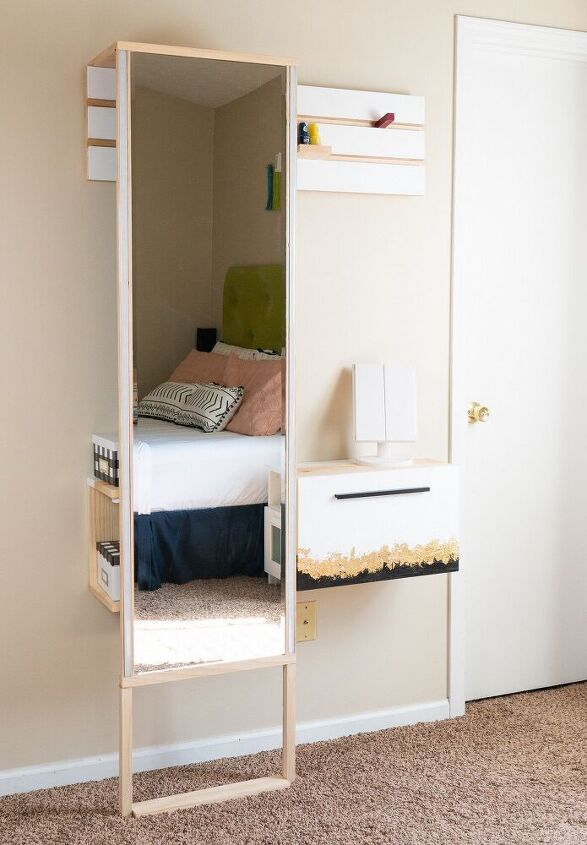
We wanted something that doesn’t take up much floor space with a good amount of dedicated storage and should be easy to remove and pack, when we move. So, I designed this as four separate components that will be fixed on the wall with French cleats. when mounted, the height of the unit would be 6ft 2inches and 3ft2inch wide. You can even add a stool there if you would like to sit and do your makeup.
BUILD
COMPONENT – 1 – SHELF & DRAWER
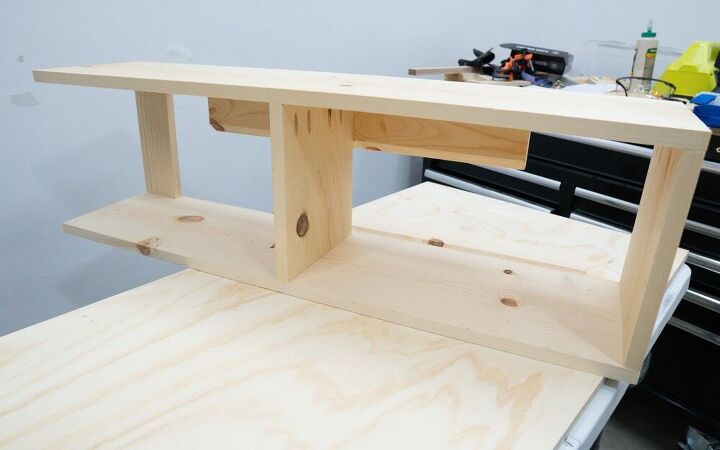
First, I built the bottom shelf with drawer. This has shelf on left and a drawer on right. This unit is 3ft 2inch long and 9.25 inch deep. To hang the unit, I decided to go with wood French cleat system. It is nothing but two wood pieces with interlocking 45 degree angles. One side is attached to the wall with the angle facing up, and the other side will be screwed to the back of the item you want to hang, facing down. Logically I should have this for the entire width of the unit, but since i ran out of material, I had to reduce the length of the cleat for this unit.
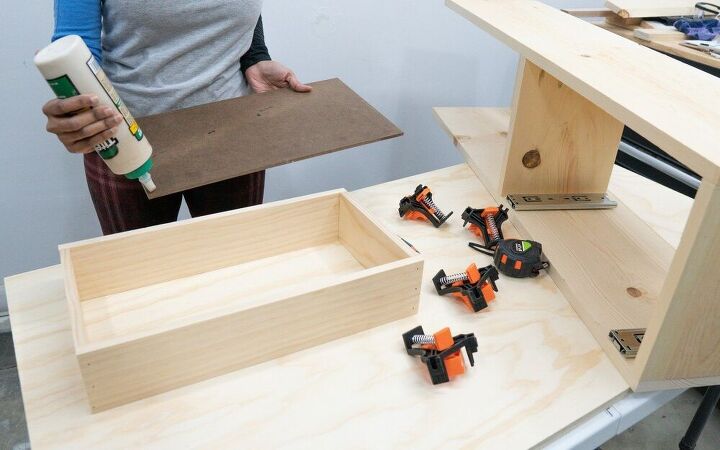
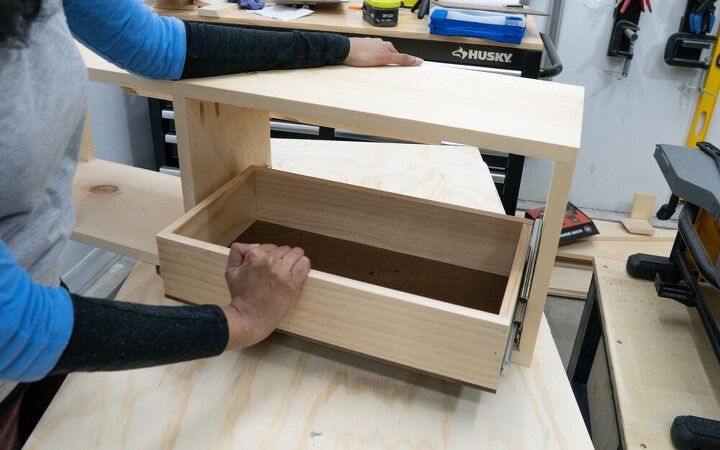
Next, add a drawer. To do this measure the width and subtract the thickness of the two drawer slides. Then build the drawer box to that measurement. I used 1x4s for the box sides and 1/4″MDF sheet as bottom for the drawer. All clamped together, glued and secured with brad nails.
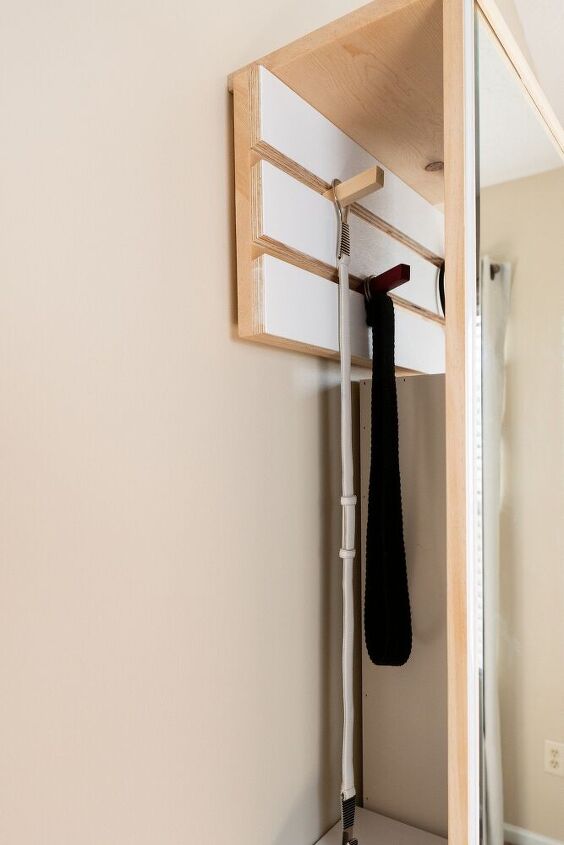
COMPONENT – 2 : TOP BOARD WITH HOOKS
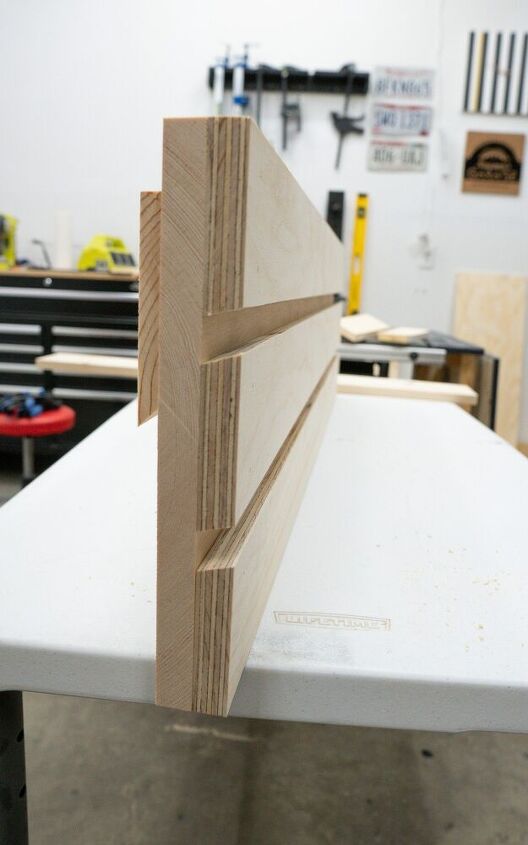
The top component is made of 1×12 pine wood cut to 3ft 2inch long and on top of it there are three pieces of 3/4inch thick plywood with two15degree angle linear slots. These slots are the track for the hook system. The hooks are made of pine wood pieces cut 15degree angle on both sides. You can slide the hooks into the slot and place it any where you want. Its very versatile to hang belts, handbags, long chains etc.
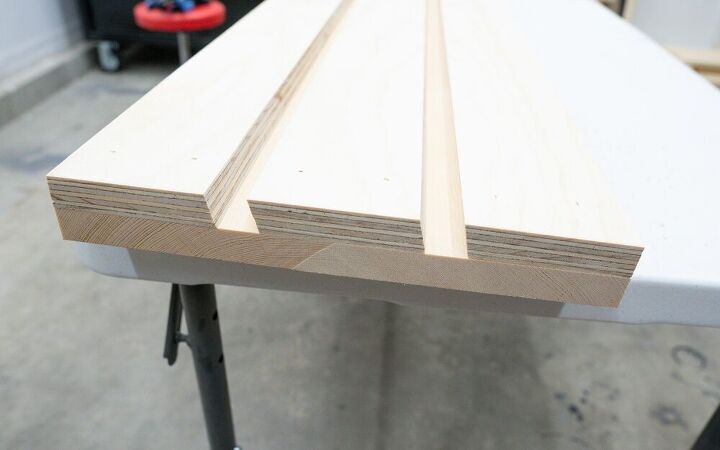
To cut the strips, tilt the table saw blade to 15degree angle. One end of two strips should be straight and other should be at 15degree. The third strip should have 15 degree angle on both sides. Once cut, fix them on the pine board using spacers. These spacers are nothing but the hooks that we made earlier. These strips are secured using brad nails and later the heads can be covered with putty and paint over it.
Once again, wood French cleats are used to hang this on wall.
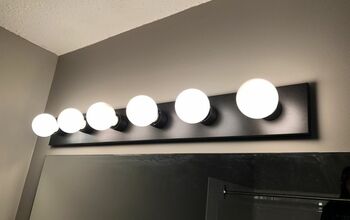
COMPONENT – 3 : MIRROR AND LIGHT
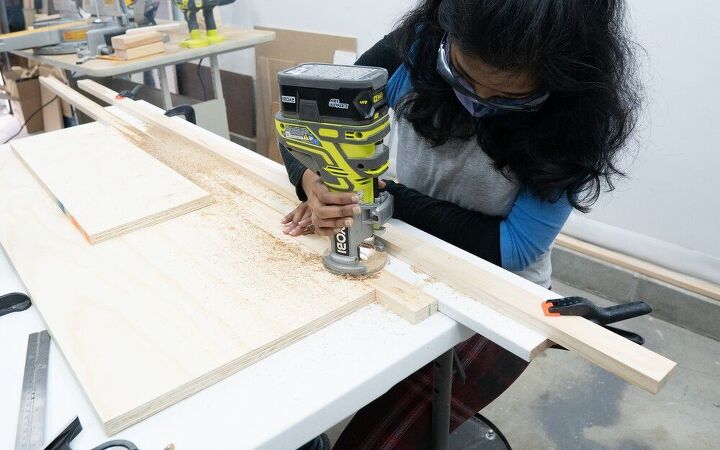
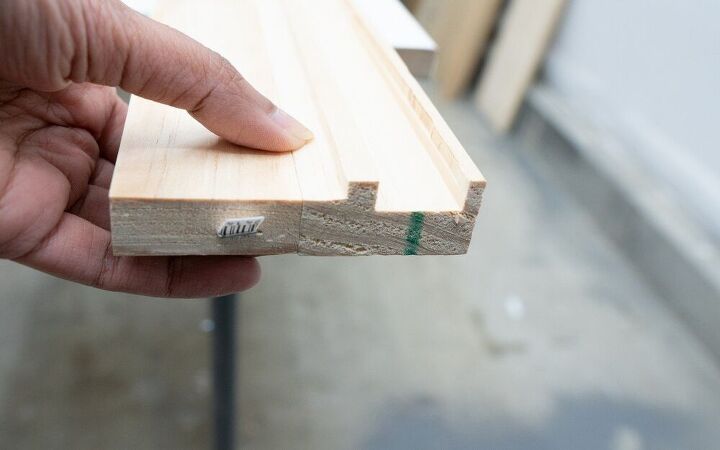
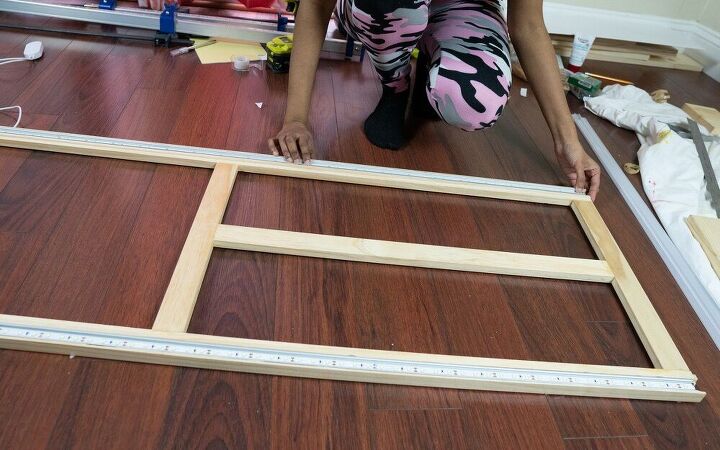
The frame of the mirror is made of 1×2 pine wood verticals connected by the horizontal stretchers. First, the verticals on either side are routed with 3/4″ dado bit and trim router to seat the aluminum channel for the led light strip. Then the edge of those verticals are routed deep enough to seat the 3mm thick mirror at flush level. Next, to match that 3mm recess for mirror, the horizontal stretchers should be planned down. Refer the image below.
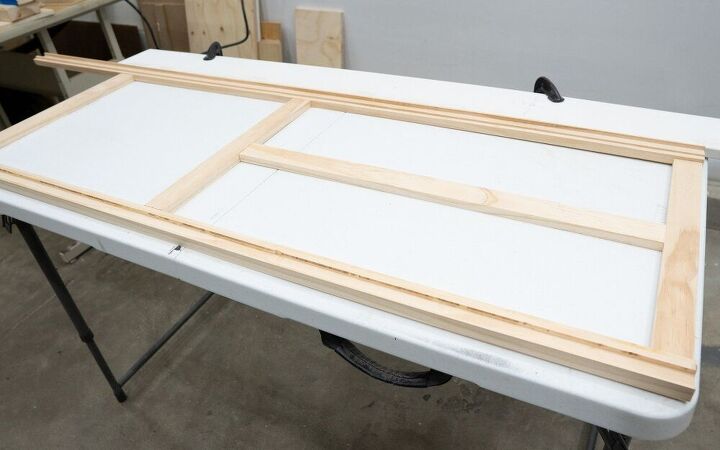
Once the frames are connected, sand every thing and prepare to glue the aluminum channel into the slot. Once that is secured, run the LED lighting strip on either sides and cover with diffuser. Finally, apply mirror adhesive to the frame and spread them evenly before laying the mirror over it. Lay something soft over the mirror like a blanket and add weights to keep it pressed down to help bond
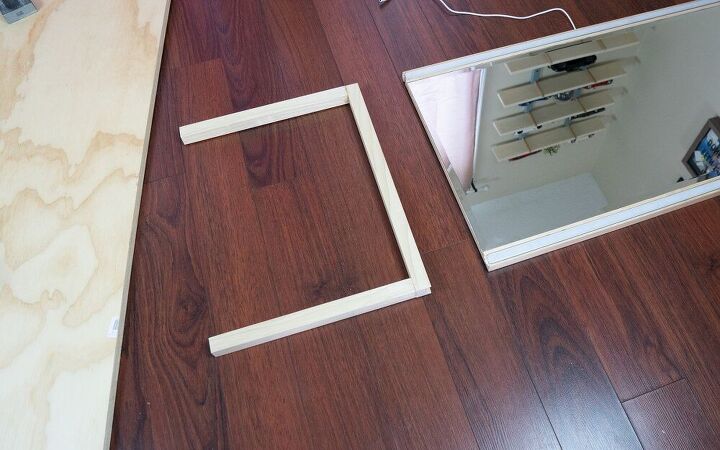
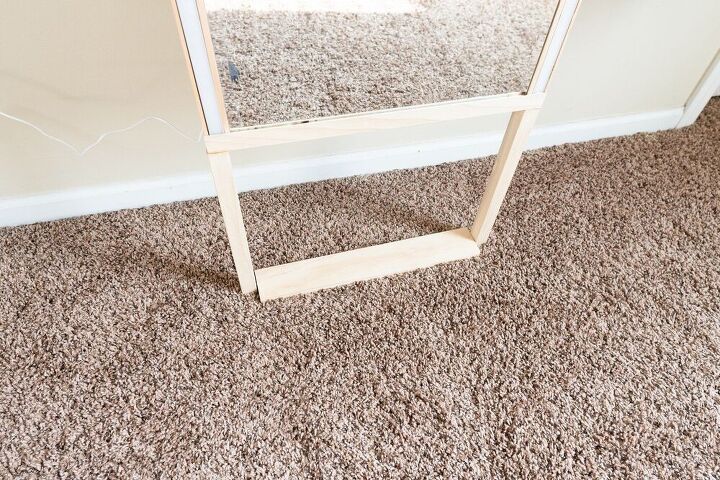
Then attach the leg frame to the mirror frame with construction adhesive & screws. Later, while mounting the unit, I added a stretcher to the leg frame to make the mirror stand stable.(refer below image)
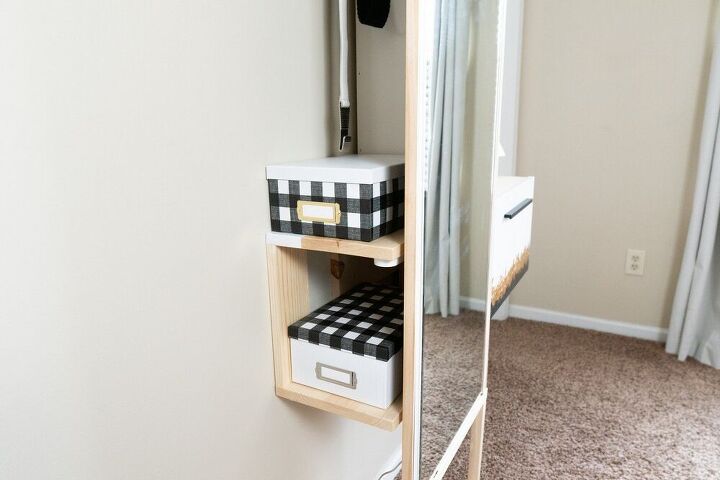
COMPONENT – 4 : VERTICAL HIDDEN SHELF
To make the unit light weight, I used a 1/2inch thick, 5 inch wide pine boards to build these shelves. This will have two adjustable shelves and will just sit over the bottom unit(component-1). No fixing required. Since the shelves are height adjustable, you can rearrange them in any height you want according to the things you are going to store here.

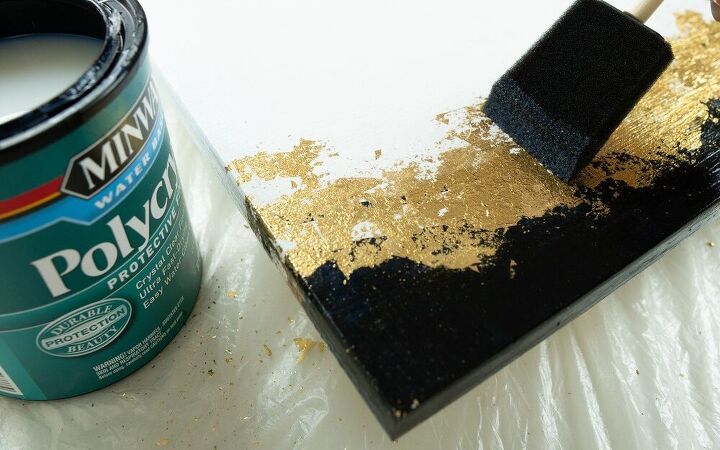
Personalization : Paint and finish
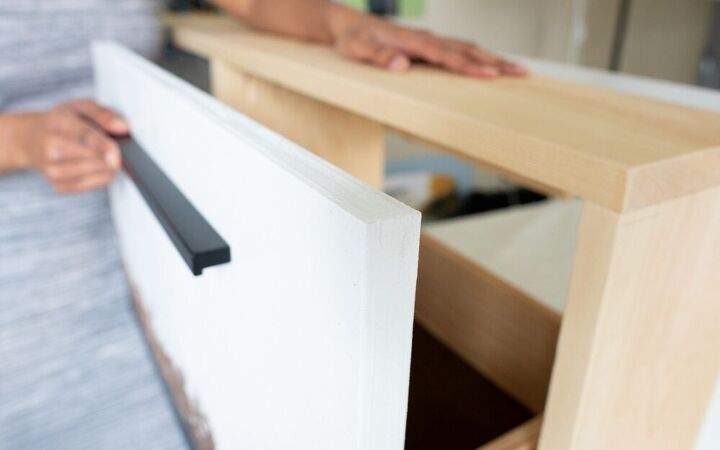
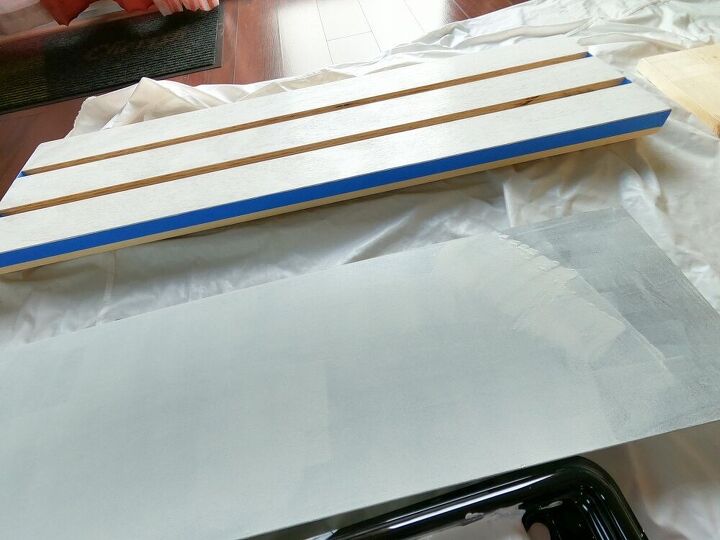
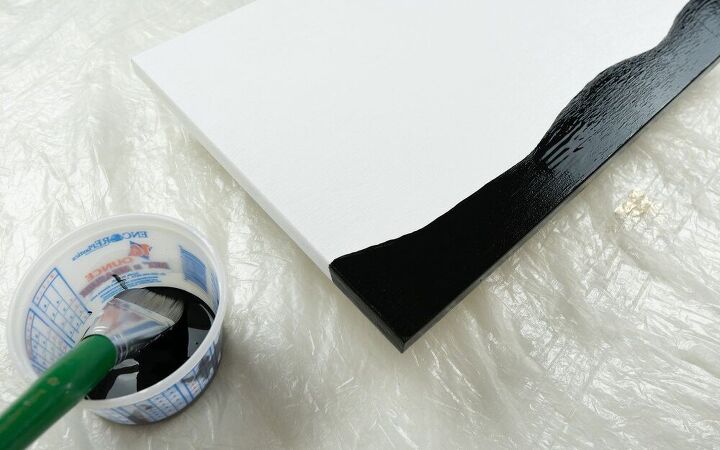
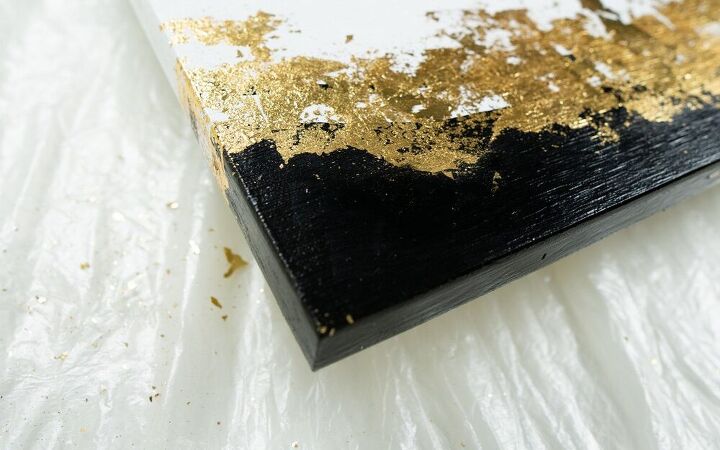
You can do this any way you want. I wanted mine to have mostly exposed pine wood, some areas painted white. I jazzed up the drawer face with black and gold leaf. Finally, seal everything with clear polyacrylic sealer.
We have the drawer face and handle ready to be install. To get a better idea on the process of applying gold leaf, please check the video.
Now we have all the four component ready, just remember to finish everything with clear polyacrylic sealer.
MOUNT ON WALL
If you have a drywall, then find the studs and screw directly into it or use screws with anchors to mount them on wall. If its brick or concrete, use relevant screws. With the mirror as reference, first mark the height. Then, based on that install the cleat for Top hooks board. Next, mount the drawer & shelf unit and then the mirror frame. Finally, place the hidden shelf.
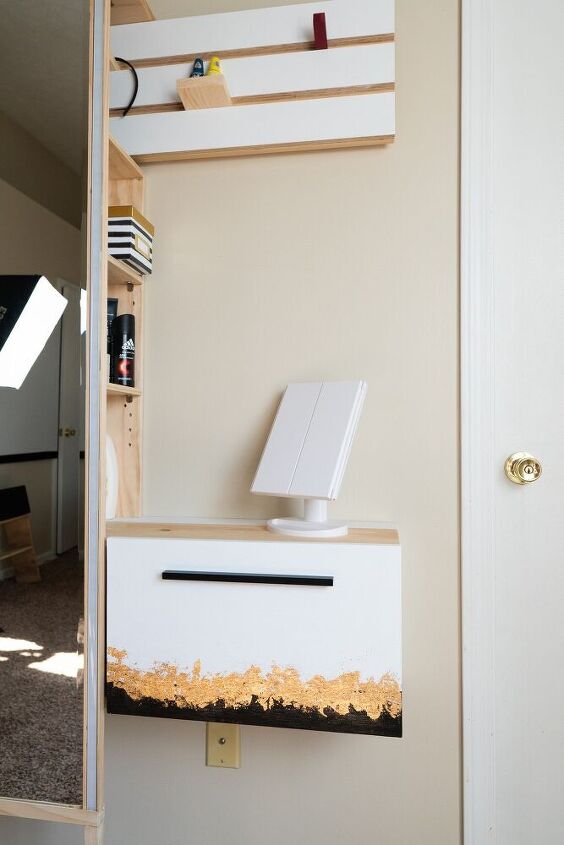
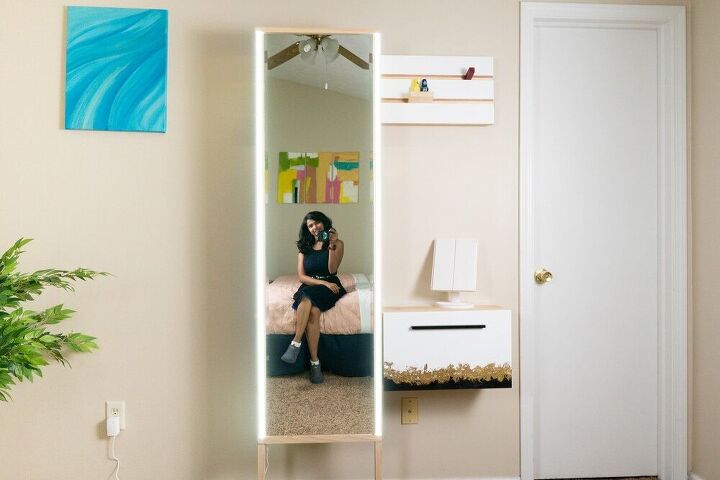
Custom dressing vanity with full height mirror and light is finally ready!
Its slim, wonderful space saver with dedicated storages and most importantly it has a full height mirror with ample lighting suitable enough for anyone to get ready.
Resources for this project:
See all materials


Comments
Join the conversation
-
This would be ideal for my single bedroom. Just enough storage for a night or two.
I will add a few extra pegs for hanging.
-
Great idea but looks too modern for my decor. I’ll need to brainstorm to make something like this fit my style. Thanks for the inspiration though.


Frequently asked questions
Have a question about this project?