


How to Build Amazing Patio Furniture on a Budget

Creating a beautiful outdoor space for your home doesn’t have to be expensive. You can build some amazing patio furniture with just a few supplies and a couple of wood pallets... even when you are on the strictest of budgets!
Tools and Materials
- Hand saw
- Hammer
- Hand sander
- Power drill
- Reciprocating saw
- Wood screws
- Tape measure/ruler
- Saw horses
- Wood filler
- Putty knife
- Sand paper
- Metal brush
- Exterior stain
- Paint brush
- Sharpie
- Pallets
- Patio cushions
- 2" x 4" fence brackets
- Metal plates
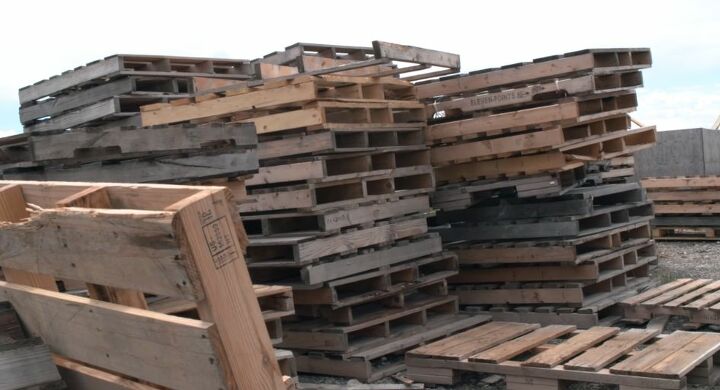
For this patio furniture project, I wanted to build two seats for our outdoor space, so I needed to find four pallets. It is much easier to build a seat when you have pallets that are the same size, so I searched for pallets that were 48” by 48”.
To help decide the size of pallets I would need, I measured the cushions we had purchased to go on our new seats and that gave me the size I needed to look for.
When you are looking for pallets for your project, it is really important to find high-quality wood pallets. You want to look for ones that are heat-treated and not chemically treated. Also, stay away from any pallets that are colored as these are usually treated wood and may cause skin irritation and harm.
In order to make the benches, I needed to cut the wood down to the sizes I would need first. One of the two pallets allotted for each bench would become the seat and one would become the back.
Cutting one of the pallets in half created the perfect depth for the seat of the patio bench. I measured down one side of the pallet and marked it at both the 25” point and the 26” point. With each length marked on the pallet, I drew a line down the support slat from top to bottom. I then used the ruler to connect the top of the line at the 26” spot to the bottom of the line at the 25” spot creating a diagonal line. This would give the pallet a slanted edge so that when I added the back, it would rest at an angle for comfort.
With the pallet marked, I used a hand saw (although if you have one, I would definitely recommend using a reciprocating saw) to cut the pallet in half on the vertical line at the 26” mark. I then cut the shorter half down the angled line and left the longer half as it was. I marked and did this for each of the vertical support slats on the shorter piece until they were all cut on an angle.
Before finishing this step, I made sure there were enough slats running horizontally along the pallet’s halves. When stacked on top of one another, there needed to be enough slats for them to sit evenly and to support any weight. I ended up needing an extra slat, so I removed a piece of wood from one of the unused pallets and attached it to the one I was using for the build.
To create the most comfortable back for the new bench, I wanted it to sit at an angle. I measured the height of the cushions we would be using and then cut the second pallet of each pair to the corresponding length. Remember to make sure your back is long enough to provide a tall back as well as some extra length to secure the back to the seat.
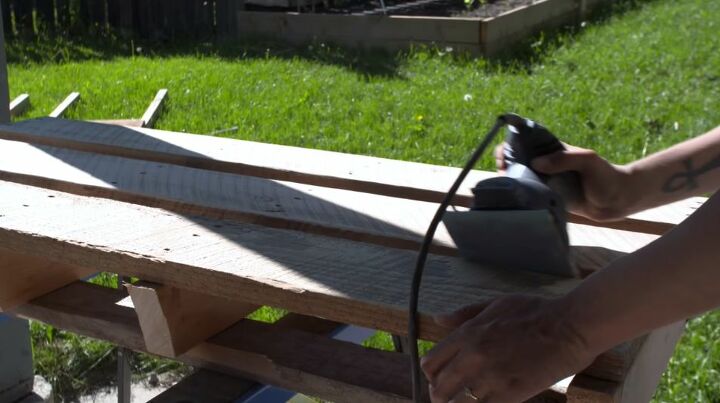
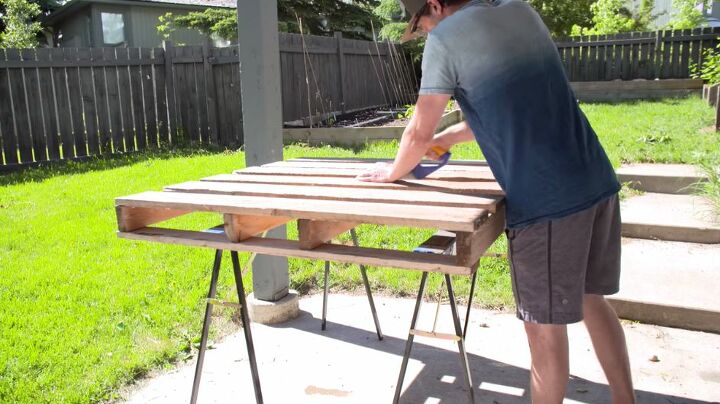
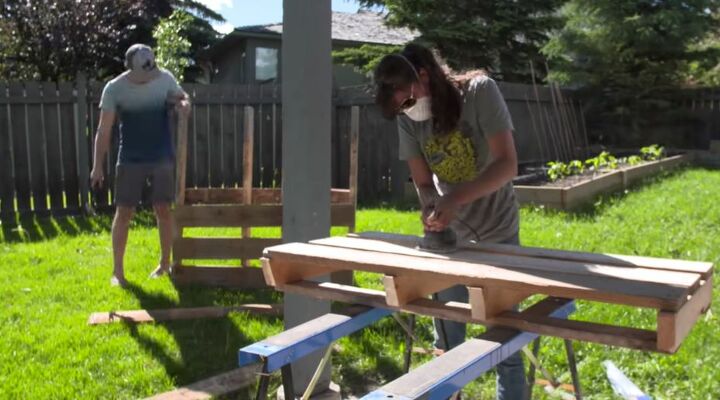
I found it easiest to prepare the pallets before assembling the benches together, but after I had them all cut to the correct sizes. Using the wire brush, I began by removing all of the dirt and grime that was on the wood. You can also use a power sprayer to clean the wood with water. When the wood was clean (and dry) I began sanding. I wanted a really nice smooth finish, so I used a hand sander and some medium and fine-grit sandpaper to smooth out all of the surfaces, edges, and corners.
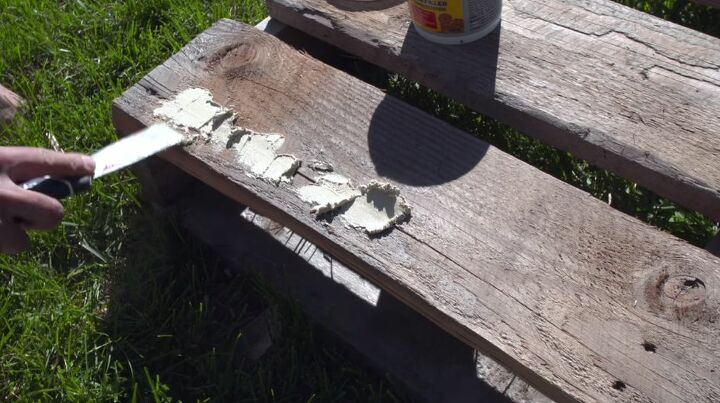
If your pallets have cracks in the wood as mine did, you will want to fill them in with wood filler. I used a putty knife to fill them and then let the wood filler dry for half an hour before moving on. By filling the cracks, you will make your patio seats stronger and safer to support the weight of the users.
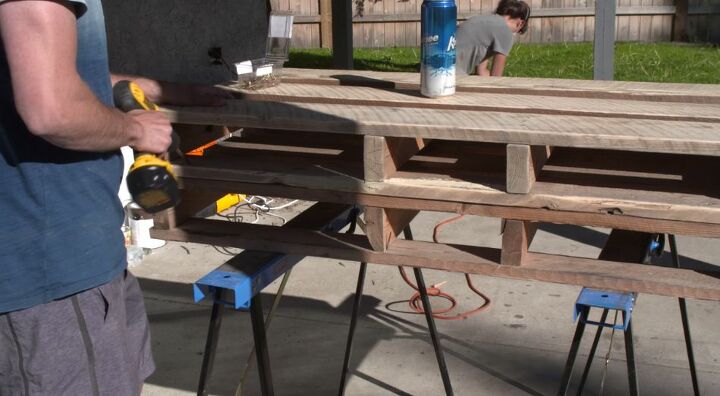
To build the seat portion of the patio bench, I needed to stack one pallet half on top of the other. Be sure that the pallet half with the angled edge sits on the top and the angled edge is at the back of the bench. With the pallet halves on top of each other, I secured them used 2” wood screws. Tightening the screws at an angle will give them added strength.
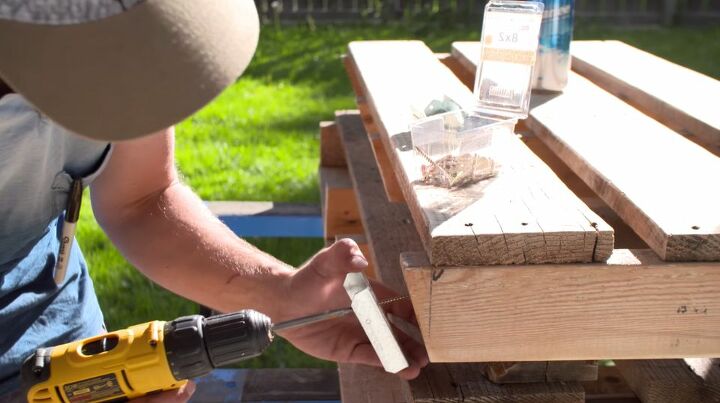
Before securing the back pallet to the seat, I attached a fence bracket to each support piece. This allowed me to slide the back pallet into place and secure it tightly so that it would not move. For added support, once it was secured in place, I also added some straight metal plates around the edges.
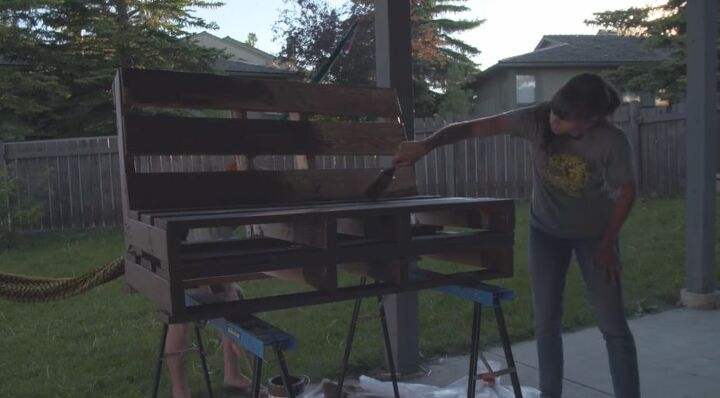
The final step to finishing off our new benches was to stain the wood. We chose a nice dark stain that added depth but still allowed the wood grain to show through. It is important when choosing a stain that you use an exterior stain so that it will hold up to the appropriate weather in your area.
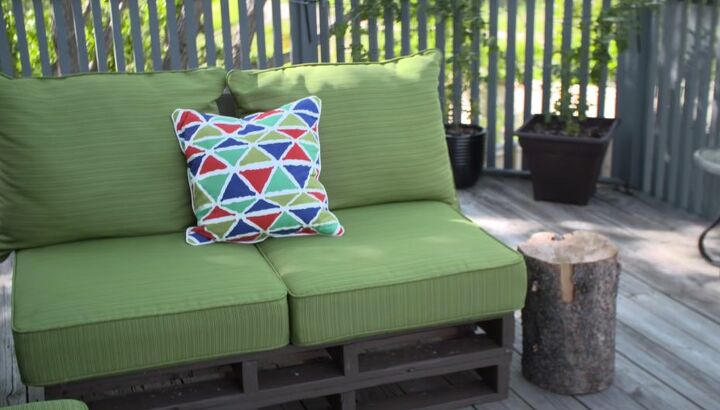
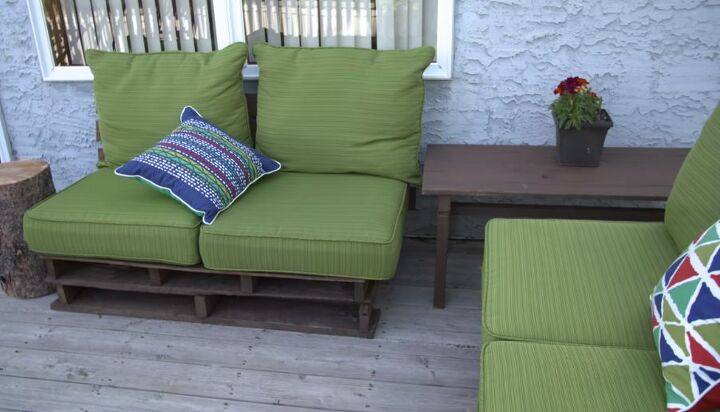
With our new benches finished and in place we added the thick cushions and tied them in place. Even though this project took a little while to build, it was very inexpensive and budget friendly. We couldn’t be happier with the benches and they go a long way to making our outdoor space feel relaxing and comfortable.


Comments
Join the conversation
-
I loved your article. Thank you. I think it would be beneficial to work with a good interior design expert for such home updates. Black siding house
-
Quite an interesting article. Thanks for sharing it.


Frequently asked questions
Have a question about this project?
I am going to try this soon since I have pallets and the power tools. When you say you used strong ties for the back of the seat; what exactly did you use? Sizing and info would help me. I am assuming you used some kind of wood support for the back.
When you say "ties," are we talking zip ties (cable ties)?
great job now where do you get inexpensive but nice looking cushions?