


Pool Noodle Furniture

I want to show you how to build a comfy bench out of pool noodles and wood for today's project.
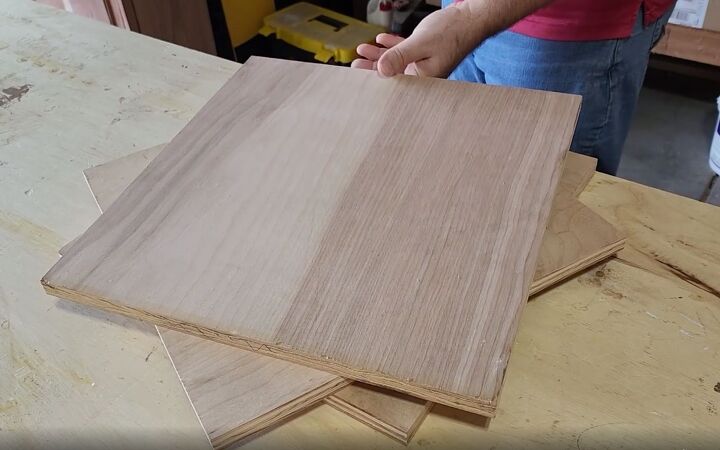
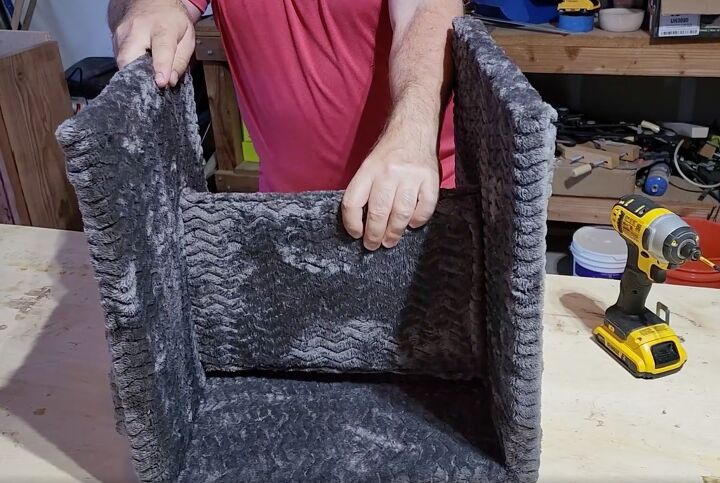
To build the wooden bench that will be the basis of the project, I cut 3 equal boards that were 16 by 16 inches square.
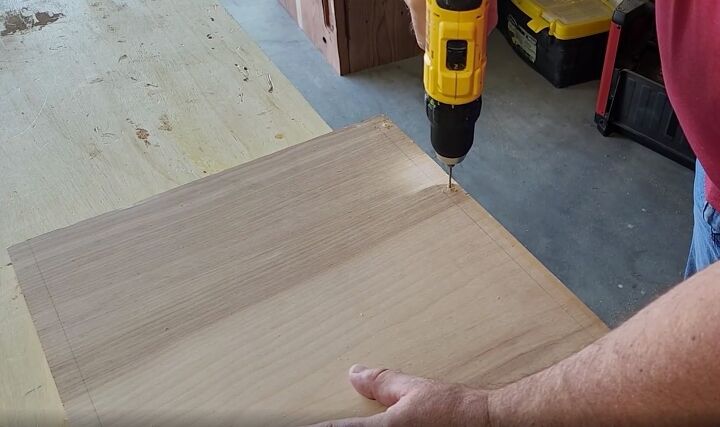
Once I got the boards cut, I went ahead and chose one to be my top and pre-drilled it in four locations along two sides in order to put screws through so I didn't split the wood.
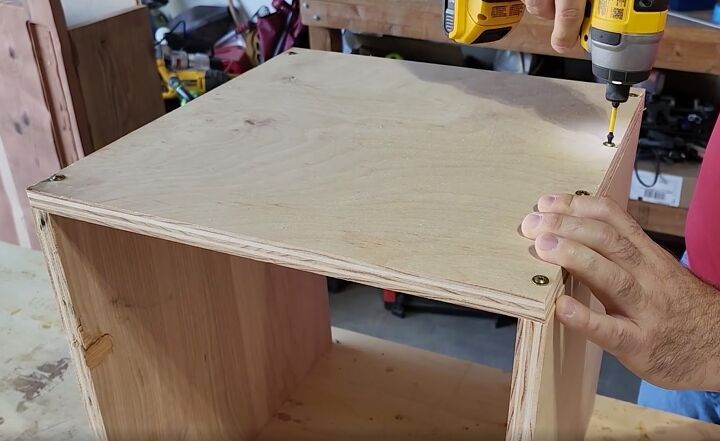
Next, I went ahead and put the three pieces of wood together with wood screws.
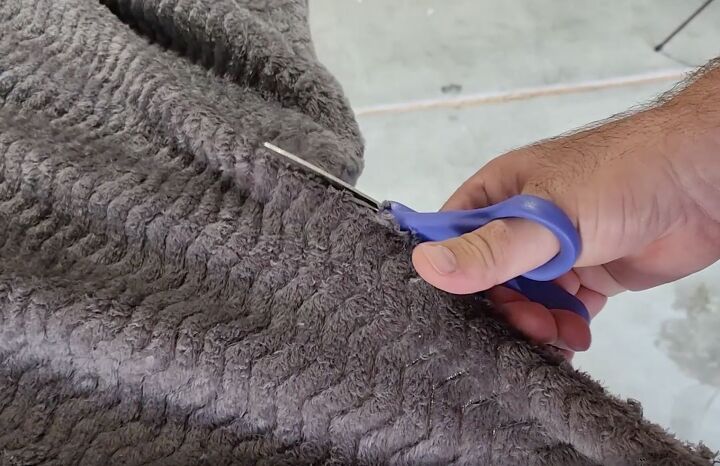
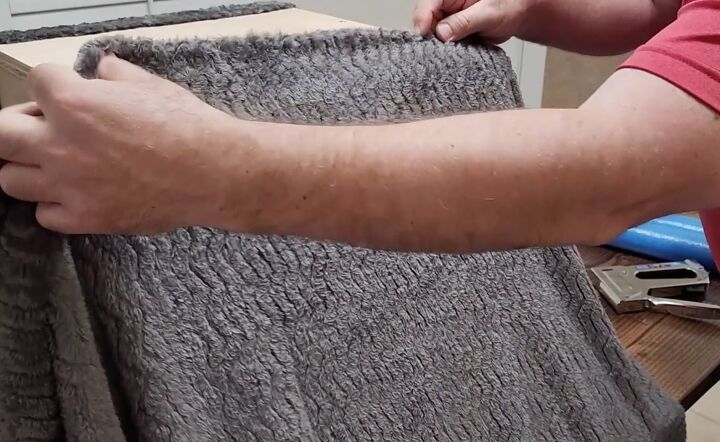
After the base of the bench was together, I went ahead and cut some fabric to fit the underside of the bench.
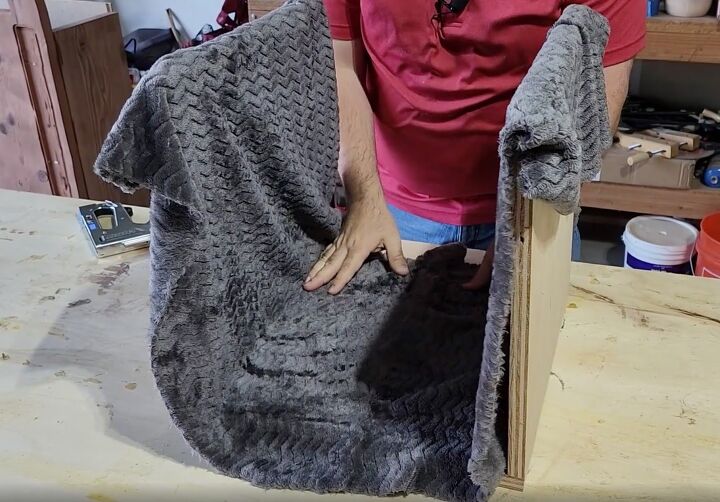
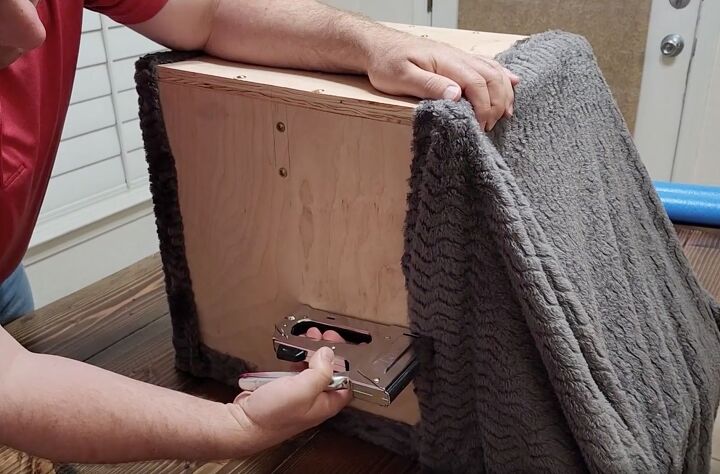
I started on the underside of the box and laid the pre-cut fabric over the wood and smoothed it out.
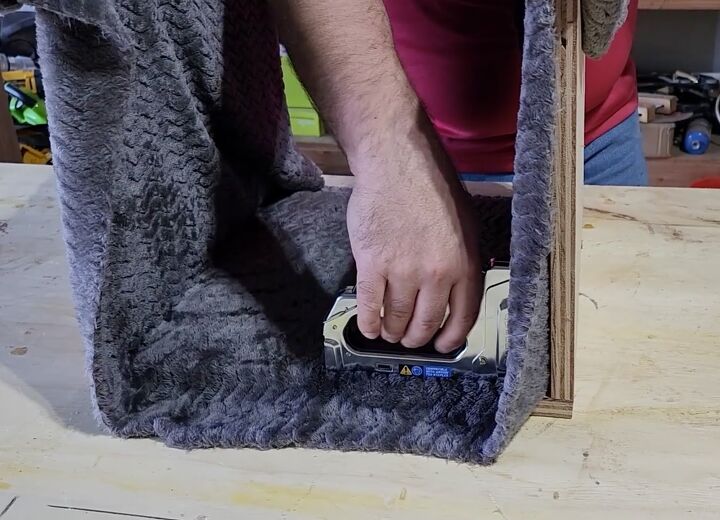
Then I tucked it into the joints and used my stapler to staple it in place. I used half-inch staples on my wood.
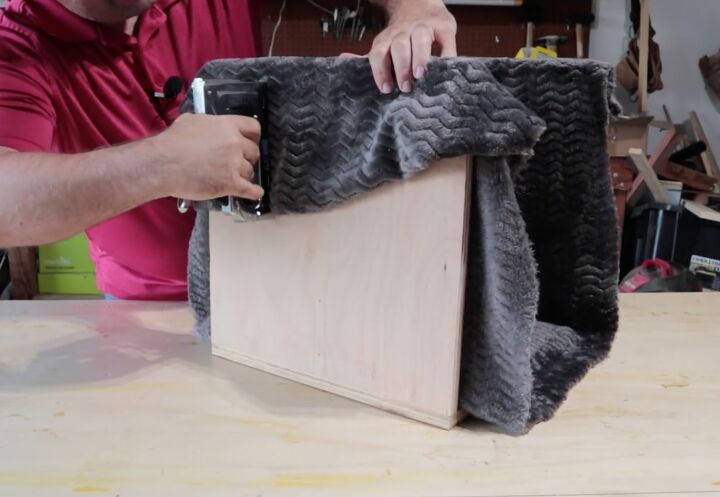
Once the bottom was in place, I got all of the slack out and stapled it up the sides as well.
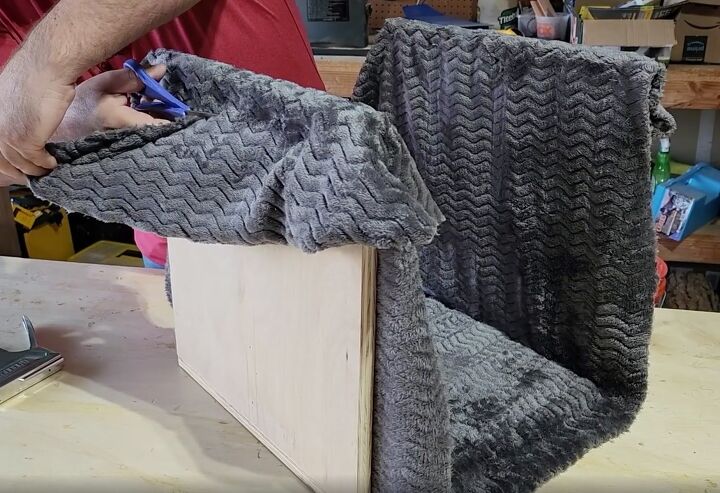
I took a pair of scissors when all of the fabric was in place and cut off the excess all the way around.
Next, I took a fourth piece of wood and covered it in the same fabric. I used a scrap board that I had and cut it down to size. It gave the stool some extra strength
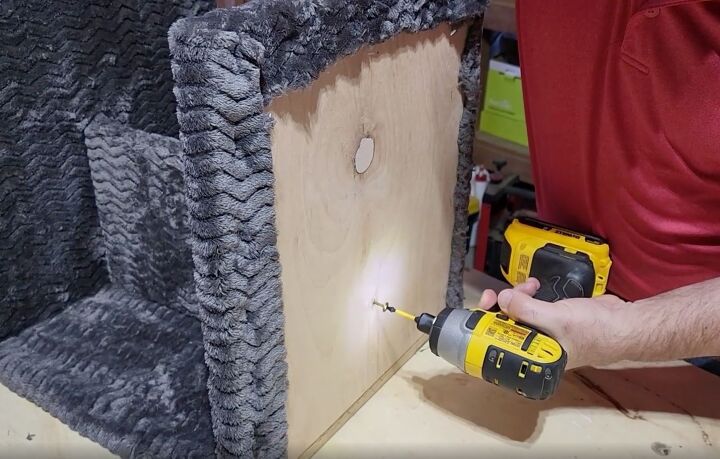
To attach the fourth piece of wood, I screwed it in from the sides and the top. I did three screws across the top and made it extra strong.
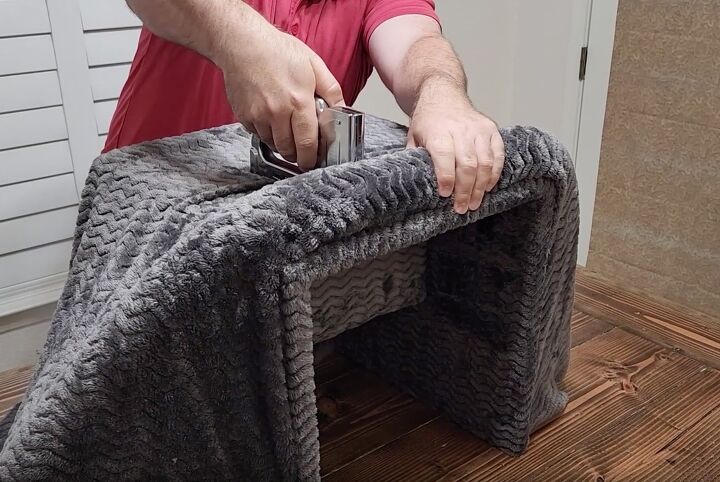
With the support board in place, I turned the bench back over and laid another piece of the fabric, good side down, along the front and sides.
I used the stapler to hold it in place. I made sure to put a lot of staples because of the tension I was going to put on the fabric next.
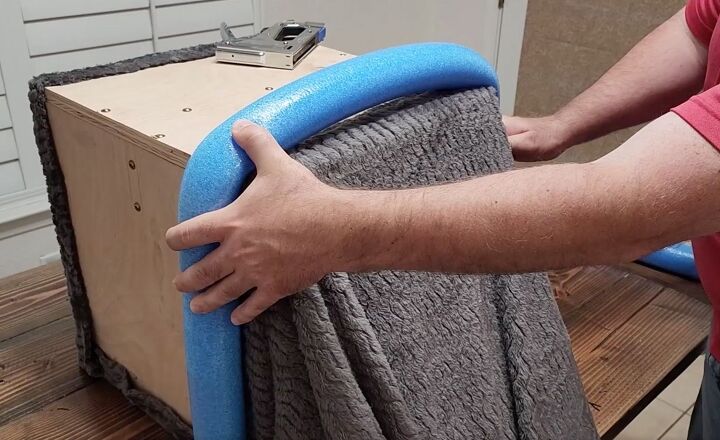
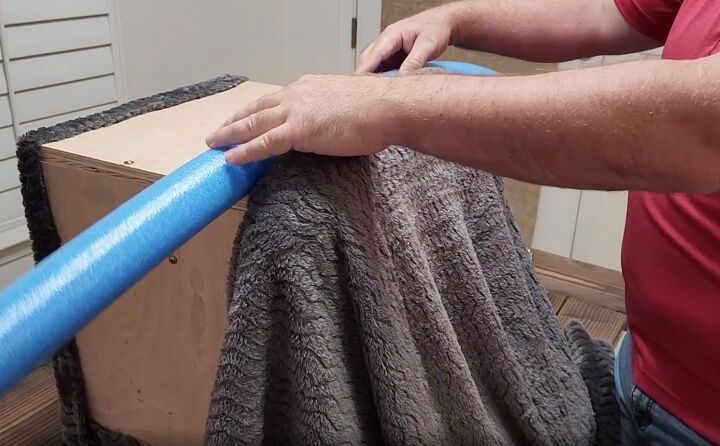
Then I grabbed a pool noddle that I pre-cut to size and laid it down right next to the front edge of the bench (over top of the staples I just put in).
With the pool noodle in place, I pulled the fabric tight around the pool noodle and start stapling it in place. The tighter the better.

Once I got that first noodle in, I pulled the fabric back over and exposed the wood.
I placed a second pool noodle right next to the first and made sure all of the wrinkles were pulled out of the fabric. Then, I pulled the fabric over it and stapled it in place. I repeated this process until I got to the end of the bench.
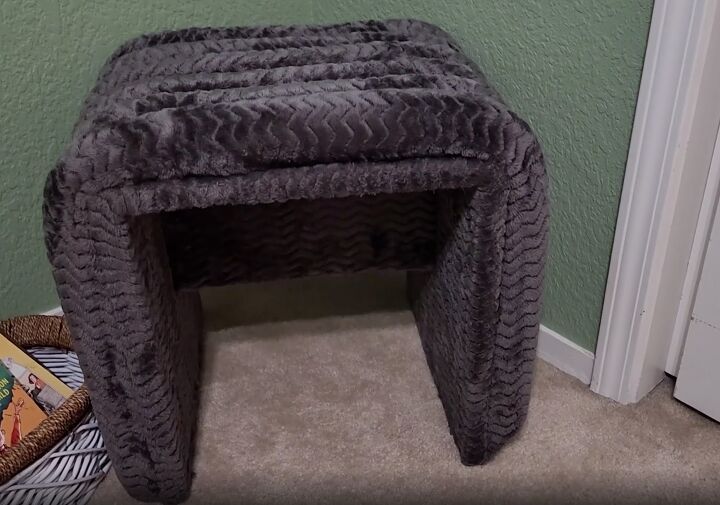
Here is the final stool. It looks amazing and it's actually very comfortable. My son just loves it. It stays in his room and he uses it to sit and read on.
Resources for this project:


Comments
Join the conversation
-
great job done, and awesome idea, but that looks like it could be for a Kitty; too LOL>LOL>
-
I think what you create it is great. but by using a blanket instead of upholstery fabric would’ve been better. Why waste your hard work go to wise when in a matter of time that blanket will rip and tear. That’s my opinion.


Frequently asked questions
Have a question about this project?
For the sides 16" square, what were the dimensions of the fabric/blanket that you used?
I might have missed it but how do you finish the bottom (ends of pool noodles)? This would be great for my grandsons.