


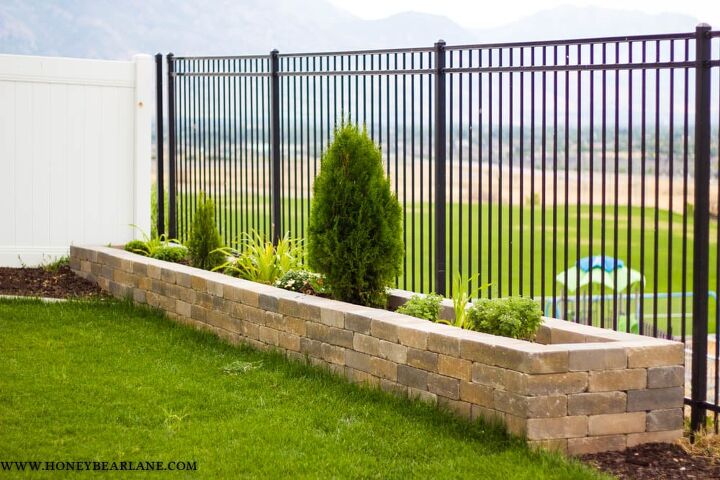
DIY Stone Planter Boxes
Last Fall we finally finished our backyard. It took us a long time because wanted to build some DIY stone planter boxes. This was a big project that took us a long, long time.

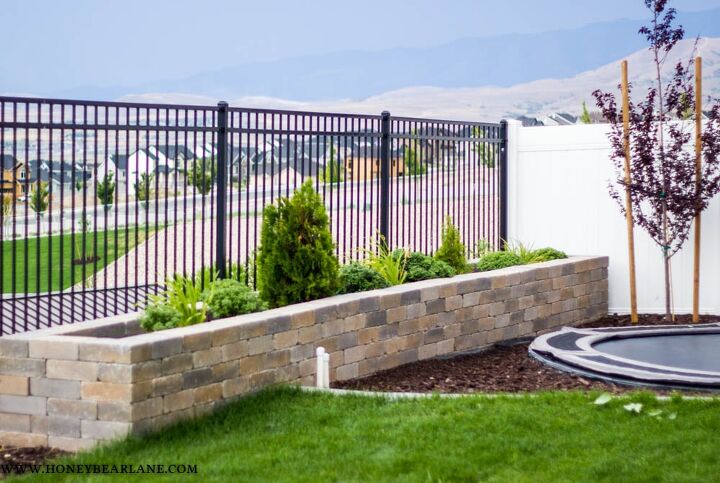
I’m super happy with how they turned out though. It made all our hard work worth it. We haven’t completely filled them in with plants yet.
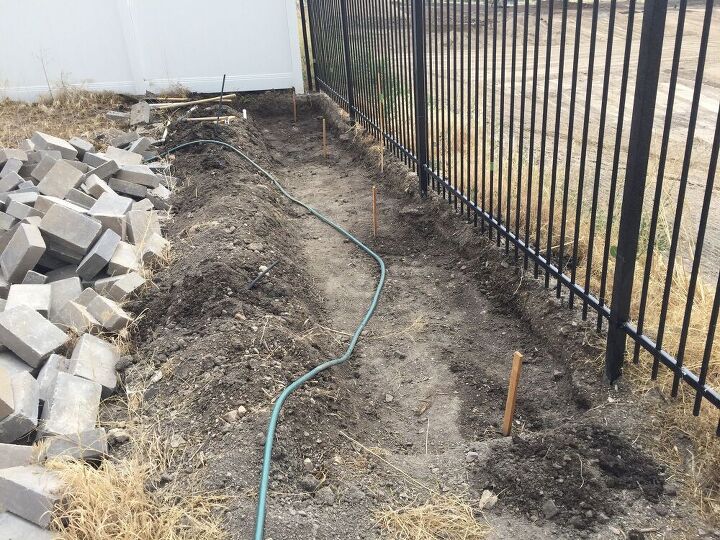
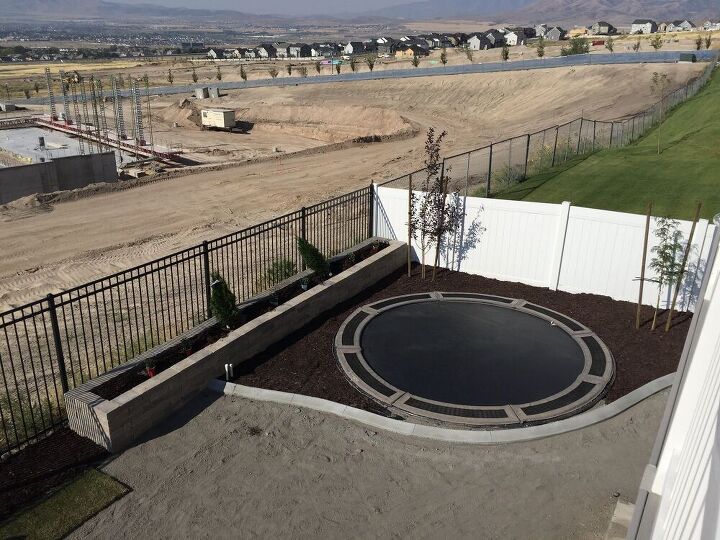
First, we had to dig out a little bit of dirt in each space to get a solid foundation. My yard also slopes a little from left to right and my husband wanted the planters to all to be level so that took some more serious math to figure out how to do that.
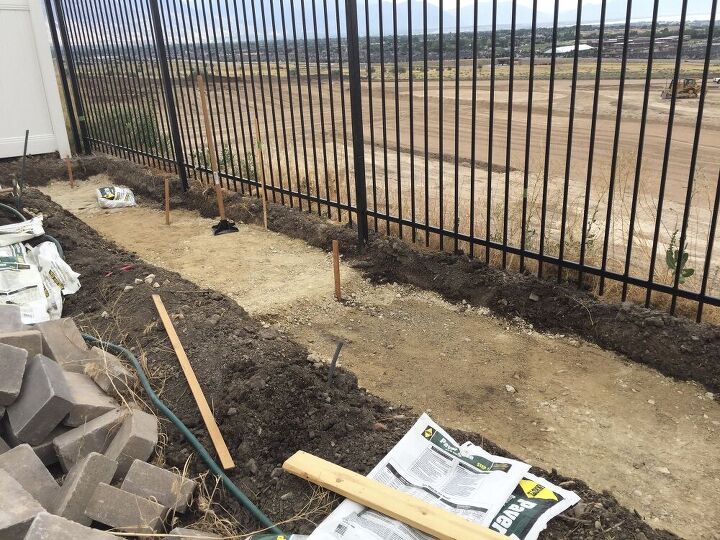
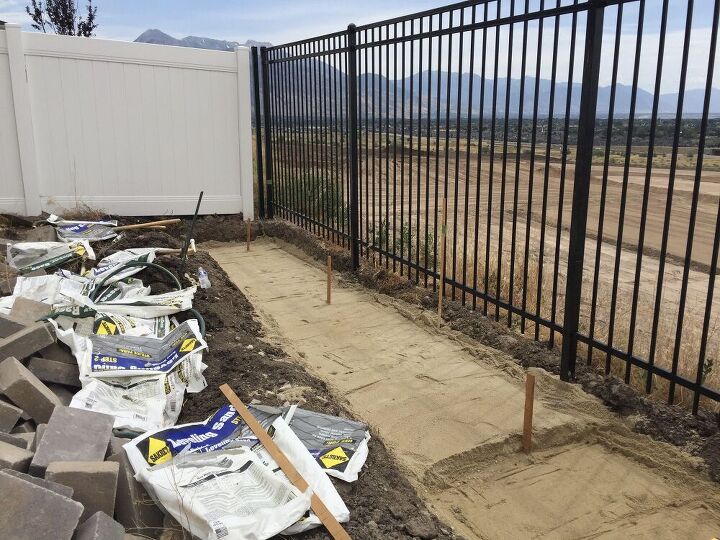
Next, he ordered some paver base and paver sand from Home Depot, which they also delivered to us. He layered each spot with a few inches of paver base and carefully leveled the sand into a super smooth and even base.
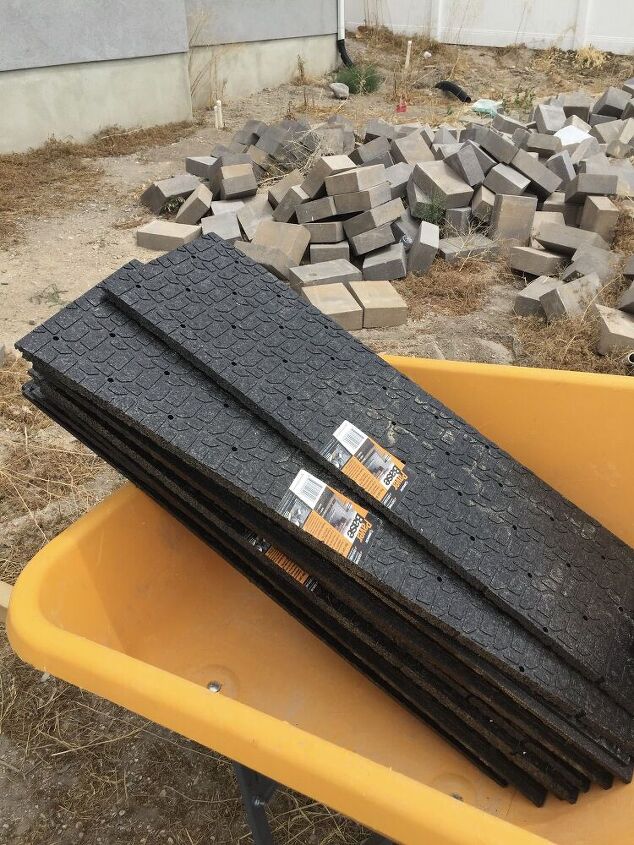
The next step really helped us to make a very level box. Apparently, you can use these instead of paver base and sand so maybe look into that before you buy it. We had already bought and poured it before we found these things so we just used them in addition. They are these black styrofoam pads.
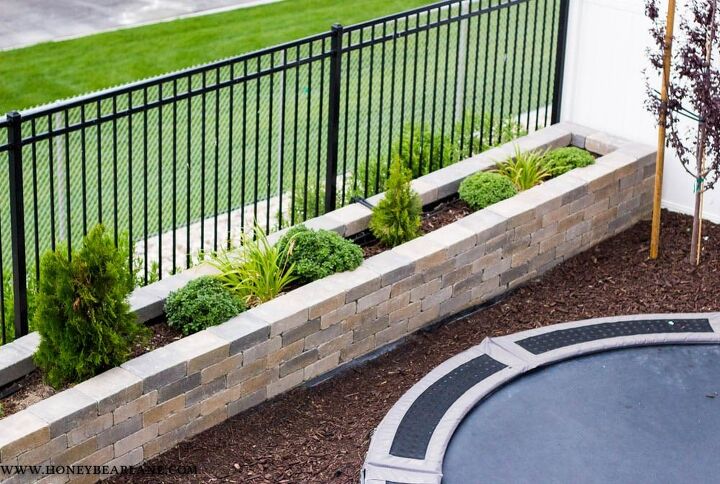
Once the first two courses of bricks are laid, it’s just a matter of stacking bricks.
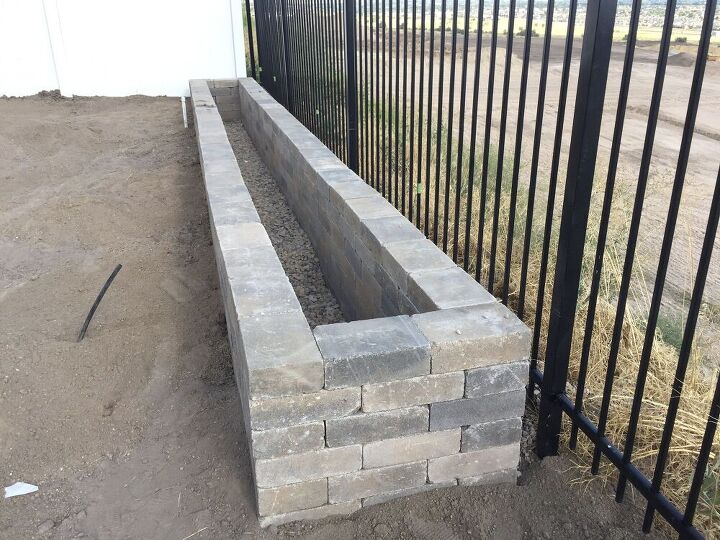
We put a short layer of drainage rocks in the bottom of each planter to help with drainage. This helps with expansion due to the weather and also preventing mold.
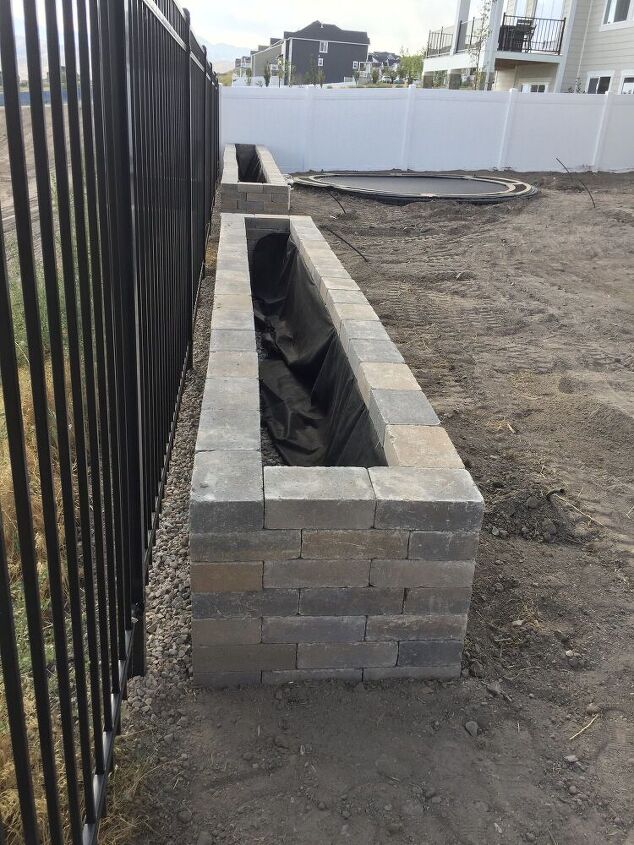
The reason for the landscape fabric is to help keep the dirt from seeping out of the cracks. And you can see that we also put drainage rocks behind the planters to help prevent weeds from growing behind.
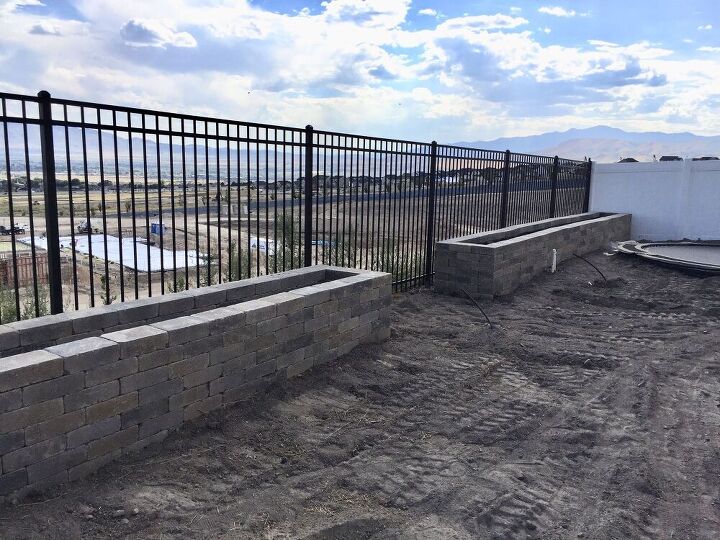
It was so nice seeing our yard again once all the bricks were in their place!
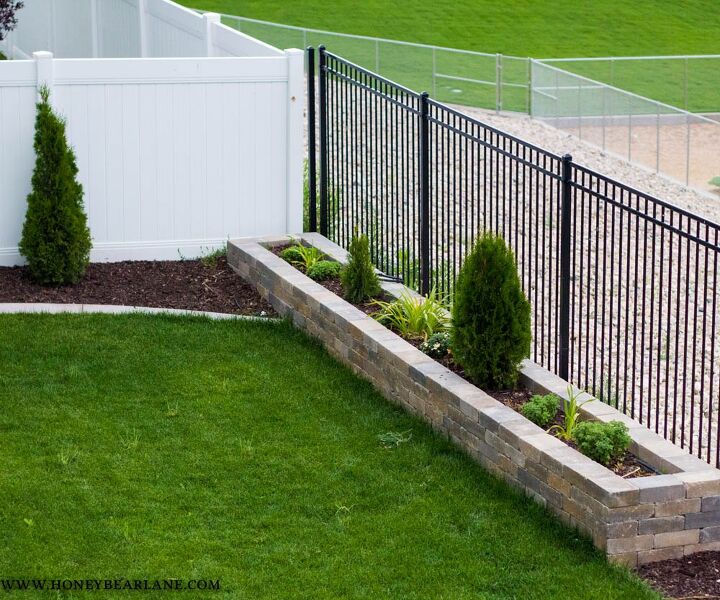
We had a curbing guy come add curbing to the backyard. It makes it look a little more professional with the distinct lines of separation. Our neighbor also filled the planters with dirt and we planted a couple of things in them.
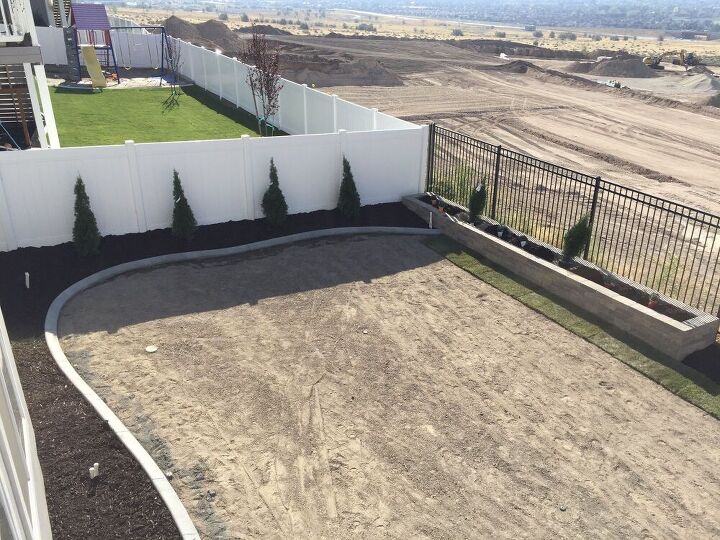
It was so great to see our backyard taking shape!
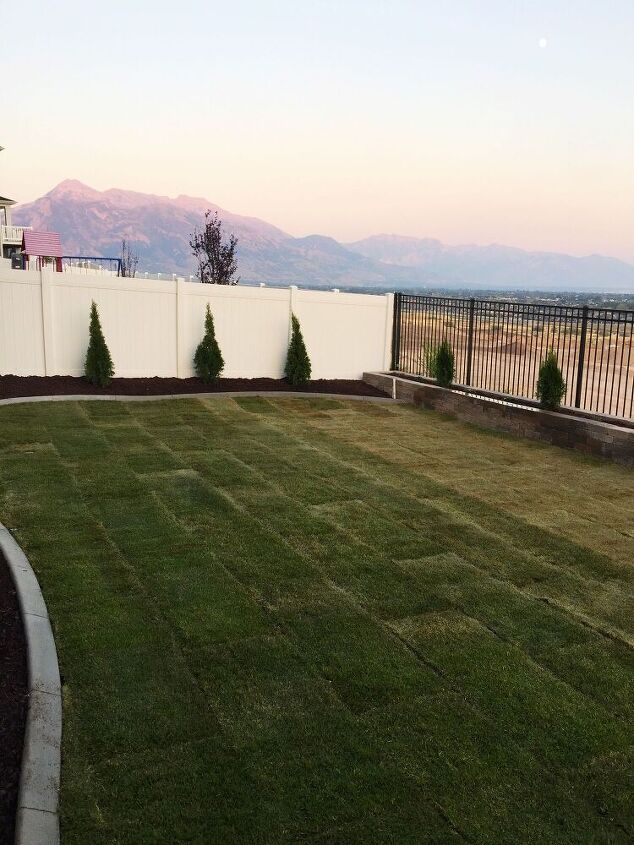
This is what it looks like right now. We only mow it like once or twice a month so that the grass can reseed itself and grow in nice and thick.
My husband also installed a drip line in the right and left planters.
Overall we love our planters and we think they were worth the effort and cost.
Resources for this project:
See all materials


Comments
Join the conversation
-
I, too, am wondering about the round structure in the yard? Seating area, covered pool?
-
As there is no mention in the landscaping plan of additional plumbing underground or a pool 'hut' to store pool maintenance gear, I do not think that the round item is an underground pool.
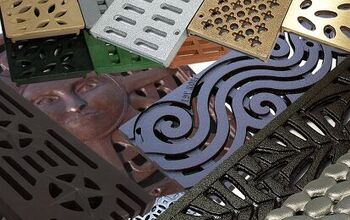
As the circumference seems to be slatted drain covers, I would guess that there might eventually be a fountain in the centre of the circle. (Here are some more examples of drain covers that can be inserted into paving stones or concrete, for anyone not familiar with what these are.)


Frequently asked questions
Have a question about this project?
Is that a trampoline adjacent to the stone planter box?
I love what you have done with this project. It looks so awesome. Can you give me a little more detail regarding the black styrofoam pads. I’m doing a few similar projects and love the idea of the pads.