


Easy DIY Window Box Planters You Can Whip up in an Afternoon!
Happy summer! And with the warmer season, I always do one thing without fail... and that's to enhance my little rustic garden shed with something new!
Desiring to add more flowers to the mix, I decided to build a couple of very simple window box planters!
Grabbing some reclaimed wood, wow! The end result is even more quainter than I had imagined!
Have a plain garden shed of your own that could use some enhancing? Try these!
To build:
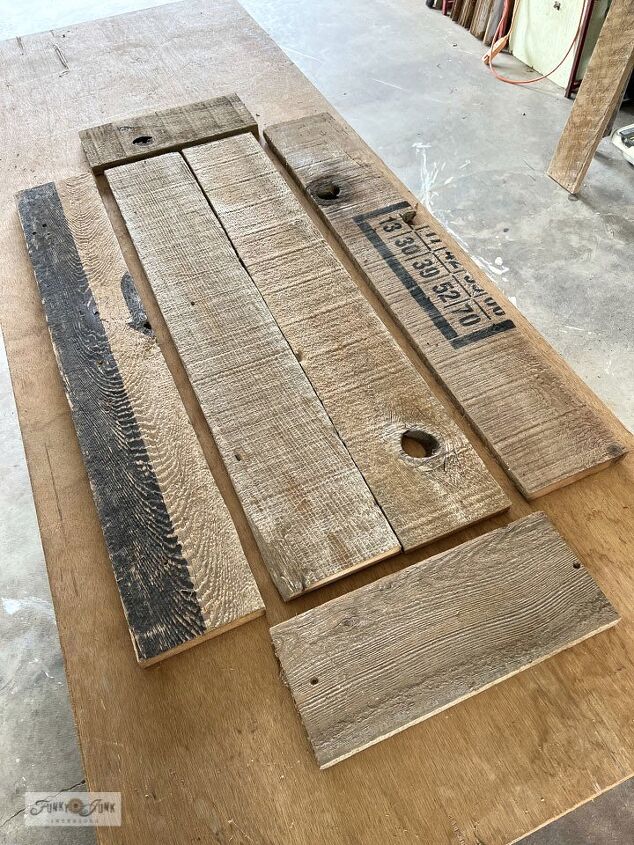
Building a basic window box planter is simple. Decide how long and deep you would like it to be, then cut the boards to the desired length.
I gauged my window box size by the width of each window it would sit under.
- Cut 4 planks to the length desired.
- Dry-fit, then measure and cut 2 side pieces to fit.
To assemble:
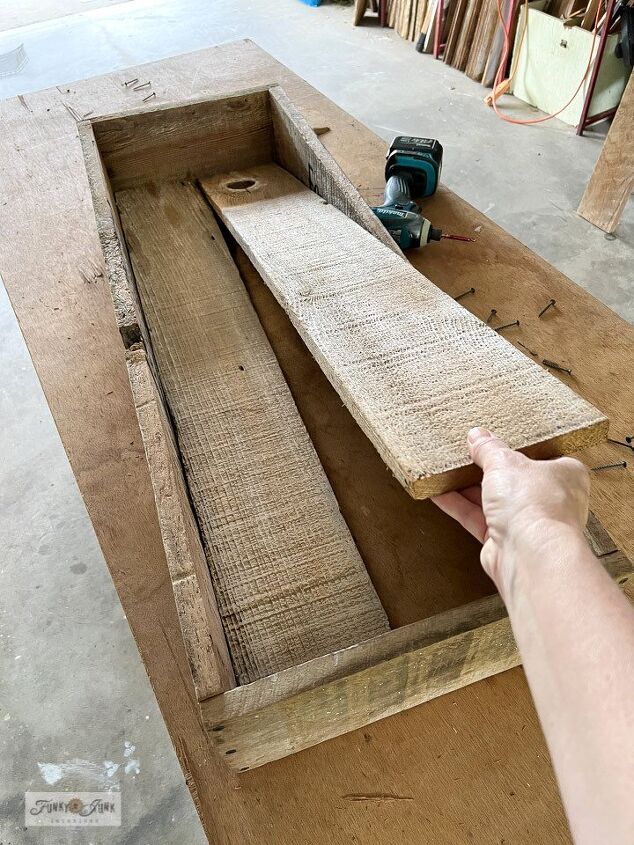
- Lay the bottom boards down first.
- Position the front and back boards into place, then measure the side pieces and cut-to-fit.
- Assemble the 4 outer boards first by attaching with screws.
- Slip the bottom boards into place, then attach with screws to the box.
Tip: always pre-drill your holes so the wood doesn't split.
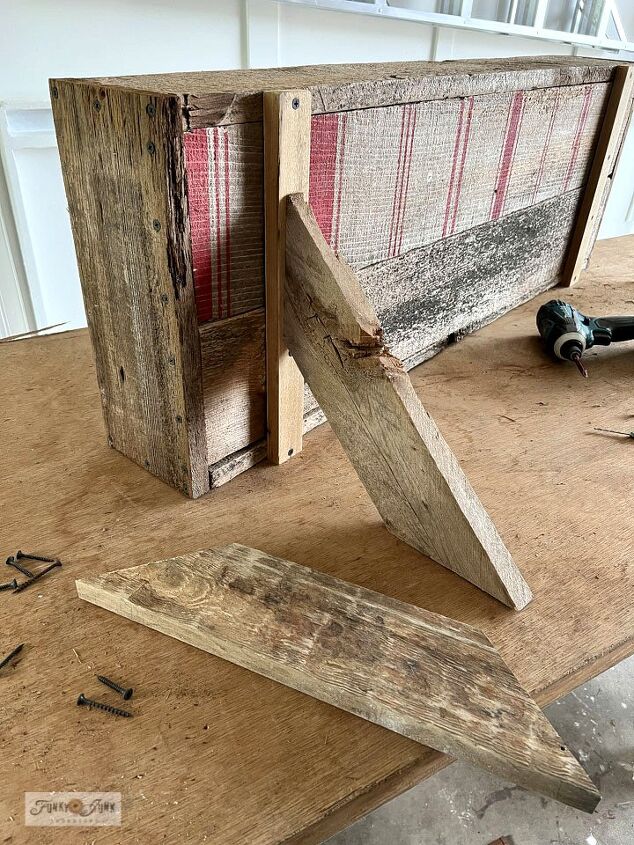
To support:
Two small support pieces of wood were installed to the bottom of each box with screws.
Two longer boards, cutting both ends at 45 degree angles, were attached to the support board with screws.
Love this look!
To attach:
The window boxes were held into place, then attached with screws direct to the shed. Screw through the back of the window box as well as through the support boards below.
It looked perfectly rustic and cute!
However the new wood was darker than the shed, plus with so many screws showing, I decided to fancy the window boxes up a little more...
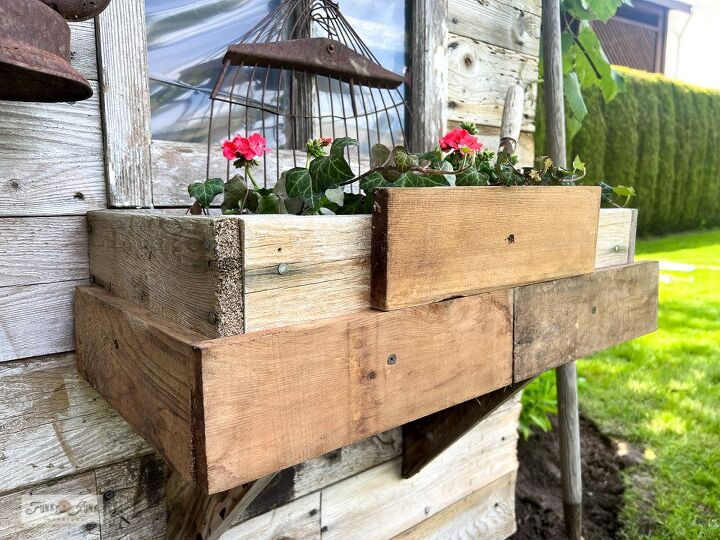
Random planks were held into place, then screwed onto the boxes using 1 screw each.
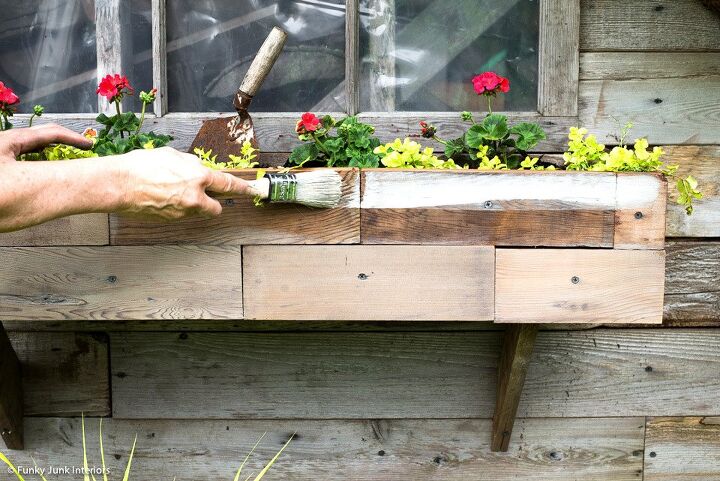
White-wash to age:
To tone down the darker wood, a white-wash of paint was brushed on, then rubbed off with a rag.
Creating a white-wash is easy! Simply mix equal parts of water and paint, then test it out. Add more paint or water to suit.

Stenciling the small window box:
To further enhance the window boxes, garden-themed stencils were added to each box!
How to stencil:
- Position stencil in the middle of the window box.
- Load stencil brush with paint, and remove most with a rag until brush feels dry.
- Tap or swirl brush through the stencil to achieve the desired effect.
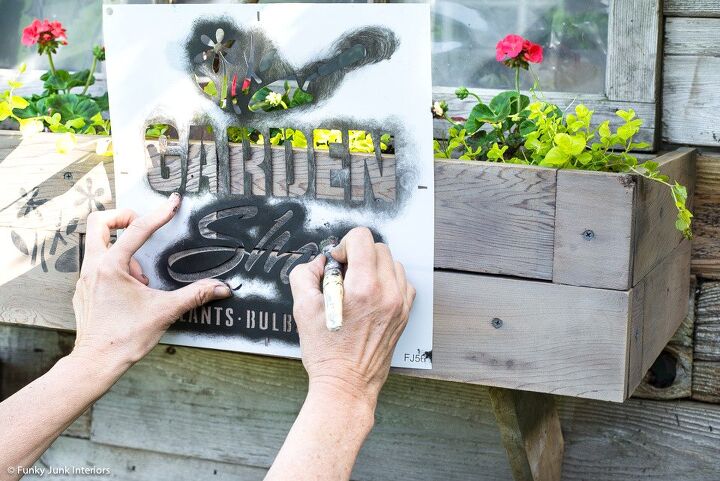
Stenciling the longer window box:
Since the 2nd window box was much longer, I decided to split up this stencil message to suit!
- Measure the middle of the window box, and stencil in the graphics.
- Move the stencil to the left, and stencil the word Garden.
- Reposition the stencil to the right, and stencil the word Shop.
To plant the window boxes:
- Line each window box with greenhouse plastic, using an electric stapler to attach.
- Drill holes into the bottoms of each window box for drainage.
- Cover drainage holes with rocks.
- Add soil.
- Plant flowers!
View many more photos of each step, including a video in the original blog post shared at the bottom of this post.
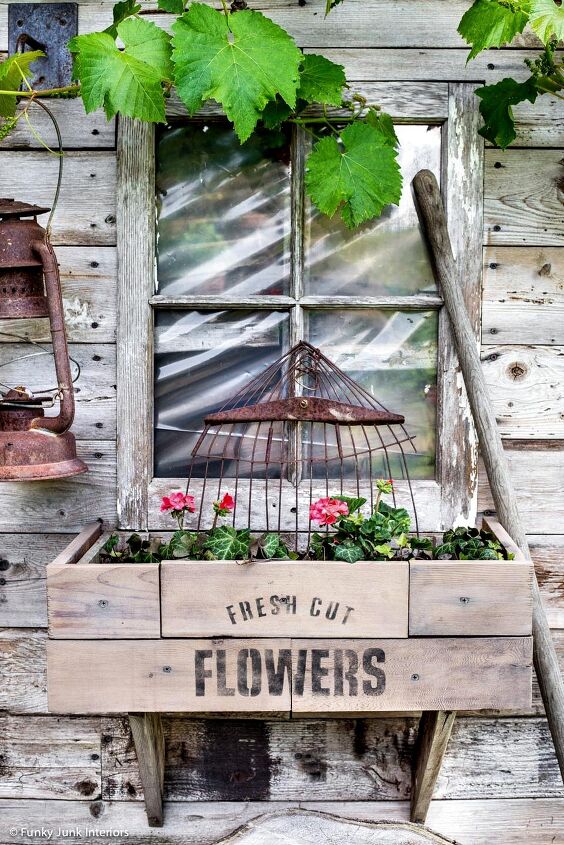
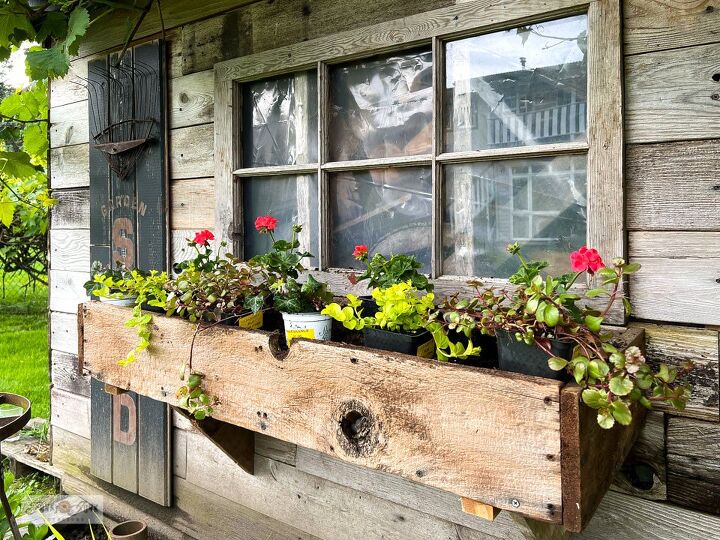
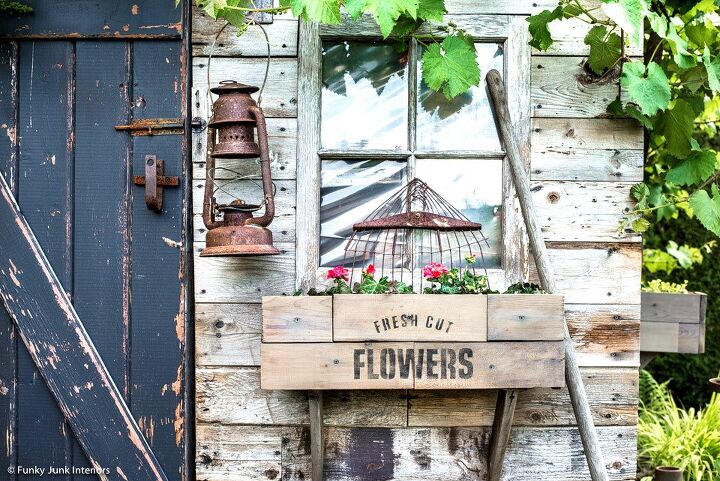
What a charming addition these window box planters make, don't you think?
And I was amazed how instantly those newer boards aged with that white-wash! Be sure to watch the video in the original post.
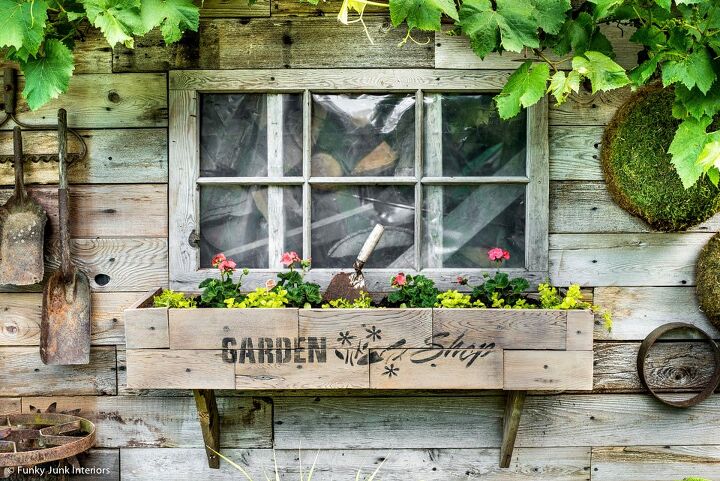
And here's the longer window box. Garden Shop indeed... a perfect fit!
Can't wait for those flowers to explode over the edges!
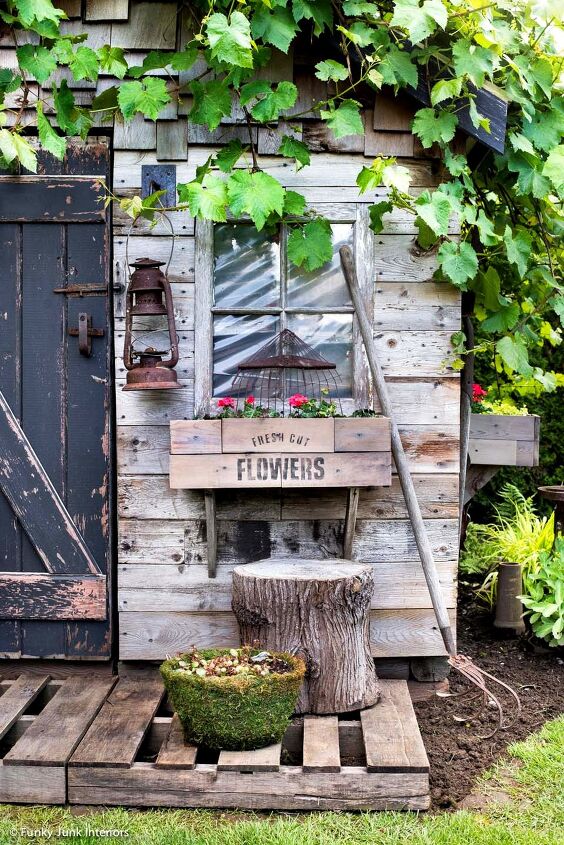
But until then, I shall thoroughly enjoy the current view because the window boxes themselves add a ton of charm! And more opportunities to plant!
Think you may add a window box or two to your own shed this summer?
Visit original tutorial for more!
Come and see how the entire shed looks with the boxes HERE!
Includes:
- full window box steps
- white-wash video
- full tour of ALL the newest shed woodland additions
- and more!
Resources for this project:
See all materials


Comments
Join the conversation
-
Sorry, I thought I was responding to something else.
-
Love it!!!


Frequently asked questions
Have a question about this project?
I'm concerned about the power source. You put your computer out in the yard with the device, to power it??